Linux | Red Hat Certified | IT Technology | Operations Engineer
👇Technical Exchange QQ Group with 1000 members, note 【public account】 for faster approval

Introduction
As a mature and stable open-source virtualization solution, KVM provides administrators with a rich set of command-line tools to efficiently create, start, stop, and monitor virtual machines. Mastering these basic KVM management commands is an essential skill in virtualization operations. Both beginners and experienced administrators need to have a deep understanding and proficient operation of KVM’s core management commands.
1. View Command Help
[root@localhost ~]# virsh -h
2. View KVM Configuration Files
Storage Directory (centos7.0.xml is the configuration file for the virtual machine system instance)
[root@localhost ~]# ls /etc/libvirt/qemu/centos7.0.xml networks
/etc/libvirt/qemu/ Virtual Machine Configuration Files
This directory stores configuration files for each virtual machine, with each virtual machine having a corresponding XML configuration file. These files define the virtual machine’s hardware resources, network, storage, and other detailed information.
3. Check Virtual Machine Status
[root@localhost ~]# virsh list --all
Id    Name                         State
----------------------------------------------------
 -     centos7.0                      shut off
“virsh list –all” is a very commonly used management command in the KVM/QEMU virtualization environment, used to list all defined virtual machines in the system, including running and shut-off virtual machines.
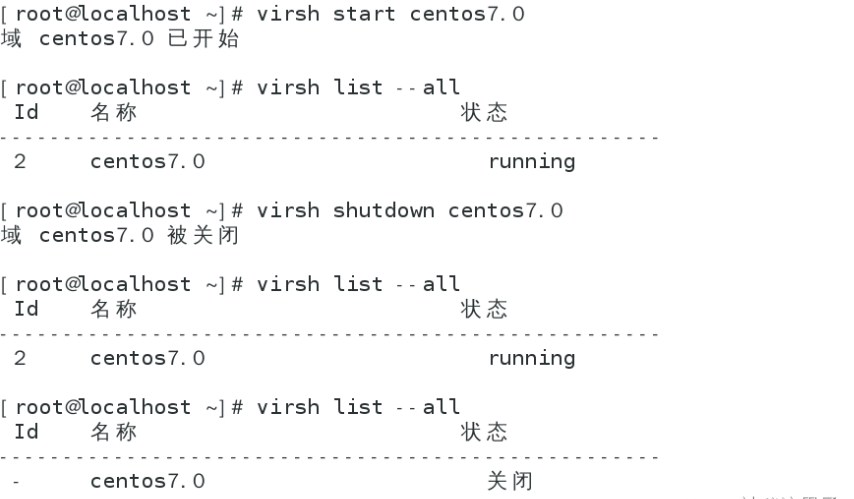
4. Shut Down and Start Virtual Machine
virsh shutdown centos7.0
virsh start centos7.0
As shown:
5. Force Shutdown
Forcefully power off the instance system
[root@localhost ~]# virsh destroy centos7.0
Domain centos7.0 has been destroyed
Forcefully shut down and destroy a KVM virtual machine named “centos7.0”.
6. Start Virtual Machine System Instance from Configuration File
[root@localhost ~]# virsh create /etc/libvirt/qemu/centos7.0.xml
Domain centos7.0 has been created from /etc/libvirt/qemu/centos7.0.xml

[root@localhost ~]# virsh list --all
Id    Name                         State
----------------------------------------------------
4     centos7.0                      running
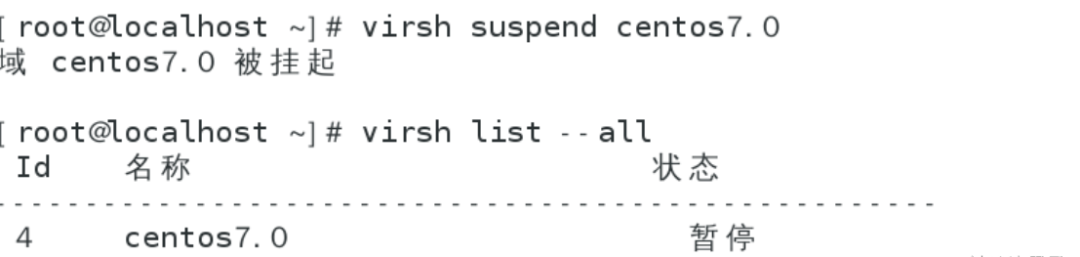
7. Suspend Virtual Machine
[root@localhost ~]# virsh suspend centos7.0
Domain centos7.0 has been suspended

[root@localhost ~]# virsh list --all
Id    Name                         State
----------------------------------------------------
4     centos7.0                      paused
After execution, the centos7.0 virtual machine has been successfully suspended. You can use the virsh resume centos7.0 command at any time to resume this virtual machine.
Illustration:
8. Resume Virtual Machine
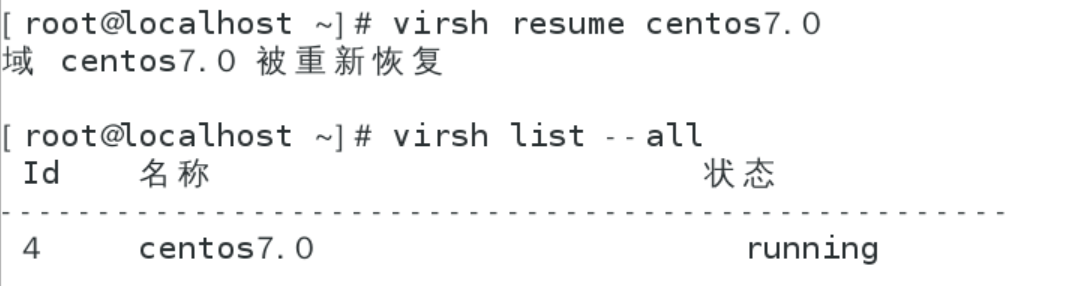
[root@localhost ~]# virsh resume centos7.0
Domain centos7.0 has been resumed

[root@localhost ~]# virsh list --all
Id    Name                         State
----------------------------------------------------
4     centos7.0                      running
The centos7.0 virtual machine has successfully resumed running state.
Illustration:
9. Configure Virtual Machine Instance to Auto-Start with Host
[root@localhost ~]# virsh autostart centos7.0
Domain centos7.0 marked as autostart
The centos7.0 virtual machine has been set to automatically start when the host starts. This means that the next time the host reboots, the centos7.0 virtual machine will automatically start without manual operation.
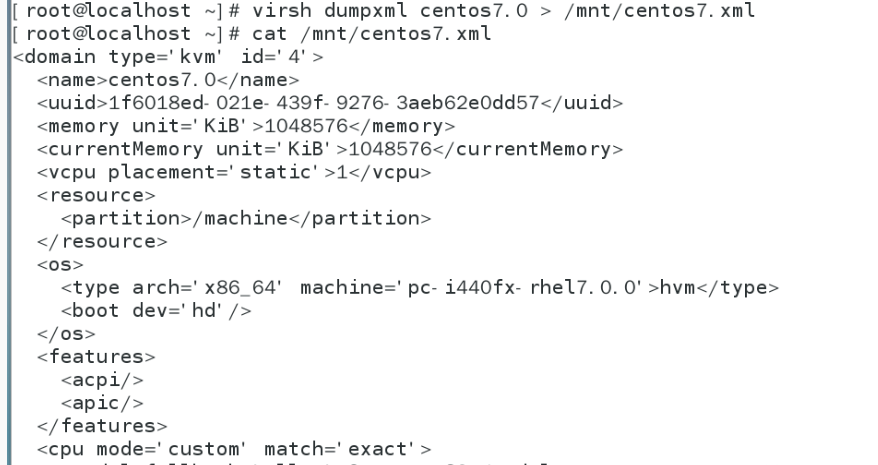
10. Export Virtual Machine Configuration
[root@localhost ~]# virsh dumpxml centos7.0 > /mnt/centos7.xml
[root@localhost ~]# cat /mnt/centos7.xml
Upon completion, the system will export the complete XML configuration information of the centos7.0 virtual machine to the /mnt/centos7.xml file.
Please ensure you have sufficient permissions to access the /mnt directory and write files.
11. Deleting and Adding Virtual Machines
Delete Virtual Machine:
First shut down before deleting
[root@localhost ~]# virsh shutdown centos7.0
Domain centos7.0 has been shut off

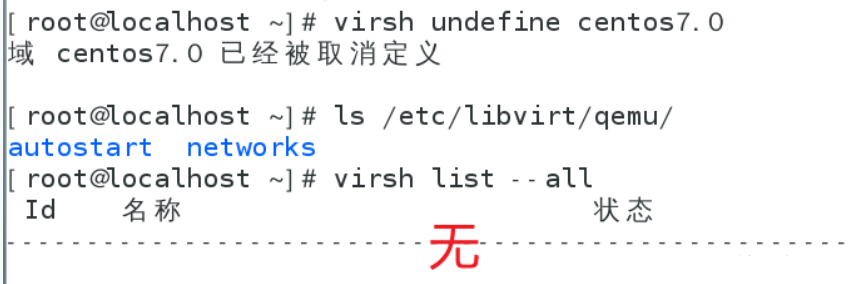
[root@localhost ~]# virsh undefine centos7.0
Domain centos7.0 has been undefined

[root@localhost ~]# ls /etc/libvirt/qemu/autostart
 networks
Command Explanation
First use the virsh shutdown centos7.0 command to shut down the virtual machine named centos7.0 properly. Then use the virsh undefine centos7.0 command to completely remove (undefine) this virtual machine from libvirt. Finally, check the /etc/libvirt/qemu/ directory, only the autostart and networks directories remain, indicating that all configuration files for the centos7.0 virtual machine have been thoroughly deleted. Shut down first and then delete to ensure the virtual machine is completely removed from the system. Verifying the directory again confirms the success of the deletion operation. At this point, we have deleted the virtual host and can use the exported file to recover it.12. Recover Virtual Machine from Configuration File
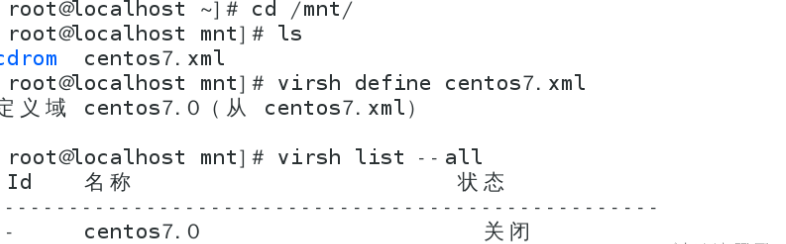
[root@localhost ~]# cd /mnt/
[root@localhost mnt]# ls
centos7.xml
[root@localhost mnt]# virsh define centos7.xml
Defined domain centos7.0 (from centos7.xml)
Define (create) a new virtual machine in libvirt based on the specified XML configuration file.
Check that the virtual machine has been recovered
[root@localhost mnt]# virsh list --all
Id    Name                         State
----------------------------------------------------
 -     centos7.0                      shut off

For course inquiries, add: HCIE666CCIE
↑ Or scan the QR code above ↑
What technical points and content would you like to see?
You can leave a message below to let us know!