Software Download
Installation Steps
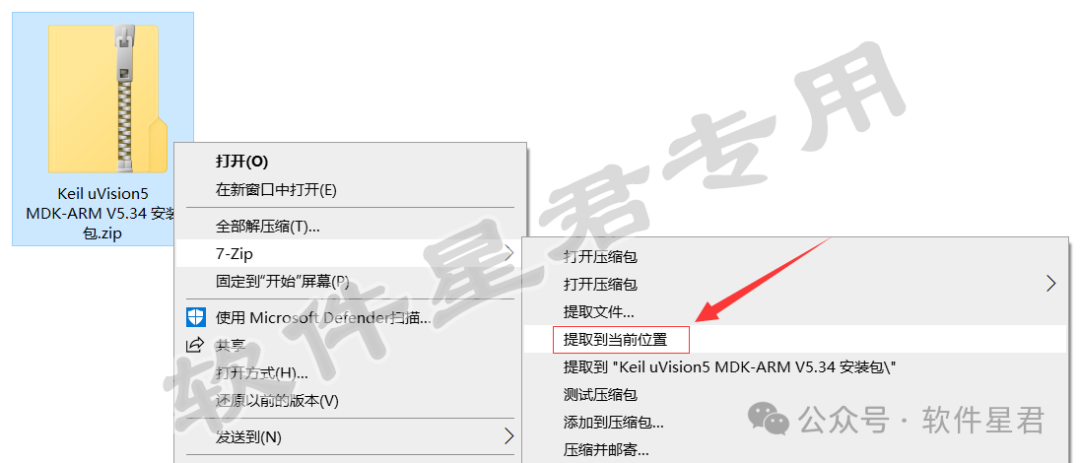
1. Locate the downloaded installation package and extract it to the current location.
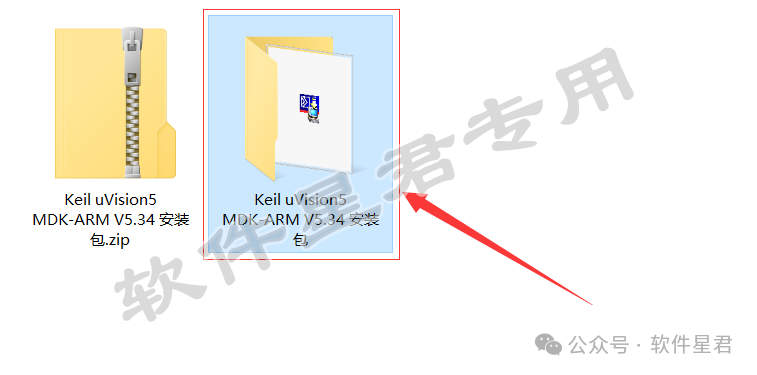
2. Double-click to open the extracted 【Keil uVision5 MDK-ARM V5.34 installation package】 folder.
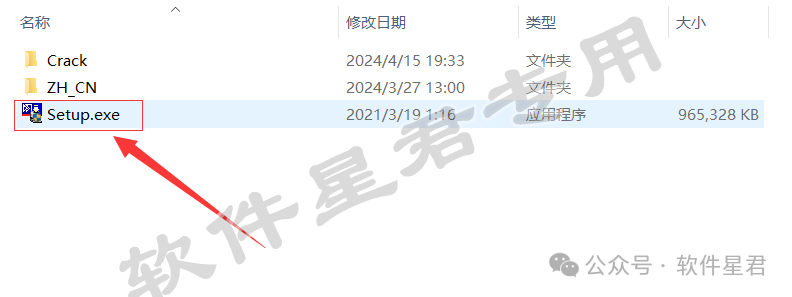
3. Double-click to run the 【Setup.exe】 file.
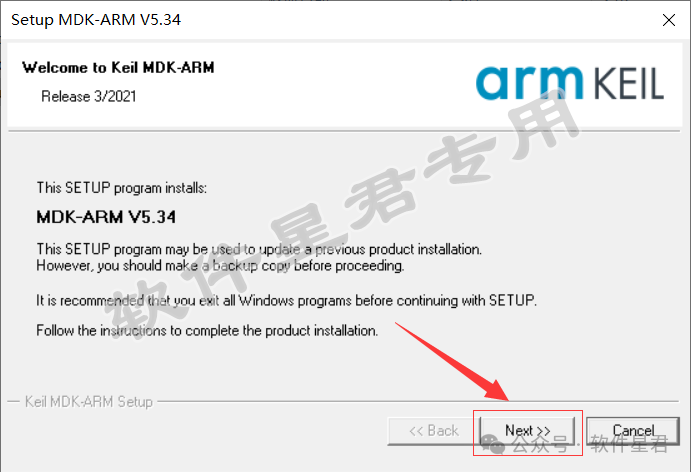
4. Click 【Next】.
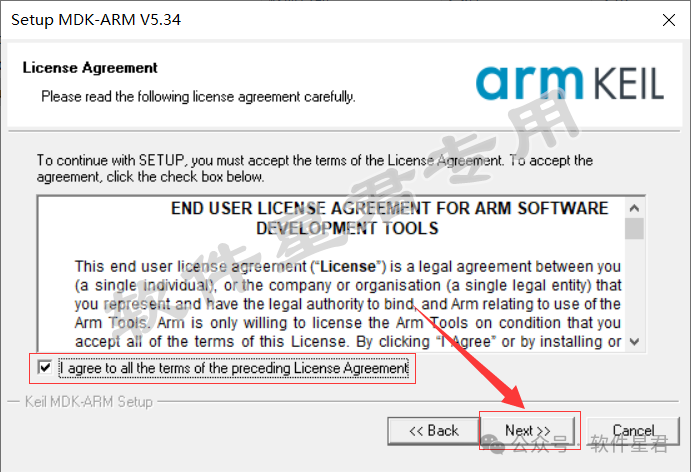
5. Check 【I agree to all the terms……】 and click 【Next】.
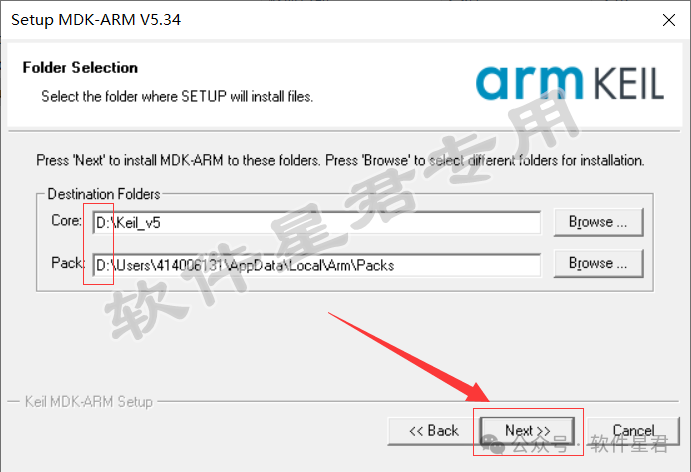
6. Change the first letter C in the installation path to D, indicating installation on the D drive, and click 【Next】.
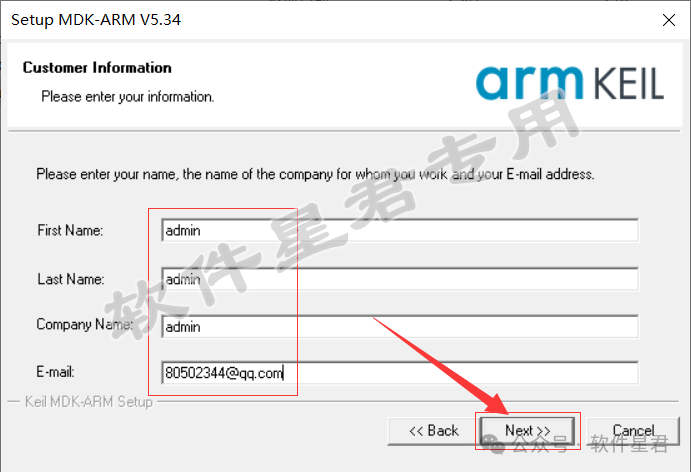
7. Fill in the corresponding content as required (can be filled in freely), and click 【Next】.
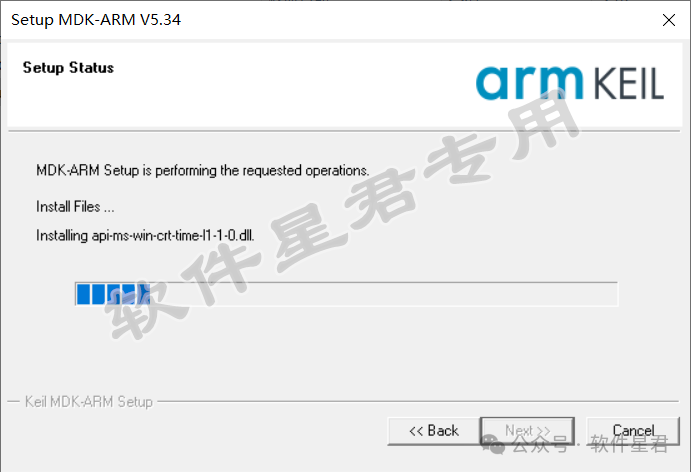
8. Wait for the software installation to complete, which takes about 1 minute.
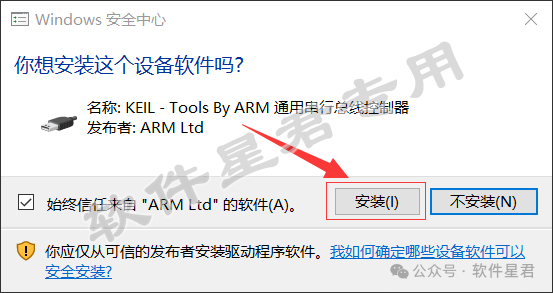
9. After the following window pops up, click 【Install】.
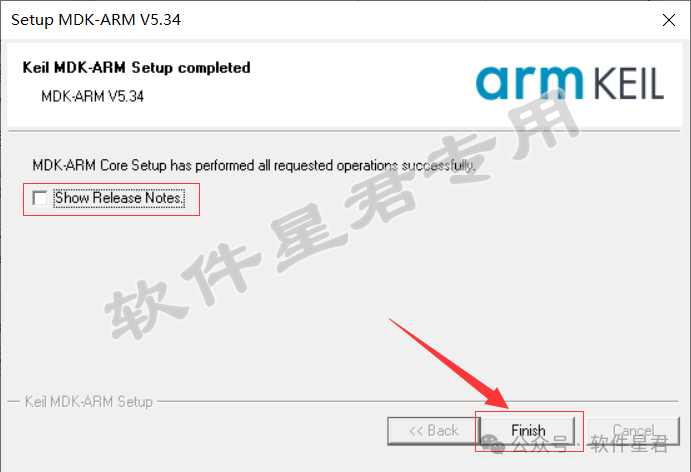
10. After installation is complete, uncheck 【Show Release Notes】 and click 【Finish】.
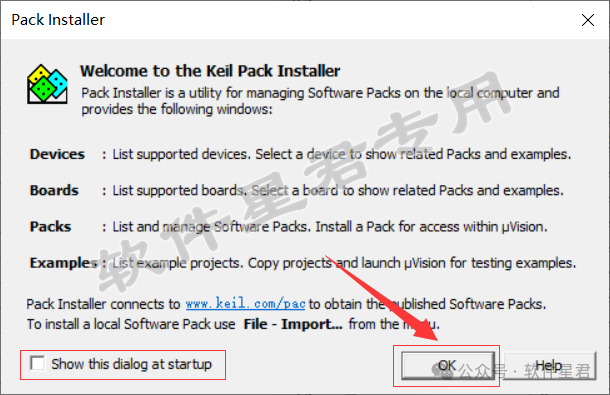
11. Uncheck 【Show this dialog at startup】 and click 【OK】 (if a window pops up for downloading upgrades, just cancel it).
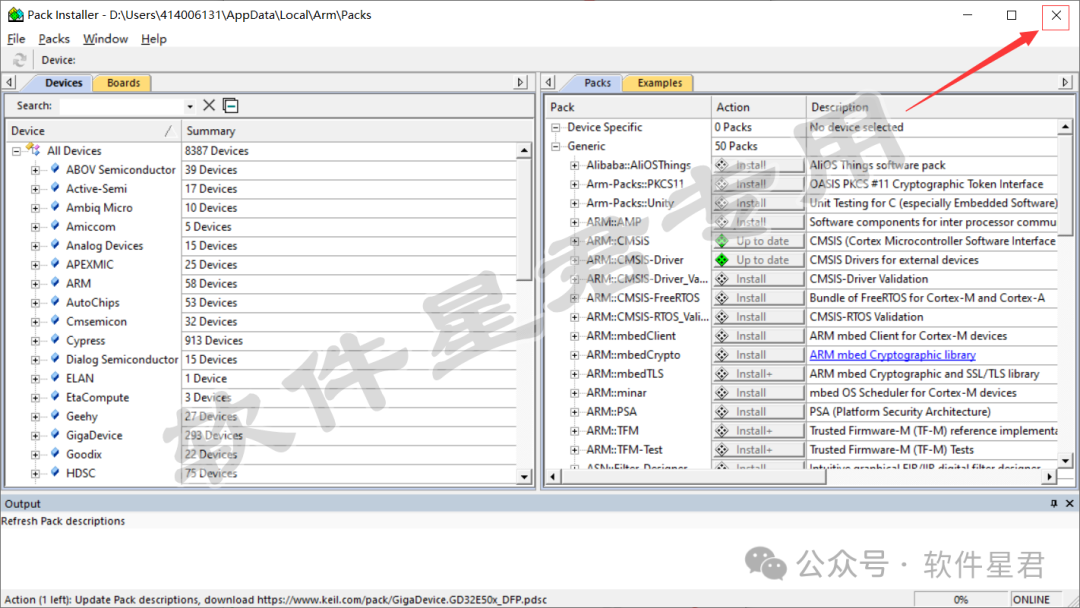
12. Click the 【X】 in the upper right corner to close the window.
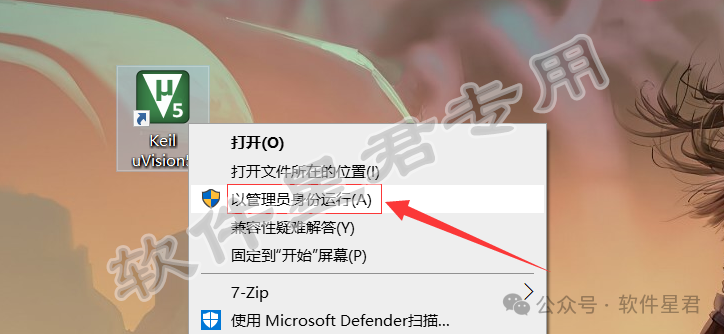
13. Return to the desktop and start the software as an administrator (double-clicking to open will not activate it).
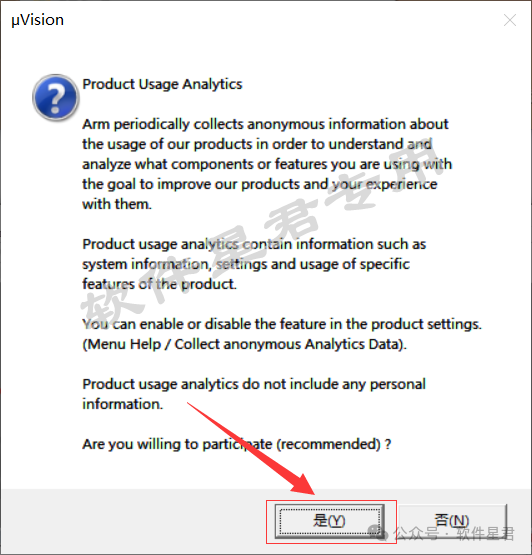
14. Click 【Yes】.
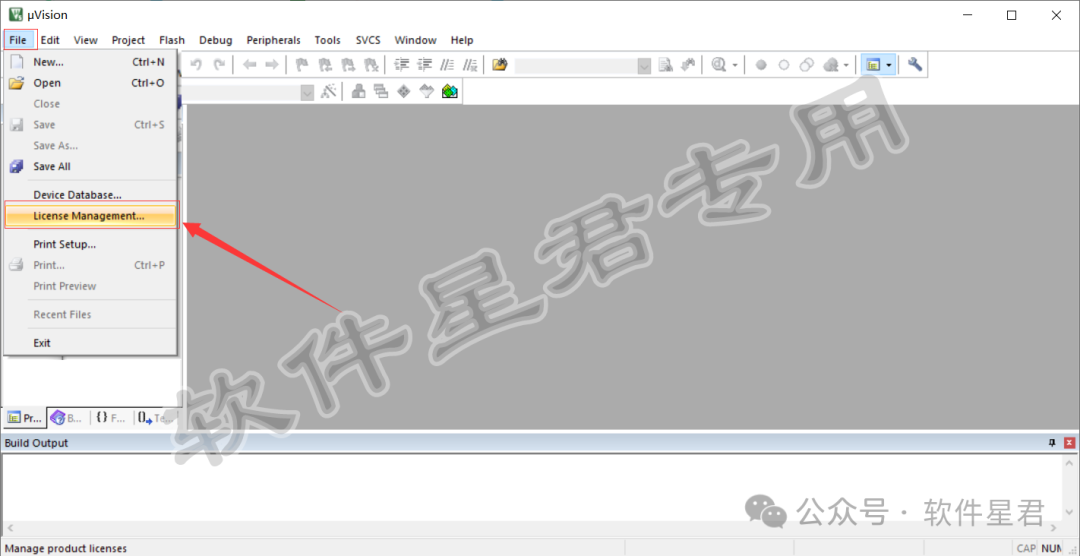
15. Click 【File】, select 【License Management】.
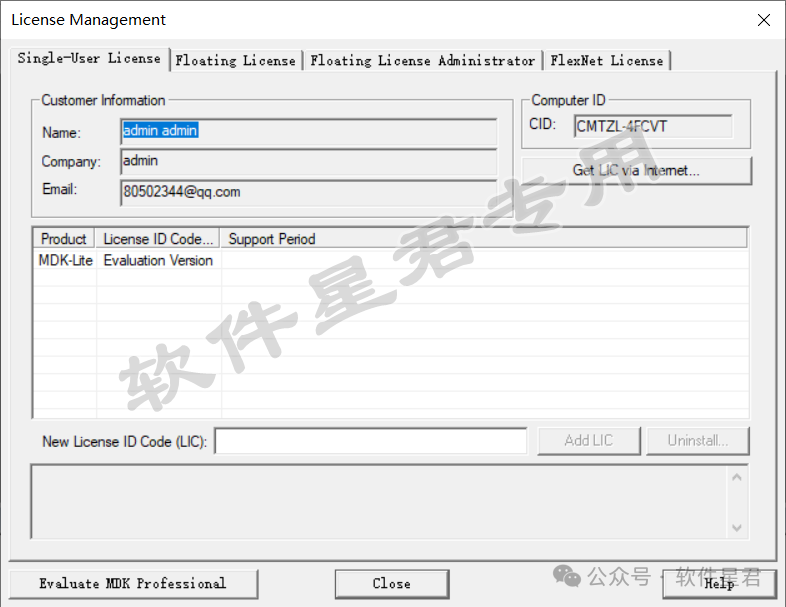
16. Keep this license management window open, and continue to the next step.
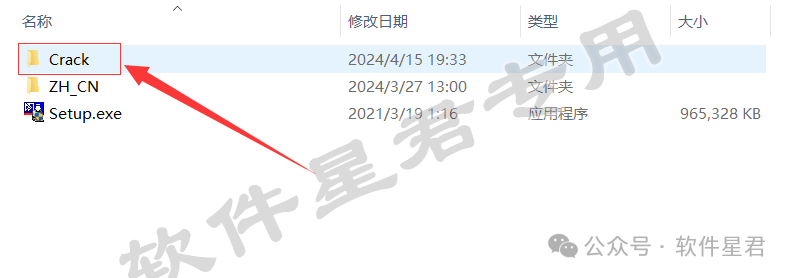
17. Return to the folder opened in step 2, double-click to open the 【Crack】 folder.
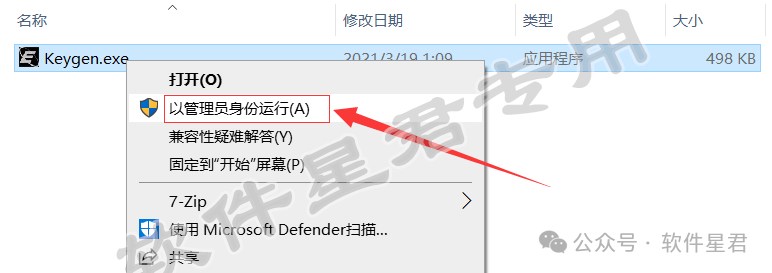
18. Run the 【crack.exe】 file as an administrator.
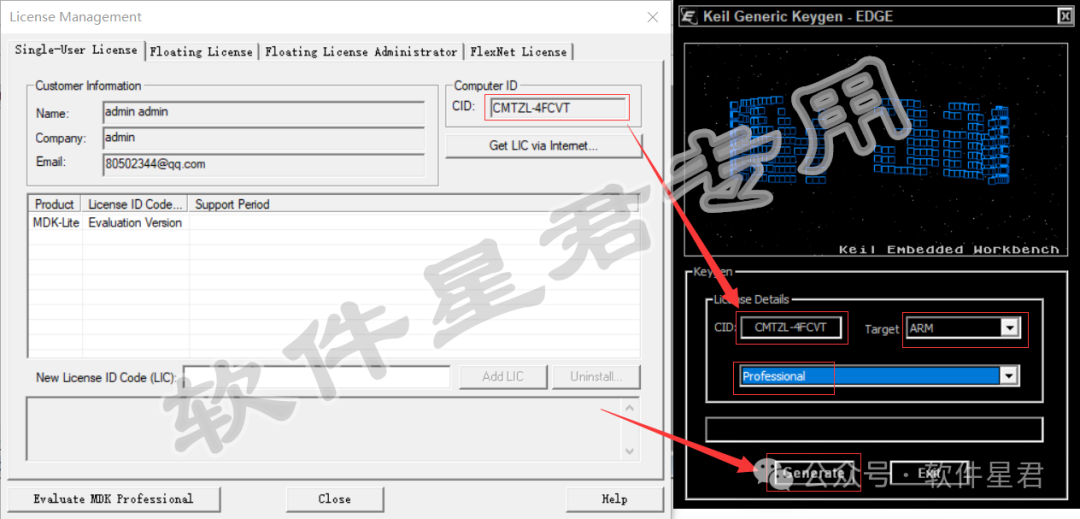
19. Copy the content from the CID in the license management interface and paste it into the CID section of the registration tool; switch the Target box content to 【ARM】, and the middle drop-down box content to 【Professional】, then click 【Generate】.
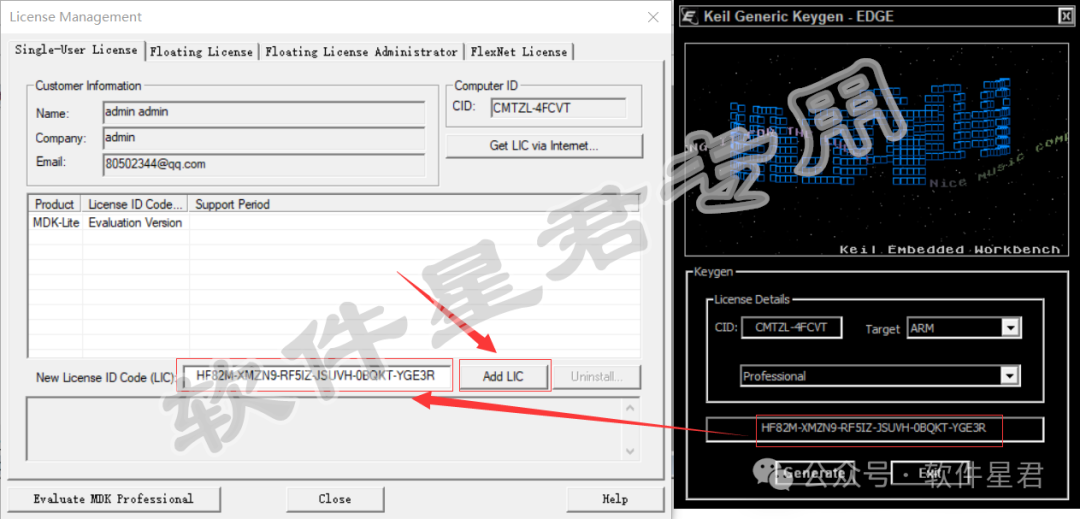
20. Copy the generated serial number into the license management interface’s “New License ID Code(LIC)” section, then click 【Add LIC】.
21. After the prompt “LIC Added Successfully”, click 【Close】.
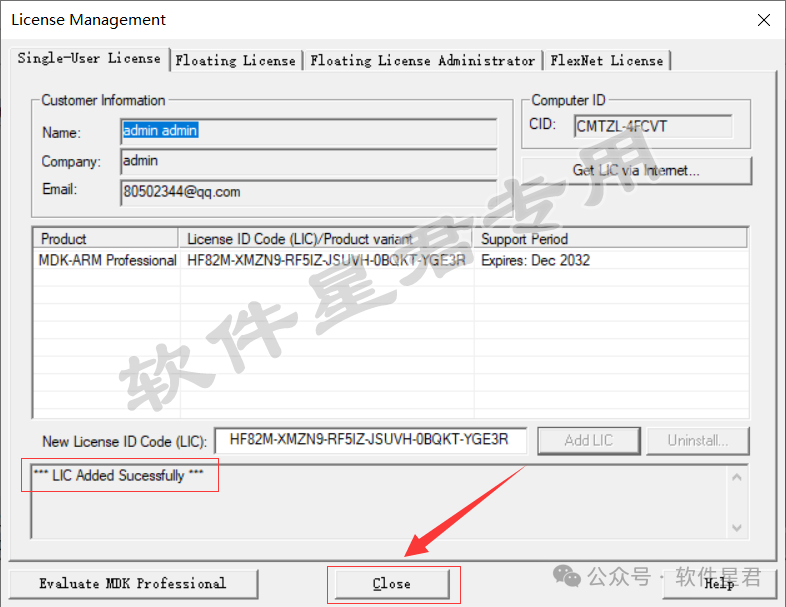
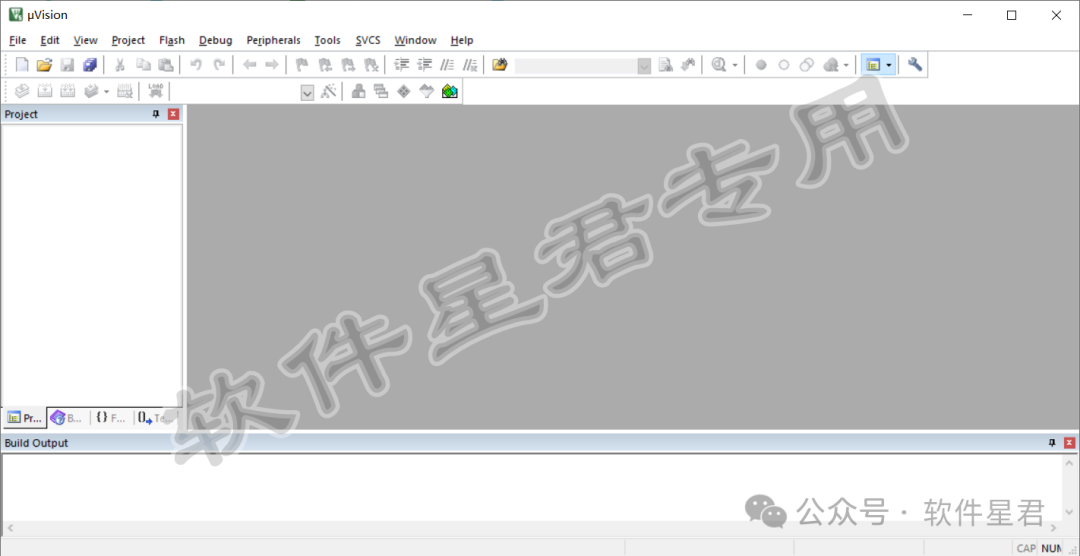
22. The software is now installed (if you need to localize it, please exit the software and continue with the following steps).
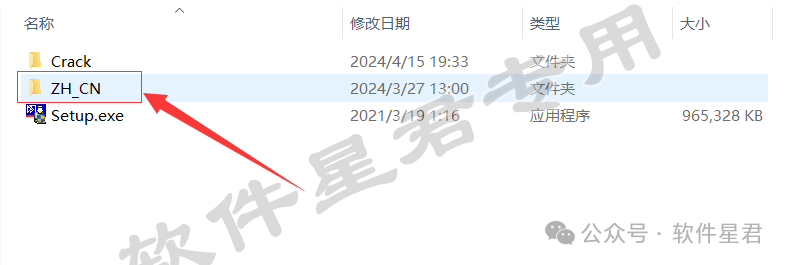
23. Return to the folder opened in step 2, double-click to open the 【ZH_CN】 folder.
24. Copy 【UV4.exe】.
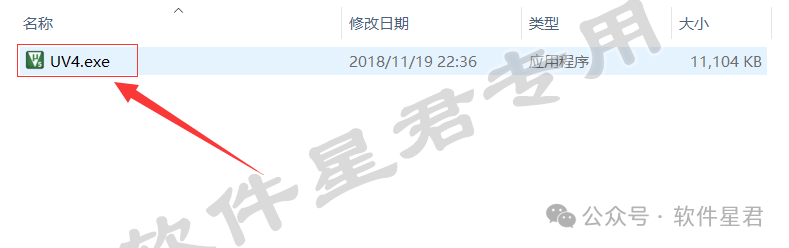
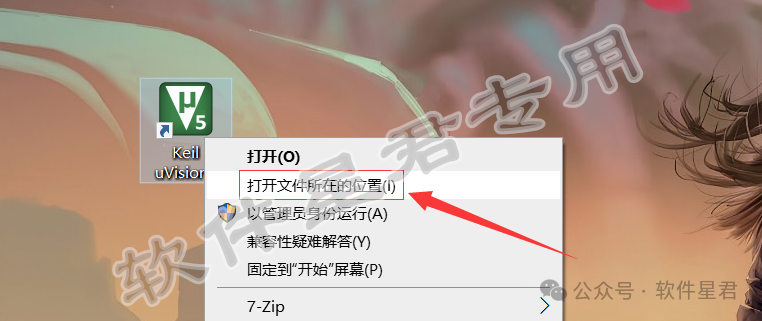
25. Return to the desktop, right-click the software icon, and select 【Open File Location】.
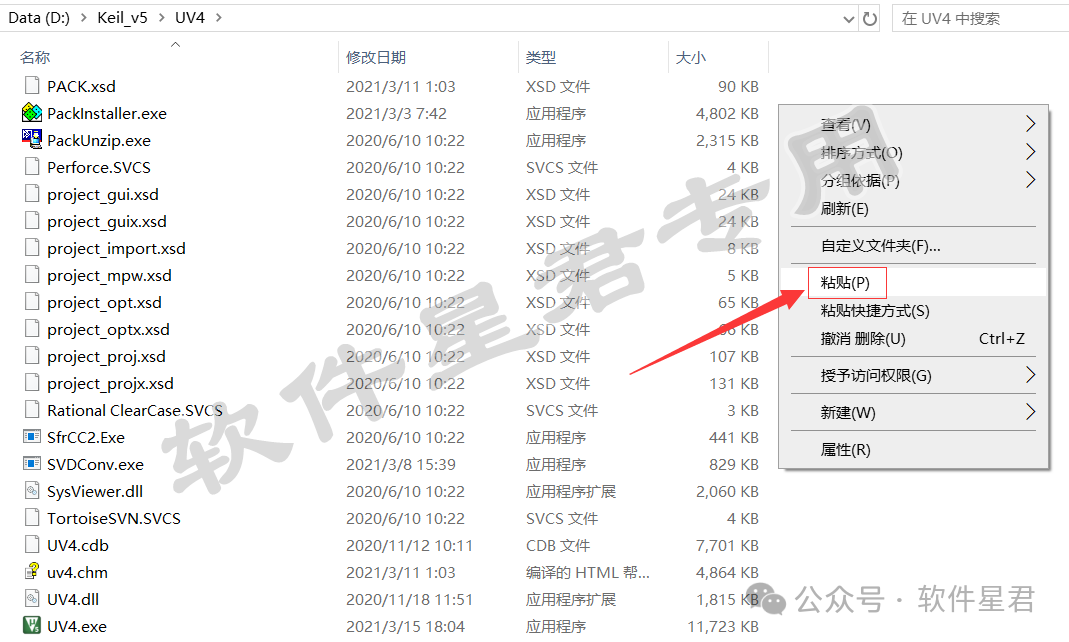
26. In the opened folder, right-click in the blank area and paste the file copied from step 24 into this folder.
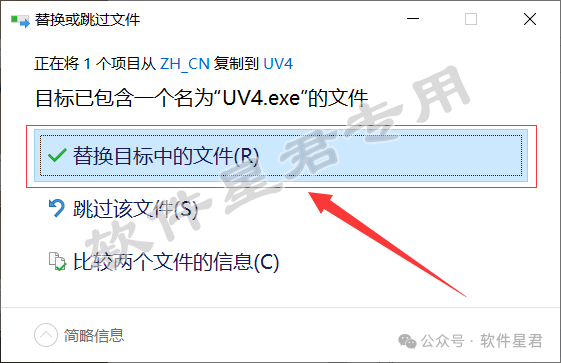
27. In the pop-up window, select 【Replace the file in the destination】.
28. Reopen the software, and it will become the Chinese version.
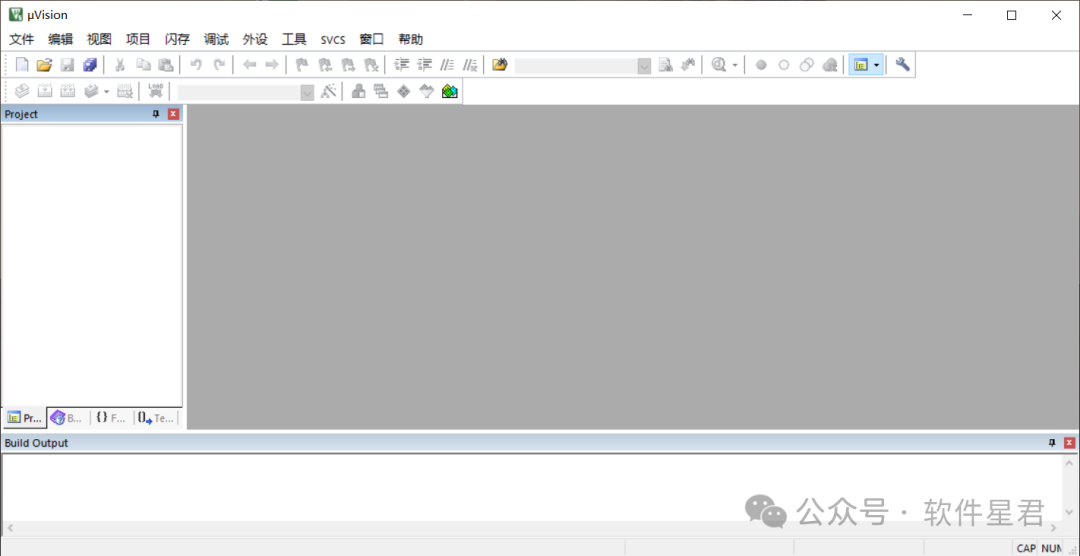
Note: Due to the localization files, the version displayed after localization may be incorrect, but it is actually correct.

Software Star Lord
Focusing on sharing software material resources

Long press the QR code to quickly follow