Tutorial for Installing Armbian on WanKeYun
Introduction
WanKeYun is a mining machine that was very popular a few years ago, originally sold for ¥599 on the official website, but has now dropped to ¥45 with free shipping. I made several hundred yuan from it back in high school.
WanKeYun specifications: The CPU is an Amlogic S805, with a single-core frequency of 1.5GHz. The main advantage of this CPU is its low power consumption and heat generation. It has 1GB DDR3 memory (2x 512MB from Hynix) and 8GB of flash storage from Samsung. The Ethernet chip is the RTL6211F gigabit Ethernet from Realtek.
Armbian is a lightweight Debian system specifically compiled for ARM development boards (Ubuntu is derived from Debian).
Tutorial for installing Armbian on Rock Pi 4C (EMMC module): https://blog.zeruns.tech/archives/631.html
Tools Required
-
One WanKeYun
-
One computer and flashing software
-
A double-ended USB cable
-
A pair of metal tweezers for shorting (a metal wire can also be used)
-
One idle USB flash drive, or a card reader with storage card
Tool usage instructions: The double-ended USB cable is used to connect the computer and WanKeYun for flashing the Armbian system from the USB flash drive.
Flashing Software and System Preparation
-
USB Burning Tool
-
Putty
-
WKY-Armbian_20.12_5.9.0.img
-
update.img
-
BalenaEtcher
Tool usage instructions: USB Burning Tool is the software used for flashing by Amlogic; Putty is a connection software for Telnet, SSH, rlogin, pure TCP, and serial interface; update.img is an Android image used for flashing the base layer, allowing WanKeYun to boot from the USB flash drive; the second version firmware WKY-Armbian_20.12_5.9.0.img is the Armbian image suitable for WanKeYun.
Download the required tools from the following link: Baidu Cloud: https://url.zeruns.tech/RNbBL Extraction code: te7i
Disassembling the Mainboard
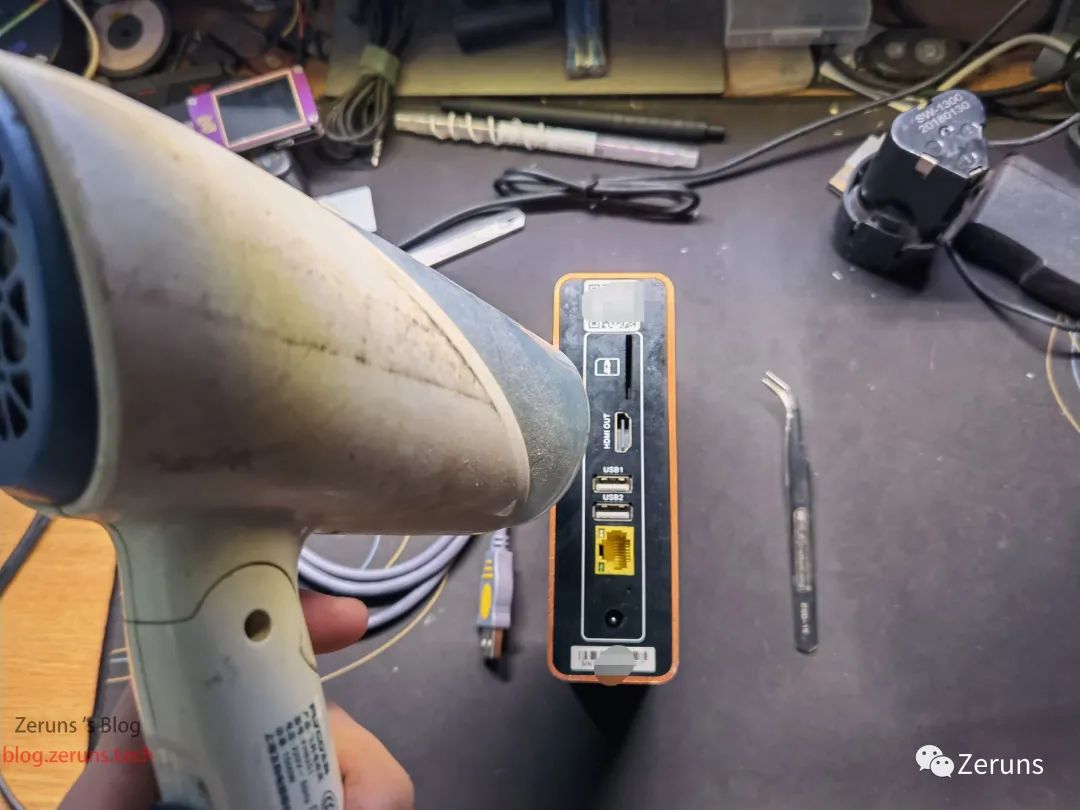
First, we need to remove the outer shell: use a hairdryer to heat the panel, allowing the adhesive inside to soften. After a few minutes, the panel can be removed smoothly.
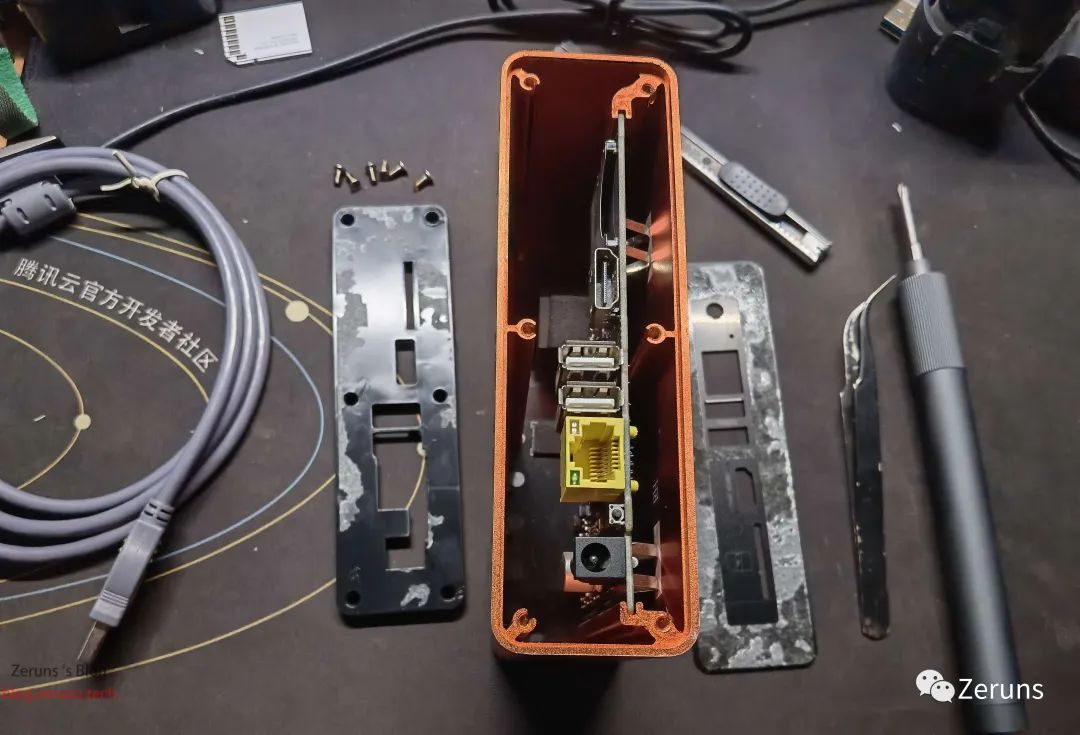
After removing the panel, unscrew the six exposed screws to open WanKeYun. Then you can pull the mainboard out of the box.
Flashing Process
Flashing the Android Base Package
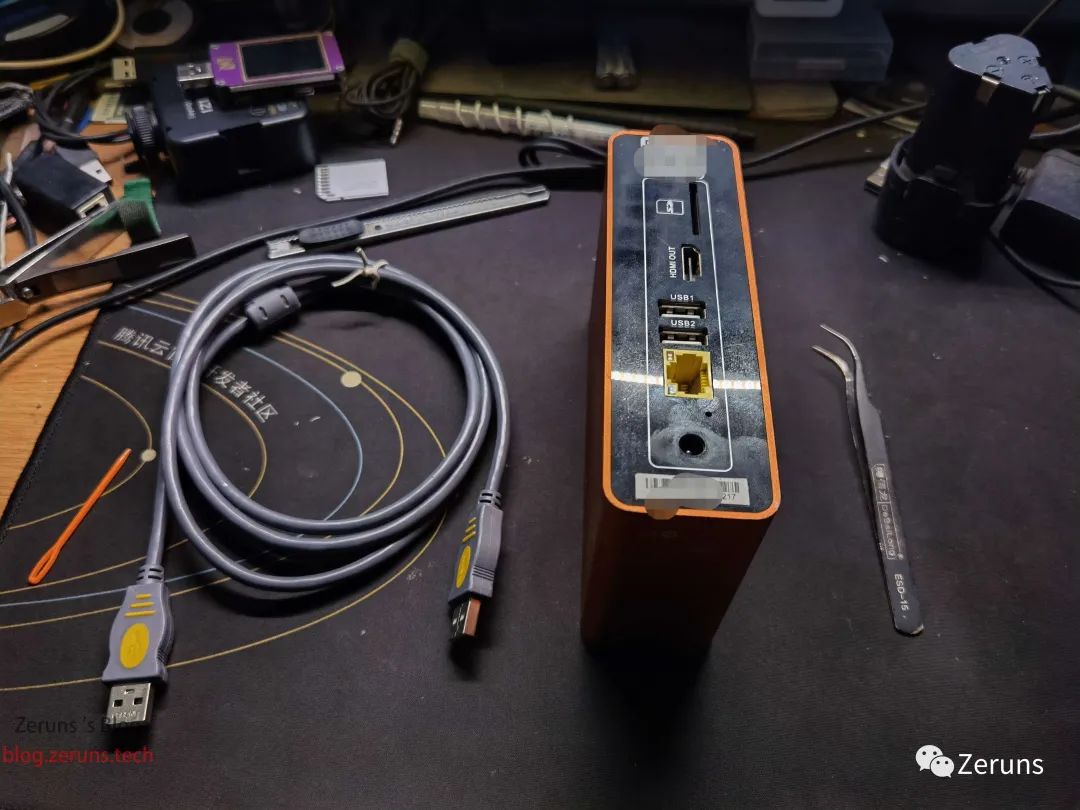
Connect one end of the USB cable to the USB port near the HDMI interface on WanKeYun, and the other end to the computer. For desktop computers, please connect to the USB port at the back, and do not power it on yet!
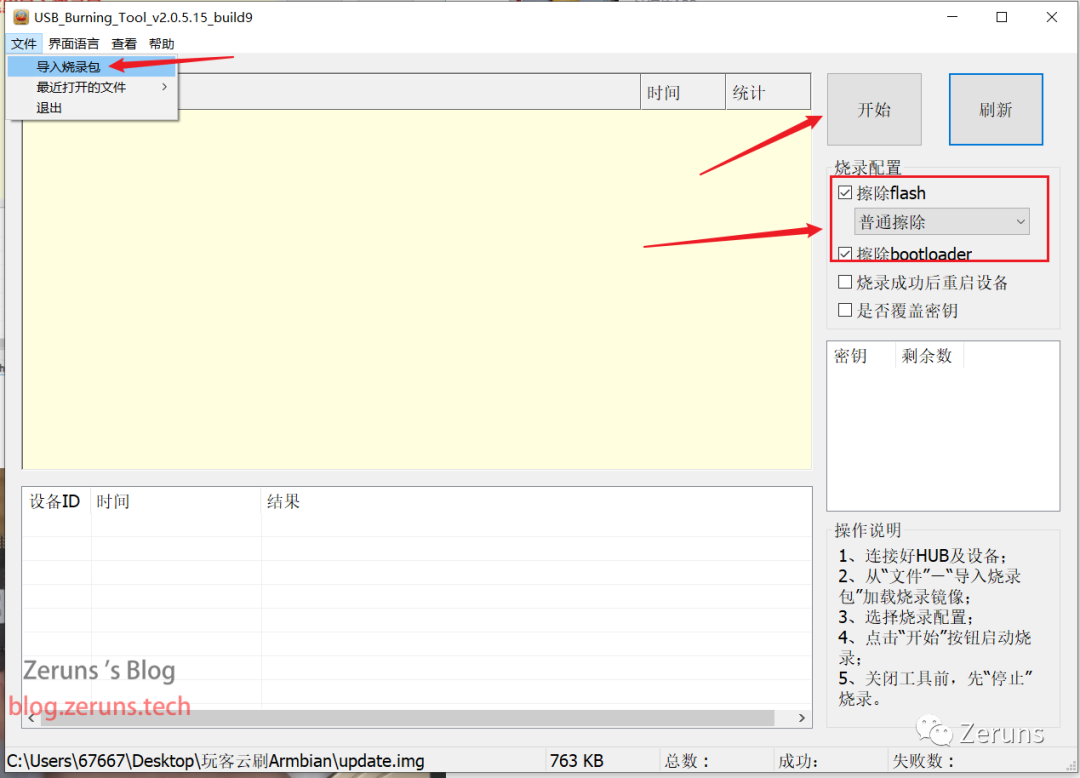
Install and open the USB Burning Tool, import the update.img image, check “Erase flash” and “Erase bootloader”, and click “Start”.
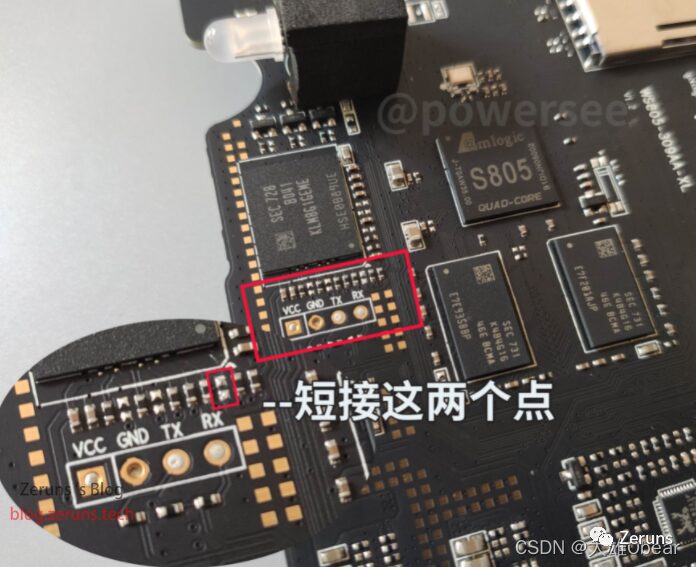
Then, while shorting the contact points, connect the power supply. WanKeYun has two versions; mine is the old version, and the shorting contact point position is different for the new version. I have included photos below for reference.

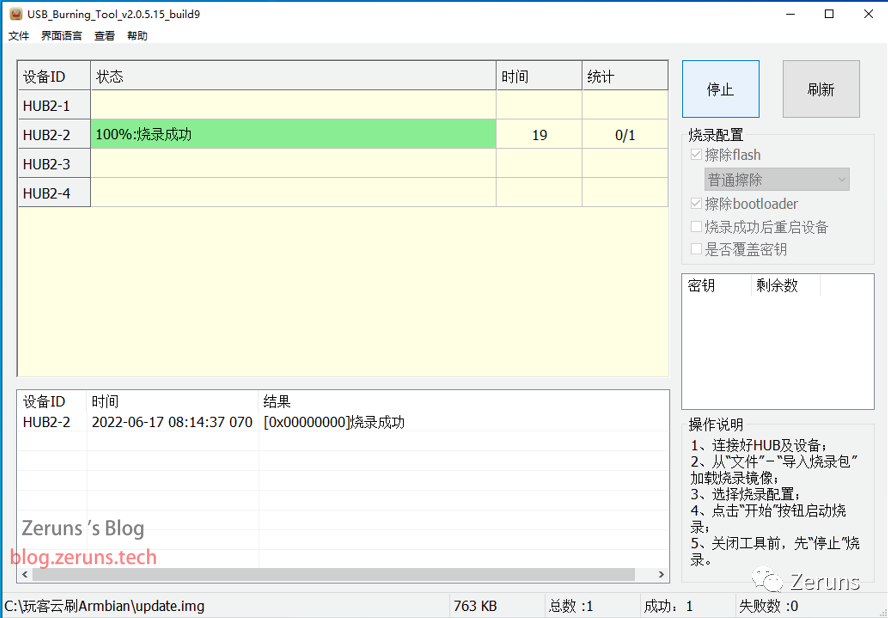
Back on the computer, you will see the burning software showing progress. Wait patiently for the burning to complete, then click “Stop” and close the software. At this point, the flashing of the Android base package is complete.
Writing Armbian to USB Drive
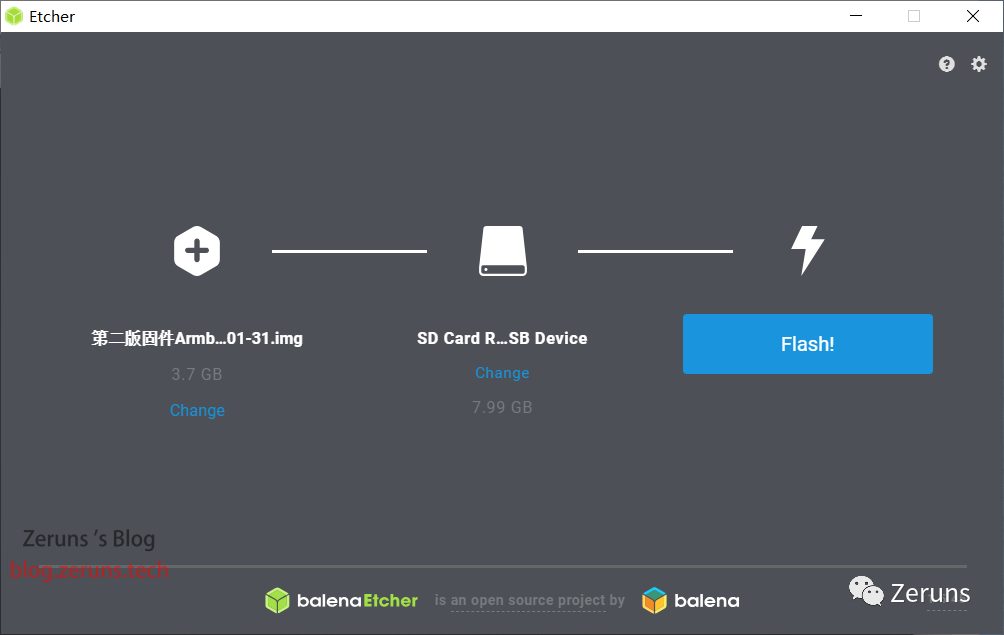
Open the BalenaEtcher tool, select the WKY-Armbian_20.12_5.9.0.img image, choose the USB drive as the writing device (make sure to confirm this), and click “Flash” to start writing.
Once the USB drive writing is complete, close the software and unplug the USB drive from the computer.
Writing the System to USB Drive
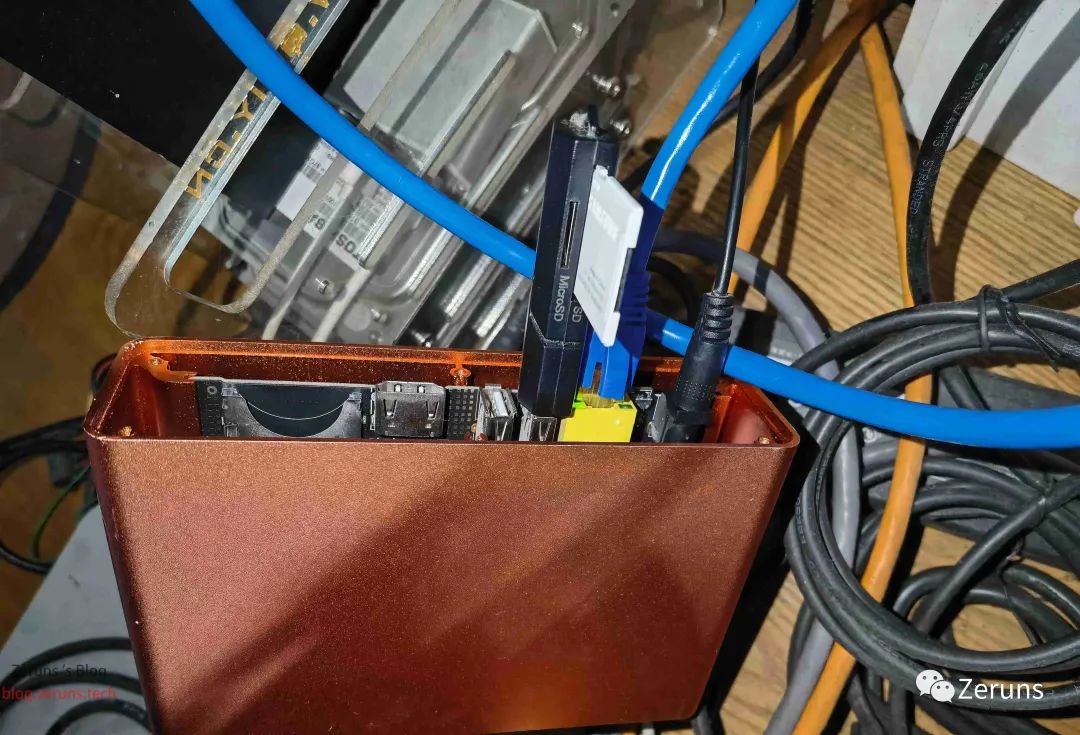
Unplug the USB cable and power, insert the USB drive with Armbian written into the USB port near the Ethernet port, and plug in the network cable.
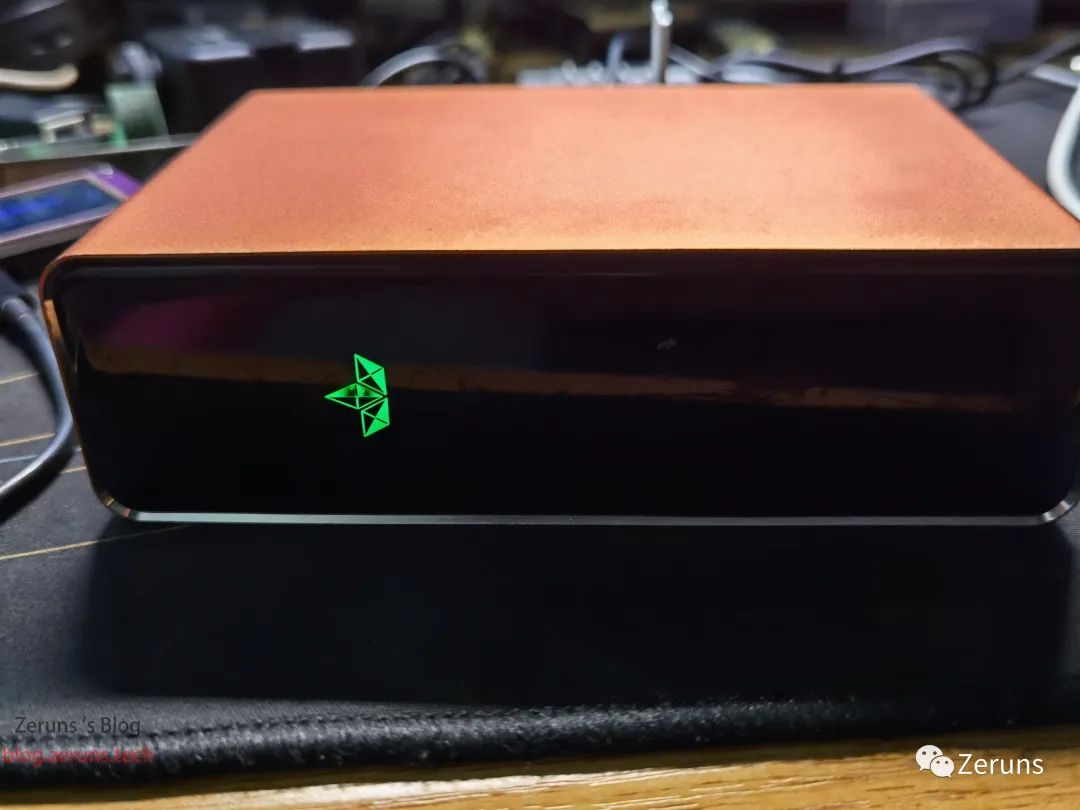
Then connect the power supply, and the front indicator light should be green.
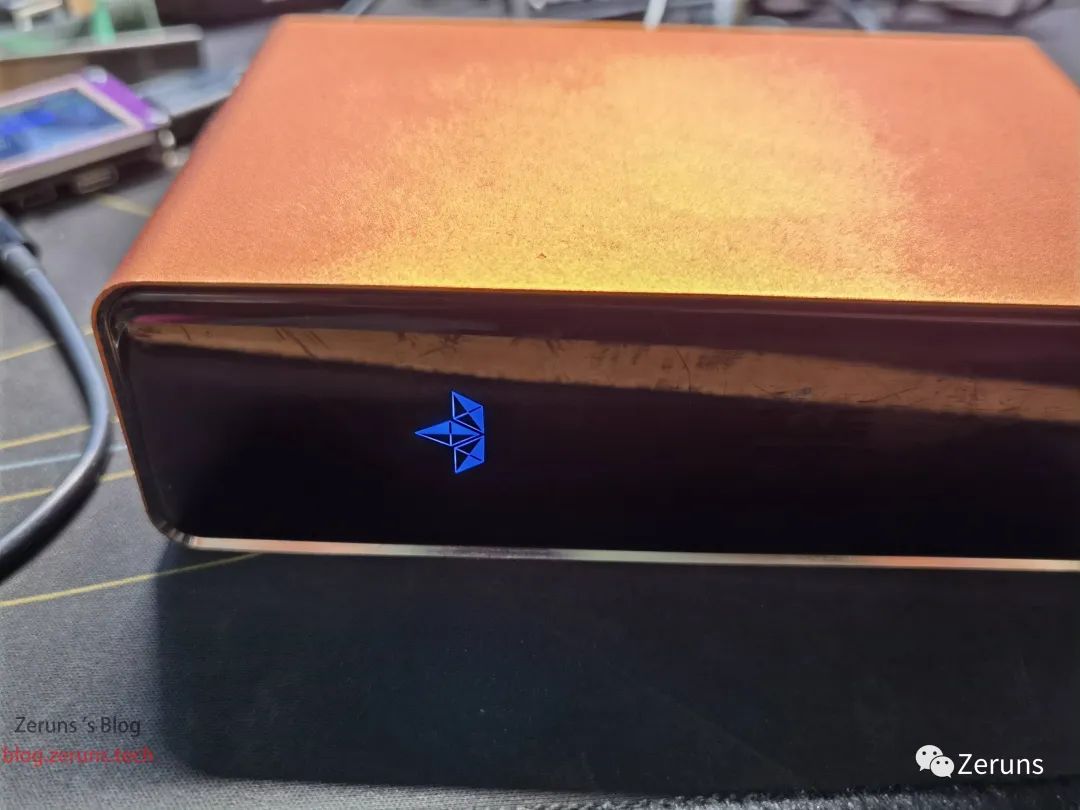
After a while, the indicator light will turn blue.
Enter the router and check the newly added device.
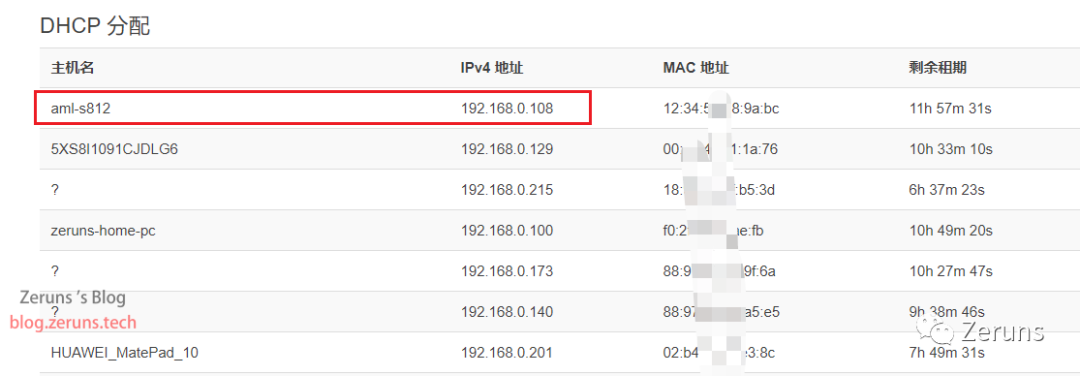
A new device should appear in the router’s device list, possibly named: aml, aml s812, etc., with an IP address of: 192.168.0.108.
Open Putty (or other tools) and enter the connection IP address. The default password is: 1234. The first login will require you to change the password (it must include uppercase letters, lowercase letters, numbers, and symbols).
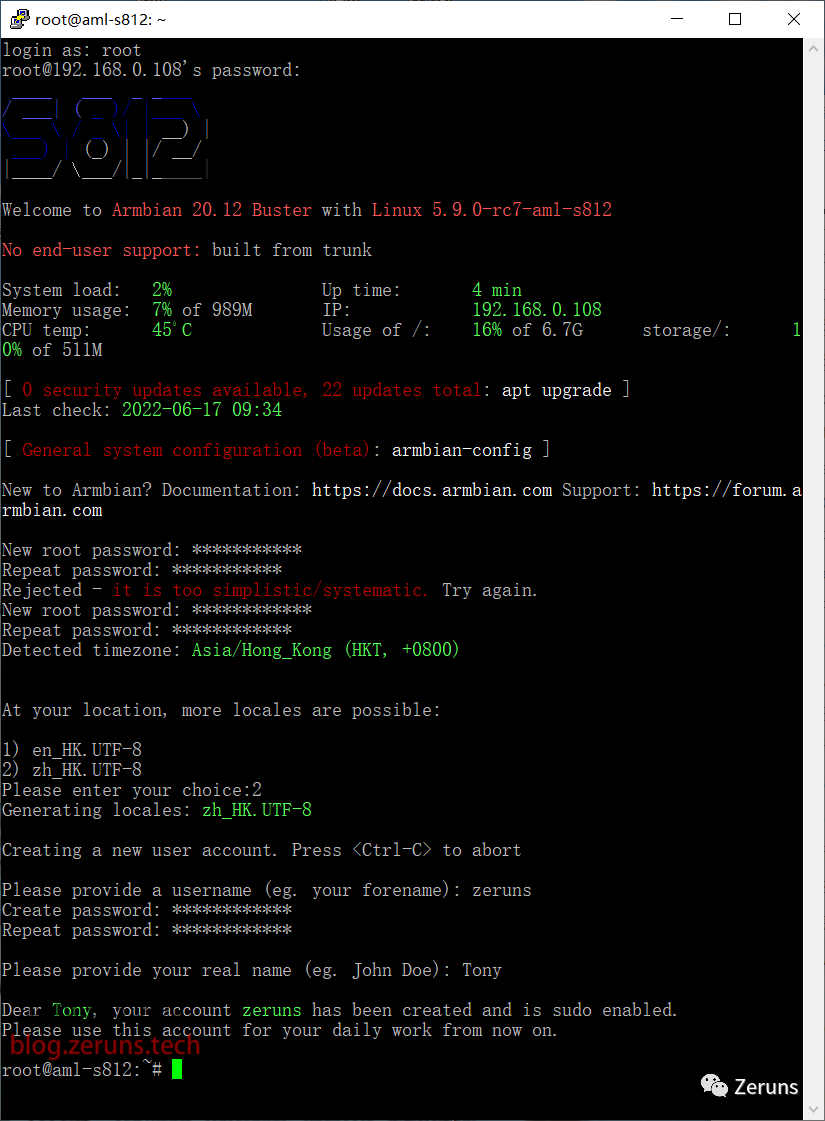
From the welcome message, you can see that the Linux version is 5.9.0-rc7-aml-s812, indicating that the system version we just flashed is Armbian 5.9.0.
Currently, the system is booting from the USB drive; if you remove the USB drive, it will not boot. Next, we need to write the system to EMMC.
In the SSH command panel, enter the following command:
cd /boot/install
./install.sh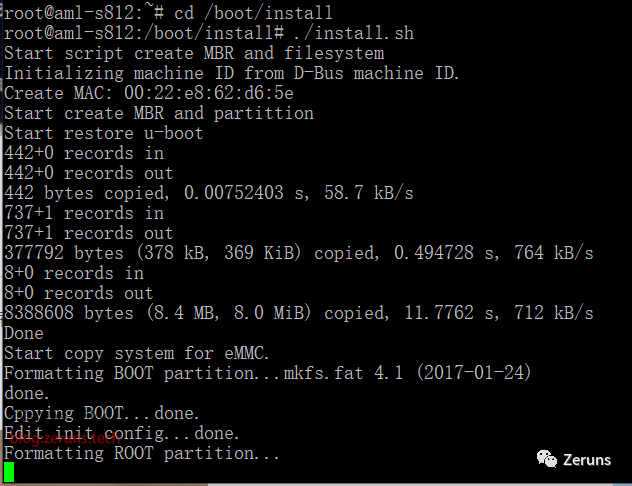
During the system writing process, the light will flash blue/purple, indicating that it is writing to EMMC.

Wait for the process to complete. At this point, the installation of Armbian 5.9.0 on WanKeYun has been successfully completed.
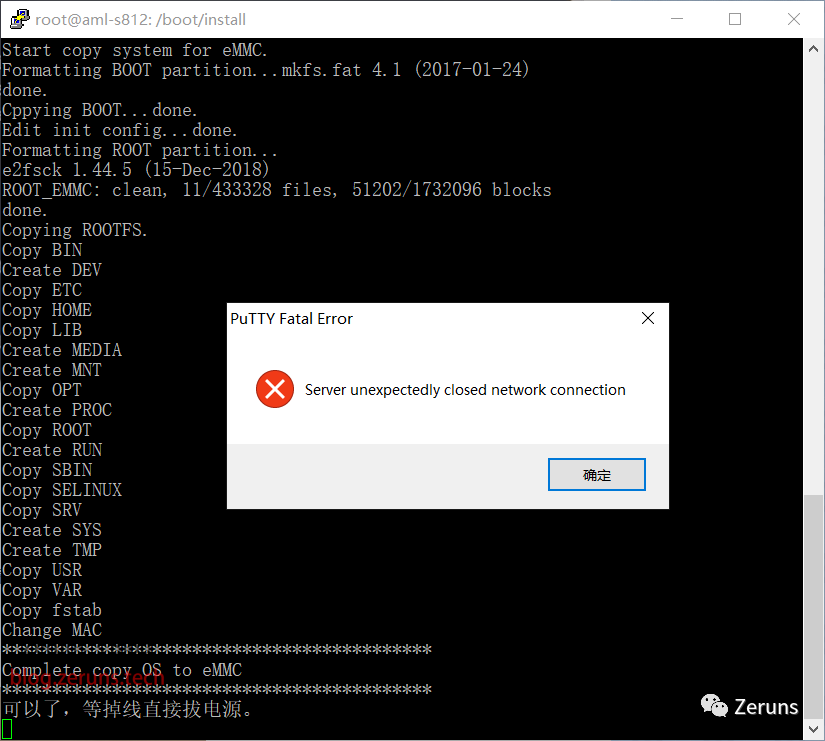
Next, you can unplug the USB drive and power supply, then reconnect the power and wait for it to start.
Once started, you can log in with the password you just set.
Recommended Articles
-
Recommended High-Performance and Affordable VPS/Cloud Servers:https://blog.zeruns.tech/archives/383.html
-
Tutorial for Mounting USB Drives or Hard Drives in Linux (View, Partition, Format, Mount):https://blog.zeruns.tech/archives/629.html
-
How to Set Up a SweetSugar Service for Earning Money: https://blog.zeruns.tech/archives/628.html
-
How to Set Up a Personal Blog: https://blog.zeruns.tech/archives/218.html
-
How to Start a Minecraft Server: https://blog.zeruns.tech/tag/mc/