Hello everyone, I am Xu Huakai from the Maker Club at Zhengzhou Road Primary School. This week, Wang Zhengbo and I made a transport robot.
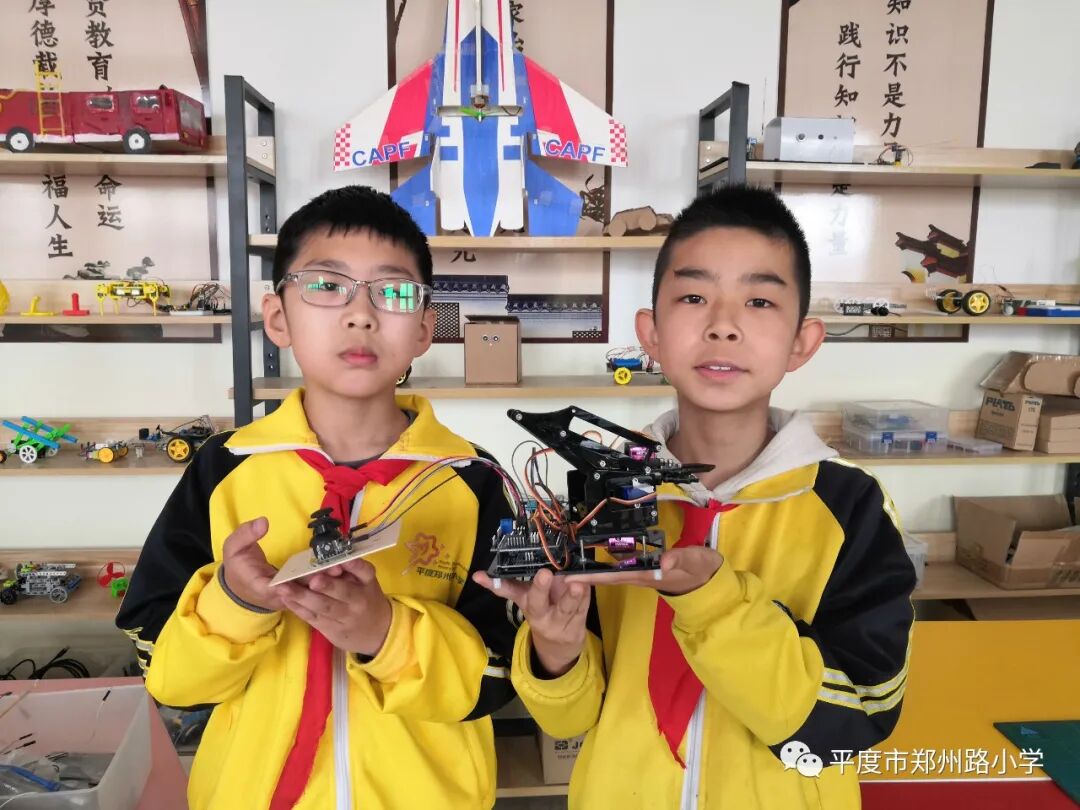
A few days ago, my dad asked me, “The workers on the construction site are very tired, can we make a robot to move bricks?” I thought, as a little maker, I can create anything I want, so I confidently replied, “It should be possible to make it.” So I went back to school and asked Teacher Xu how to do it. Teacher Xu said we could use a Mearm robotic arm combined with Arduino to create it, and I was very excited. Immediately, Wang Zhengbo and I started the “R&D” work, and after about a week, we finally developed a robot that can “move bricks”! Do you want to know how the transport robot is made? Let me introduce it to you!
Step 1: Prepare the Materials
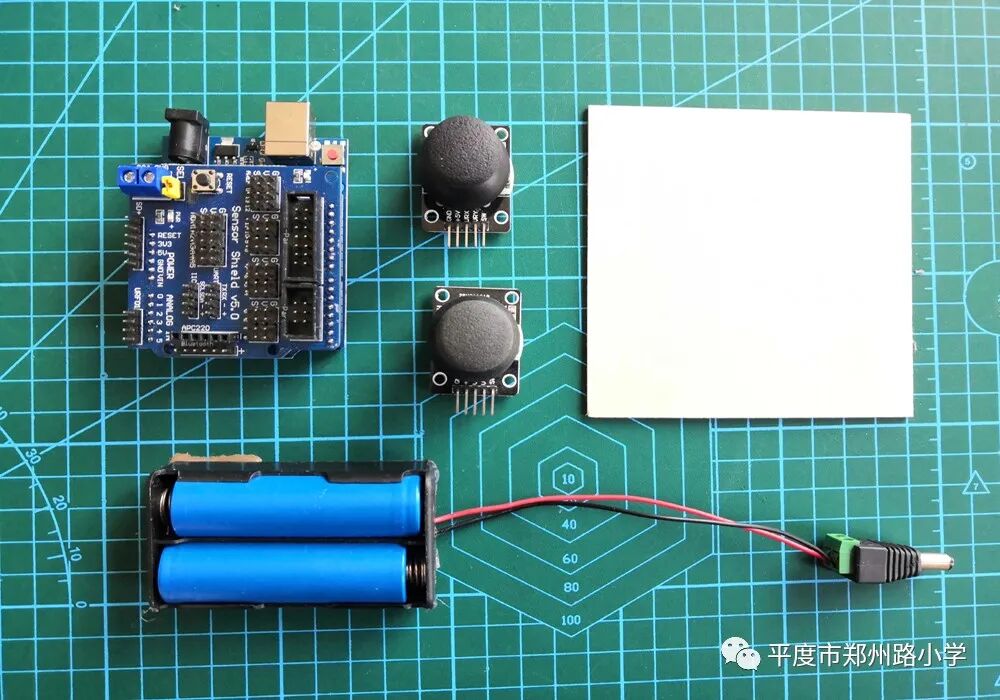
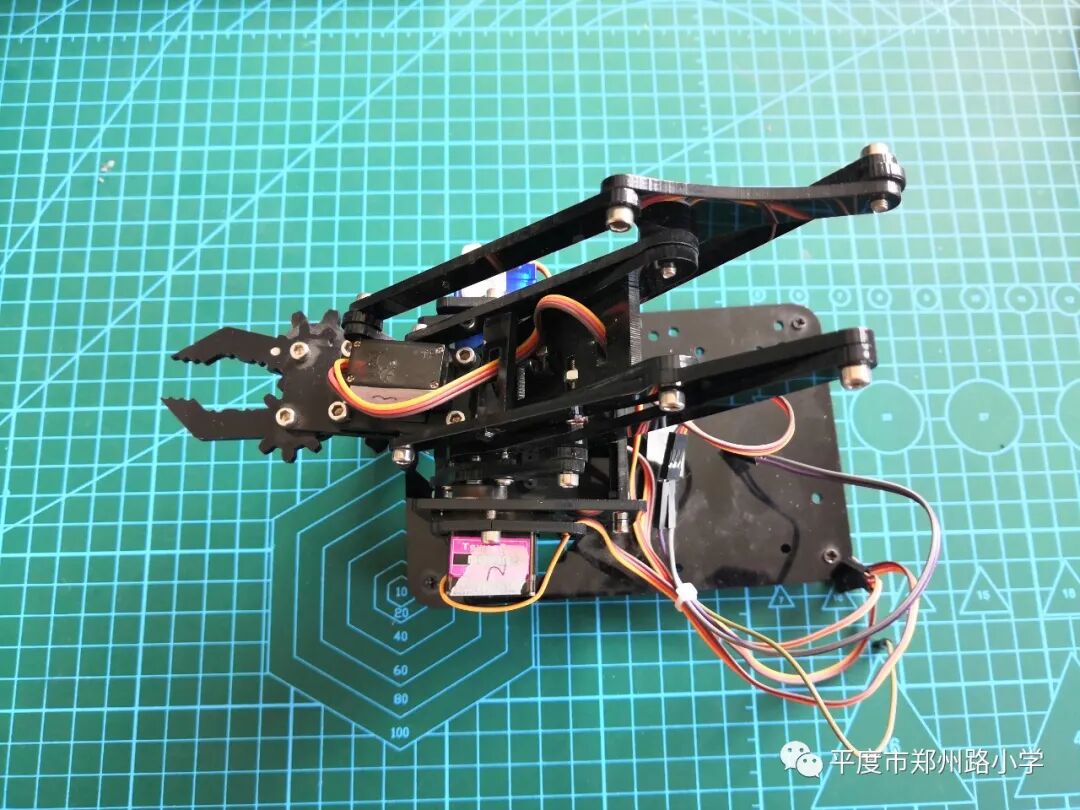
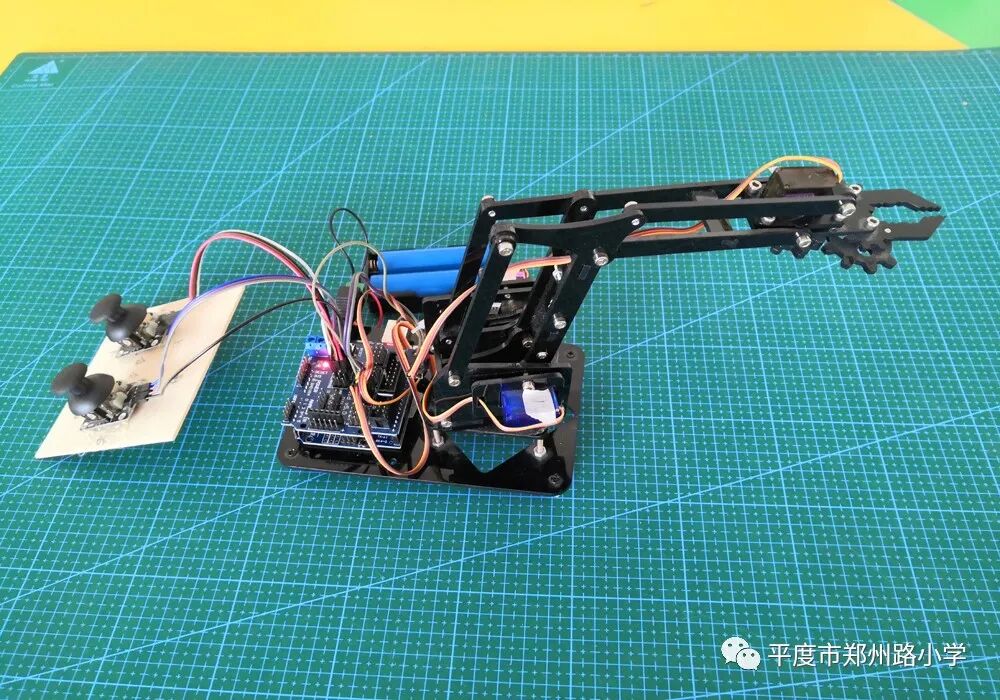
Prepare 1 Arduino Uno main control board, a Mearm robotic arm, an expansion board, 4 servo modules, 2 joystick modules, a battery, and a small piece of wood.
Step 2: Assembly
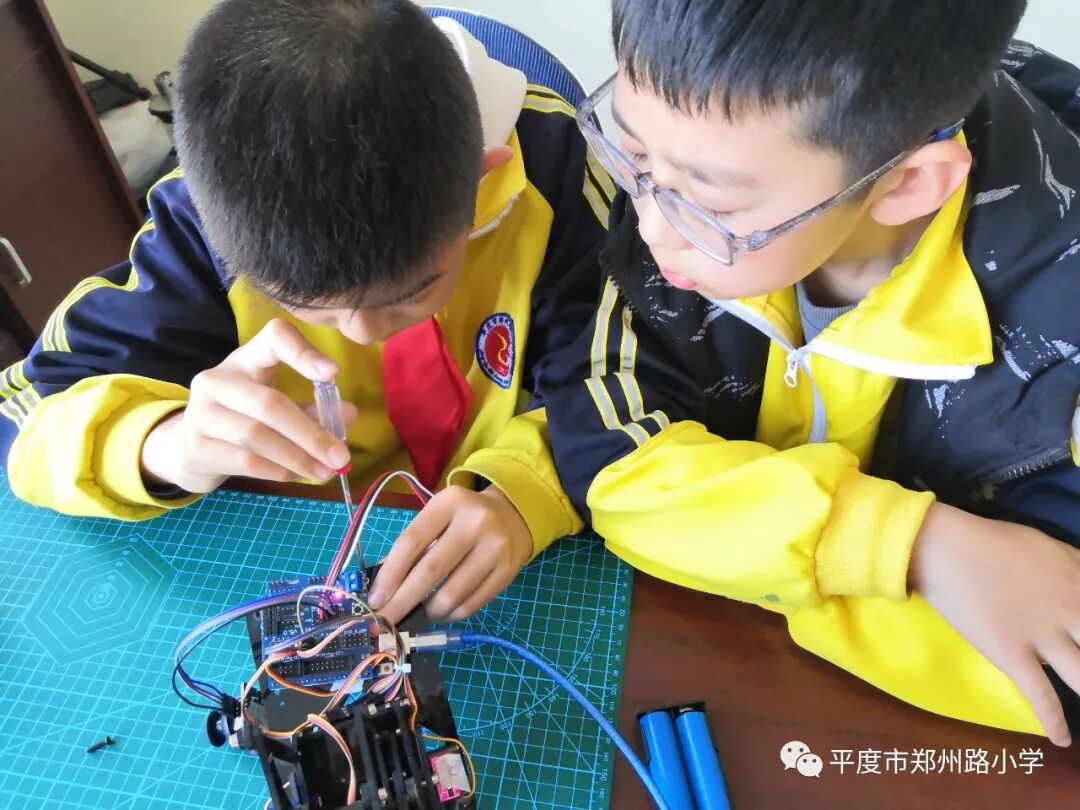
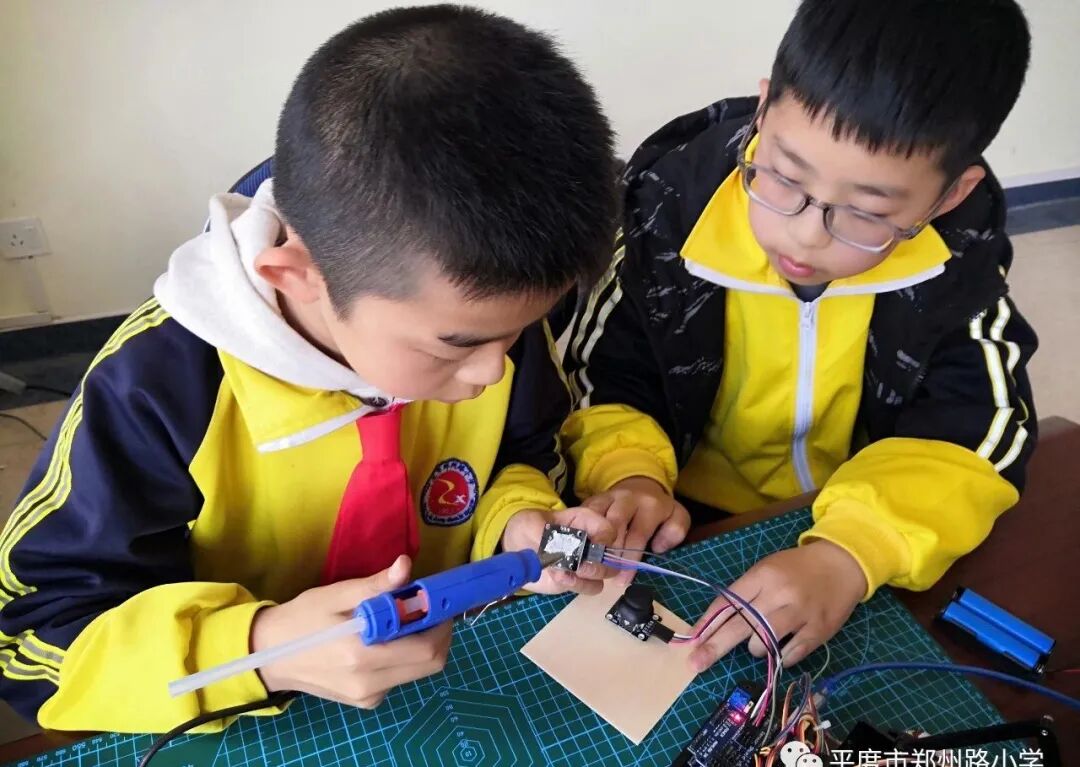
First, plug the DuPont wires from each module into the expansion board, then use hot glue to attach the joystick module to the wooden board, and finally use screws to secure the main control board to the robotic arm so that it won’t slip off. This way, a stylish robotic arm is completed. (Friendly reminder: Be careful when using hot glue to avoid burns.)

Step 3: Write the Program
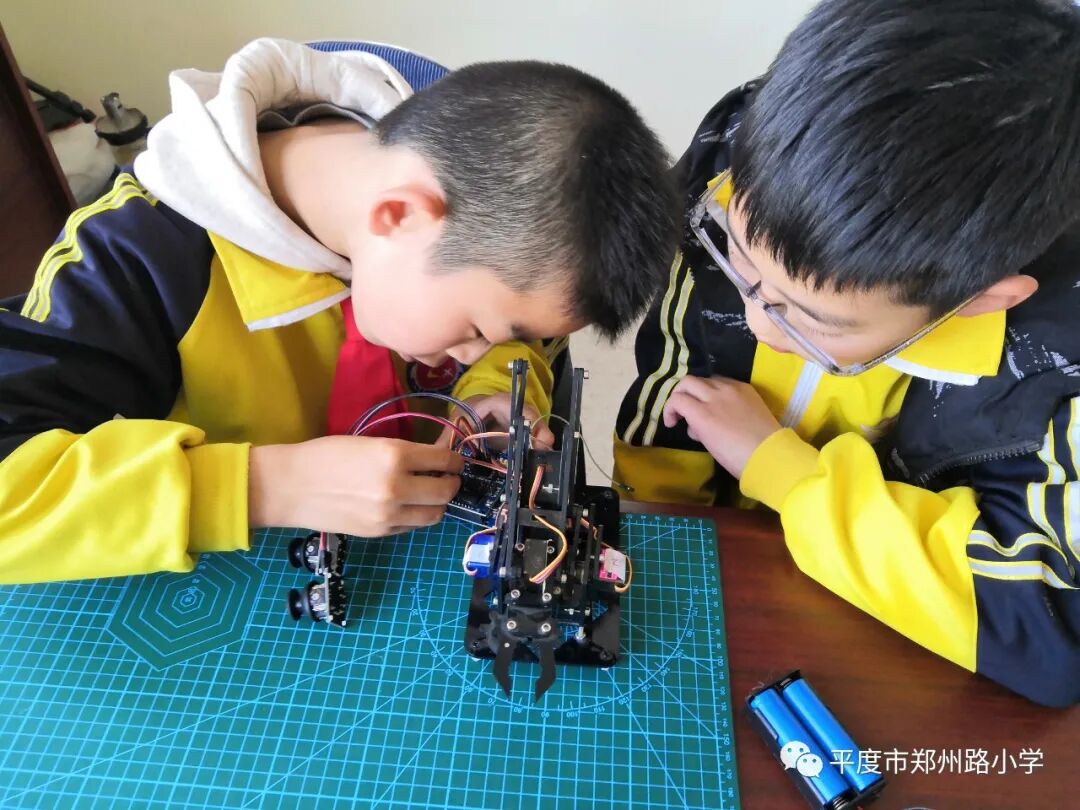
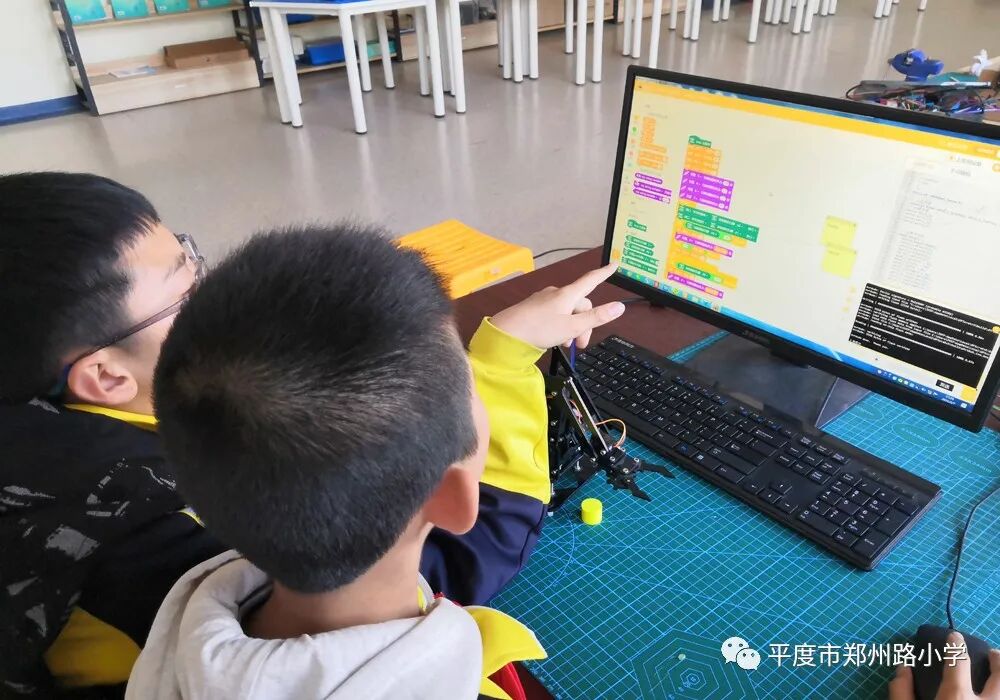
We used Mind+ software to program the robotic arm. Our idea is that the main control board reads the values from different joystick modules, analyzes them, and then sends appropriate commands to the servos, which start moving to operate the robotic arm.
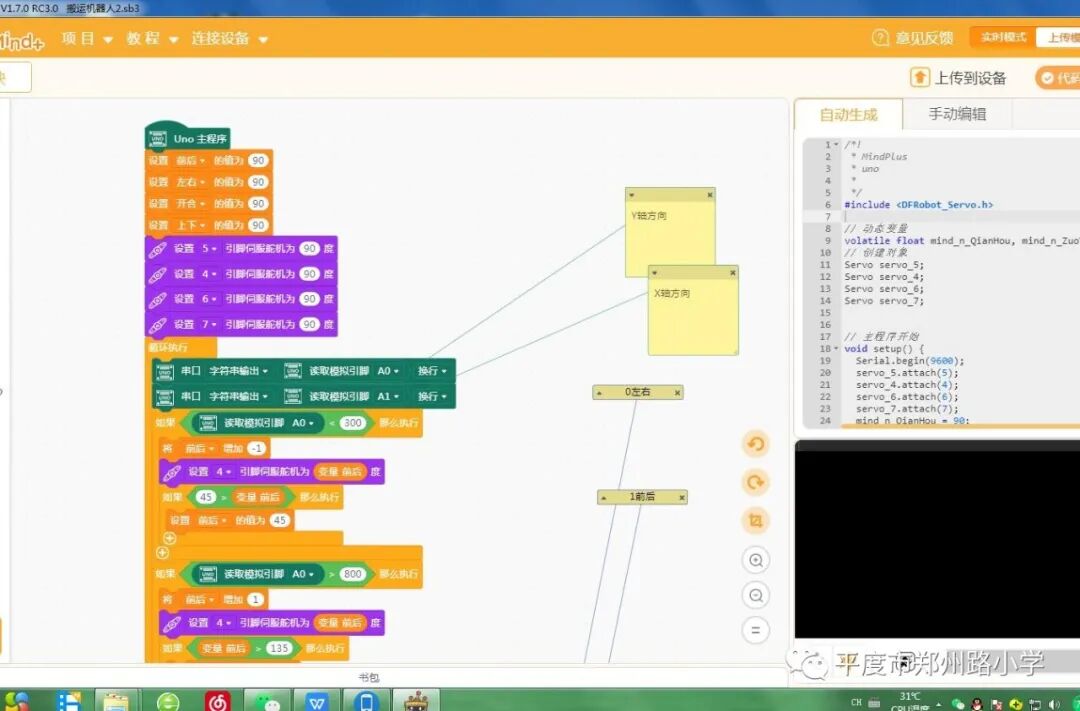
Step 4: Final Testing
Connect the data cable to the main control board and to the computer, upload the program, and select the appropriate pins for testing. During the testing process, we encountered many difficulties, but we persevered through exploration and debugging, ultimately achieving the goal of having the robotic arm transport items under our remote control.
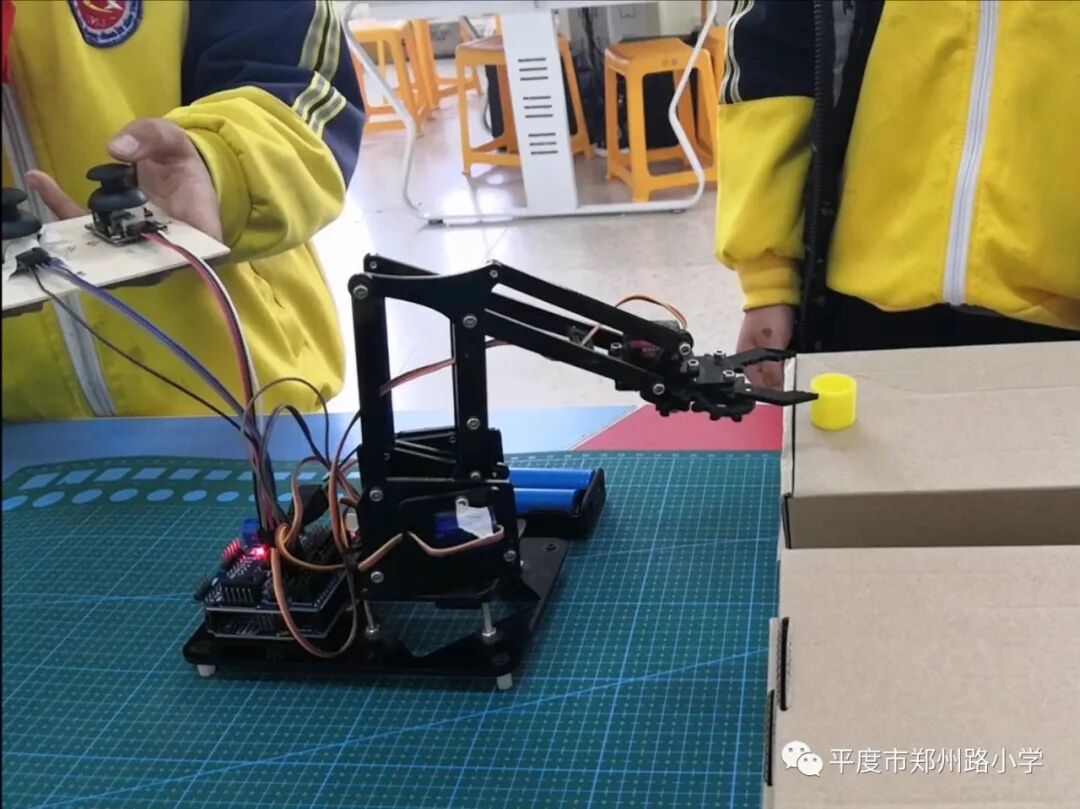
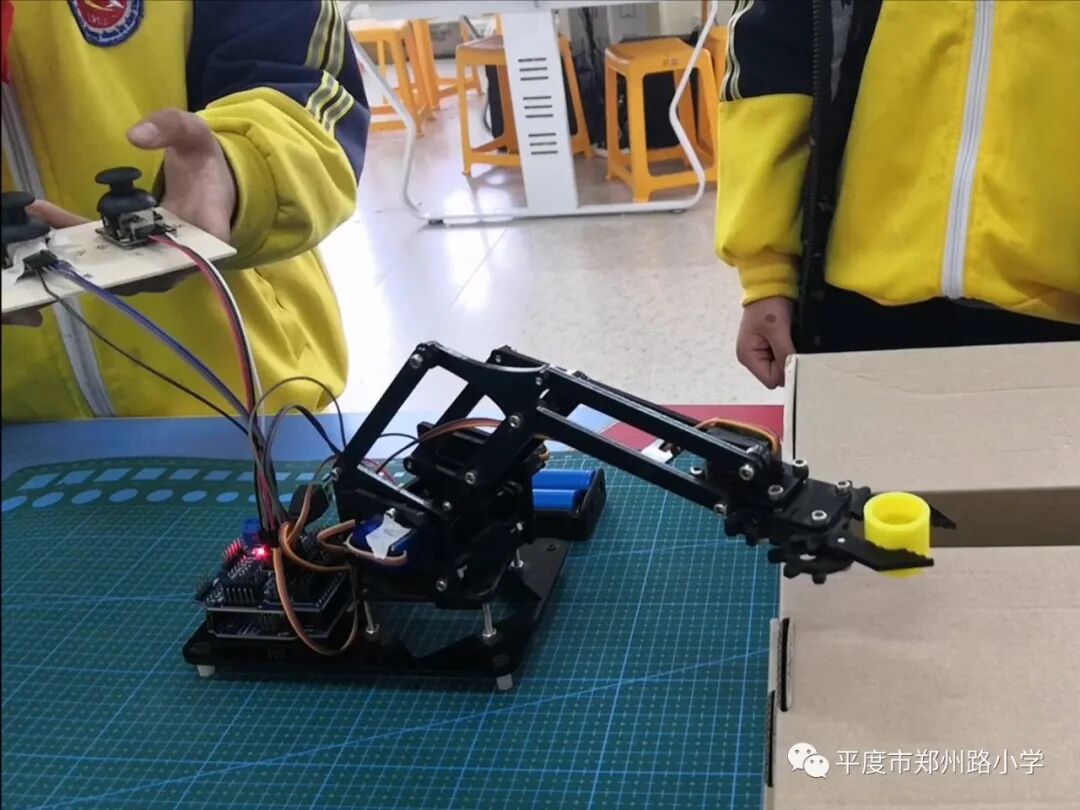 During the process of making the robotic arm, we encountered many difficulties, but they could not withstand the hard work and research of Wang Zhengbo and me. Our ideas kept snowballing, and in the end, we turned our ideas into reality, which gave us a great sense of accomplishment. Through making the transport robot, I learned that there is nothing difficult in the world as long as one is willing to climb.
Submitted by: Xu Huakai, Grade 5, Class 3, Zhengzhou Road Primary School
Guiding Teacher: Xu Xiaotong
Reviewed by: Song Shujie