

In winter,
getting out of bed requires courage.
And before going out, you reach out the window
to check if it is windy today
and how much you need to wear to resist the cold wind.

Today, I want to show you something high-end,
using Arduino to build a weather station.
(Don’t think Arduino can only do trivial things.)

It can measure temperature, humidity, and atmospheric pressure,
rainfall, and ultraviolet index.
It calculates important meteorological index values.

Before setting up the weather station,
everyone needs to understand
Weathercloud.
Science Popularization
Weathercloud
Weathercloud is a large network of weather stations that reports data in real-time from around the world. It is free, and there are over 10,000 weather stations connected to Weathercloud.


To establish a weather station, we need to have our own HTML website to upload and send all data. However, creating our own website and graphics can be very difficult; meanwhile, sending all data to Weathercloud is much easier. You can log in to https://weathercloud.net/ to learn how to use this platform easily.

After creating a Weathercloud account, you also need to create a station profile on the website. When creating a weather station profile on Weathercloud, you will receive a Weathercloud ID and Weathercloud KEY. After measurement, the data obtained on the Arduino will be uploaded to Weathercloud.
Materials and Tools


Sensors
DS18B20 Temperature Sensor
DHT21 Humidity Sensor
MS5611 Pressure Sensor
UVM-30A Ultraviolet Sensor
Rain Gauge
Server
Arduino W5100 Module
Arduino Nano
Arduino Expansion Board
Step-Down Converter
DS3231 RTC Module
Plastic Box
WEATHERCAM Camera
1080p Wi-Fi Module Camera
A transparent box
Others
3 x 15cm Stainless Steel Rods
6 M6 Nuts
15 x 25mm Nylon Washers
6 Boards (recommended diameter 16cm)
Wall Mount Bracket
IP65 Junction Box
At least 10 meters long 10-core data cable
At least 10 meters long 4-core cable
Many short wires

Wire Stripper Battery Drill
Soldering Iron Pliers
Screwdriver Glue Gun
Multimeter Saw Drill Bits
Everything is ready,
let’s take a look at how to build the weather station.
The steps are a bit many,
and some are complex,
please be patient.

Manufacturing Steps
Step 1: Make the DS18B20 Solar Radiation Shield
The solar radiation shield is used in the weather station to block direct solar radiation, reducing temperature measurement errors.

It can also serve as a support for the temperature sensor. The radiation shield is very useful, but it is usually made of steel and is expensive, so we decided to make one ourselves.
Video Tutorial for Making the Shield
Step 2: Make the Junction Box
The junction box is an important part of the weather station. The main 14-core cable connects it to the server box, and the DS18B20 cable connects to the junction box, as well as cables from the ultraviolet box, and it also carries humidity and pressure sensors.

Step 3: Make the Ultraviolet Sensor Box
The UV sensor box contains the UVM-30A ultraviolet sensor; it is also the intermediate point between the main junction box and the rain gauge. The UV sensor box can be any plastic IP65 box.


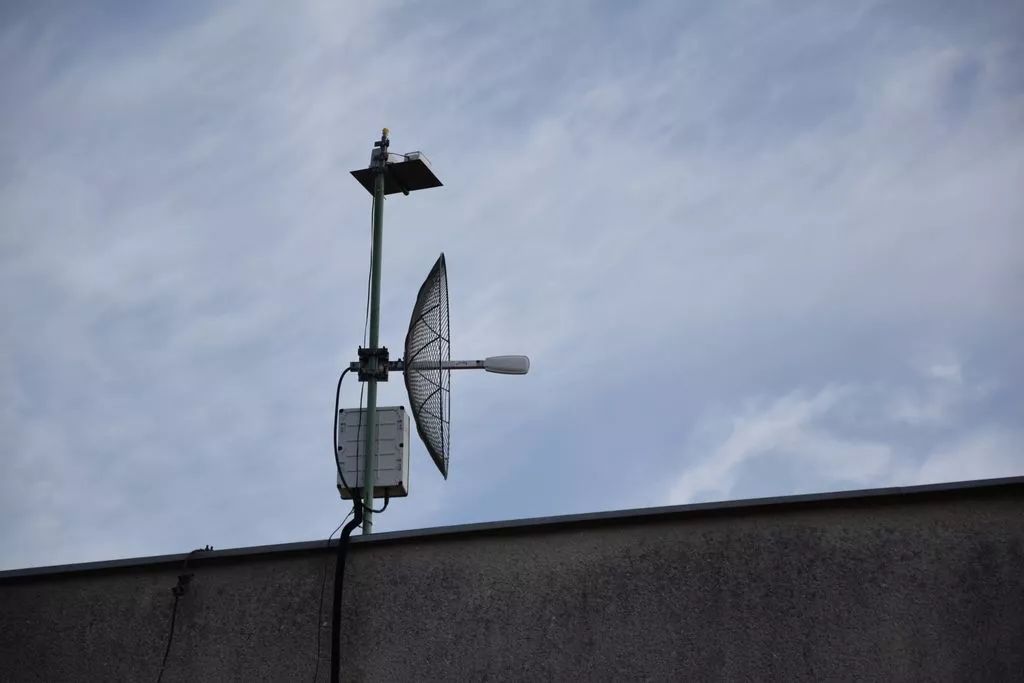
Step 4: Install the Weathercam
The weather network camera (wind vane) is used to record or stream images of the actual weather conditions. From the images, light intensity and cloud cover can be determined, allowing the computer to continuously run streaming software. Place the camera in a weatherproof box; you can use the same box as the UV sensor. Additionally, the camera’s battery needs to be continuously charged. This can be done by disconnecting the USB cable and connecting the + and – wires to the 5V power output of the sensor.

Next, you need to connect the IP camera to your home Wi-Fi network and then change the username and password in the script according to the username and password on the camera interface, and change the camera’s IP address in the script. Then set up a task scheduler to run the script on the computer every 5 minutes or so. The script is set to take a picture every 5 minutes and save the file to a preset folder. The folder must be public, then Weathercloud can fetch this image from the public folder and display it on the webpage, similar to a live broadcast.

Step 5: Make the Ultraviolet Sensor Box
The top sensor bracket is a steel component that secures the top sensor to the roof.

Step 6: Connect the Arduino W5100 Module to the Expansion Board
The Arduino W5100 module has an Ethernet port on top, which cannot connect to the Arduino expansion board. Cut a rectangular hole in the expansion board to allow the Arduino W5100 module to connect to it.


Step 7: Rainfall Measurement Board
The rain gauge I ordered has no communication interface, only a simple switch that activates for 60 microseconds whenever it rains more than 0.28 mm/m2. Besides measuring rainfall, when it has other tasks to do (like measuring temperature and sending to the cloud), the Arduino processor is likely to cause inaccurate readings when it activates the rain gauge. So we add an Arduino Nano here, whose sole task is to measure rainfall and send it to the main Arduino board, ensuring accurate rainfall readings.

Step 8: Install the Server Box
Hide all electronic devices in a compact box. The box includes Arduino UNO, Arduino W5100 module, Arduino expansion board, 5V voltage regulator, main data cable terminal, and rainfall measurement board.

Step 9: Connect All Parts
Connect all parts according to the schematic diagram.

Step 10: Test the Code
This is the final part, which is to test if the weather station is effective. You need to change the IP address, Weathercloud ID, and Weathercloud KEY according to your home network and Weathercloud account. Then you can upload it to Arduino. You also need to upload the I2C rain sender code to the Arduino Nano.

Step 11: Installation
Getting the weather station to work indoors is one thing, but getting it to work under complex and variable weather conditions is another.

The temperature and humidity sensors can be placed anywhere in the building, but the ultraviolet sensor and rain gauge must be located on the roof. The ultraviolet sensor cannot be in the shade, and the rain gauge cannot be near a wall; otherwise, during strong convective weather, raindrops may not fall into the instrument, and the readings will be inaccurate.


At this point,
your own weather station
is completed!
Every day when you wake up,
and take out your phone,
you can instantly understand the entire weather situation:
what temperature, humidity, atmospheric pressure,
rainfall, ultraviolet index, and so on,
much better than just reporting temperature and windy or rainy weather.


Stone Axe Maker

Stone Axe (Handaxe)
may be the earliest tool made by humans.
From stone tools to 3D printing,
let’s create something joyfully like our ancestors.