Hello everyone, long time no see! I’ve been quite busy lately, so I haven’t updated content for a while. This issue addresses a recent demand our team encountered, which I believe many of you may also need, so I’m sharing it with everyone.
The full text is 846 words long, with an estimated reading time of 2 minutes.
Introduction
As a graduate student in the life sciences, Nanodrop is almost a standard tool in the laboratory (even if your team doesn’t have one, there are certainly other teams around that do). Whether measuring nucleic acids, proteins, or other molecular concentrations, it can meet daily needs with extremely high efficiency and accuracy.
From my observation, most people record concentrations directly on the tube, which is perfectly fine when there are only a few samples. However, when faced with dozens or even hundreds of samples, timely recording of concentration data and quickly organizing dilution information becomes particularly important.
By using Nanodrop’s email sending feature, you can directly batch export measurement data, avoiding the hassle and errors of manual recording, making dilution calculations more efficient and accurate.
Specific usage scenarios include:
-
After measuring the concentrations of a large number of samples, experiment data can be directly exported as a CSV file via email, allowing for quick verification and calculation. -
Before diluting samples, there is no need to repeatedly check the instrument screen or transcribe data; you can handle it directly on the computer, simplifying the workflow and saving valuable time.
In this issue, we will guide you step by step to achieve this functionality.
Preparation
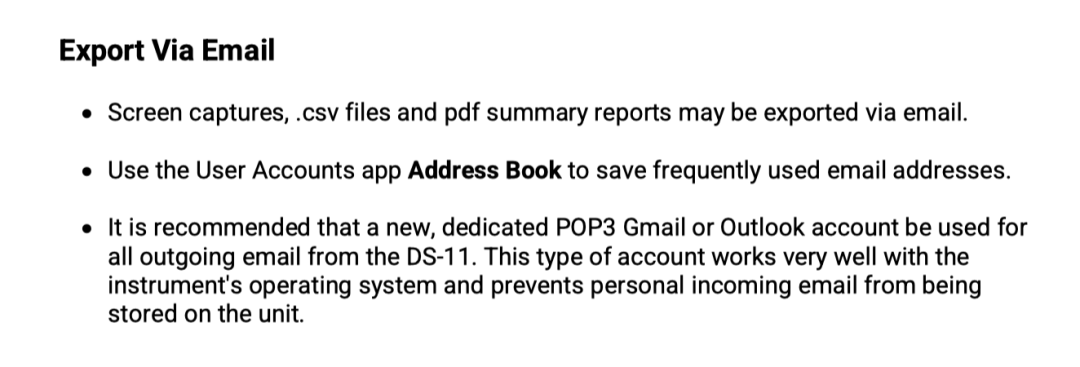
First, we need to find the corresponding manual based on the product model; for our team, it is the DeNovix DS-11.

According to the manual, we need to prepare:
-
A separate email account that supports POP3 (such as Gmail or 163); -
Ensure that Nanodrop is connected to the internet.
Configuration
1 Email Preparation
This article uses 163 email as an example (our team had been using QQ email, but recently QQ email’s encryption method changed, causing it to fail). We first go to POP3/SMTP/IMAP and follow the instructions to enable POP3/SMTP service, after which we will obtain an authorization password.
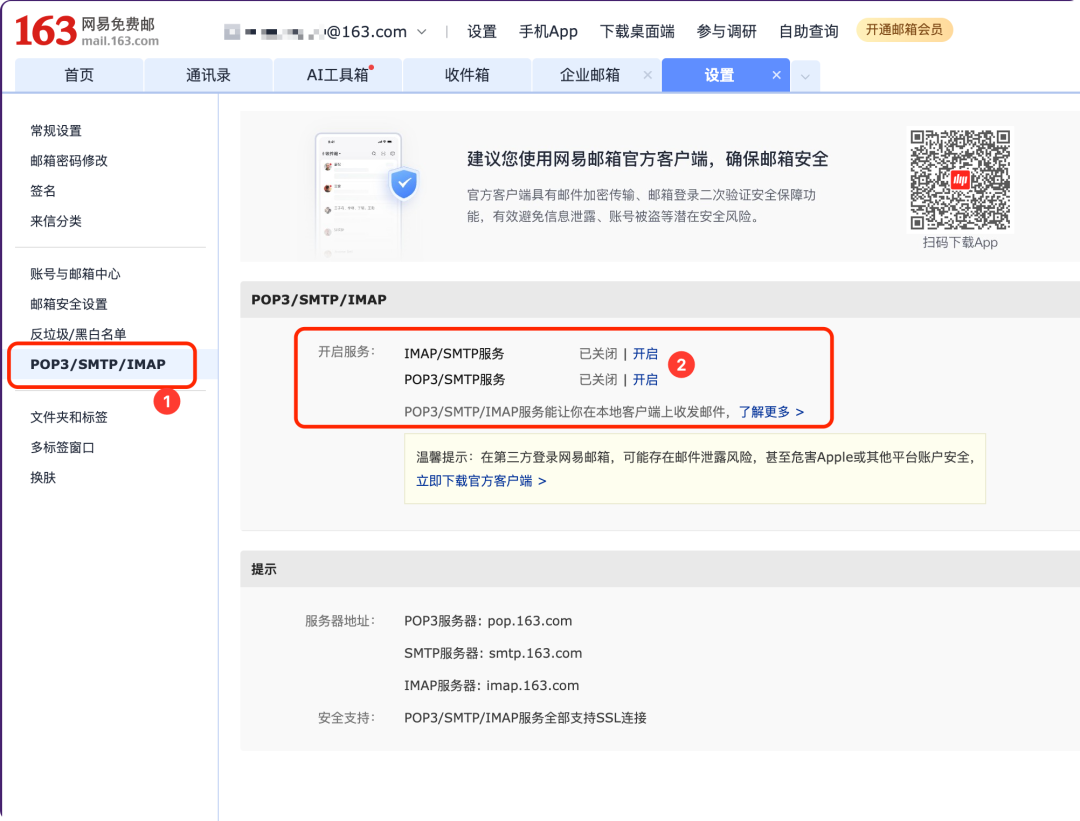
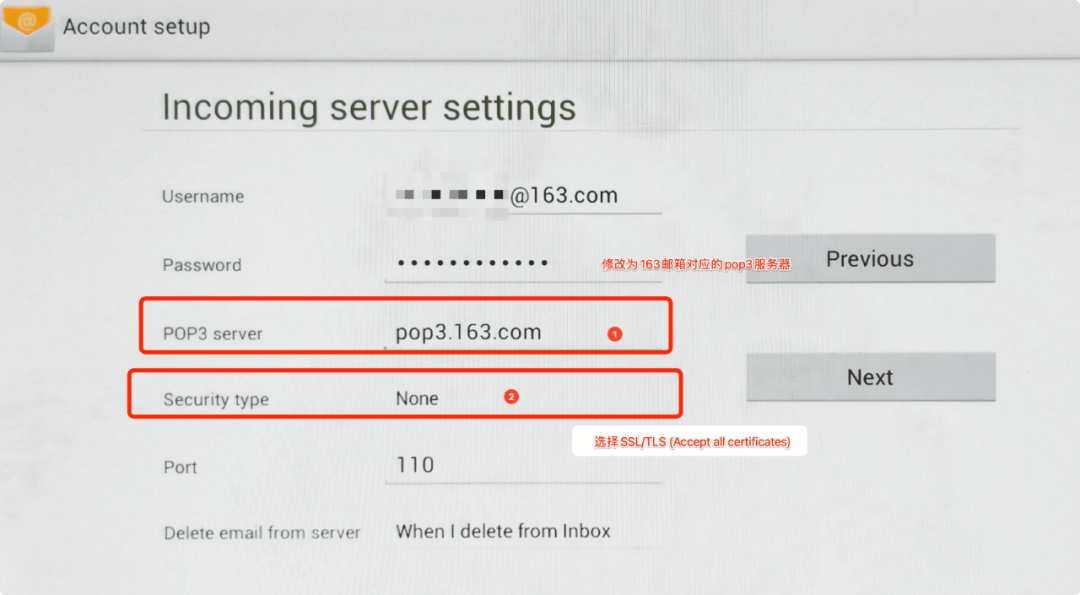
Additionally, it is important to note the POP3 server: pop.163.com below.
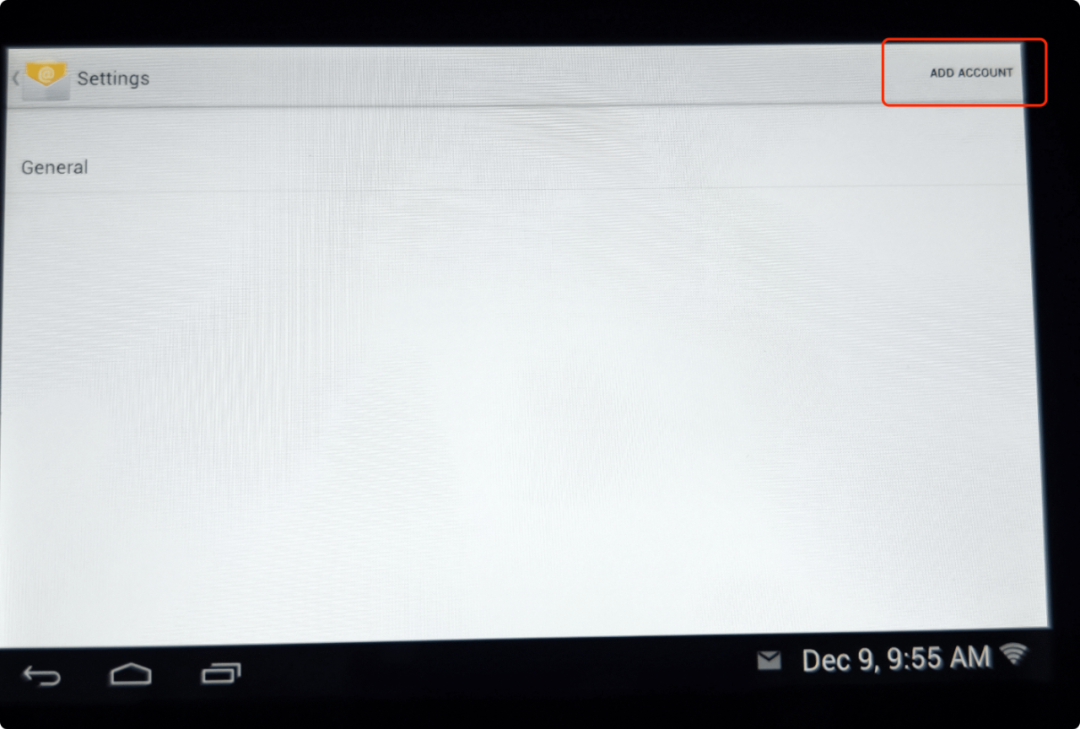
2 Nanodrop Email Login
Open Nanodrop’s Email → ADD ACCOUNT in order.
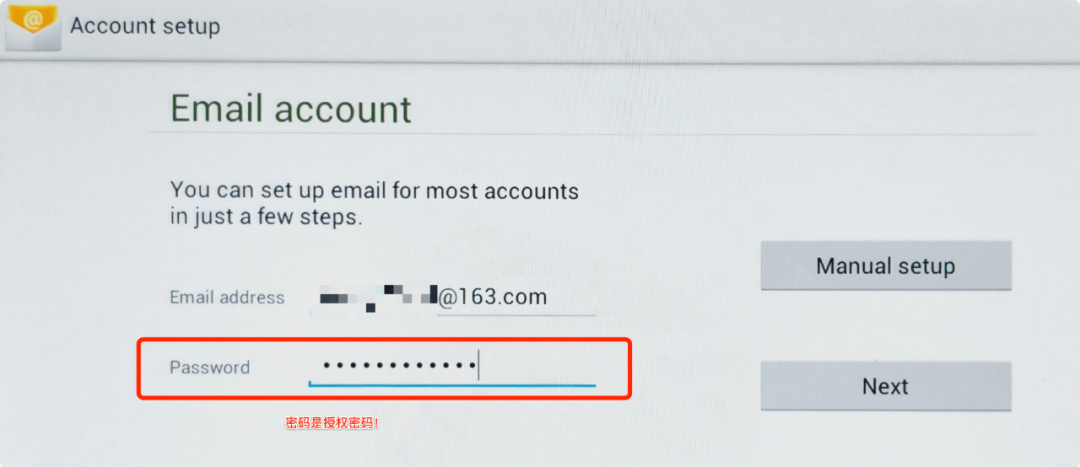
Fill in the email and password, and note! The password is not the login password for the email; it is the authorization password mentioned above, then click NEXT.
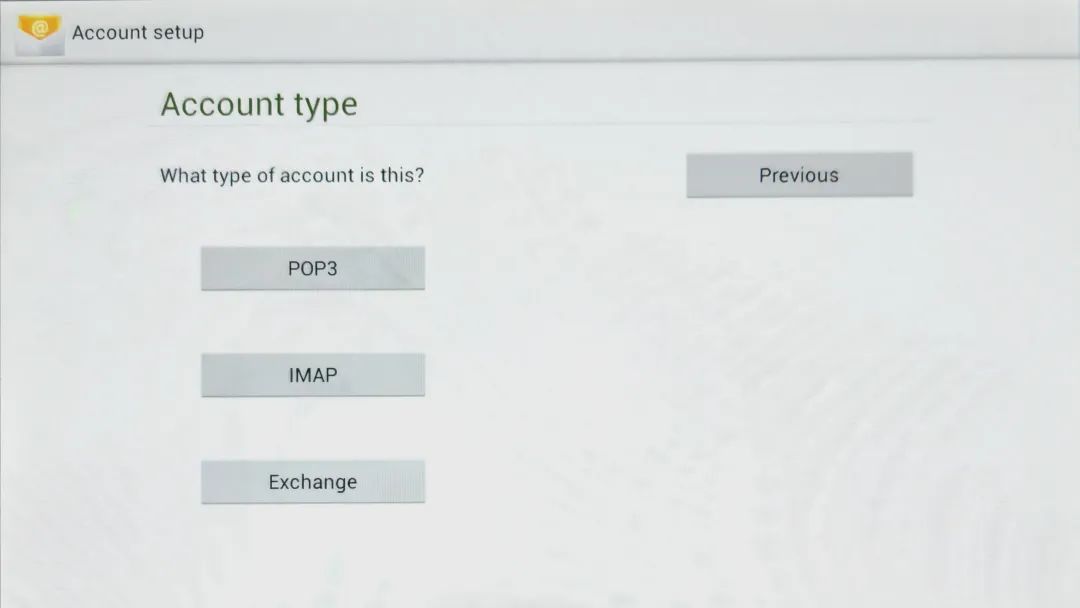
Select POP3.
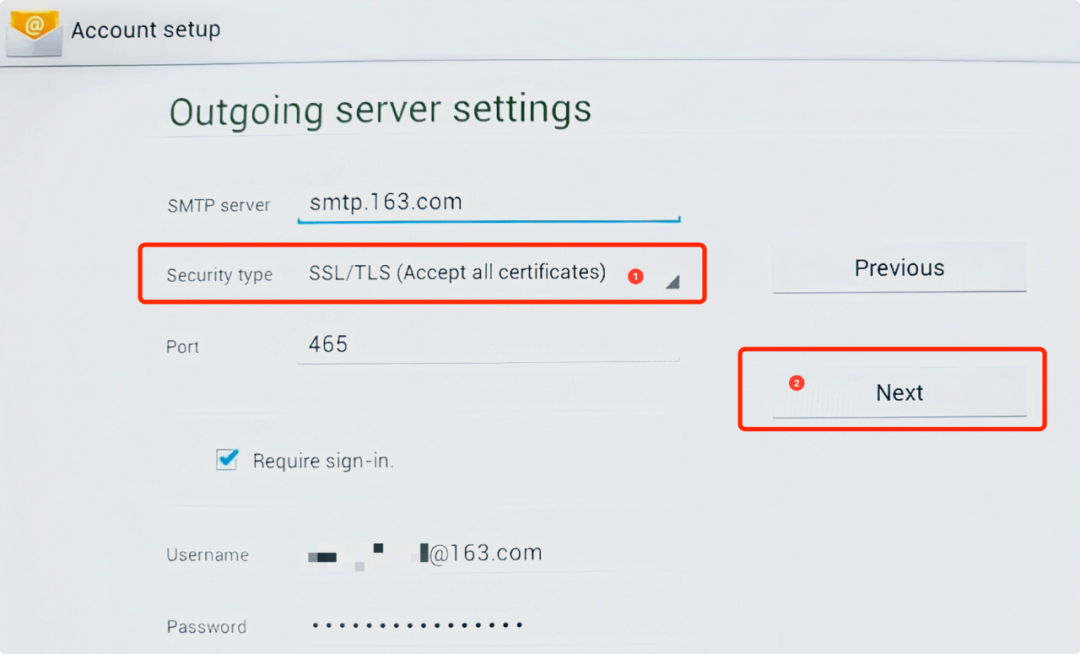
Then follow the steps in the image below and click NEXT.
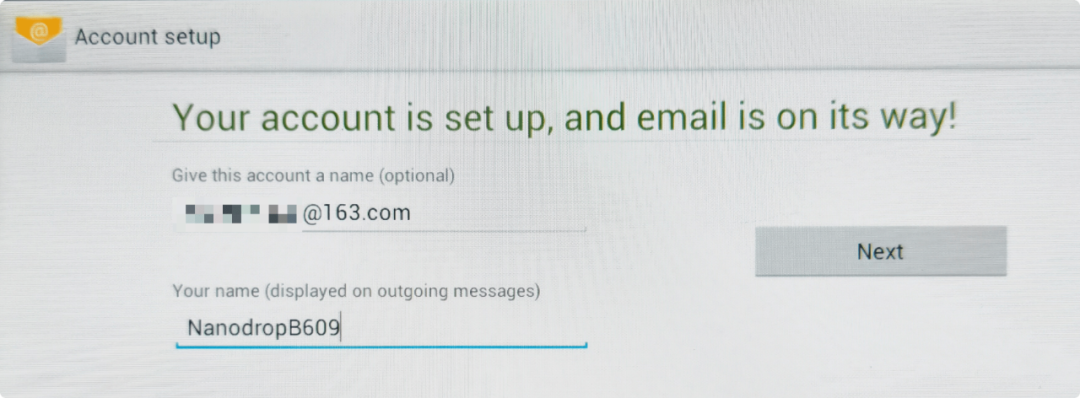
Finally, set the name, and you’re done!
Feel free to share your Nanodrop tips in the comments section, let’s make experiments more efficient together!