

Fishing Techniques Bait Formulation
Catch Reports Funny Stories
○
All Fishermen Are Watching
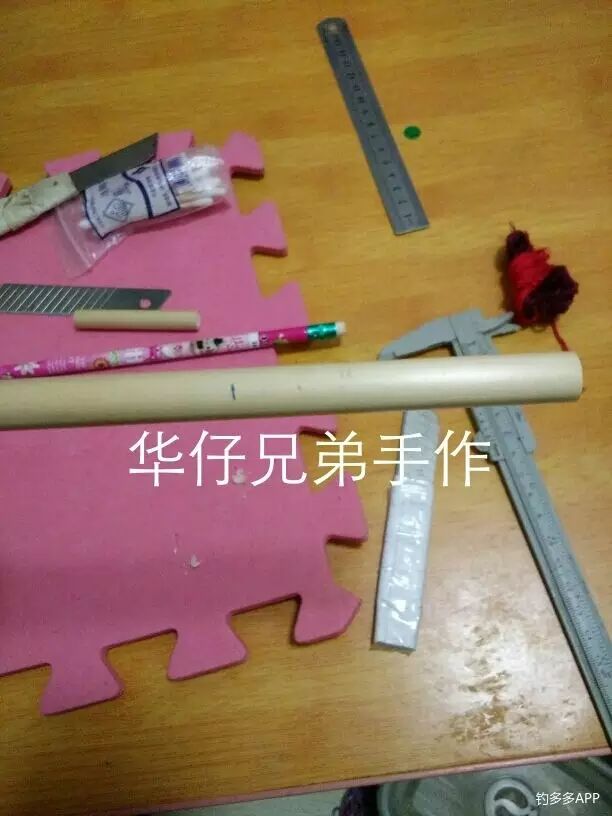
Step 1: Material Selection. Reed, also known as southern reed, grows south of the Qinling Mountains. When selecting reeds, choose those that are round and straight. It is best to cut them down and let them air dry in the shade for over a year before use. This helps to decompose the microorganisms and sugars inside, making the final float more stable.
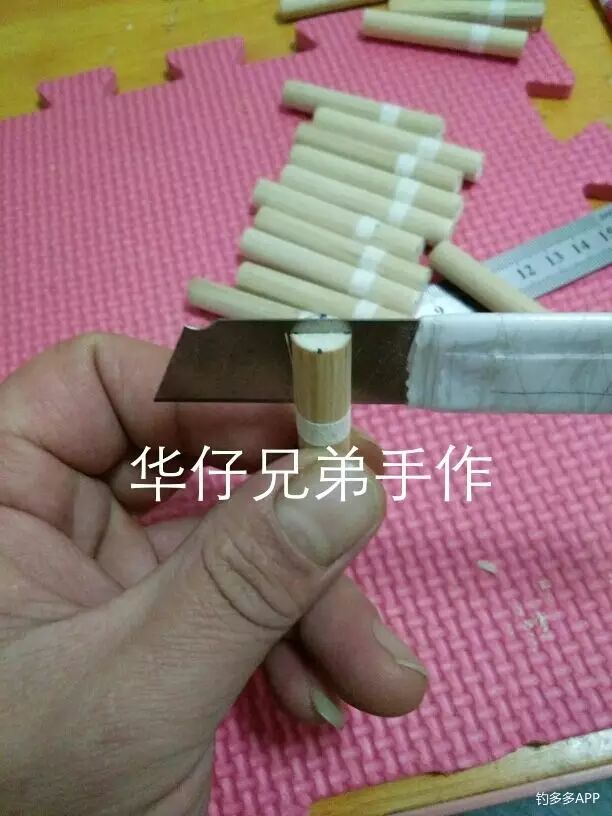
Step 2: Use a ruler to measure the desired length of the float body. Mark it with a pencil horizontally, then cut it off with a wallpaper knife.
Note: Rotate while cutting.
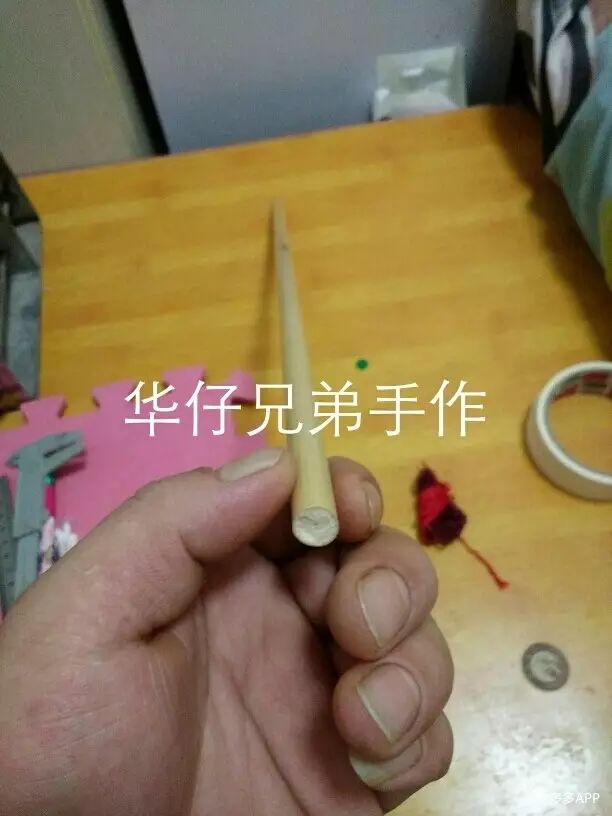
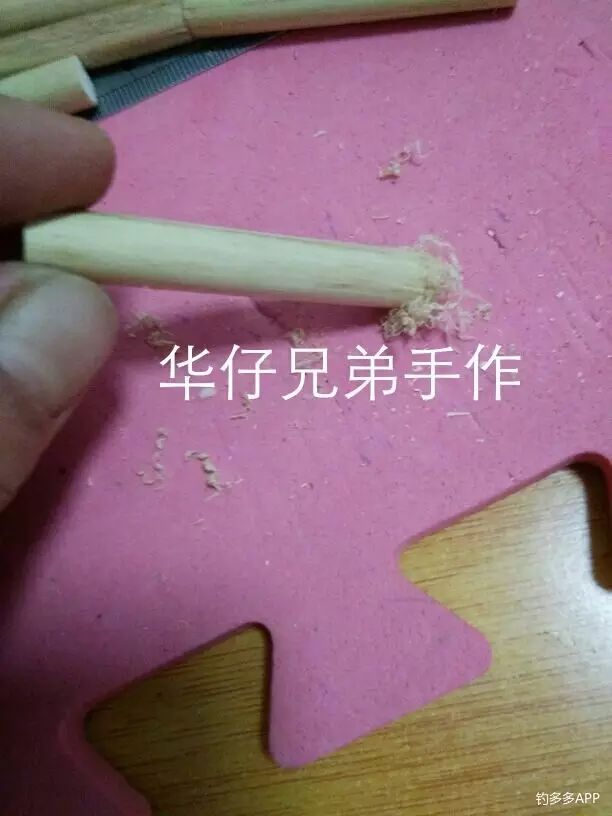
Step 3: Scrape off a layer of the outer skin of the cut reed section with a knife, as the outer skin is too smooth. Scraping it down will make it easier to draw lines and shape in the next step.
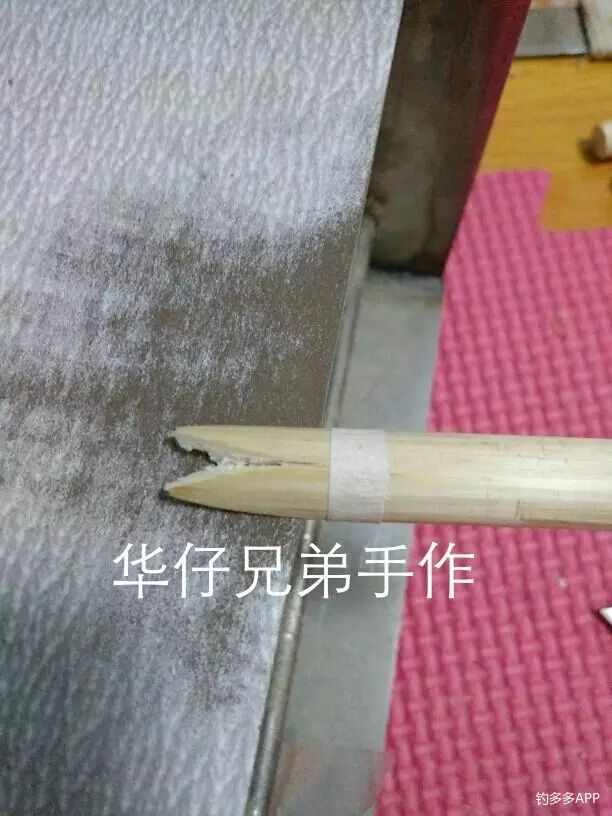
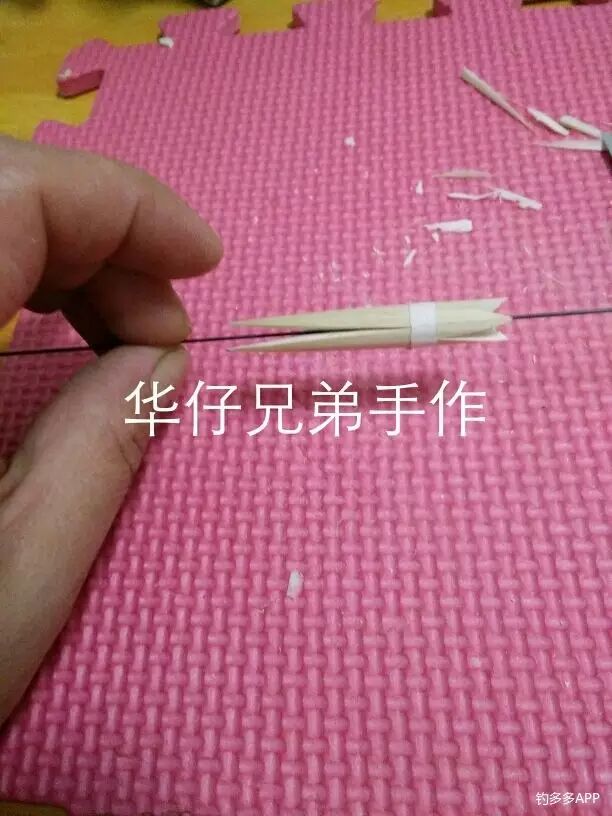
Step 4: Measure the desired lengths for the shoulders and feet, tape them together with masking tape, leaving an area without cuts, and then use a pencil to mark where to cut on the horizontal surface of the reed, similarly for the shoulders and feet.
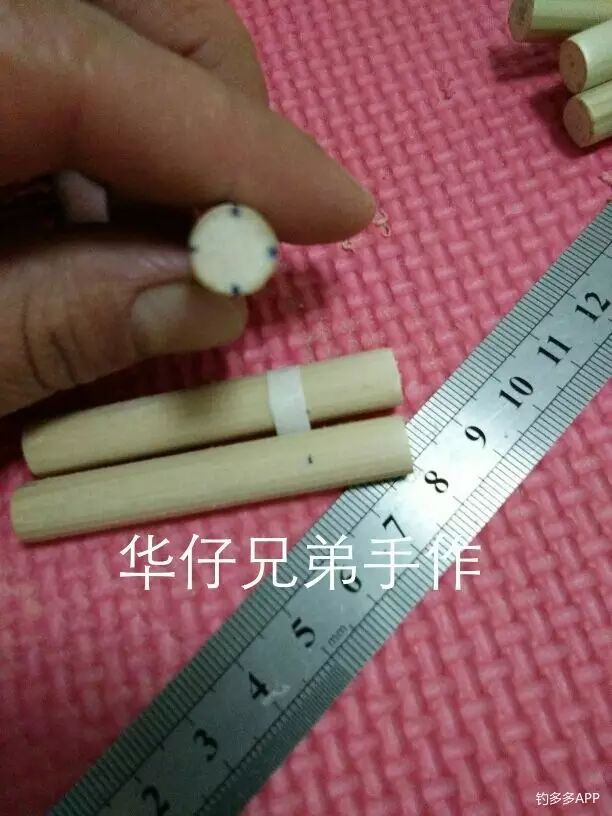
Step 5: Cut straight along the marked line, similarly for the shoulders and feet. Note that the cuts for the shoulders and feet should not be on the same line to prevent cutting it in half during the process.
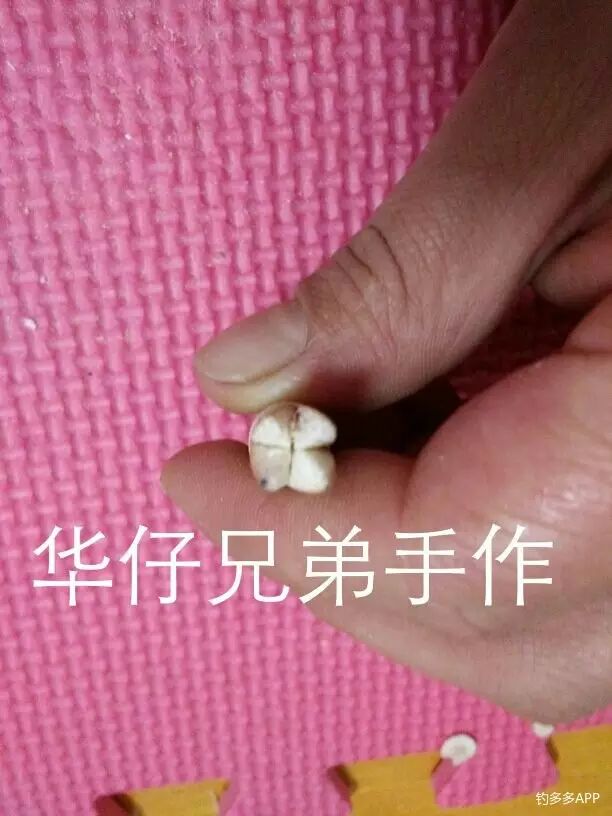
Step 6: Make a mark at the center of each of the four cut sections, then cut from the knife edge toward the marked point (you can also push the knife from the marked point toward the edge, which produces good results, but it’s easier to cut yourself, so I haven’t practiced it). When pulling the knife, maintain a curve so that the resulting float is fuller; of course, cutting straight is also acceptable.
Shoulders and feet are similar, but the feet should ideally be cut straight.
Step 7: Place the cut floats on a sanding block to polish them, or hold a piece of sandpaper in your hand to polish them, shoulders and feet are similar.
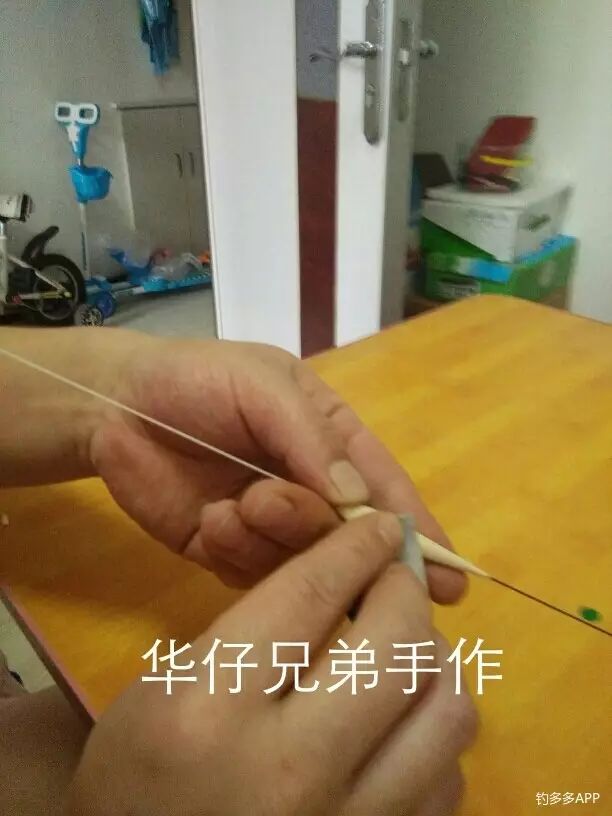
Step 8: Take a float foot, and pass it through the center of the cut float blank on both sides, do not just pass through one side.
Step 9: Tie the line and adjust the concentricity, let it rest for a day.
Step 10: Remove the white glue from the line, just a thin layer on each piece, similarly for the shoulders and feet.

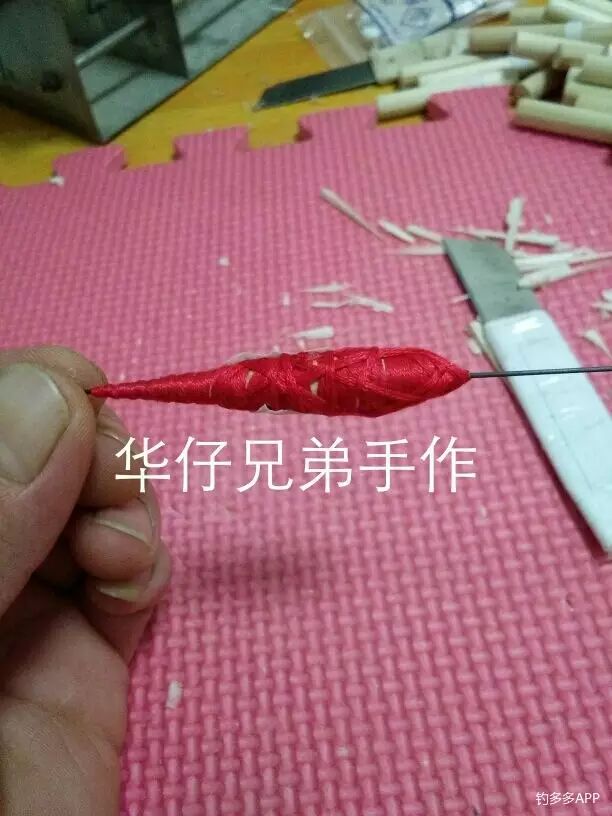
Step 11: Wrap the tail foot with line.
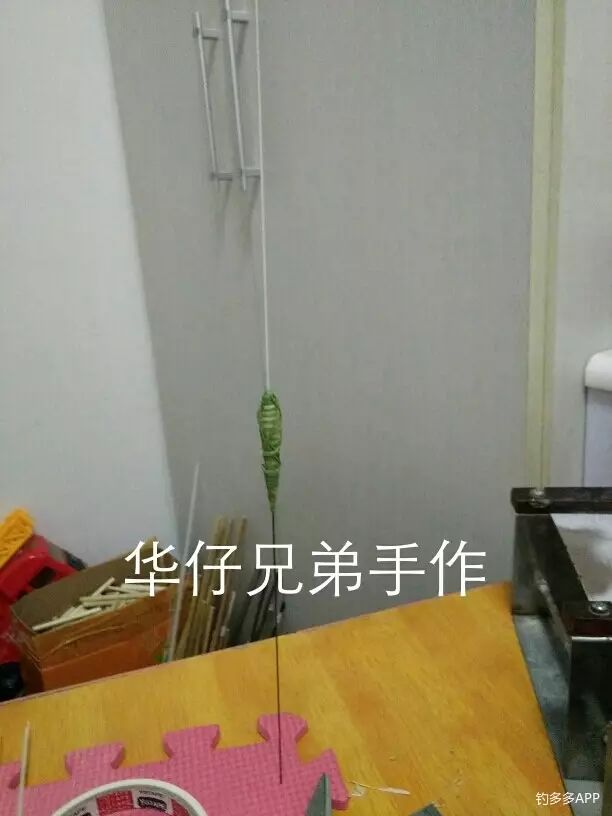
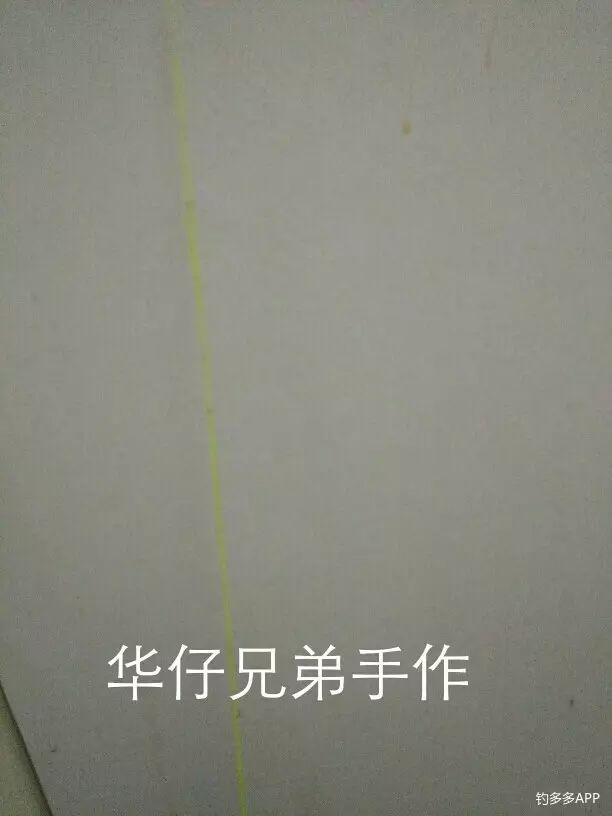
Step 12: Adjust the concentricity, just like a carpenter adjusting a line, when adjusting, rotate while adjusting, so you can see whether it is concentric or not.

Step 13: Scrape the skin to find the roundness, scraping down about two-thirds.

Step 14: Polish with sandpaper, rotating while polishing, until it is almost leaking; the main purpose of polishing is to reduce the weight of the float and increase the lead ratio.
Step 15: Draw decorations on the shoulders and feet. To save money, I used a neutral pen, which is a bit more troublesome than decorative paint 😄 It is best to use decorative paint for ease of drawing, shoulders and feet are similar.
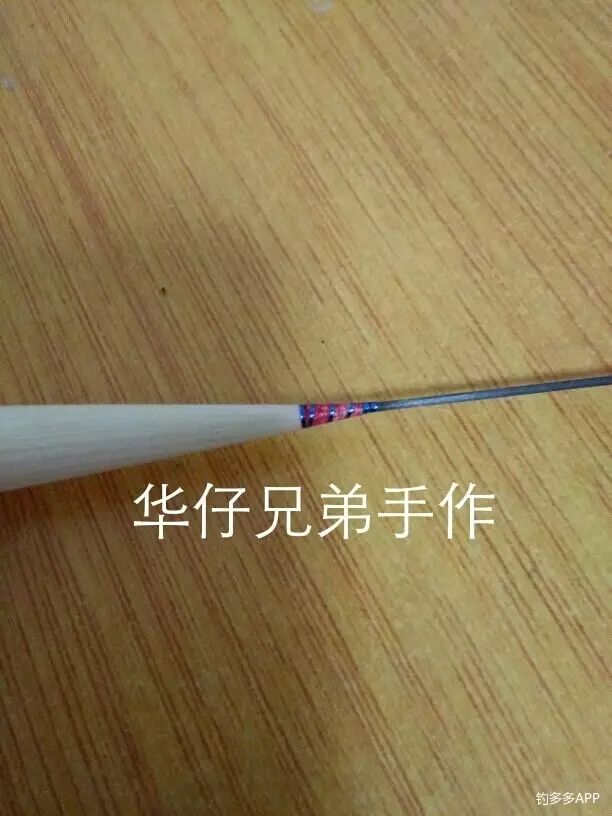
Step 16: Wrap the decorative line (also called anti-explosion line). First, use a big-headed pin to apply a little 502 glue on the float foot or tail, then start wrapping the line. After wrapping well, apply a little 502 on the other end as well. (You can also wrap the anti-explosion line first and then apply decorative paint. Here’s a little secret: women’s stockings are a great anti-explosion line, but remember not to steal from your wife; you can borrow from your sister-in-law.) Shoulders and feet are similar.
Step 17: Apply primer. First, with the tail facing down, apply it, then hang it up to dry. After it dries, apply it with the feet facing down, then hang it up to dry.
(You can also brush or pour primer.) The paint I used is mixed at a paint shop, costing 6 yuan per two ounces. The ratio for the primer is 1 part varnish, 0.5 parts hardener, and 0.5 parts thinner. After stirring evenly, pour it into the painting tube, let it sit for 10 to 15 minutes, and check for bubbles before use.
Step 18: Polish the primer, still rotating while polishing.

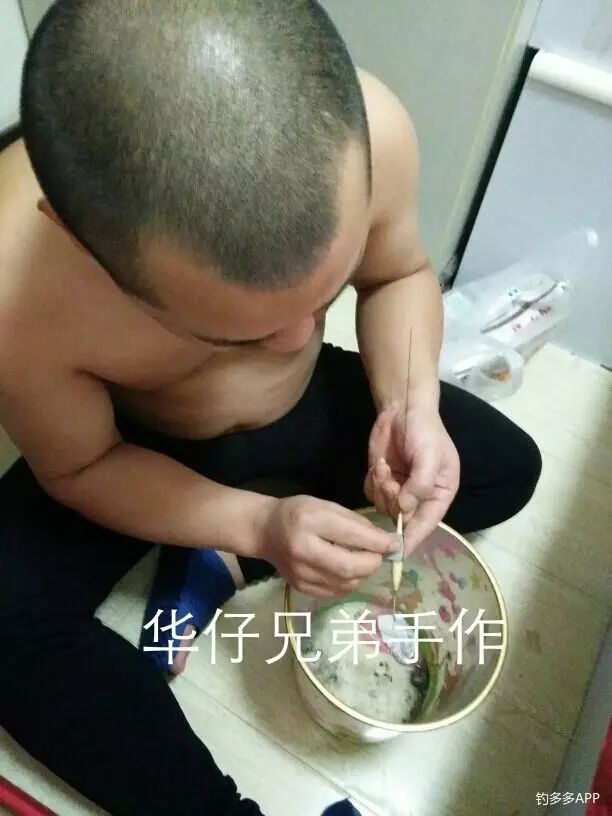
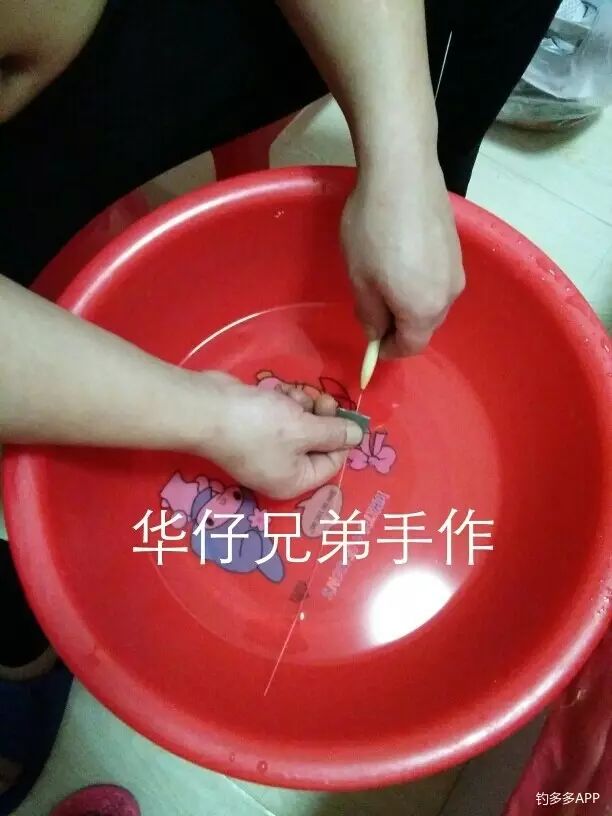
Step 19: Apply water transfer printing. Cut the transfer paper and soak it in a basin of water for a while until the paper can be removed, then stick it onto the float body.
For some reason, after sticking it here, it can’t be read, so I won’t upload it. You will see it in the finished product below.

Step 20: Apply topcoat, still one for the tail and one for the feet. The ratio for the topcoat is 1 part varnish, 0.8 parts hardener, and 1 part thinner. I won’t upload images; it’s the same as when applying the primer.
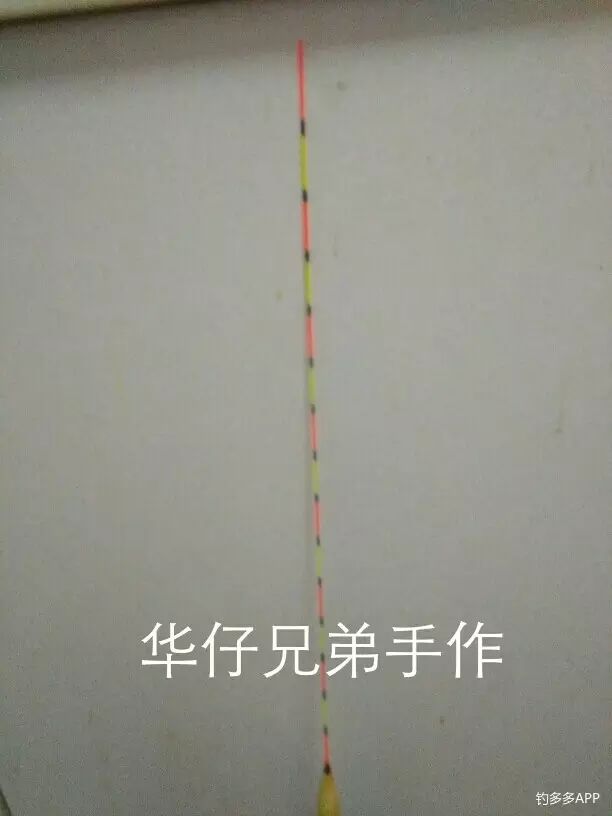
Step 21: Polish the float tail. Wet the sandpaper and squeeze it on the float tail while rotating to polish it. Wet sandpaper polishes the tail without changing its shape; if dry sandpaper is used, the tail can easily deform due to heating.
Step 22: Mark the float’s target distance. Place the float tail on the float target gauge and mark the numbers with a pencil.

Step 23: Paint the tail with fluorescent green as a base. I poured the paint onto cotton and quickly brushed it on.
After the base dries, brush red tail paint according to the grid, then repeat with fluorescent green. Do this twice, and finally brush black grid paint, and you’re done.
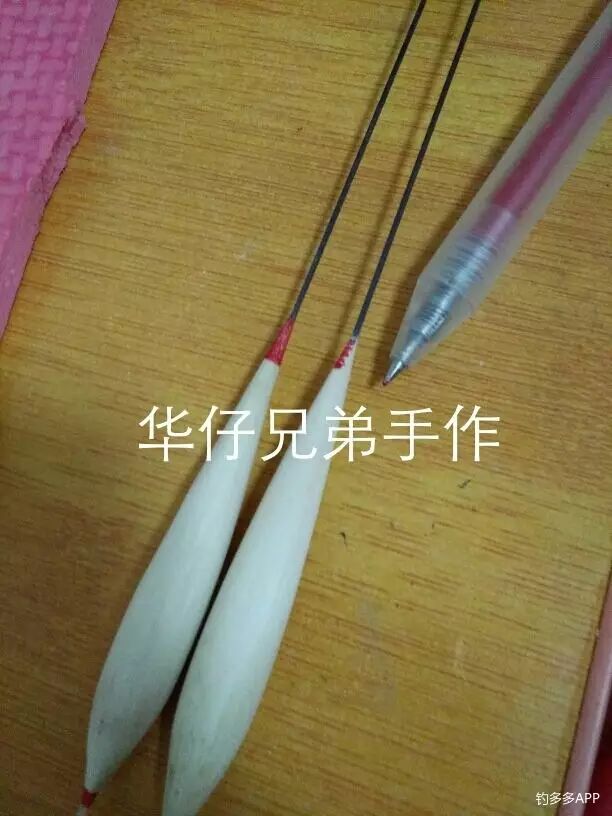
And that’s how you make a pure handmade reed float! Now let’s take a look at the finished float.
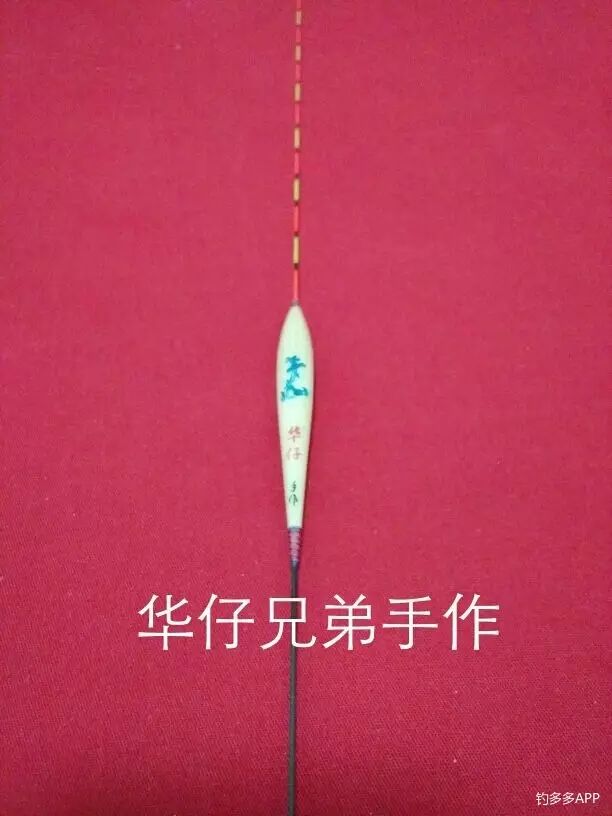
Friendly Reminder: DIY floats are a deep pit, deeper than a black pit. They can make you obsessed and unable to extricate yourself.
The benefit is that you can make the float you want, control the lead ratio as you wish, whether you want a high or low float, and it also gives you a bit of pride.
That’s all for sharing. I hope anglers can make use of it. I think most anglers can use the tail paint. (If the tail paint fades, it can be removed with thinner, and then rebrushed using the above method, it will still be as shiny and bright.)

DIY Fishing People by Nature, Homemade Quick Baiting Device!
DIY Fishing Experts Are Awesome, All Kinds of Floats Are Made by Themselves!
DIY Don’t Use Your Hands for Baiting Anymore! Make a Baiting Device in 5 Minutes
DIY Combining Local Red Wood from Yunnan with Fishing Rods to Make Fishing Rods into Art!
DIY Local Fishing Masters Make Their Own Fishing Buckets, Let’s Learn!
DIY Pure Handmade Straight Hooks, A Must-Have Tool for Traditional Fishing!
DIY Smokers Who Love Fishing Are Lucky, Recycling Abandoned Lighters for Fishing!
DIY A Great Fisherman Modified the Rod Handle, Turning Old Products into New Artifacts!
Fishing More Is Fun, Did You Know There’s An Activity?
Since You Love Fishing, Become a Post King of Fishing More! Come Share Your Fishing Journey and Harvest with Fellow Anglers, There Are Super Prizes Waiting for You (Click Red Text for Activity Details)
[Fishing More Benefits Dragon Pattern Carp Post King Competition! Who is the King?

2. Log in to the forum webpage www.diaoyu365.com
「Fishing More」&「Fishing 365」
Share Fishing Fun Anytime, Anywhere!

All Fishermen Are Watching
WeChat ID: diaoyubikan

Reply “Skills” to View Catching Skills
Long press the QR code to follow