Today, I bring you a highly practical tutorial:How to Install Dev-C++ and Configure the C++ Graphics Library (EasyX), allowing you to easily get started with C++ graphics programming!
🔧 Step 1: Install Dev-C++
Dev-C++ is a lightweight C/C++ integrated development environment (IDE) suitable for beginners to quickly get started. Here are the installation steps:
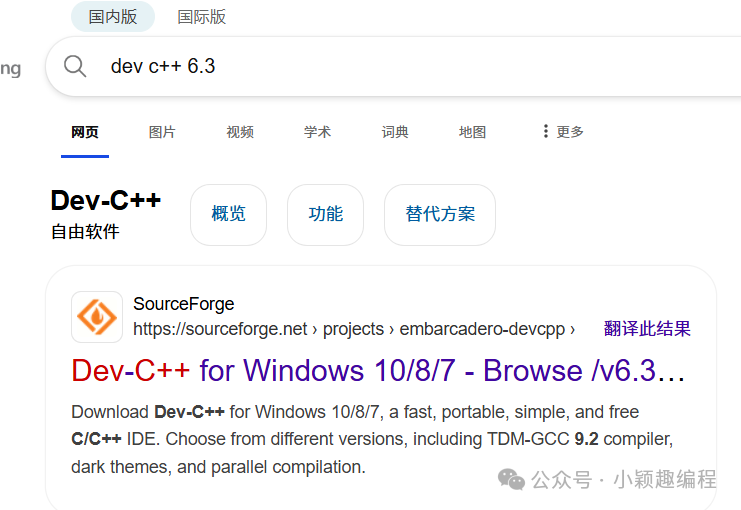
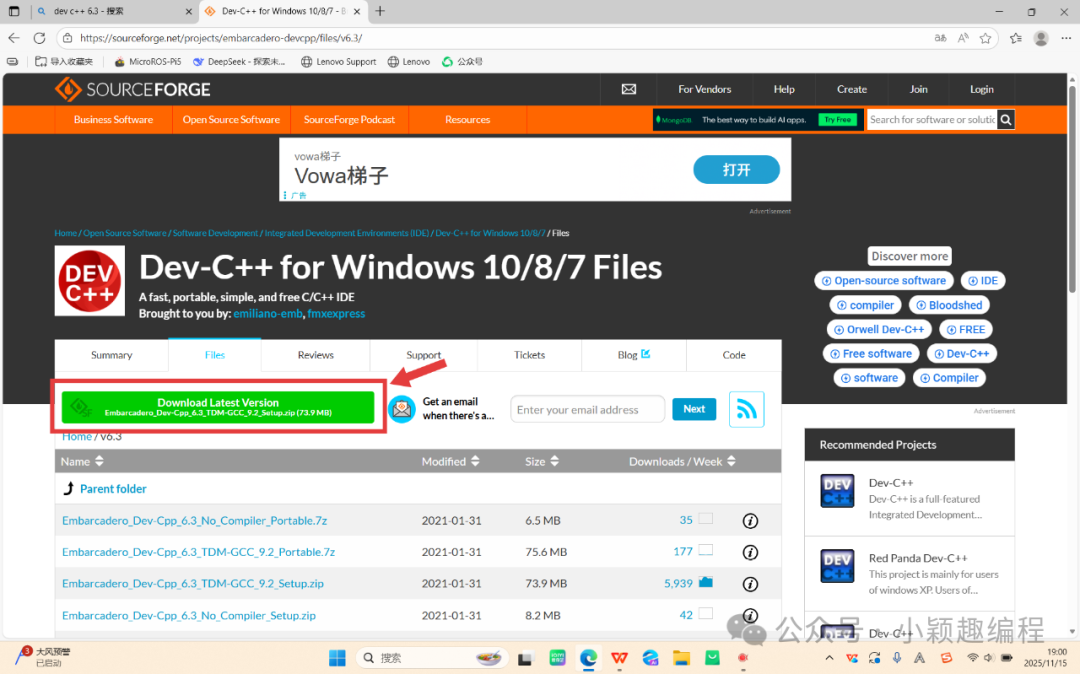
1. Download the Installation Package
Search for dev c++ 6.3 in your browser or download the Dev-C++ installer from the following URL: https://sourceforge.net/projects/embarcadero-devcpp/files/v6.3/.
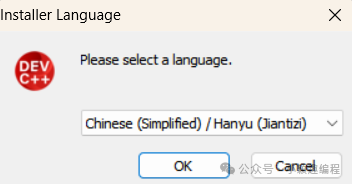
2. Run the Installation Wizard:
-
· After extracting, double-click the installation package, select the language (e.g., Chinese), and click “OK”.
-
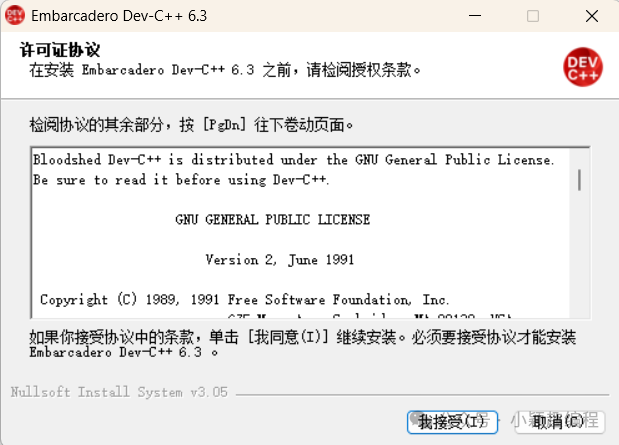
· Read the license agreement and check “I accept”.
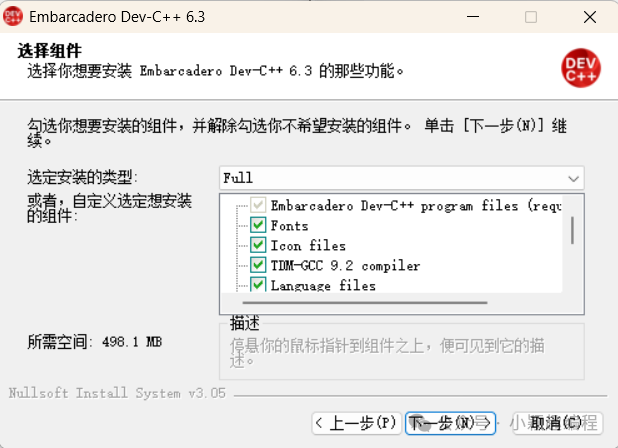
· Select components (default is all selected) and click “Next”.
-
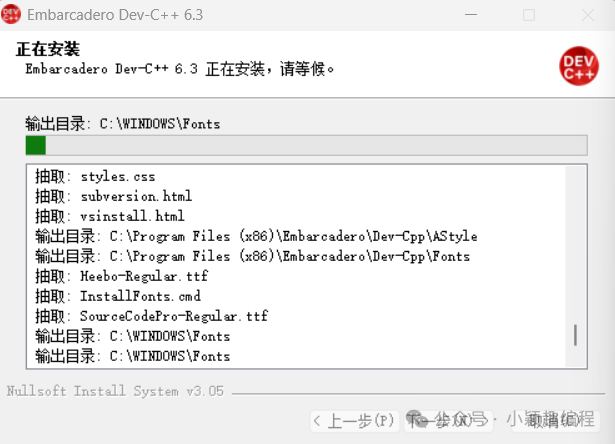
· Choose the installation path and click “Install”.

-
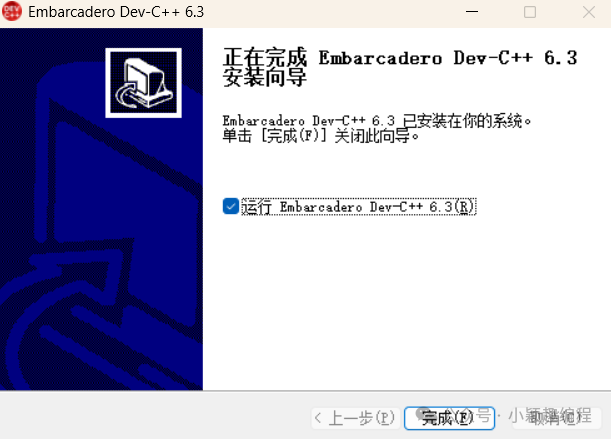
· Wait for the installation to complete, then click “Finish” to start Dev-C++.
🎨 Step 2: Configure the C++ Graphics Library (Using EasyX as an Example)
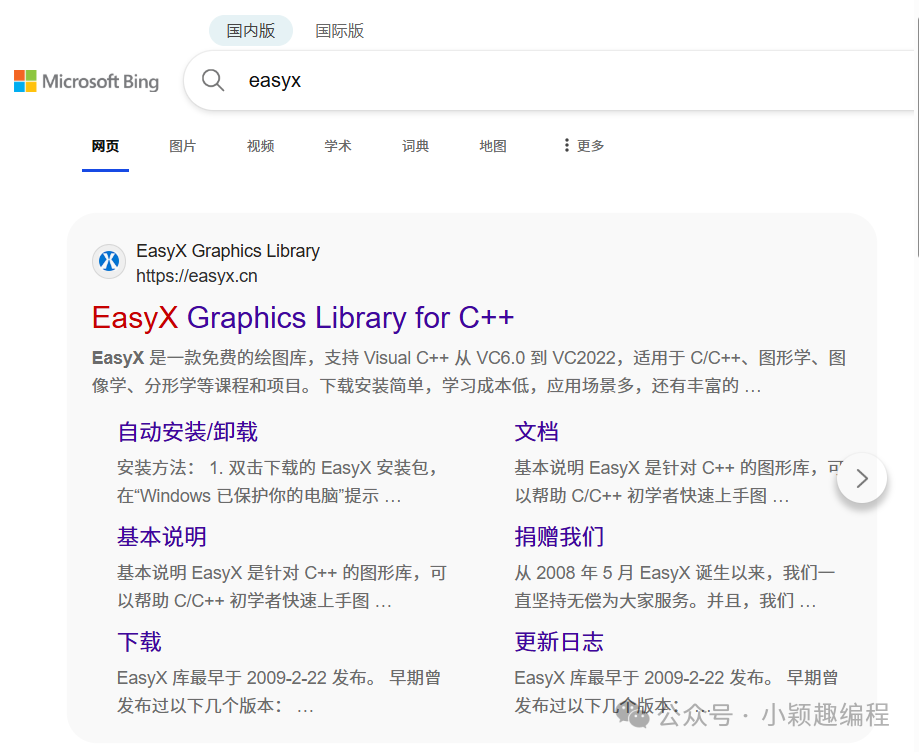
EasyX is a lightweight C++ graphics library for Windows, suitable for drawing windows, lines, graphics, etc., and is friendly for beginners.
1. Download the EasyX Library
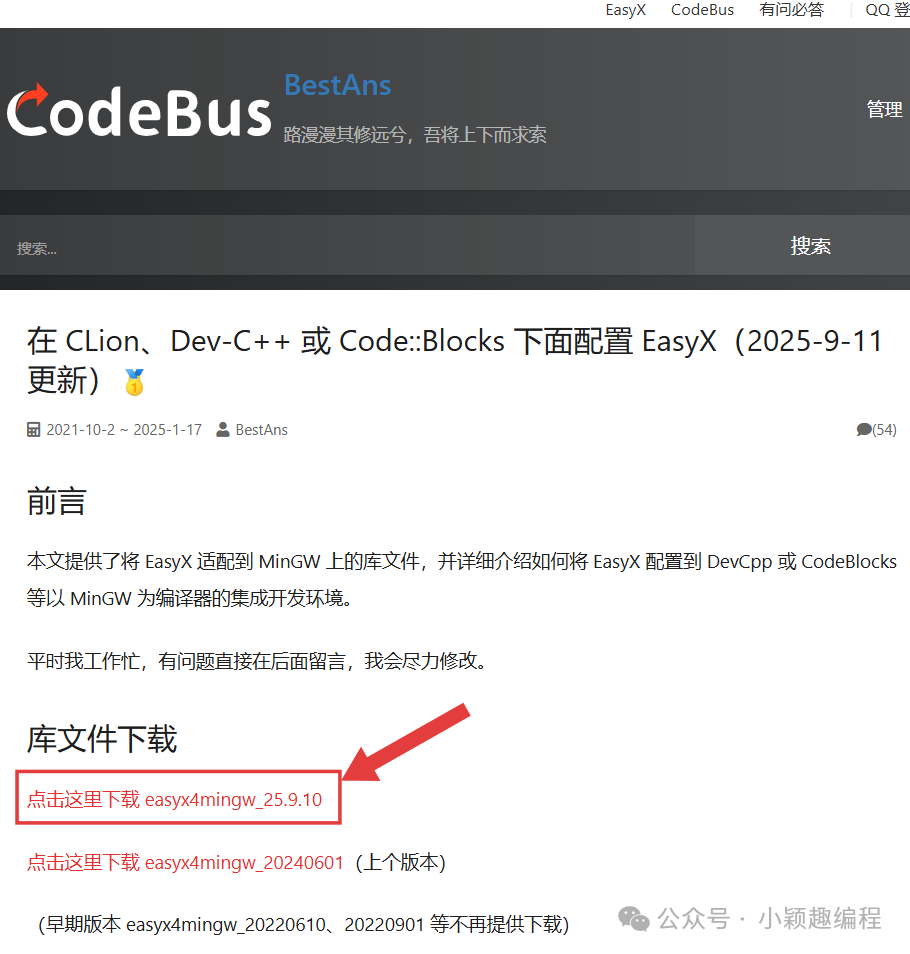
Download the corresponding library files for Dev-C++ from the EasyX official website ( https://easyx.cn/ ), such as
the download link for easyx4mingw25.9.10 is https://codebus.cn/bestans/easyx-for-mingw .
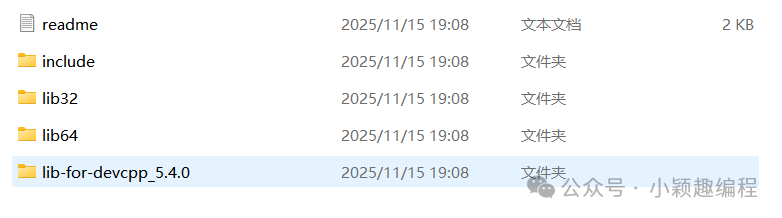
2. Extract and Configure the Library Files
· Extract the Library Files: Extract the downloaded ZIP package to any directory
 · Configure the files: Locate the Dev installation folder
 · Enter TDM-GCC-64
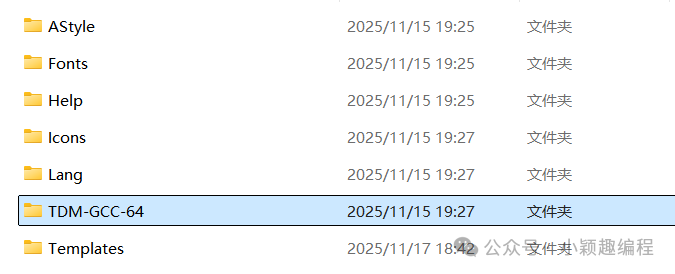 · Find the x86_64-w64-mingw32 folder
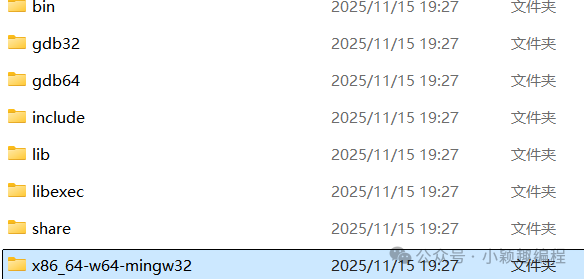 · Copy the extracted EasyX library files into the corresponding Dev installation folder
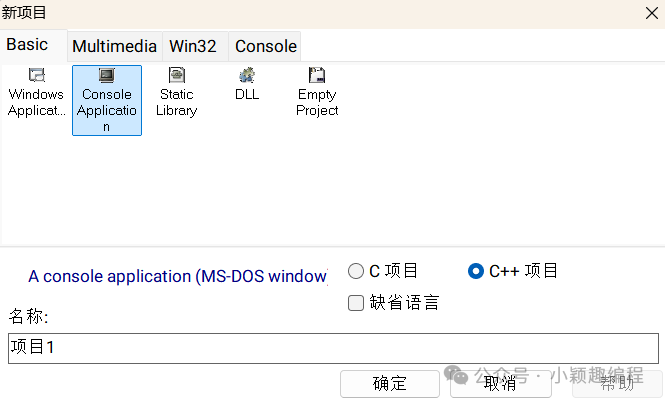
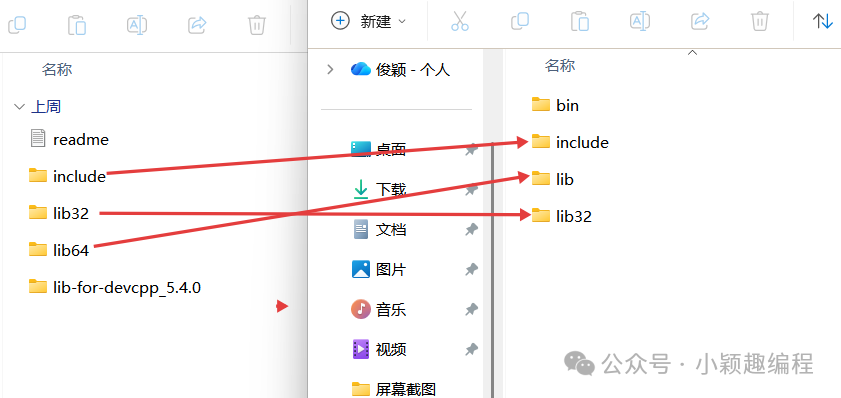 Step 3: Test the Graphics Library1. Open the Dev-C++ software and create a new project
 2. Test the Graphics Library: Write a simple test program
#include <graphics.h> // EasyX core header file#include <conio.h> // For waiting for a key
int main() { // Initialize the graphics window (width 640, height 480) initgraph(640, 480);
// Set background color to black, clear the screen setbkcolor(BLACK); cleardevice();
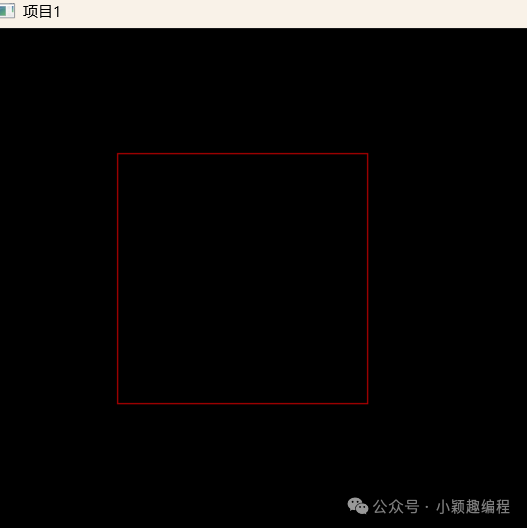
// Draw a red rectangle setlinecolor(RED); rectangle(100, 100, 300, 300);
// Wait for a key press before closing the window getch(); closegraph();
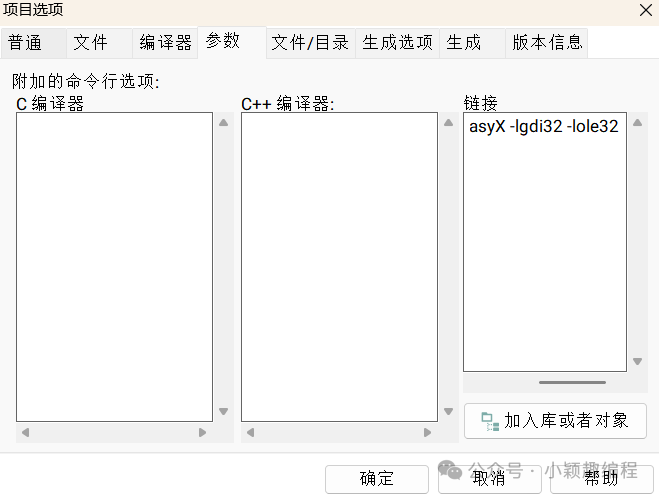
return 0;}3.Set the link libraries: Open Project—Project Properties—Parameters, and enter the following in the linker: -static-libgcc -lEasyX -lgdi32 -lole32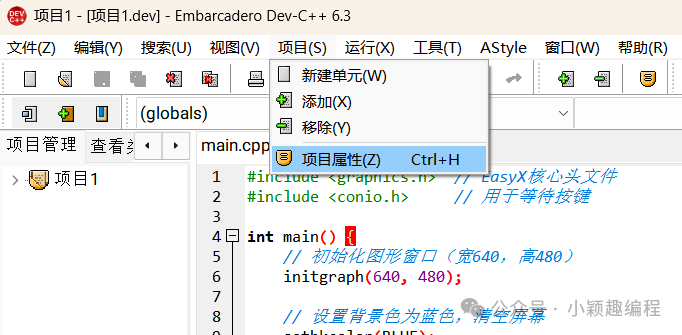
 4. Compile and Run
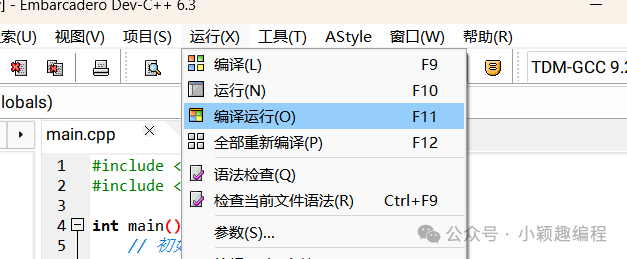 If a window appears with a black background and a red rectangle, it indicates that the configuration was successful!