When printf Suddenly “Betrays” You
If you have done microcontroller development, you have likely experienced this moment: the code has just been uploaded, the logic should be fine, but the serial port’s <span>printf</span> is as silent as a stone—no response at all. You suspect the chip is dead, you suspect there is a bug in the driver, and finally, you find out that the serial cable was just loose. At that moment, it feels like being lost in the dark, and your flashlight has run out of batteries.
This is what we often say: Debugging is most afraid of printf failure. So without <span>printf</span>, are we really at a loss? No, today we will talk about two “veteran tools” for developers: Logic Analyzer and LED Lights.
Why Does printf Fail?
Before diving into alternatives, we must recognize the reality: <span>printf</span> is not omnipotent, especially when you are testing a circuit board that you have manually soldered for the first time.
- Serial Port Initialization Failure: The clock is not enabled, the baud rate is calculated incorrectly, and a single printf is rendered useless.
- Interrupt/Dead Loop Blocking: The program runs away, and printf cannot output in time.
- High Resource Usage: The formatting of printf itself is slow, using it in an interrupt is almost suicidal.
So true experts do not pin all their debugging hopes on printf.
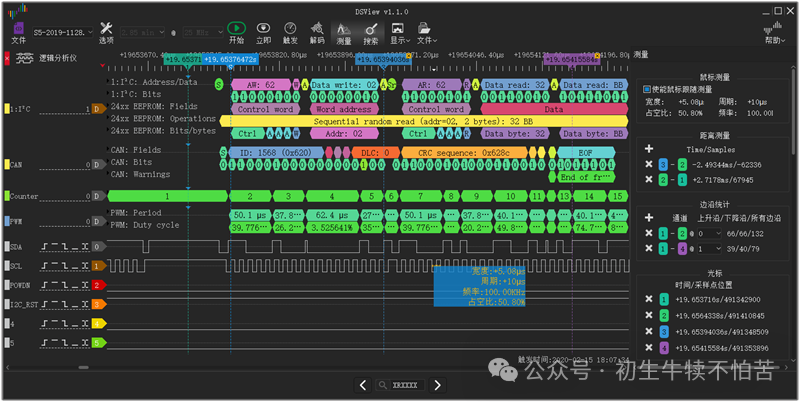
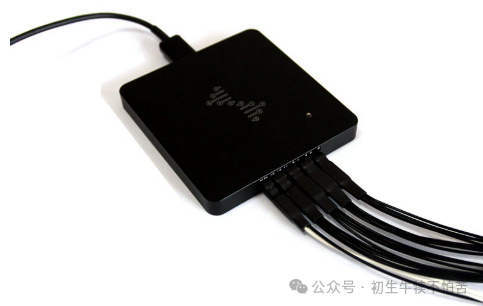
Method 1: Logic Analyzer—Your “Eye” to See Levels
A logic analyzer is like a microscope for embedded debugging.
- Signal Capture: Suspecting an issue with I2C? Use the logic analyzer to clamp onto SCL and SDA, and the host software can decode it, clearly showing ACK and NACK.
- Timing Comparison: SPI read/write confusion? You can immediately see whether the clock phase is wrong or if the CS chip select was pulled too early.
- Serial Port Monitoring: More reliable than printf itself, it can even show whether the baud rate you sent is off.
The most critical point is: It is independent of the MCU and does not rely on code output. Even if the MCU is stuck, the logic analyzer can still tell you the last words.
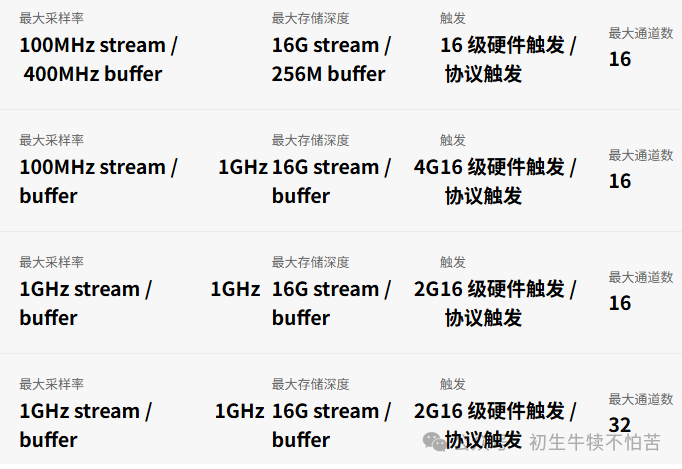
Tip: You can now buy an 8-channel USB logic analyzer for just a few dozen dollars, which is definitely a cost-effective tool for beginners.
Method 2: LED Lights—The Simplest Yet Most Resilient Debugging Tool
When all tools are out of reach, a regular LED light can still save you from peril.
- Code Reaches a Certain Point: Make the LED blink once, and you will know whether the logic has reached that point.
- Error Branch Judgment: Light up different colored lights in if/else statements for clarity.
- Timing Checkpoints: Use a timer to change the LED blinking frequency, and you can roughly know whether the program is stuck.
This is what is called the “primitive debugging method”: when printf is dead, the LED is your last Morse code.
Case Sharing: When printf is Silent
I once stumbled in I2C debugging on STM32F103. The printf in the code was unresponsive, and I thought it was an I2C initialization issue. However, when I plugged in the logic analyzer, I found that no start signal was sent at all; it turned out I had forgotten to enable the RCC clock. At that moment, the logic analyzer was my true love.
Another time, there was chaos in scheduling under RTOS, and the serial port was blocked by a high-priority task. In the end, I could only blink the LED at task switching points, relying on my eyes to observe the blinking pattern to confirm the deadlock point.
Don’t Become a Captive of printf
<span>printf</span>is useful, but it is not the only option.- Logic Analyzer can help you see communication and timing issues.
- LED Lights can tell you at the most primitive level whether the program is running【Lighting Master】.
So is debugging most afraid of printf failure? Not at all. A true developer’s toolbox should always include a logic analyzer and an unassuming LED light.
Feel free to share your stories of using LED to “flash messages” or saving projects with a logic analyzer; perhaps your next debugging tool will be inspired by someone else’s comment.
Please open in the WeChat client