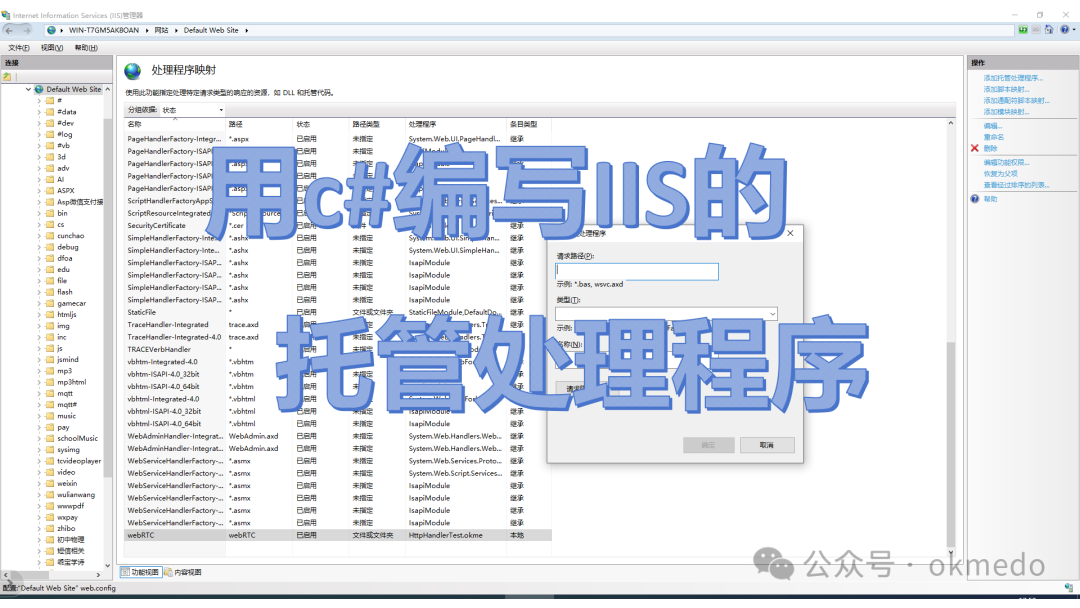
In this article, we will create an IIS hosted handler using C# to handle some special requests for our website. This hosted handler can perform various functions, such as preventing hotlinking and downloading of audio, video, and image resources on our site, as well as providing special services like webSocket services. We can write a hosted handler to filter and process requests for these resources from clients.
1. Writing an IIS Hosted Handler
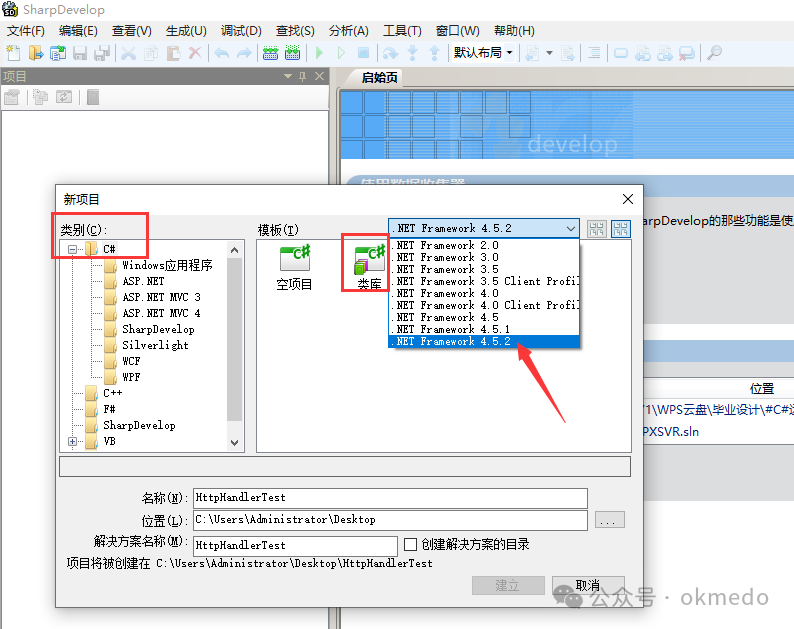
1. Create a new solution
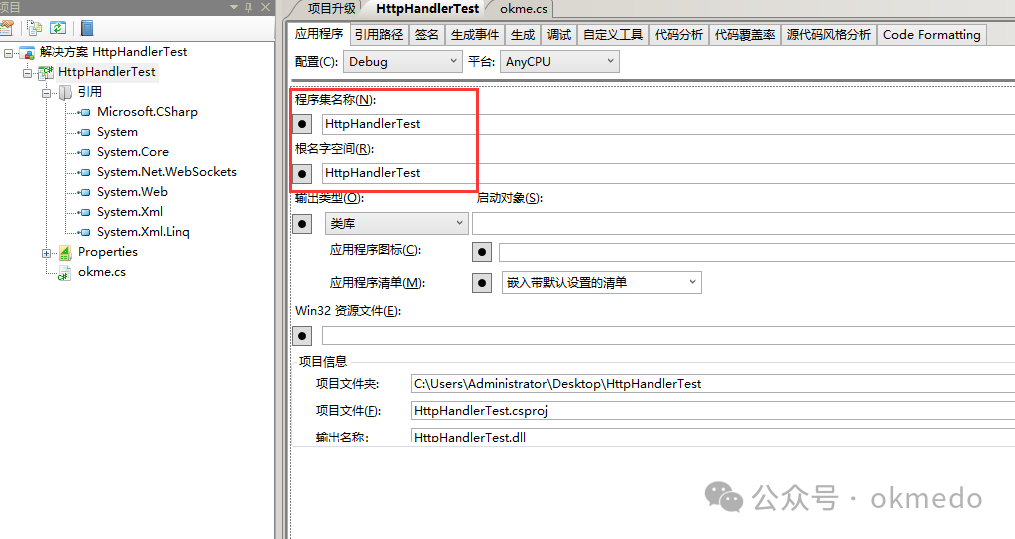
Since this is just a test project, we will create a new solution on the desktop, selecting a C# class library project. Choose .NET Framework version 4.5 or higher. We will name the new project HttpHandlerTest, which will be used later when generating the DLL and configuring the hosting in IIS.
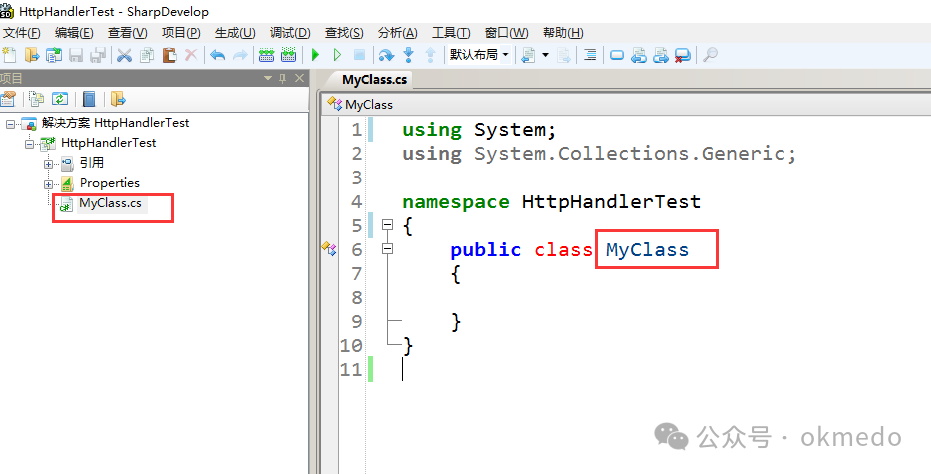
2. Create a new class
After the project is created, the system automatically generates a class file named MyClass, with the class name also set to MyClass.
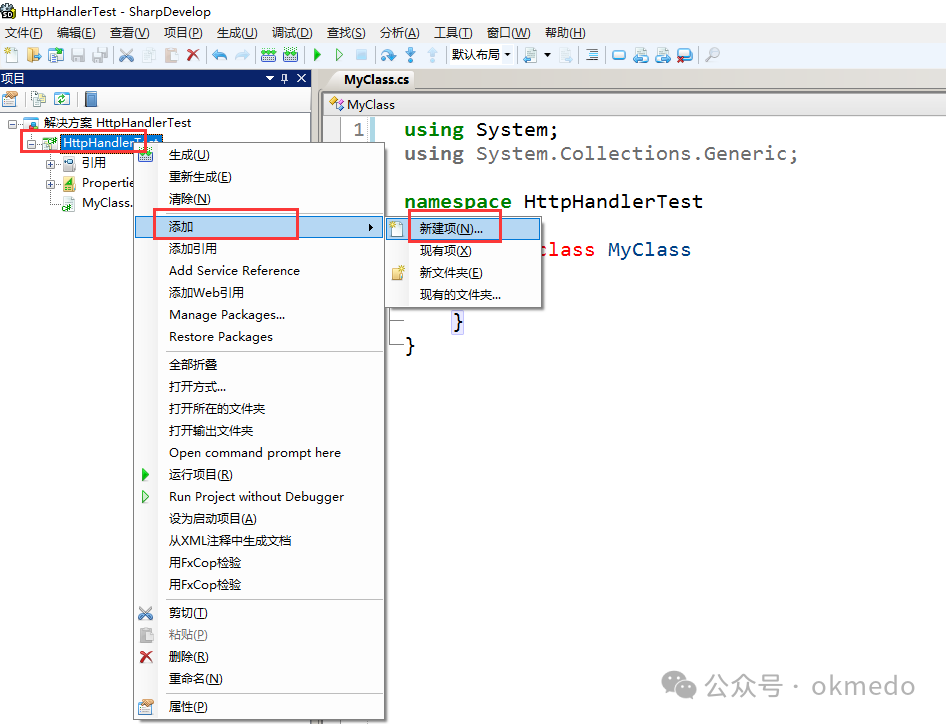
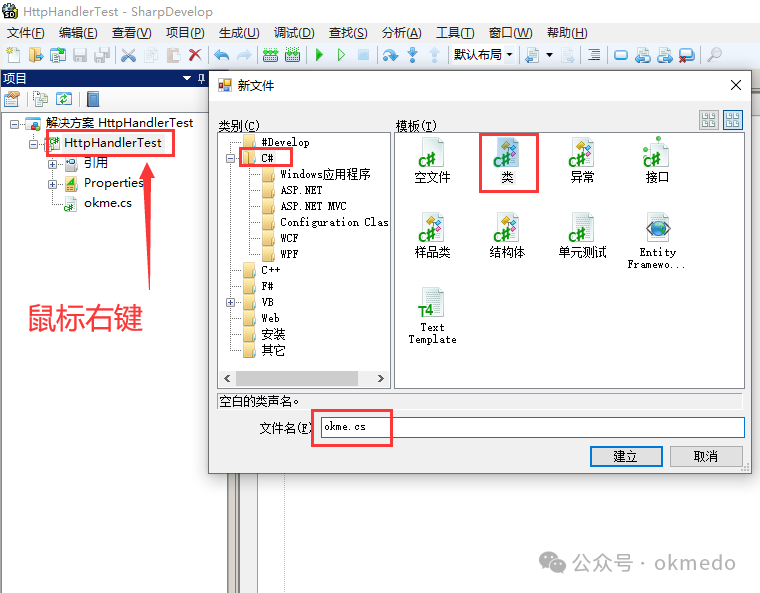
3. Create your own class
In the previous step, the system created a class for us. We can either use this class to implement our functionality directly or create a new one. To make it easier to see the results later, we will delete the system-generated class and create a new class file named okme, and the class name will automatically be set to okme.

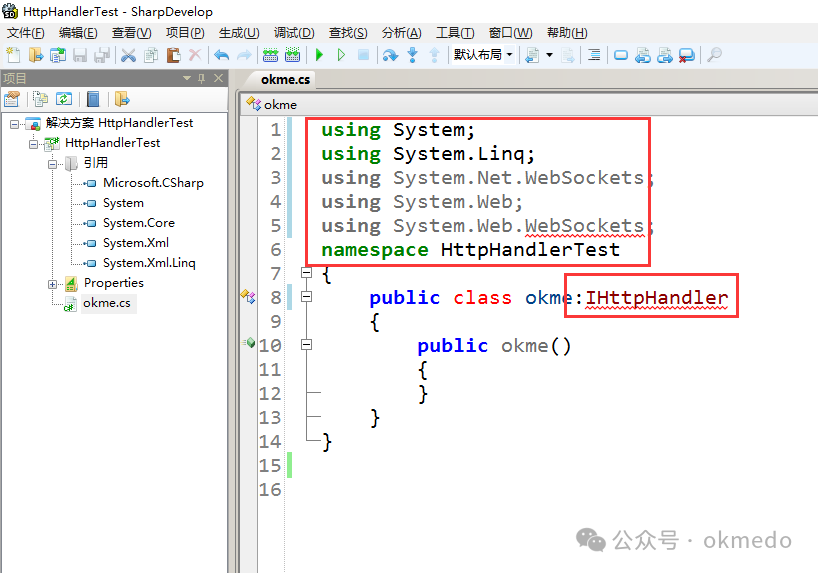
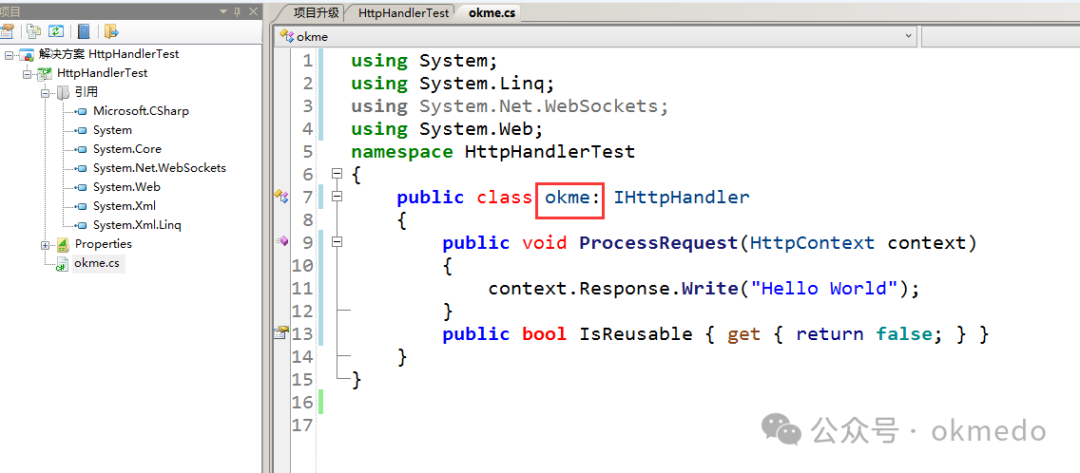
4. Implement the IHttpHandler interface
Since we are writing an IIS hosted program, we need to implement the IHttpHandler interface to handle basic web requests. To implement the interface, simply add a colon followed by the interface name after the class name, like this: :IHttpHandler. We also need to import the relevant namespaces, and at this point, we may encounter errors as shown in the image below:
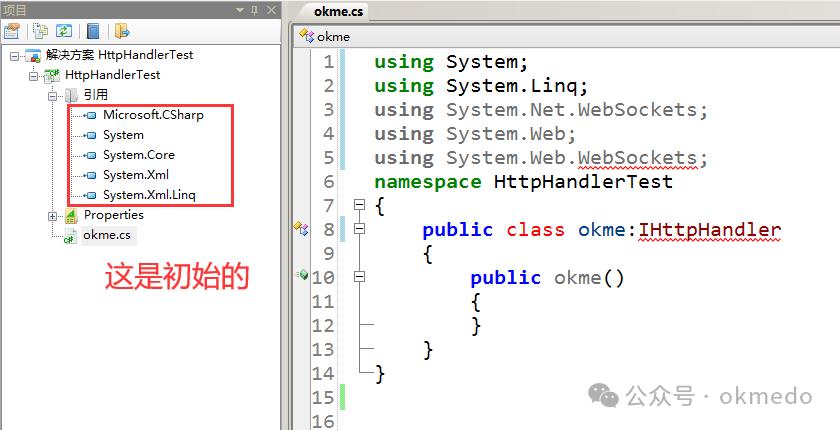
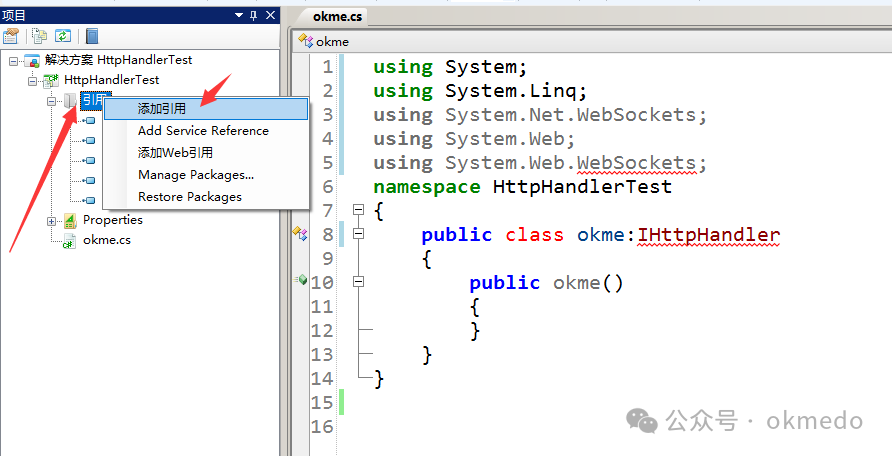
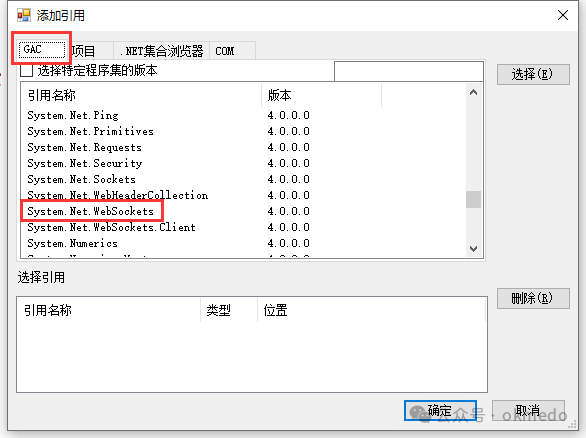
5. Import references
The error above is due to missing references. We can resolve this by importing the relevant references.
Right-click to add references

6. The final example program is as follows
Don’t forget to implement this public bool IsReusable { get { return false; } }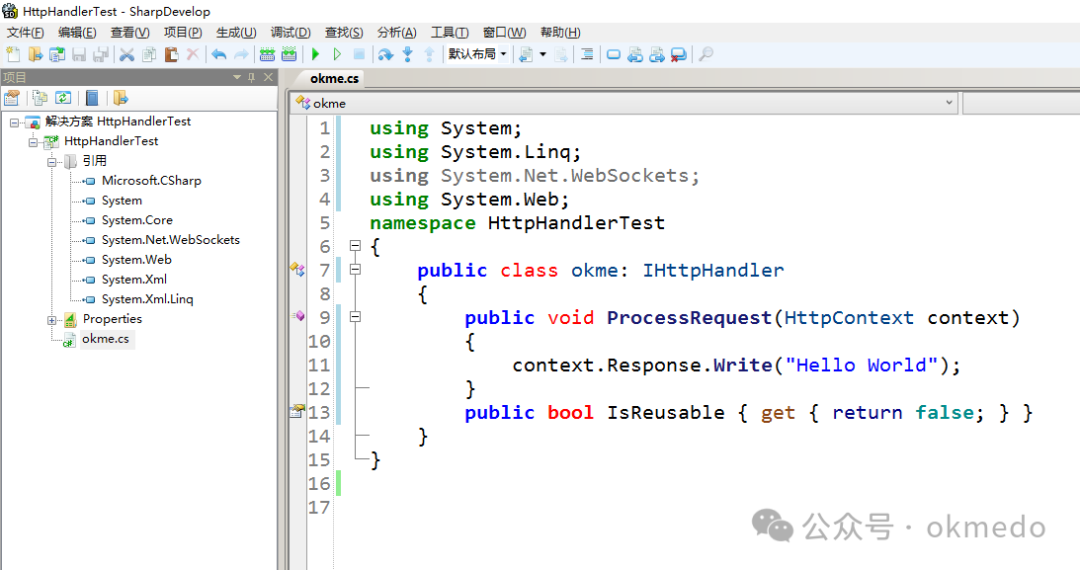
using System;using System.Linq;using System.Net.WebSockets;using System.Web;namespace HttpHandlerTest{ public class okme: IHttpHandler { public void ProcessRequest(HttpContext context) { context.Response.Write("Hello World"); } public bool IsReusable { get { return false; } } }}7. Compile the project to obtain the DLL

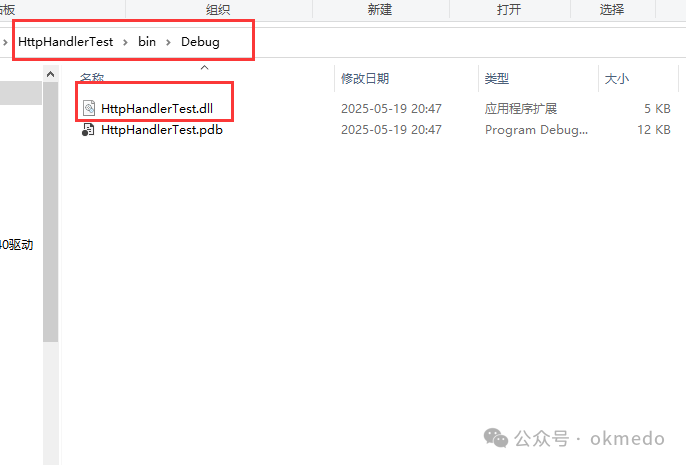
After compilation, a DLL will be generated in the following directory within the project folder
 2. Configuring the IIS Hosted Handler
1. Copy the generated DLL file to the bin folder of the website directory

2. Open the IIS Manager and find “Handler Mappings” in the following directory
It is important to note that you must select the corresponding website program directory here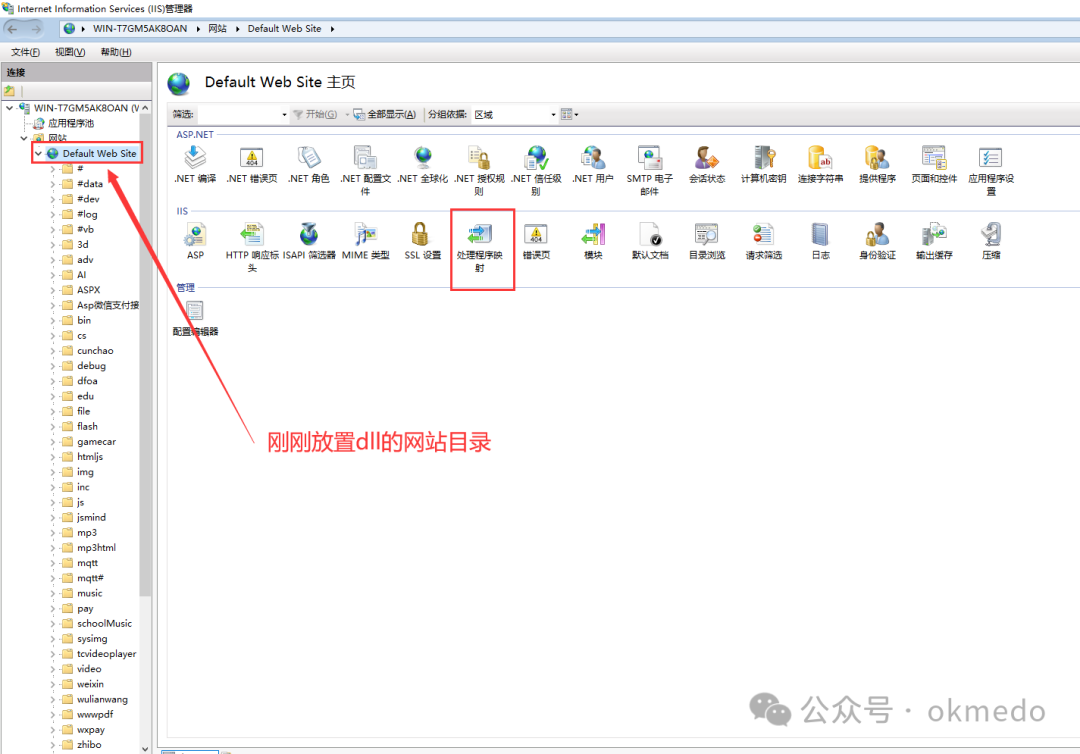
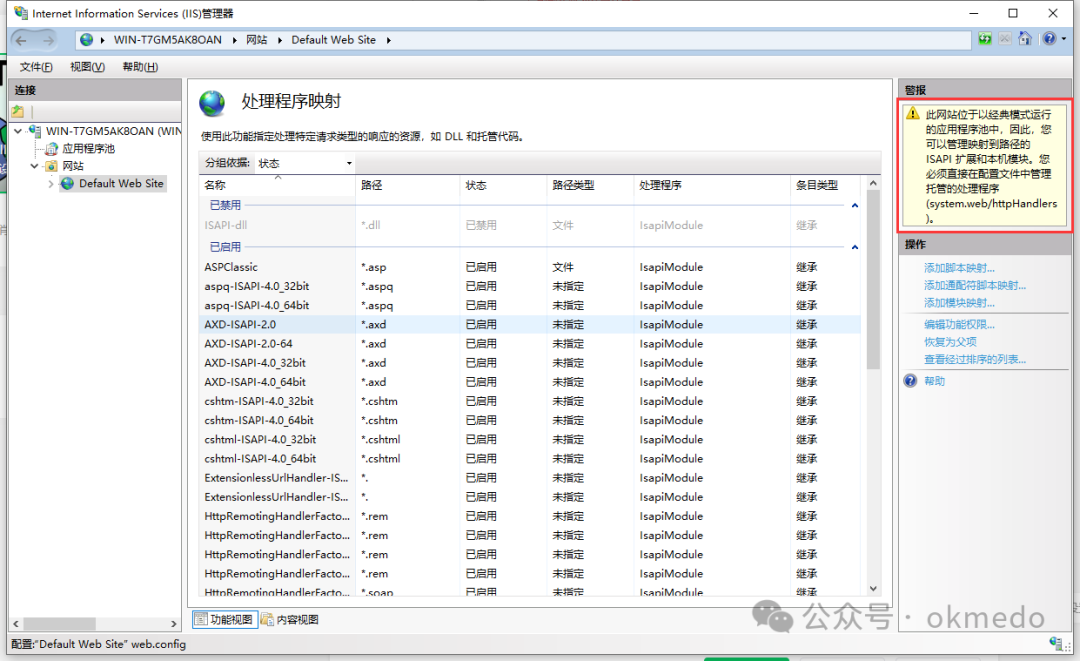
3. Add the hosted handler (there will be an error warning on the right)
4. Set the application pool to “Integrated Mode”
In the previous step, an error warning appeared.
This website is running in an application pool that operates in Classic Mode, so you can manage ISAPI extensions and native modules mapped to the path. You must manage the hosted handlers directly in the configuration file (system.web/httpHandlers). At this point, you can either change the website’s application pool to Integrated Mode or directly configure the mapping in the web.config file. The configuration format is as follows; we choose the former for configuration.
<handlers> <add name="webRTC" path="webRTC" verb="*" type="HttpHandlerTest.okme" resourceType="Either" preCondition="integratedMode" /></handlers>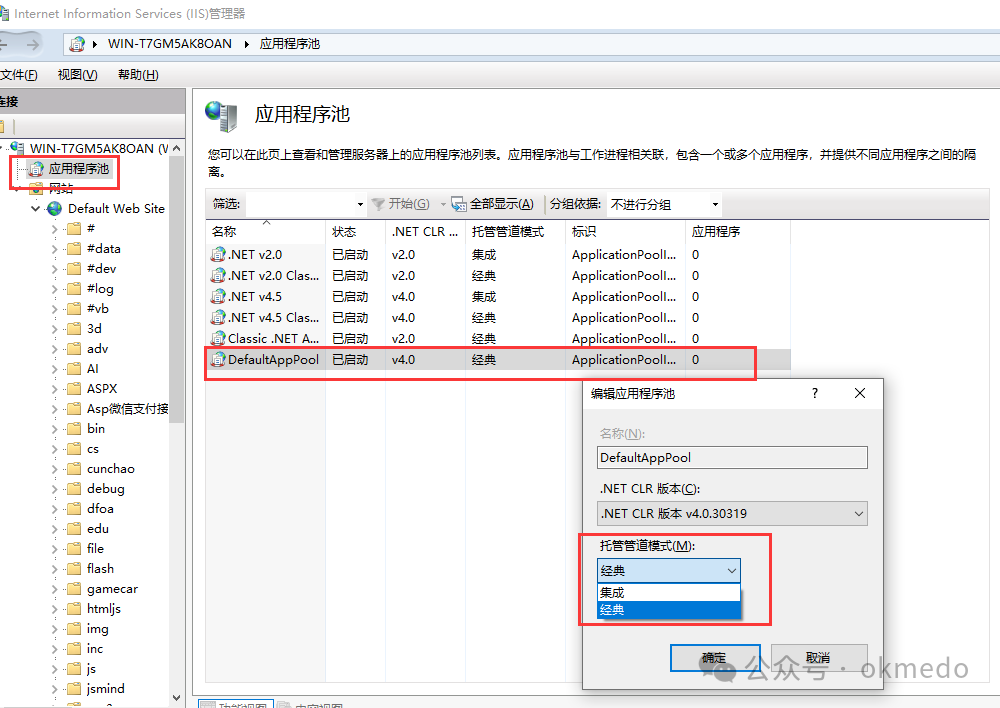
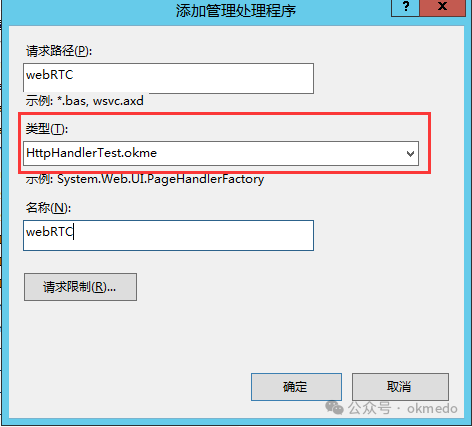
5. Add the program you wrote as a hosted handler
In the image below, the type HttpHandlerTest corresponds to the assembly name, and okme corresponds to the class name. If the request path is configured as webRTC, then any request path containing webRTC will be processed by this program.
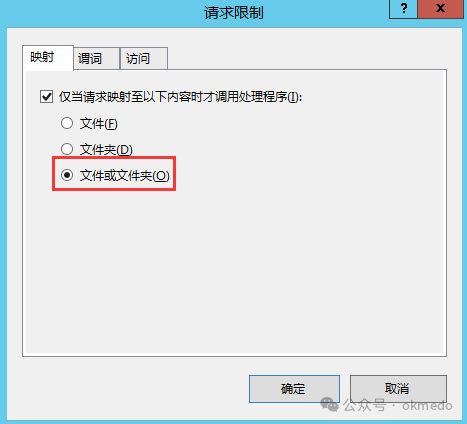
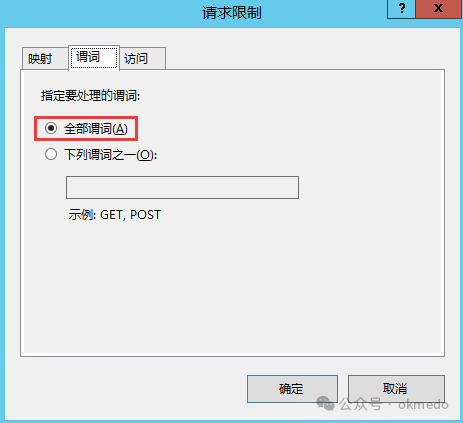
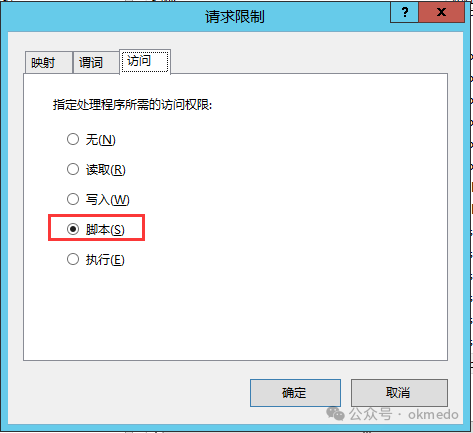
Configure request restrictions
It is particularly important to note that if this includes a folder, then create an empty folder in the website root directory named webRTC. Even if there are no actual files, accessing the path of this folder will allow entry into the program for processing, but this folder must be created, even if it contains no files.
 After configuration, a new record will appear as shown in the image below:

Finally, access the program output in the browser. This is directly accessing the folder, but there are no files in the folder, yet this folder must exist.