Step-by-step guide to building an offline intelligent dialogue robot, complete with open-source code.
1. Introduction (Scenario Introduction)
“When you wake up in the morning, your desktop robot actively reports the weather; during work, it helps you look up information; in the evening, it can chat with you about sci-fi movies… Today, I will use an ESP32S3 development board and a local AI model to implement this super cool DIY project!”
2. Core Content
Part 1: Why Choose ESP32S3?
·Compared to traditional solutions (Raspberry Pi/Arduino): lower cost, dual-core 240MHz performance, WiFi/BLE dual-mode, built-in neural network accelerator.
·Key advantages: supports both MicroPython and Arduino development environments, suitable for rapid deployment of AI models.
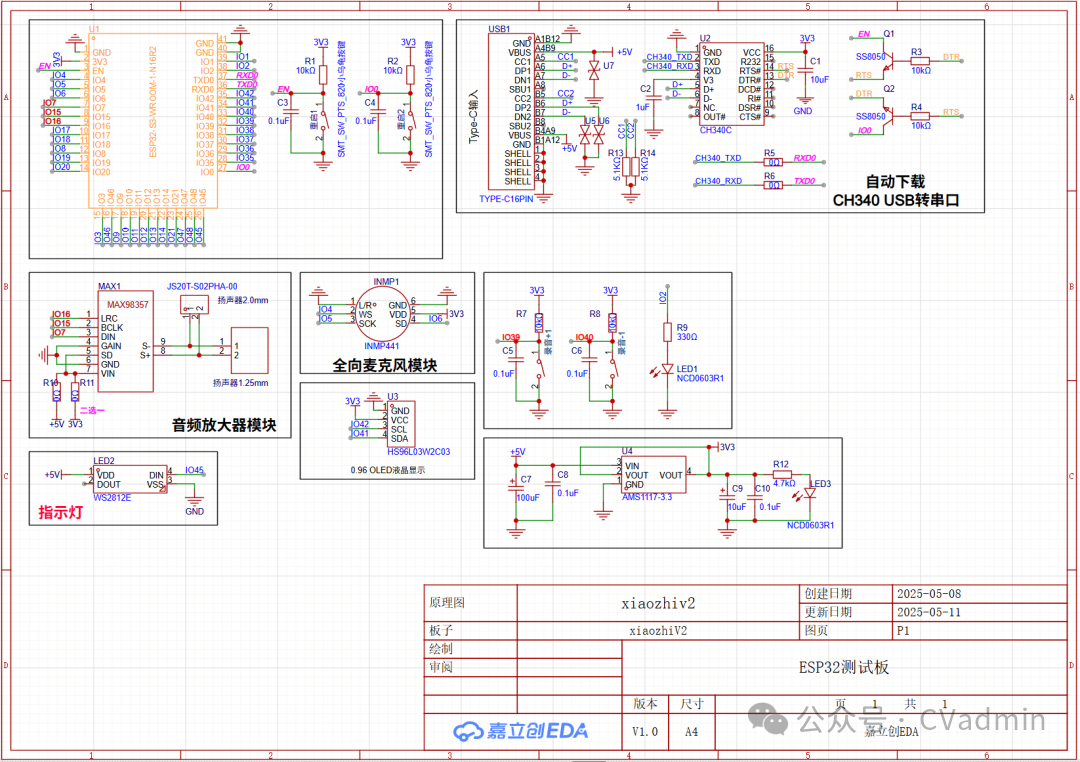
Part 2: Hardware Setup
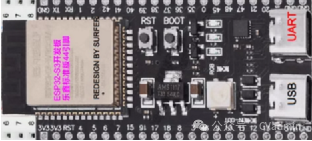
(1)ESP32-S3-N16R8 Development Board
(2) Digital Signal Microphone (INMP441 Omnidirectional Microphone Module)

(3) Audio Amplifier Module (98357A Amplifier)

(4) Speaker (3020 Speaker: 4 Ohm ~ 8 Ohm, 1W ~ 3W speakers can be selected based on your needs)
(5) Screen, either option is fine, must be SSD1306, do not choose SSD135, color is arbitrary
The above links are for reference only; friends can purchase them on Taobao as needed!
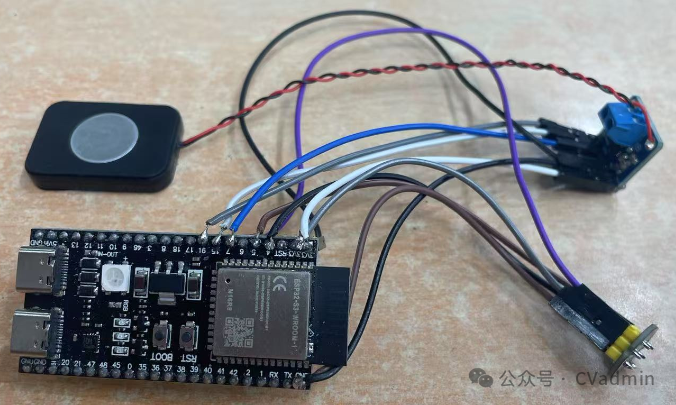
All components are directly soldered together.
Part 3: Software Implementation
Step 1:
Download the code: https://github.com/78/xiaozhi-esp32/tree/v1.6.6
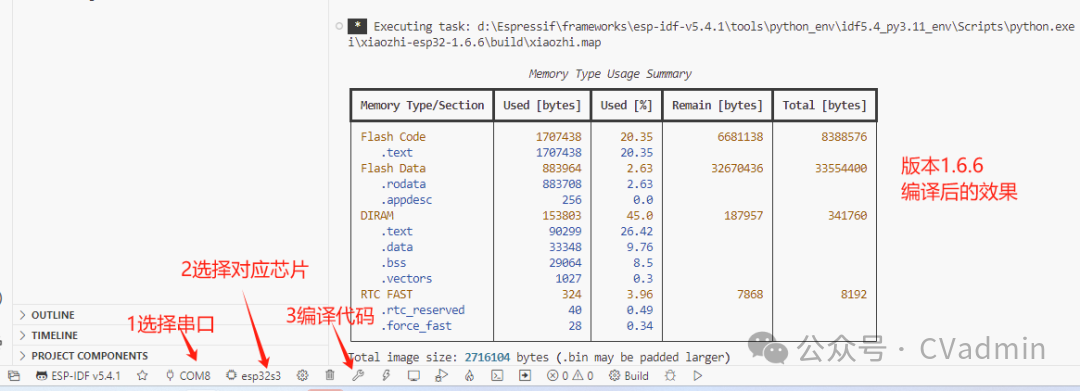
Step 2:
(1) First, open the code using VScode software;
(2) Then, click icon 1 to set the serial port number, click icon 2 to set the chip (I am using the ESP32S3 here);
(3) Then, click icon 3 to compile the code until you see the compilation finish.
(4) Users can modify code parameters as needed (optional)
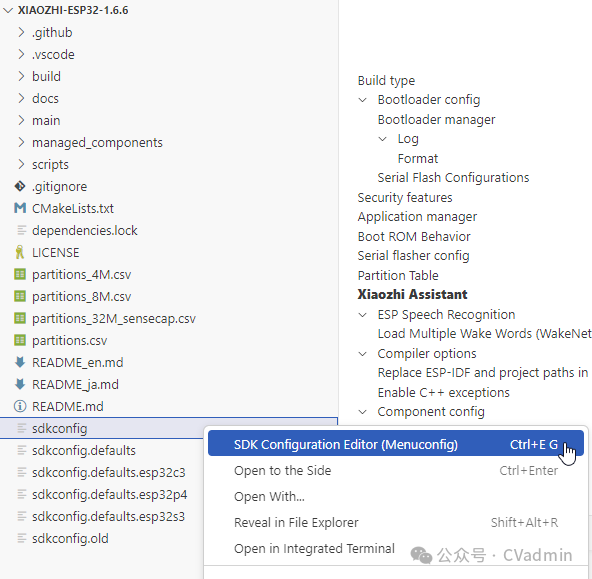
First, select sdkconfig under the project
Then, right-click on “SDK Configuration Editor (Menuconfig)”
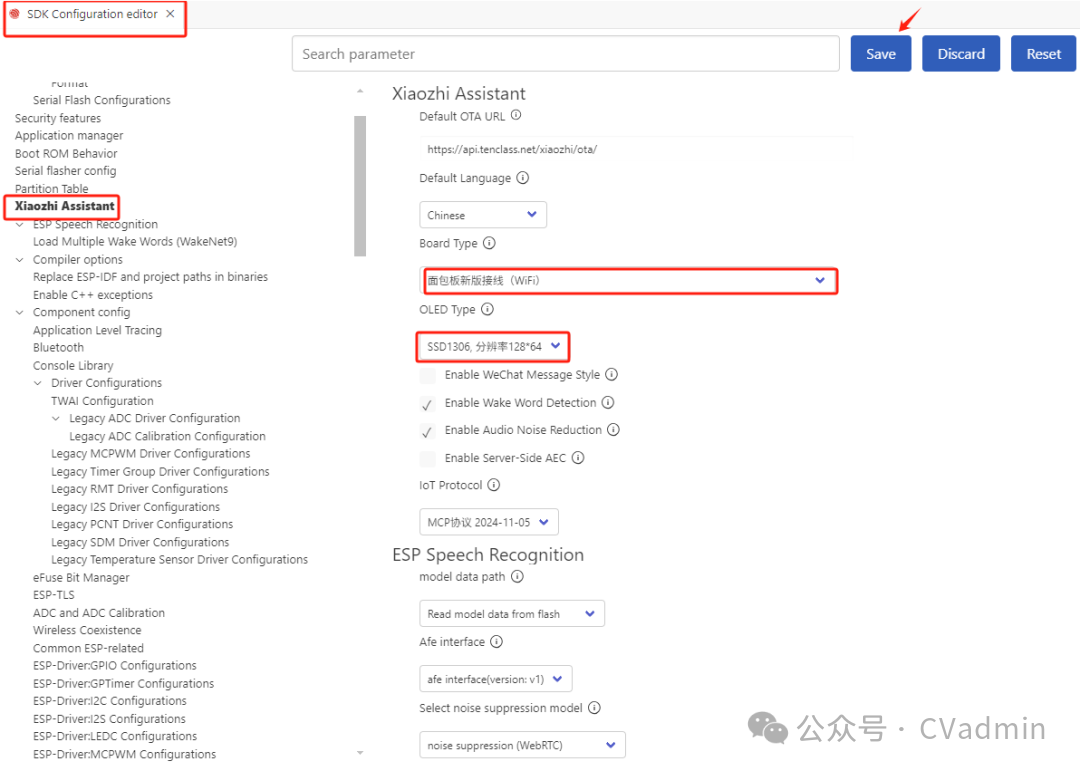
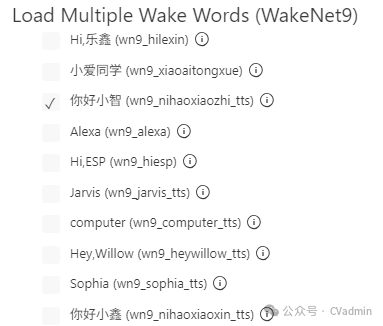
Then, modify the hyperparameters in the code according to the actual hardware situation; such as setting the model of the display, prompts, etc.!
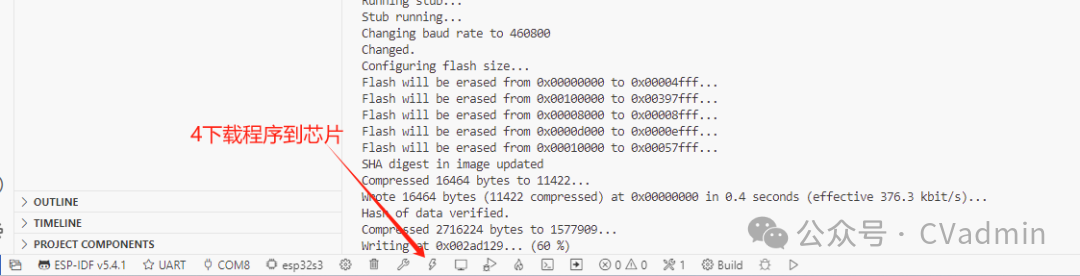
4. If you set sdkconfig, you must recompile the code, and then click to download the program!
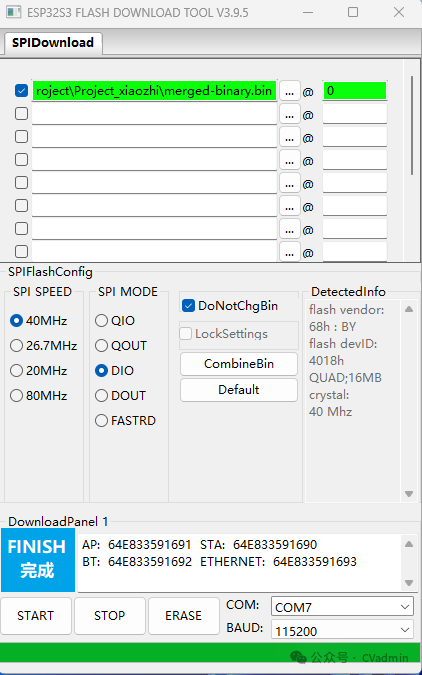
5. For those who have not installed the vscode environment, please directly download the firmware and then flash the firmware!
Download firmware:
https://github.com/78/xiaozhi-esp32/releases/download/v1.6.6/v1.6.6_bread-compact-esp32.zip
Flashing tutorial:
https://ccnphfhqs21z.feishu.cn/wiki/Zpz4wXBtdimBrLk25WdcXzxcnNS
6. After downloading the program, configure the WiFi network
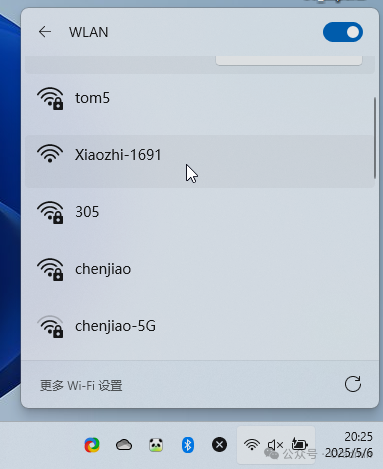
(1) First press the reset button;
(2) Then, connect your computer or phone to Xiaozhi wifi (Xiaozhi-169); After successful connection, please enter http://192.168.4.1 in your browser.
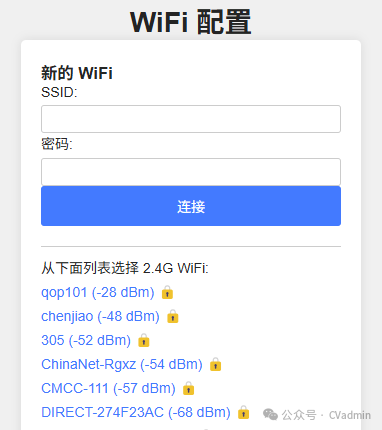
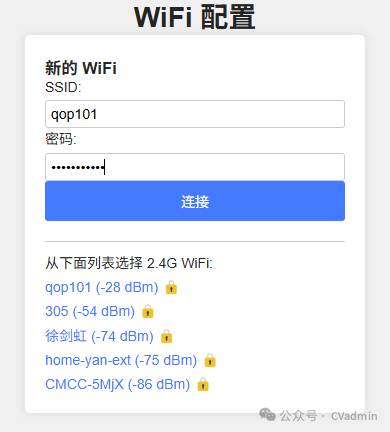
(3) Then, in the pop-up interface, set the WiFi account and password to connect, and after confirming, Xiaozhi will automatically restart!
|
|
|
Next, you can enjoy playing with Xiaozhi!
Source code download: https://github.com/78/xiaozhi-esp32/tree/v1.6.6
If you have any questions, you can follow my public account (CVadmin) or WeChat (liuliu408), and we can communicate together!