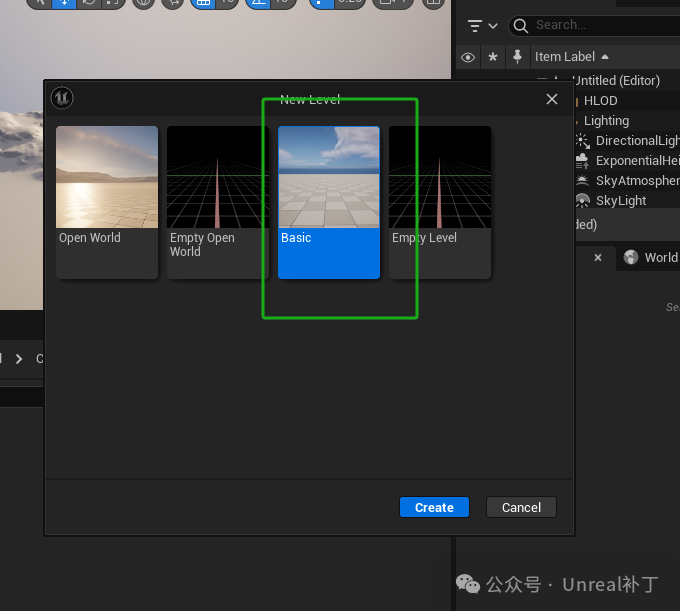
This tutorial is a basic guide that can help C++ beginners establish a C++ working framework for Unreal Engine. Once set up, it allows for convenient C++ and Unreal Engine development practice.1. Editor settings in the new project.1. Create a new Unreal Engine Blank project.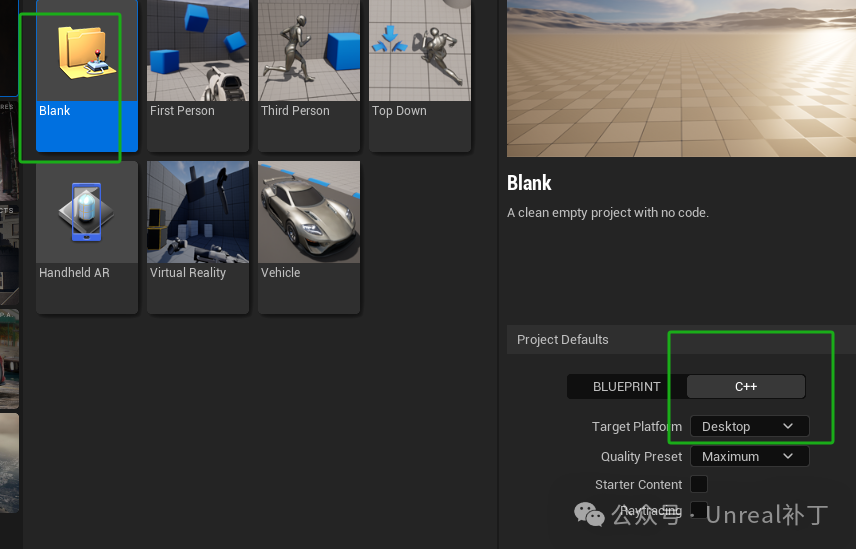 2. Create a new level. The advantage of the Basic level is that the provided model is positioned at the center point, making it simple and easy to use. After creation, save it as mainMap.
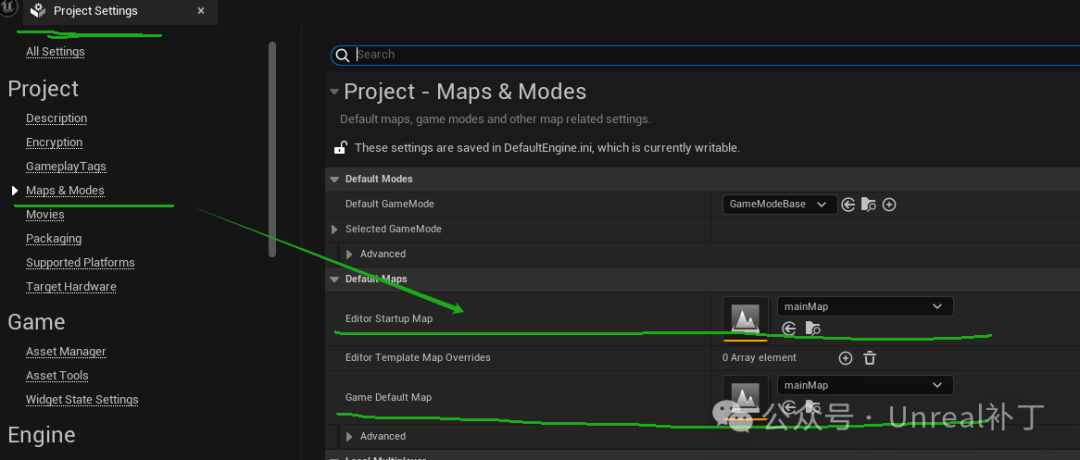
 3. Set the startup level configuration. Go to Edit–Project Settings to ensure that this newly created level, mainMap, is automatically loaded when starting the game and the editor.
 2. Create corresponding control classes.In C++, we need to create some basic classes to control game logic and player behavior.1. Create a HUD class: used to display health bars, scores, player information, etc.
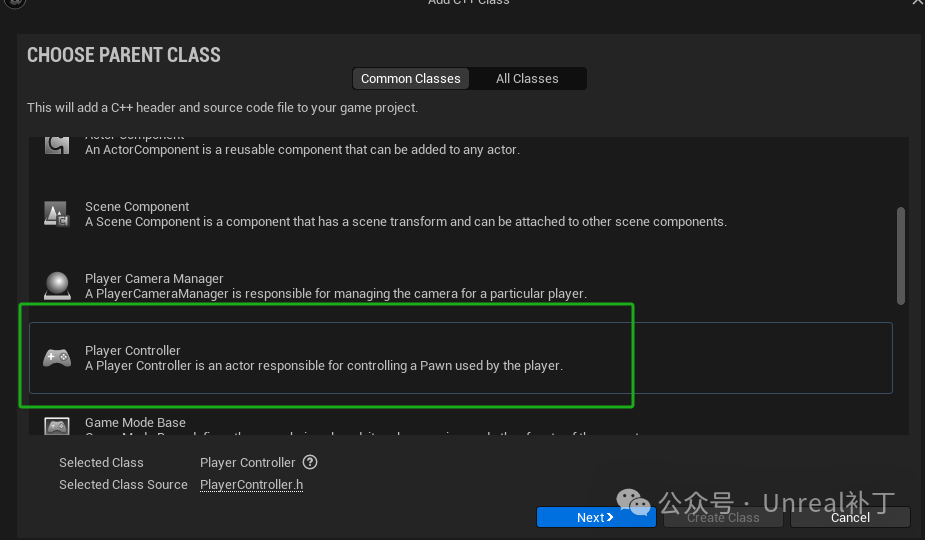
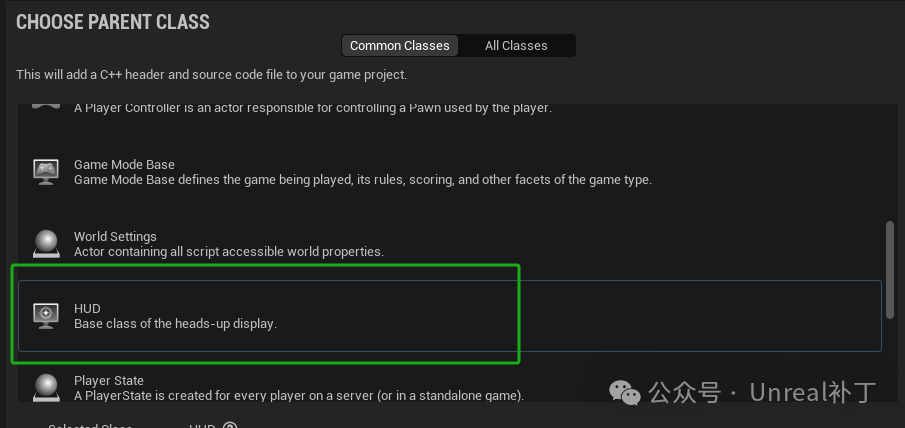 2. Create a PlayerController class: used to control the local player and operation logic.
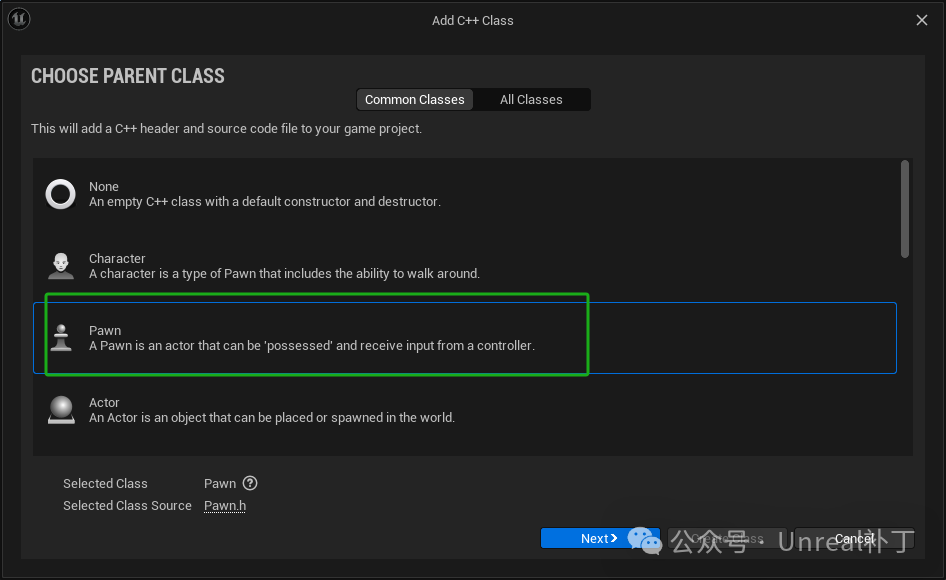
 3. Create a Pawn class: used to create a camera, serving as the main perspective of the game.
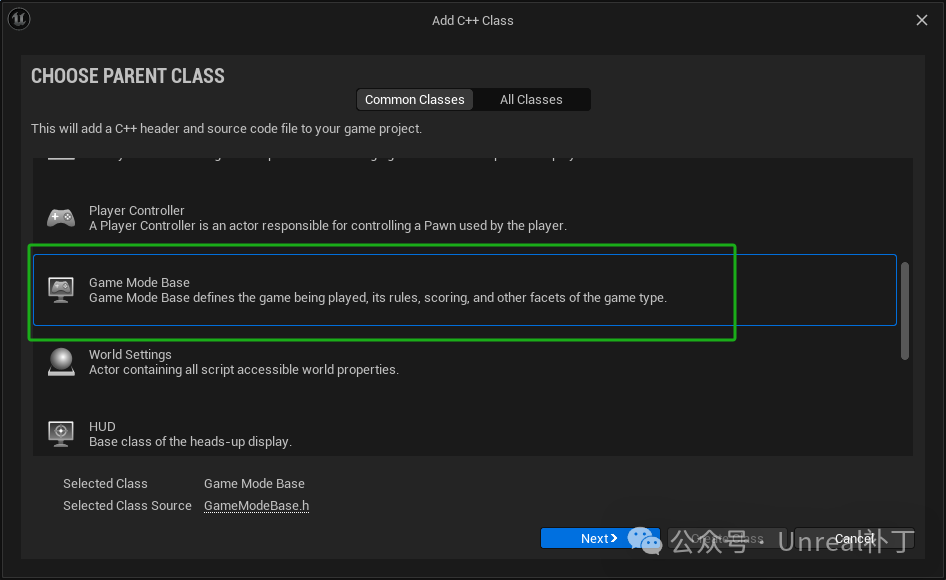
 4. Create a GameModeBase class: the GameModeBase class is used to control the overall game rules and receive the HUD and other classes just created.
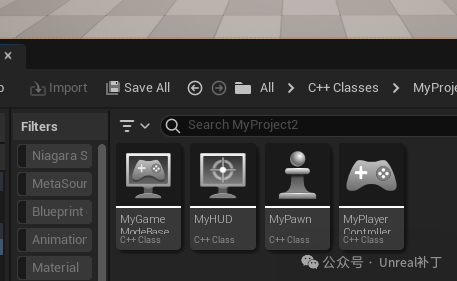
 Finally, it is completed as follows:
 3. Associate the various classes.1. Add MyHUD, MyPawn, and MyPlayerController to the MyGameModeBase class. Open MyGameModeBase for configuration.Open the parent class GameModeBase of MyGameModeBase to view the introduction of several configurable properties.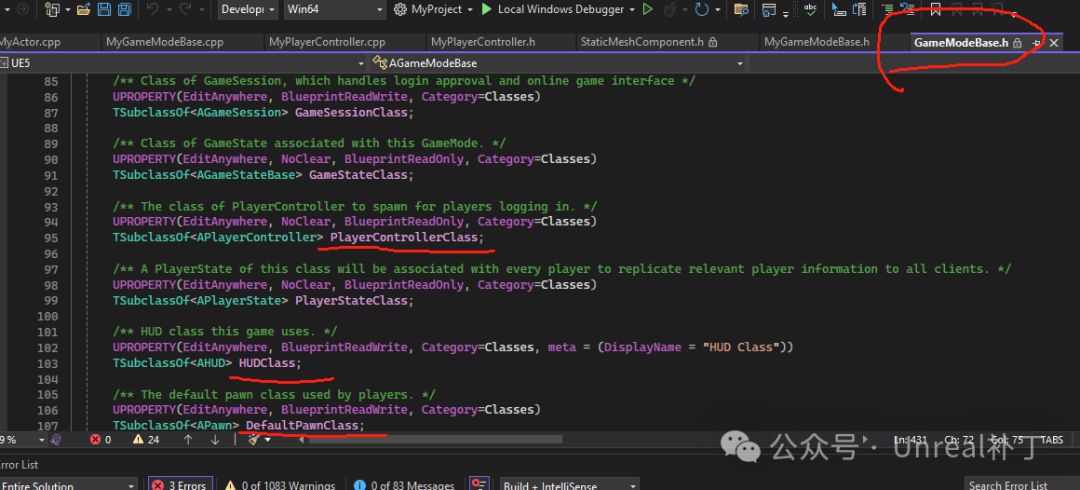
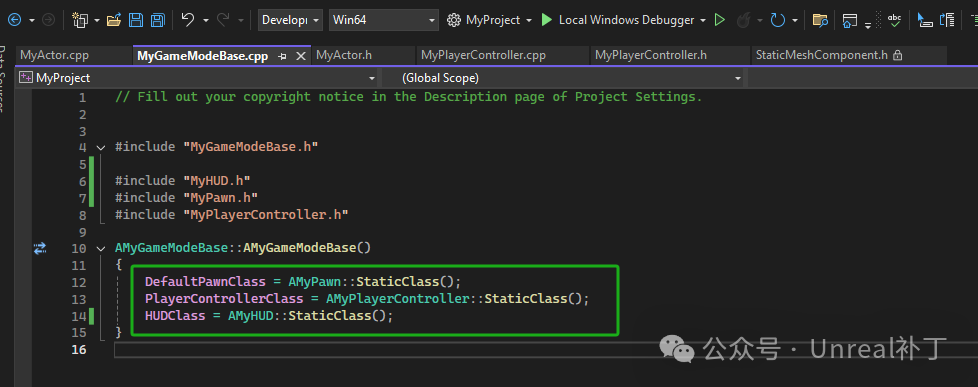
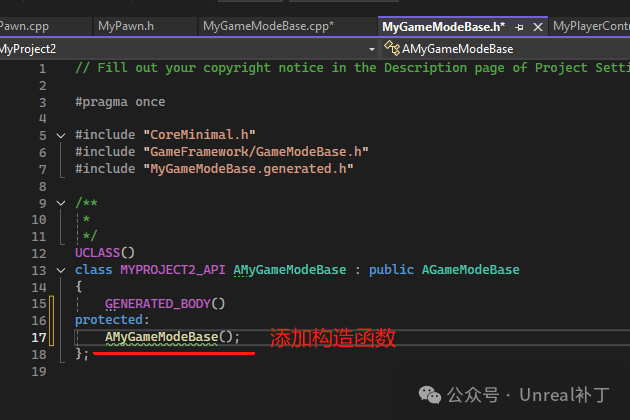 2. Connect the created MyPawn, MyPlayerController, and MyHUD to the MyGameModeBase class. Here, the StaticClass() function will be used to configure class information.
 4. Call the game mode in the editor.
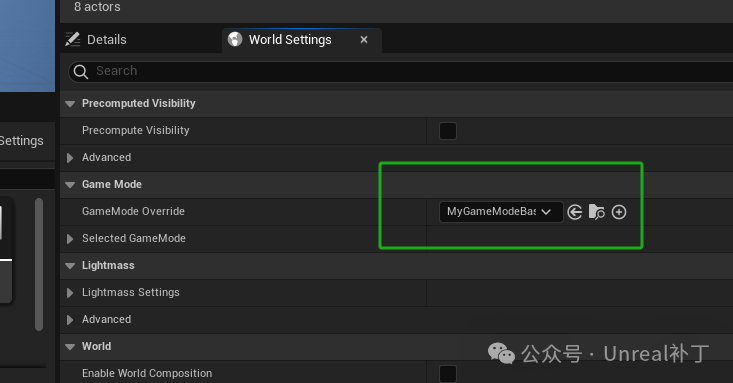 In summary, we have completed a basic Unreal Engine C++ template:
- Custom Pawn for game perspective control.
- Custom PlayerController for handling input.
- Custom HUD for displaying interface messages.
- Custom GameModeBase for managing game logic.
This template can serve as a foundational framework for C++ practice and game development.