1. Introduction to CMake
CMake is a cross-platform build tool, which can generate:
-
Makefile for Linux/Unix
-
Project files for
<span>Visual Studio</span>on Windows -
Project files for
<span>Xcode</span>on macOSwithout manually writing build scripts for different platforms.
2. Installing CMake
-
Windows: Download the installer from cmake.org/download
-
Linux:
<span>sudo apt install cmake</span>(Debian/Ubuntu) -
macOS:
<span>brew install cmake</span>
Verify installation:
cmake --version # Output similar to CMake 3.31.6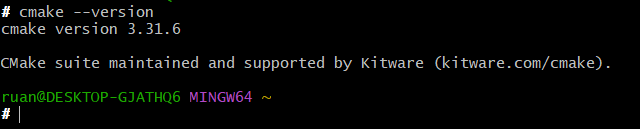
3. Basic Usage
1. Minimal Project
Assuming the project structure is as follows:
my_project/ ├── CMakeLists.txt └── main.cppThe content of <span>CMakeLists.txt</span> is:
cmake_minimum_required(VERSION 3.15) # Minimum CMake versionproject(MyProject) # Project nameadd_executable(my_app main.cpp) # Generate executableContent of main.cpp:
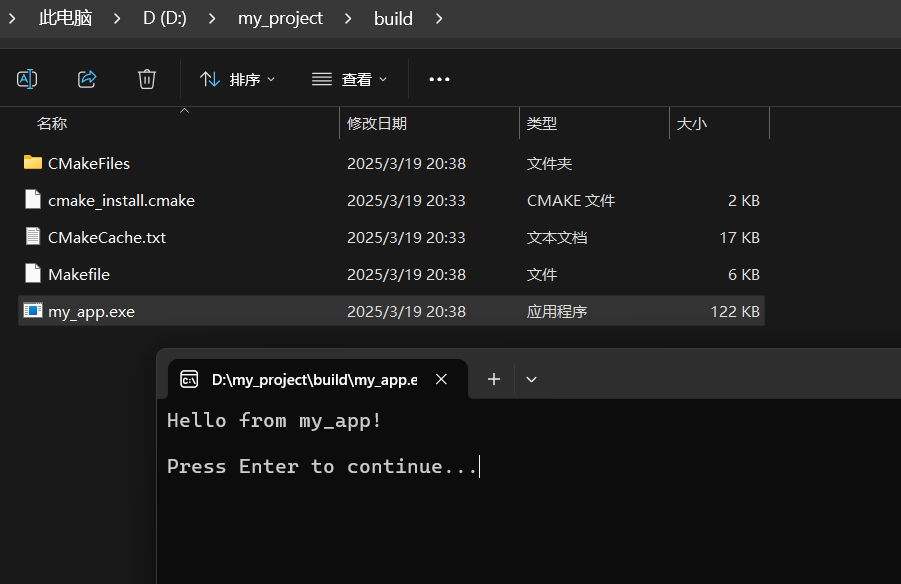
#include <iostream>#include <limits> // Used to clear input buffervoid wait_for_key() { std::cout << "\nPress Enter to continue..."; std::cin.ignore(std::numeric_limits<std::streamsize>::max(), '\n'); std::cin.get(); // Wait for user to press Enter}int main() { std::cout << "Hello from my_app!" << std::endl; wait_for_key(); // Call pause function return 0;}2. Building the Project
mkdir build && cd build # Create build directory (recommended)cmake .. -G "Unix Makefiles" # Generate build system (e.g., Makefile)make # Execute build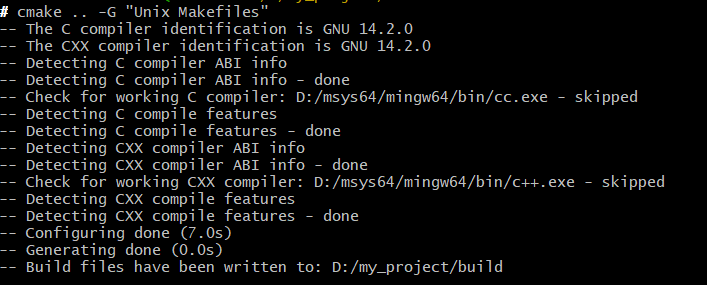

The generated binary file is located in the <span>build</span> directory by default. Double-clicking to execute my_app.exe will yield the following result: