-
Course Objectives
-
Help students master the basic syntax and core concepts of Python, enabling them to independently write simple Python programs.
-
Guide students to familiarize themselves with the usage scenarios and methods of commonly used Python libraries, allowing them to use libraries to solve practical business problems.
-
Through practical project training, enhance students’ code debugging, logical thinking, and project development capabilities.
-
Lay the foundation for students on the applications of Python in popular fields (such as data analysis and web development) to assist in career development.
-
Target Audience
-
Beginners with no programming background who want to learn a programming language.
-
Students who need to supplement their Python skills to meet academic or internship requirements.
-
Professionals who wish to improve work efficiency through Python (such as office automation) or those transitioning to the IT field.
-
Prerequisites
-
Basic computer operation skills and familiarity with the Windows operating system.
-
Basic logical thinking skills, no programming experience required.
Series Article Directory
Chapter 1: Basics of Python Language and Application Areas
1. Course Introduction
Welcome to the Python Development Environment Setup course! In the previous chapter, we learned about the origins, characteristics, and wide application areas of Python, especially its outstanding performance in the field of artificial intelligence. Now, it is time to turn theory into practice — setting up an efficient Python development environment is the first step in writing and running Python code.
In this lesson, we will focus on the steps to download and install Python on the Windows operating system, as well as the installation and basic setup of the PyCharm Community Edition. After completing this course, you will be able to:
-
Correctly download and install the latest version of the Python interpreter
-
Configure system environment variables to ensure that the Python command can be used from any location
-
Download, install, and perform initial setup of the PyCharm Community Edition IDE
-
Install useful PyCharm plugins to enhance development efficiency
Please ensure you have a Windows computer ready and have administrative privileges, as these may be required during the installation process. Now, let’s get started!
2. Downloading and Installing Python
2.1 Downloading the Python Installer
First, we need to download the latest version of the Python installer from the official Python website. As of May 2025, the latest stable version is Python 3.12.0.
Step 1: Visit the Official Python Website
Open your browser and go to the official Python download page:https://www.python.org/downloads/
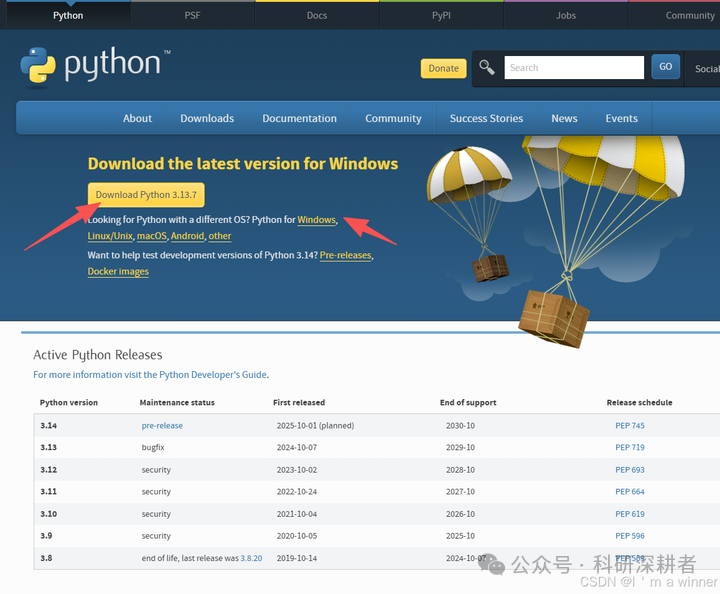
Step 2: Select the Windows Version
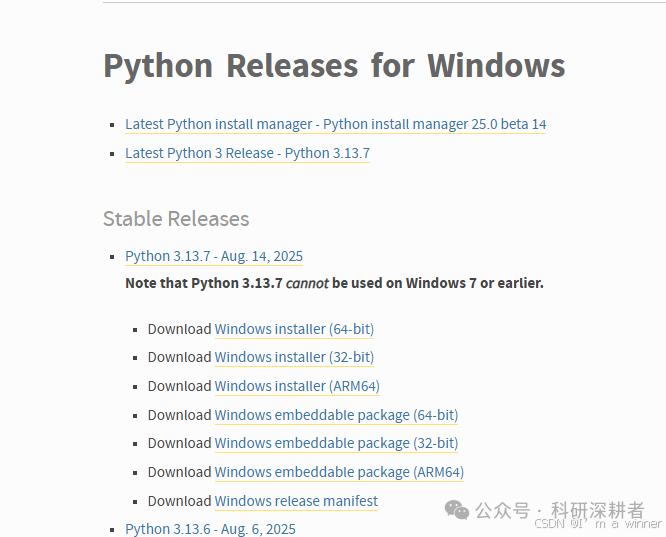
On the download page, find the “Windows” section. You will see several download options:
-
Windows installer (64-bit): Recommended version for modern 64-bit Windows systems
-
Windows installer (32-bit): Suitable for older 32-bit systems
-
Windows embeddable package: An embeddable version suitable for scenarios where installation is not required
-
Windows ARM64 installer: Suitable for Windows devices with ARM architecture (such as some Surface devices)
For most users, it is recommended to choose the **Windows installer (64-bit)** version unless you are sure you need another version.
Step 3: Download the Installer
Click the “Windows installer (64-bit)” link to start downloading the installer. The downloaded file name will be similar topython-3.12.0-amd64.exe.
2.2 Running the Installer
Once the download is complete, locate the downloaded installation file and double-click to run it. During the installation process, pay close attention to the following key steps:
Step 1: Run the Installer
Double-click the downloadedpython-3.12.0-amd64.exe file. If the system prompts you to allow the program to make changes to your device, click “Yes”.
Step 2: Select Installation Options
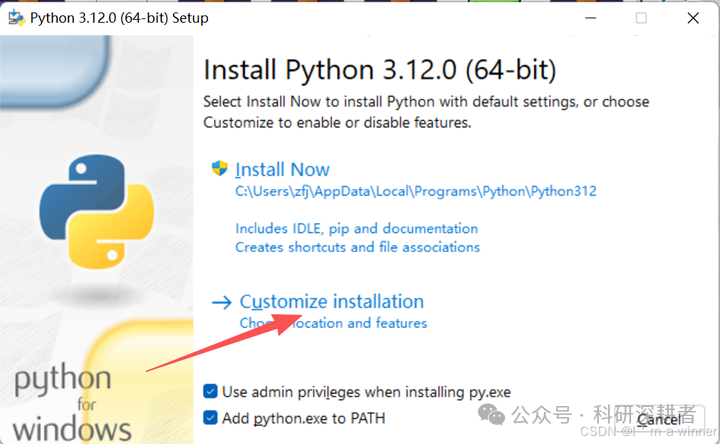
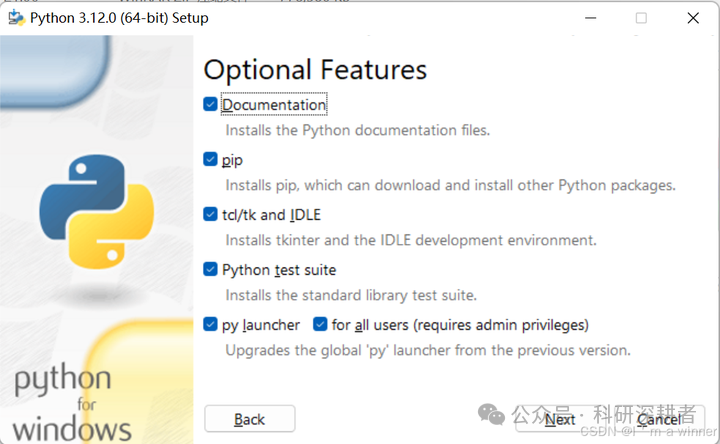
In the first interface of the installation wizard, you will see several important options:
-
Add Python.exe to PATH: This option must be checked, which will automatically add Python to the system environment variables, allowing you to run Python commands directly from the command prompt.
-
Install for all users: This option is not available if the current user does not have administrative privileges.
Step 3: Choose Installation Location (Optional)
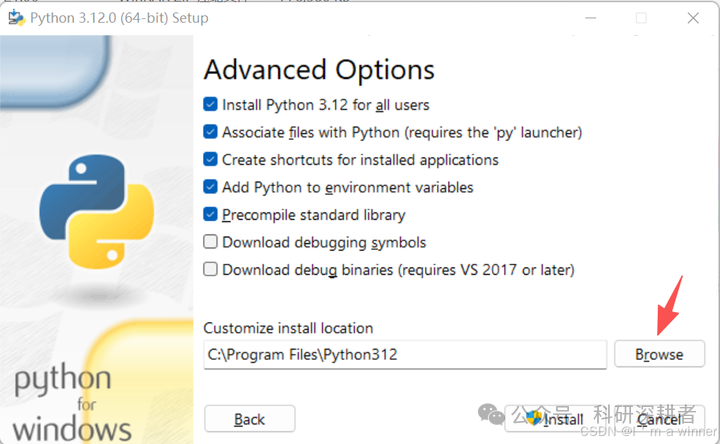
By default, Python will be installed in theC:\Python312 directory. If you wish to install it in a different location, you can click “Customize installation” for custom settings. For most users, keeping the default settings is sufficient.
Step 4: Wait for Installation to Complete
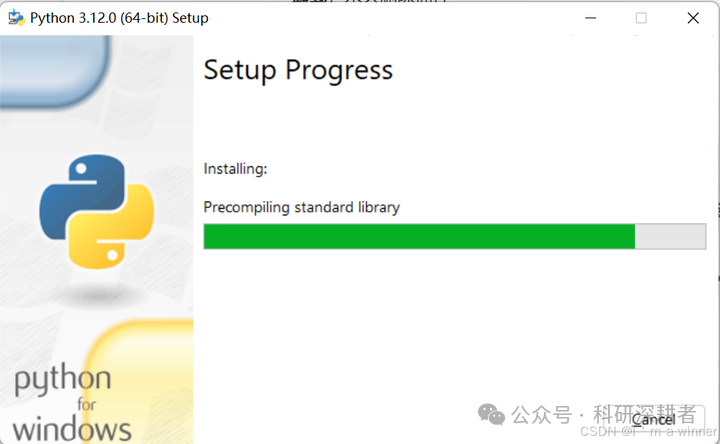
Click the “Install” button to start the installation process. The installation usually takes only a few minutes, so please be patient.
Step 5: Verify Installation
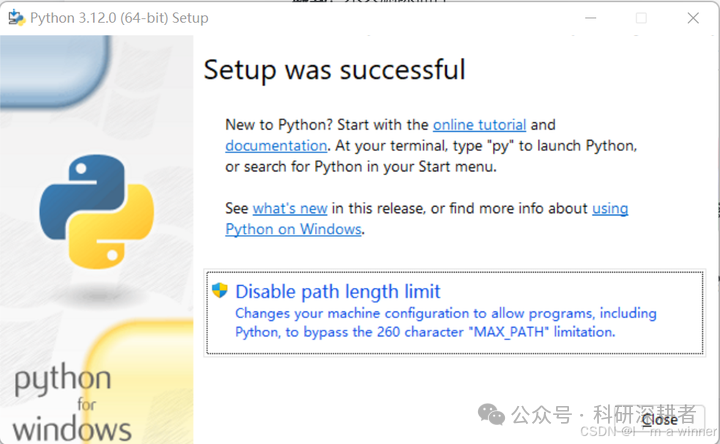
After the installation is complete, click “Close” to exit the installation wizard. Now, we need to verify whether Python has been successfully installed:
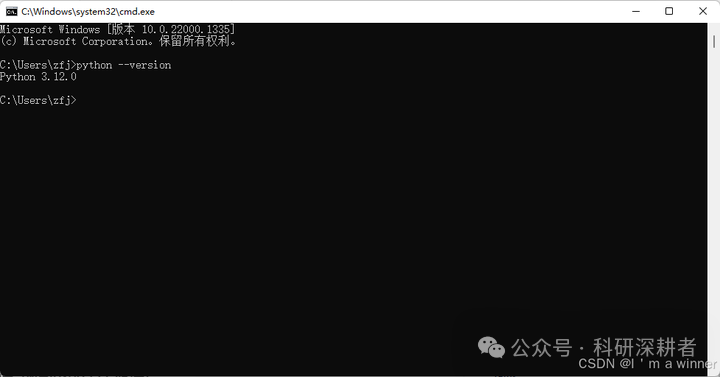
PressWin + R keys, typecmd and hit enter to open the command prompt.
-
In the command prompt, typepython –version, you should see an output similar toPython 3.12.0 as the version number.
-
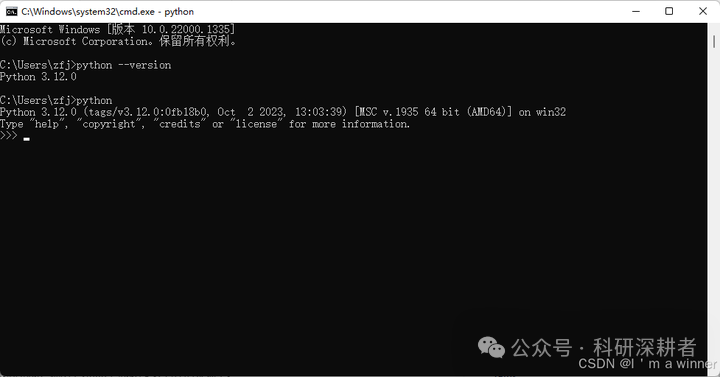
Typepython and hit enter, you will enter the Python interactive interpreter, where you can see>>> prompt.
-
Typeexit() to exit the interpreter.
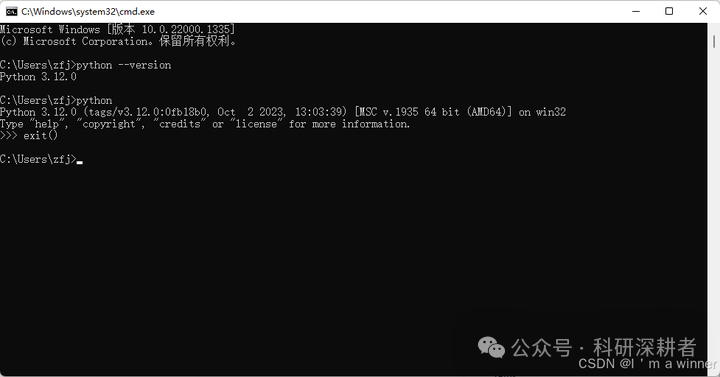
If all the above steps are completed successfully, it indicates that Python has been successfully installed on your system.
2.3 Configuring Environment Variables (if not automatically configured during installation)
In some cases, especially if you did not check the “Add Python to PATH” option, or if you need to change the Python path after installation, you will need to manually configure the system environment variables:
Step 1: Open System Properties
Right-click the “Start” button and select “System”. In the system window, click “Advanced system settings”.
Step 2: Edit Environment Variables
In the “System Properties” window, under the “Advanced” tab, click the “Environment Variables” button.
Step 3: Edit the PATH Variable
In the “System variables” section, find the variable named “Path” and click “Edit”.
Step 4: Add Python Path
Click “New” and enter the Python installation path (default isC:\Python312). Then click “OK” to close all windows.
Step 5: Verify Environment Variable Configuration
Reopen the command prompt, typepython –version, and it should display the correct Python version number.
3. Installing and Configuring PyCharm Community Edition
While you can write Python code using simple text editors and the command line, a professional Integrated Development Environment (IDE) can greatly enhance development efficiency. PyCharm is one of the most popular Python IDEs, and we will use the free Community Edition for development.
3.1 Downloading PyCharm Community Edition
Step 1: Visit the JetBrains Official Website
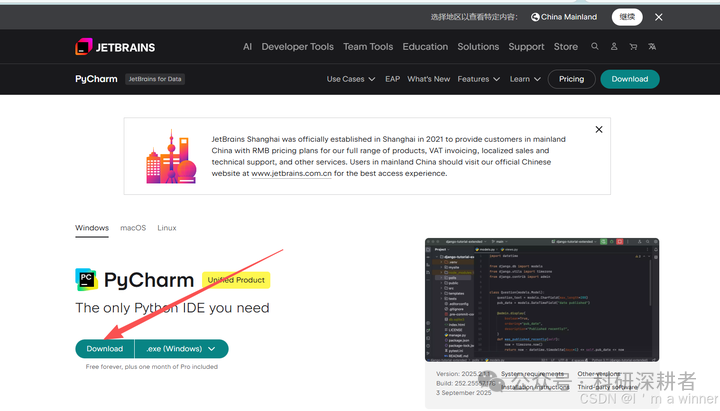
Open your browser and go to the PyCharm download page:https://www.jetbrains.com/pycharm/download/
Step 2: Select Community Edition
On the download page, you will see two main versions:
-
PyCharm Professional: A fully-featured professional version suitable for enterprise-level development
-
PyCharm Community: A free community version suitable for beginners and most development needs
We need to download the Community Edition. In the “Community” section, select the “Windows” version, then click the “Download” button to start downloading.
3.2 Installing PyCharm Community Edition
Once the download is complete, locate the installation file namedpycharm-community-2025.1.exe (the version number may vary over time) and double-click to run it:
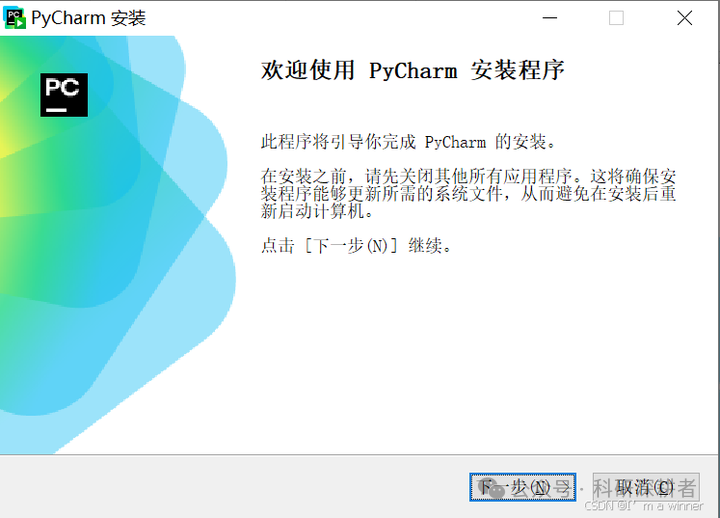
Step 1: Run the Installer
Double-click the downloaded installation file and allow the program to make changes to your device.
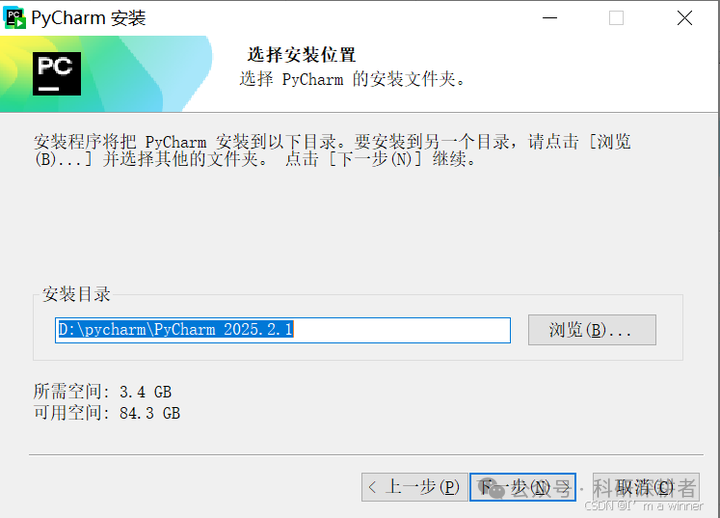
Step 2: Choose Installation Location
Select the installation path for PyCharm, which by default isC:\Program Files\JetBrains\PyCharm Community Edition 2025.1. I installed it on the D drive. Click “Next” to continue.
Step 3: Select Additional Tasks
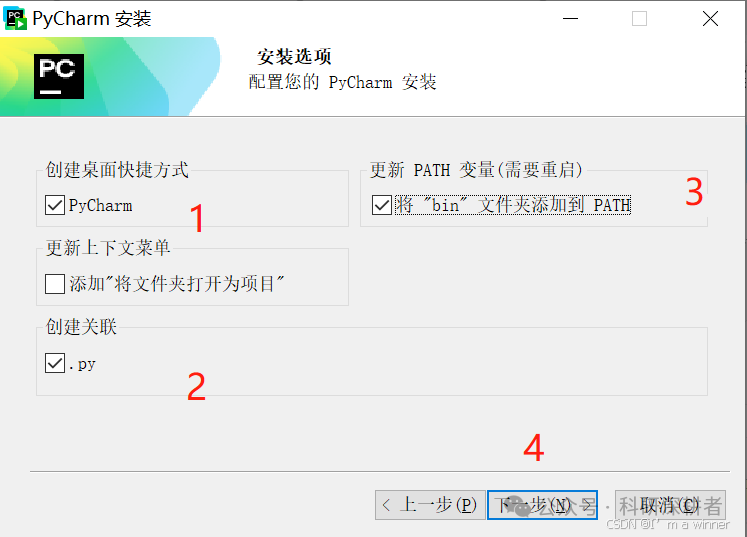
At this step, you can choose:
-
Create Desktop Shortcut: Create a desktop shortcut (recommended)
-
Create Associations: Associate .py files and Python file types (recommended)
-
Update PATH variable (restart needed): Update the system PATH variable (optional)
Select these options based on your needs, then click “Next” to start the installation. Step 4: Choose Start Menu Folder
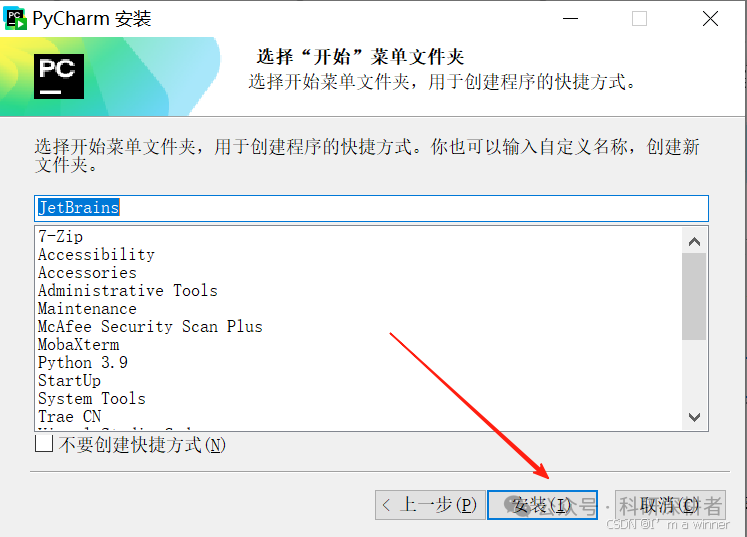
Keep the default settings and click “Install”.
Step 5: Wait for Installation to Complete
The installation process takes a few minutes, so please be patient.
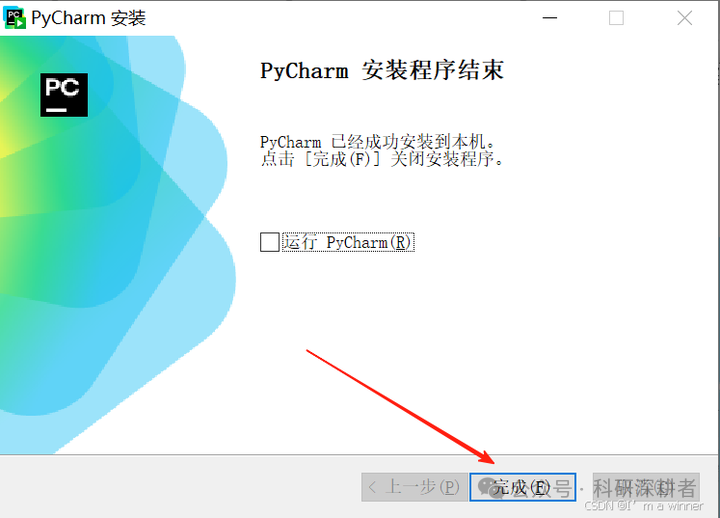
Step 6: Complete Installation
After the installation is complete, click “Finish” to close the installation wizard.
3.3 First Launch and Basic Settings
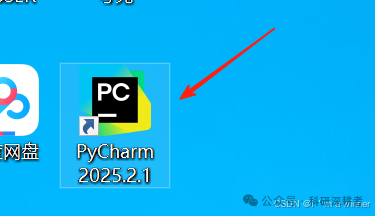
Step 1: Launch PyCharm
Find the PyCharm desktop shortcut or launch PyCharm from the start menu.
Step 2: Select Configuration (First Launch)
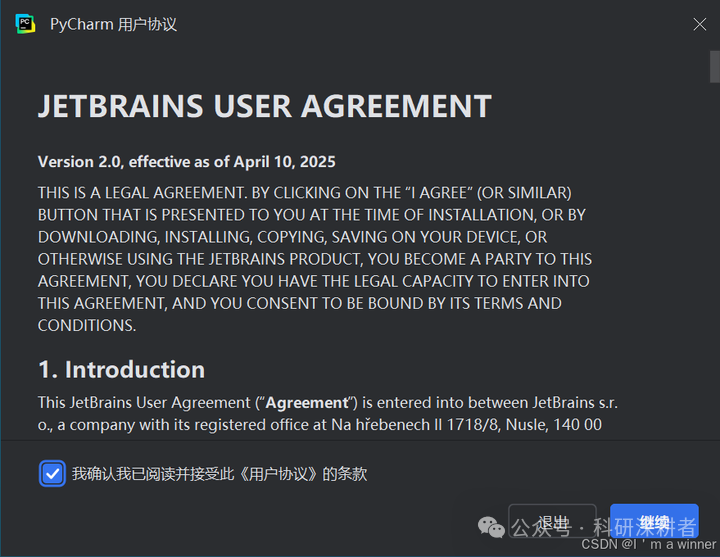
On the first launch, PyCharm will ask if you want to import previous settings. If you are using it for the first time, select “Do not import settings” and click “OK”.
Step 3: Choose UI Theme
PyCharm offers two main UI themes:
-
Darcula: Dark theme, suitable for long working hours
-
Light: Light theme, suitable for bright environments
Select your preferred theme, then click “Next: Customize”.
Step 4: Select Plugins (Optional)
PyCharm allows you to install additional plugins on the first launch. For beginners, it is recommended to skip this step for now; we will cover plugin installation later. Click “Start using PyCharm” to enter the main interface.
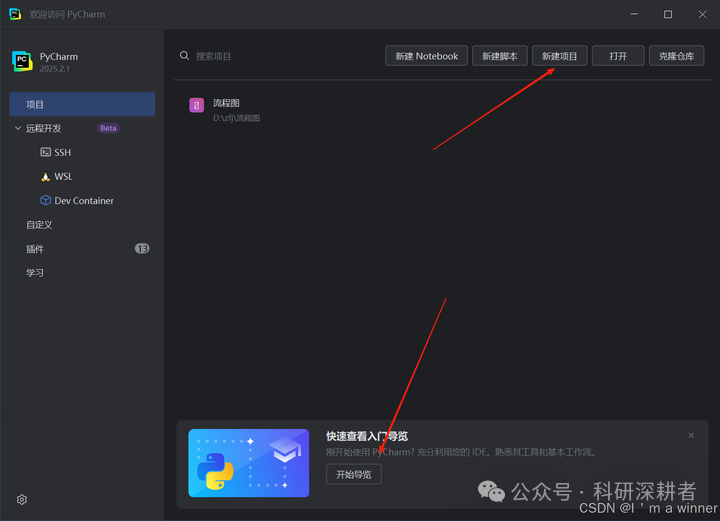
Step 5: Create a New Project
In the main interface of PyCharm, click “New Project” to create a new Python project:
Choose the project save path
-
Select Interpreter: If PyCharm automatically detects the previously installed Python 3.12, select it directly; if not, click “…” to manually locate thepython.exe file in the Python installation directory.
-
Click “Create” to create the project.
To be continued…