This is the last article of the Year of the Tiger. Continuing from the previous content, let’s talk about how to improve the usability of hardware.
Introduction
If your requirements are very simple and clear, and you do not need a user interface, the Ubuntu Server mentioned in the previous content should already be able to meet your needs.
However, if you, like me, want to use a relatively simple and beautiful interface to manage configurations and view status, you might consider using a simple WebUI to solve the problem (lazy).
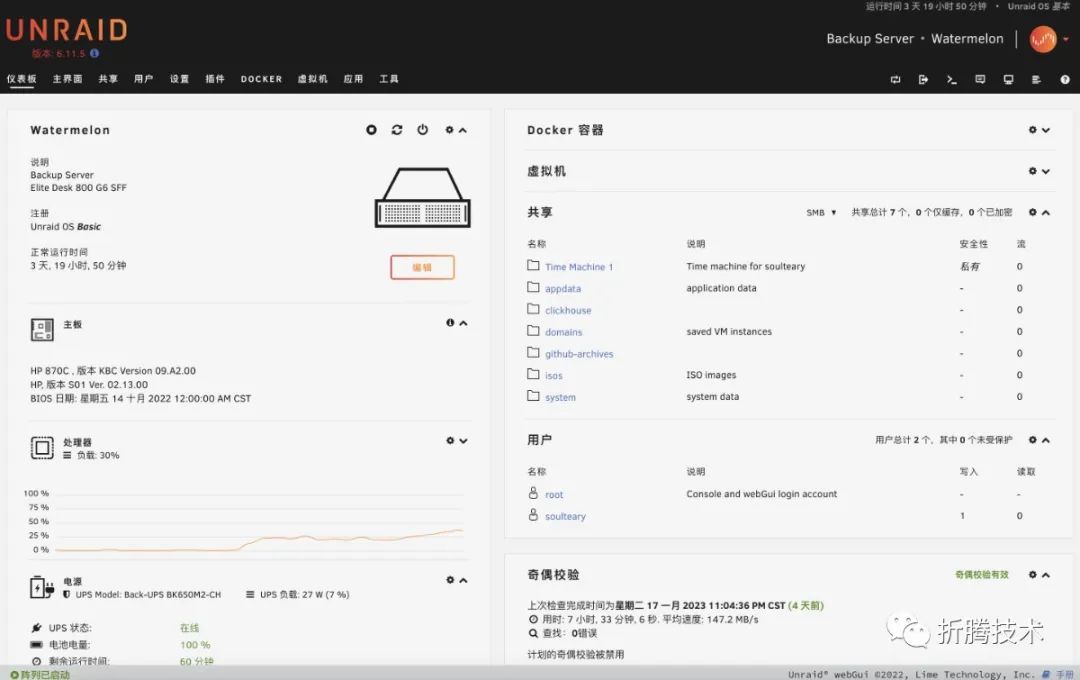
If you have already chosen to set up an Unraid device, you can go directly to the next section. If you want to understand the other factors that influenced my choice, you can continue reading the content related to “System Selection” below.
System Selection: Unraid vs TrueNAS or Others
As mentioned in the previous article and in the “online discussion”, I wanted to avoid using relatively “black box solutions” or unauthorized solutions as much as possible. Therefore, the Windows Server version with a good management interface and a lot of feature optimizations, and the Synology DSM interface that has been validated by a large number of users were naturally excluded. After ruling out these two options, the highly popular TrueNAS (FreeNAS) and Unraid naturally came into the decision-making scope.
The biggest hardware requirement difference between these two systems for users is whether they relatively rely on ECC memory. After the previous article was published, there were some discussions in the comments section. Simply put, whether to use ECC memory is one of the key factors affecting users’ choice of TrueNAS.
The core hardware guide document of TrueNAS emphasizes the importance of memory for TrueNAS. Firstly, every component of the system relies on memory to enhance overall performance; secondly, it avoids potential memory errors caused by device and memory issues, leading to data “transcription” errors, data loss, and corrupted data writes.
Unraid defaults to using XFS but allows us to adjust the default configuration to Btrfs to achieve data protection capabilities similar to ZFS. Compared to ZFS, Btrfs further reduces the dependency on ECC memory. Of course, if ECC memory can be used, reliability can be further improved. Synology released a white paper after enabling Btrfs as the main file system; you can learn more details by searching for “Data Protection Technologies” in the white paper.
Since the device I chose in the previous article does not support ECC memory, Unraid is a good choice for me. If you have “ECC anxiety”, perhaps reviewing the article’s conclusion on “Using Btrfs to Alleviate Data Integrity Panic” can provide some relief. Because in most cases, using reliable disks, paired with parity disks and reliable file systems, along with stable power guarantees, non-ECC memory is also fine.
Installing Unraid
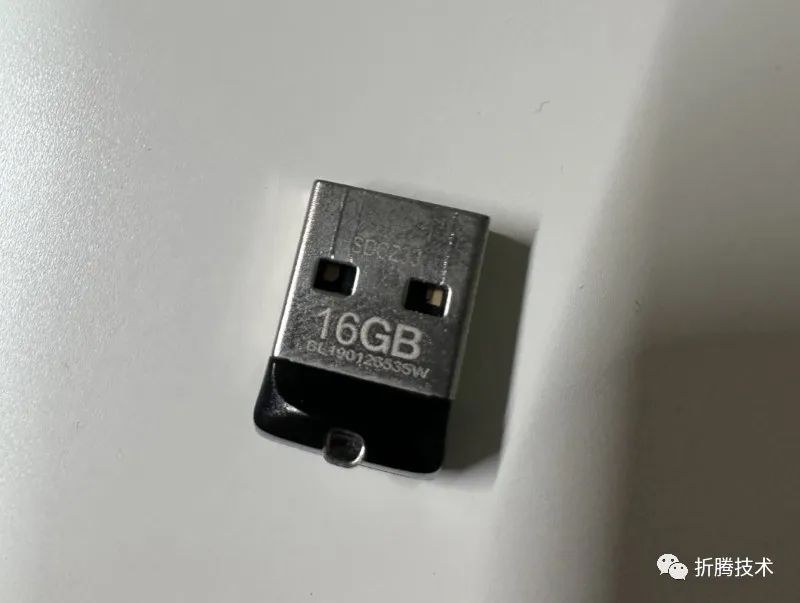
The simplest Unraid installation scheme is to create a USB installation (boot) disk. I just happened to have an unused 16GB USB drive, so I used it. This USB drive will be plugged into the device throughout the use process, so it is recommended to choose a drive with good quality & reputation. If you have a reliable TF card and card reader, that works too.
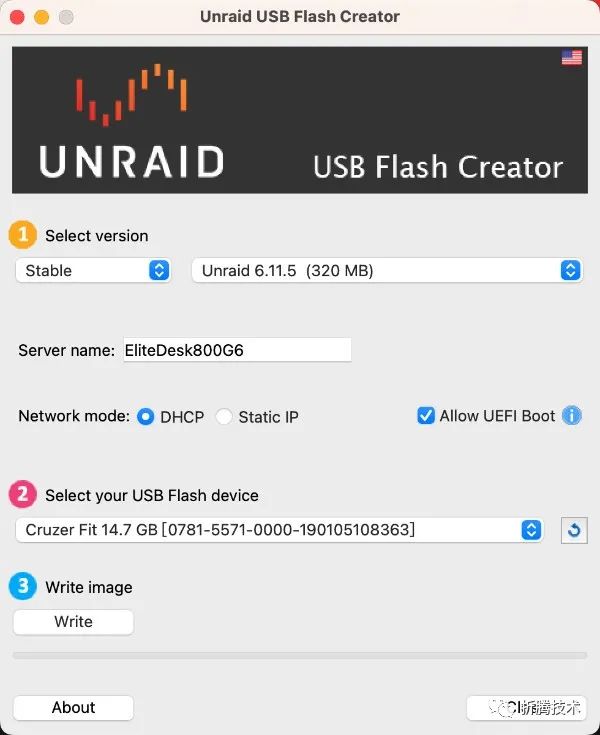
Visit the Unraid official website[7] to get the USB installation disk creation tool suitable for your operating system version on the download page.
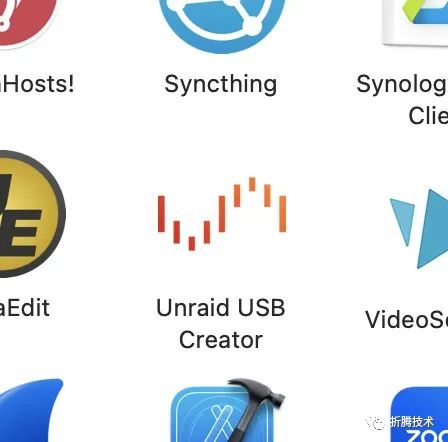
Open the tool and it’s recommended to select the default “stable” version. If you don’t want the tool to automatically download the image from the official website, you can manually download different versions of the system image provided on the official download page. If you are unclear about the specific differences between each version and what specific usage differences they have for your hardware, I recommend always choosing the latest stable version that includes updates.
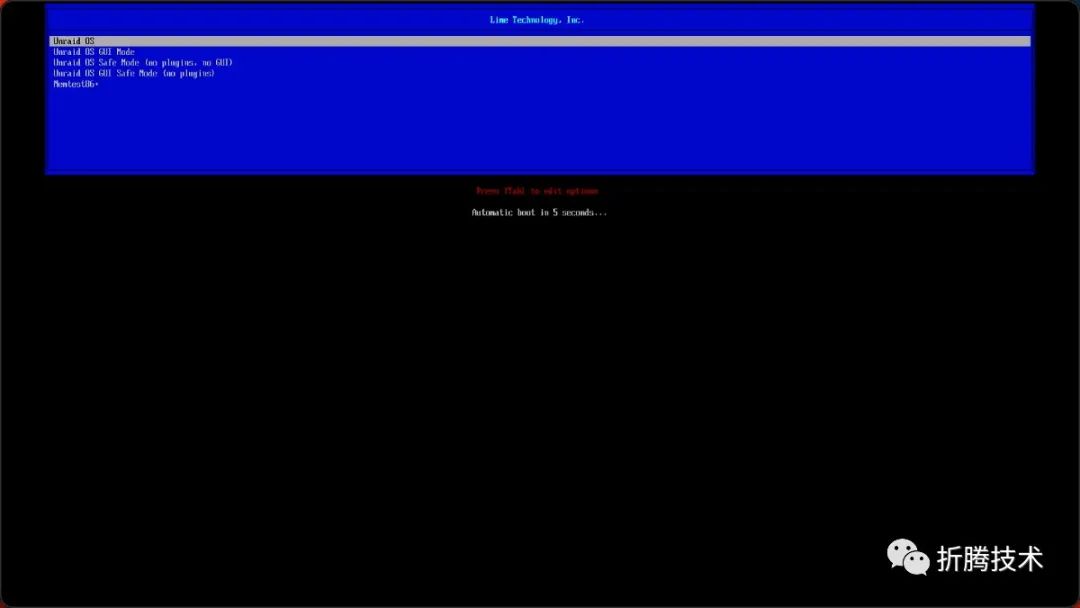
After completing the creation of the boot disk, insert the USB drive into the machine and restart it. You will see the familiar Grub boot interface; we can simply press Enter to enter the system. It is recommended to connect a monitor or video capture card during the first installation to observe if there are any abnormalities. After normal use, there is no need to connect video output devices.
After starting the boot, the interface will continuously output logs. After a moment, when the log output is complete, the first step of the “installation” is complete.
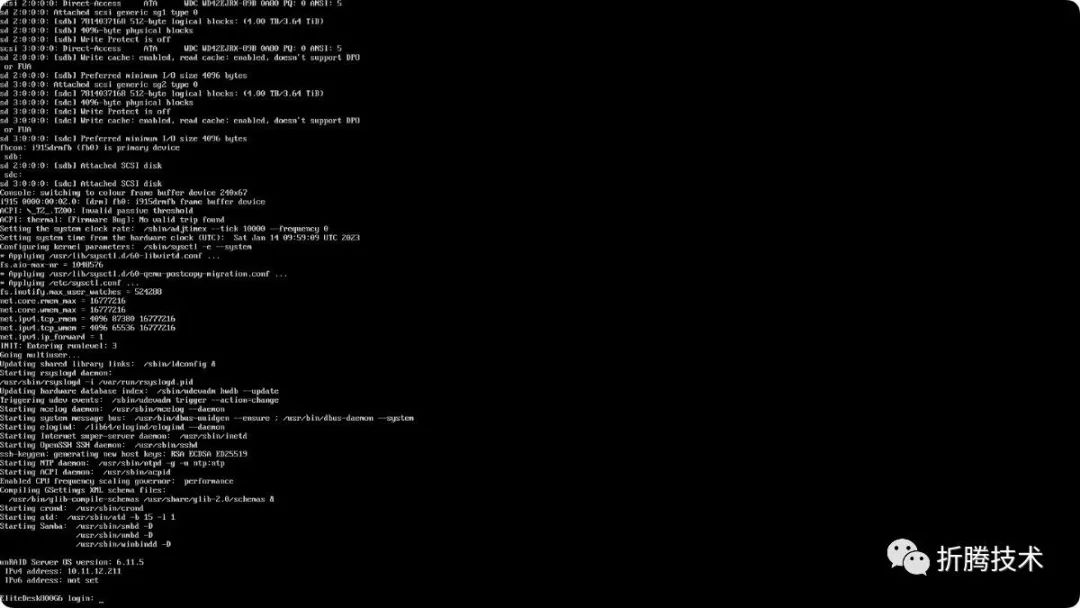
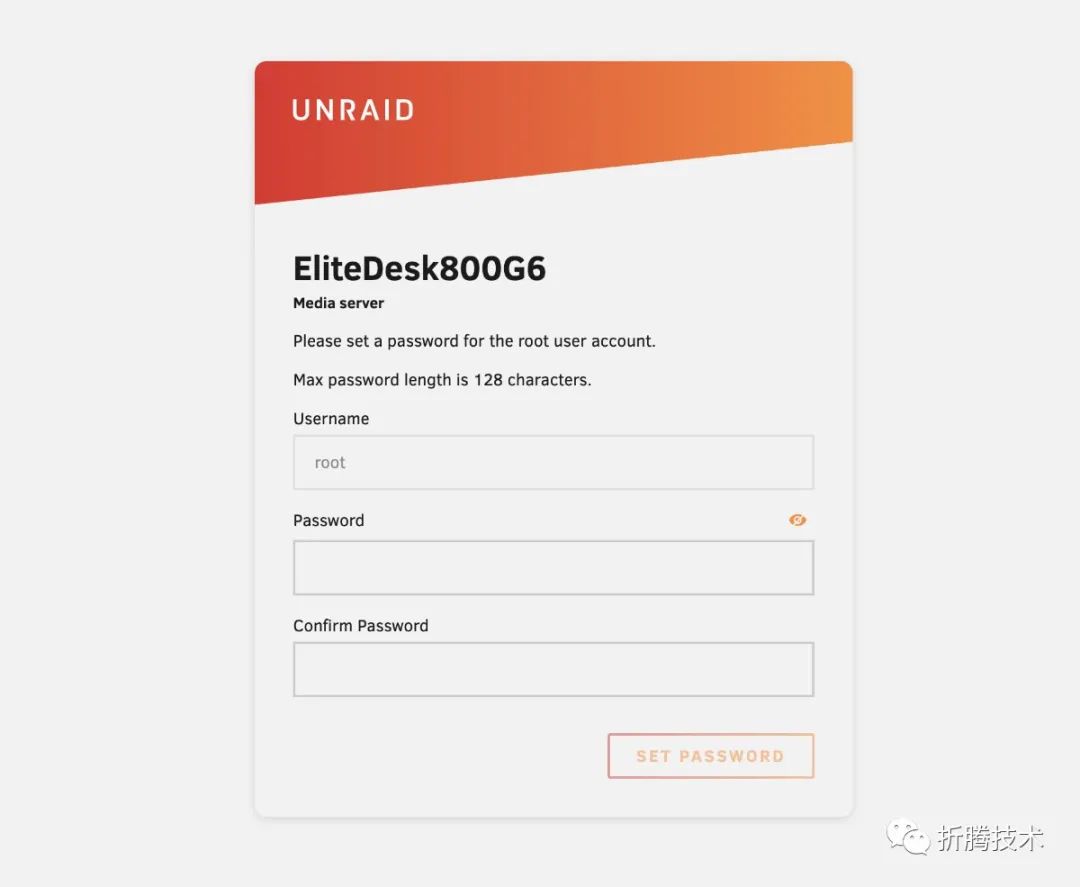
Access the IP address “10.11.12.211” output in the logs to open the management page. On the opened page, complete the super administrator user password setting, and the basic installation of Unraid is finished.
If your router has IP binding or DHCP settings, you can fix the IP of the Unraid machine. Of course, if you prefer not to use a fixed IP, you can use arp -a to scan the local area network each time you use the Unraid device to get the device’s IP address.
If you encounter issues during the installation process, you can refer to the “Pitfall” section below.
Planning Disk Usage
After setting the super administrator password and logging into the system, we need to plan the usage of the disks.
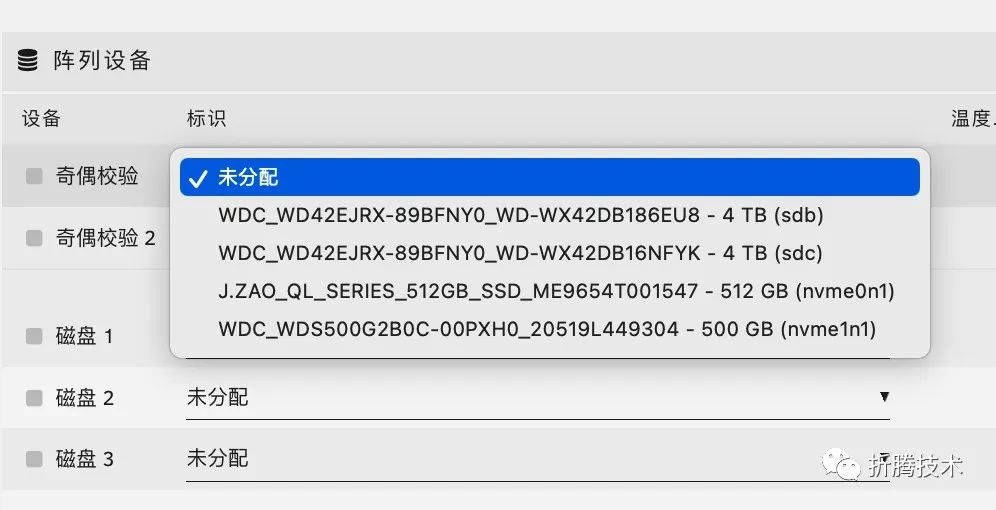
In the previous article, I mentioned the disks I use, so I won’t elaborate on the same parts and will talk about the differences.
1. At the end of the year cleaning, I dug out a 500GB WD Blue SSD that was “retired” due to an upgrade, using it as a cache disk. The use of cache disks in the Unraid system will not “activate” the parity disk;2. The Jingzao SSD that was previously plugged into the device is used as the system disk, storing programs and data related to the operation of Unraid, reducing the wake-up and usage of the main data disk;3. One of the mechanical disks that was originally set up in Raid 1 is used as the parity disk, storing the parity data of the system disk and data disk;4. The other mechanical hard disk is responsible for storing real data backups.
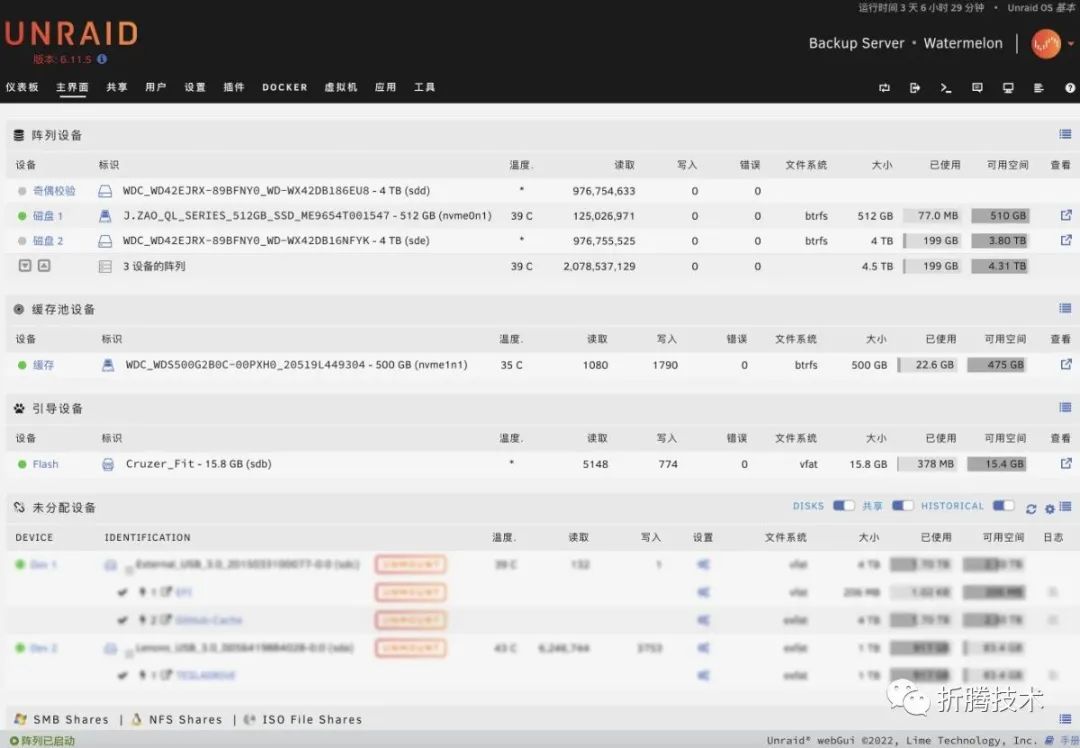
There are several benefits to this setup:
1. First, it avoids the problem of waking up all disks during machine use. Daily operations will prioritize calling the solid-state cache disk or solid-state system disk and mechanical parity disk, and only when real writing and reading exceed the cache disk’s memory range will the two mechanical disks start. This approach is both energy-efficient and extends the lifespan of the primary disks.2. Secondly, the reliability of disk data is further enhanced, as using Btrfs can further ensure the reliability of reading and writing data.3. Finally, the cost is actually lower compared to a dual mechanical disk setup in Raid 1, as the parity disk can cover the data integrity check work of all disks.
Of course, this setup also has some drawbacks, such as:
1. With a single parity disk, in extreme cases, if the parity disk fails while writing data, the reliability of the subsequently written data cannot be strictly guaranteed. If there are spare disks, you can use two disks as parity disks.2. Using a mechanical hard disk as a parity disk somewhat affects write performance, as data must be verified before it can be “landed”.3. A single data disk lacks redundancy and can only rely on external devices and cloud backups to enhance data security. Unfortunately, my device only has a few hard disk slots, so the Pareto optimal is the allocation scheme above.
Configuring the Unraid System
After completing the basic installation and disk planning, we need to make some configurations to use it happily as a backup system.
Using Unraid for Online Backup
After completing the system settings, there will be some shared configurations by default, but it does not include out-of-the-box Time Machine. As mentioned in the first article, I hope this device can meet my daily online Time Machine backup needs, so we need to make some settings.
First, open the “Shares” page, where you can see all existing shared configurations in the system.
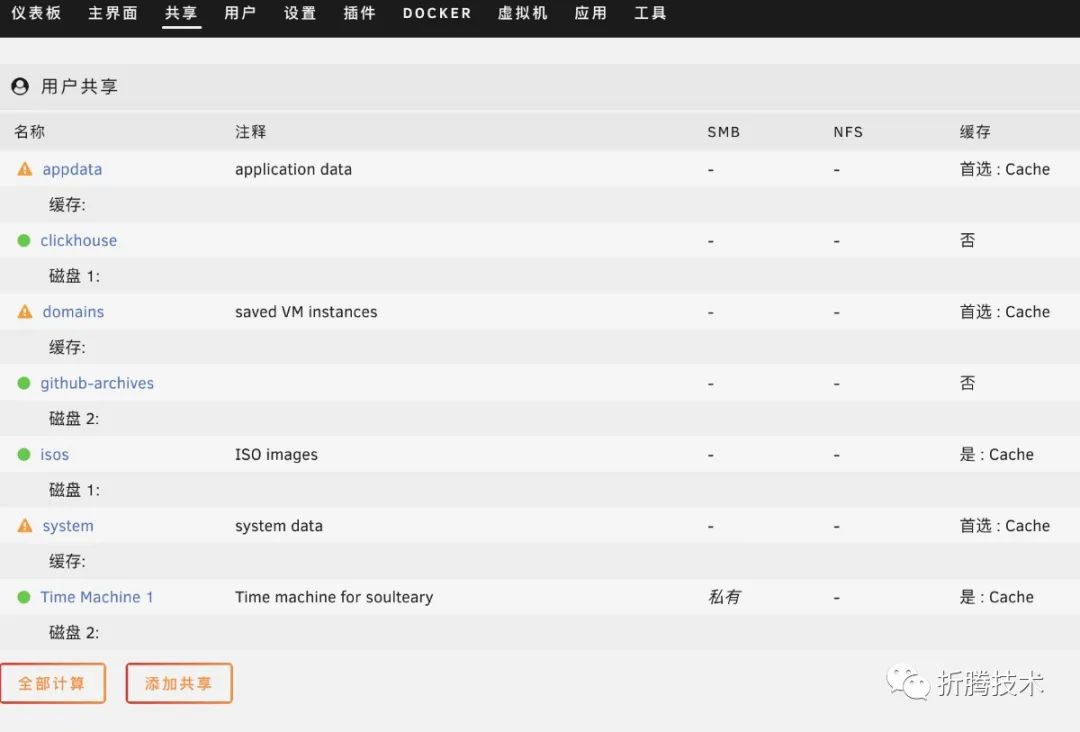
Click the “Create Share” button to open the new page for creating a share.
The configuration of the Time Machine I use is shown in the picture, and you can make additional adjustments according to your preferences.
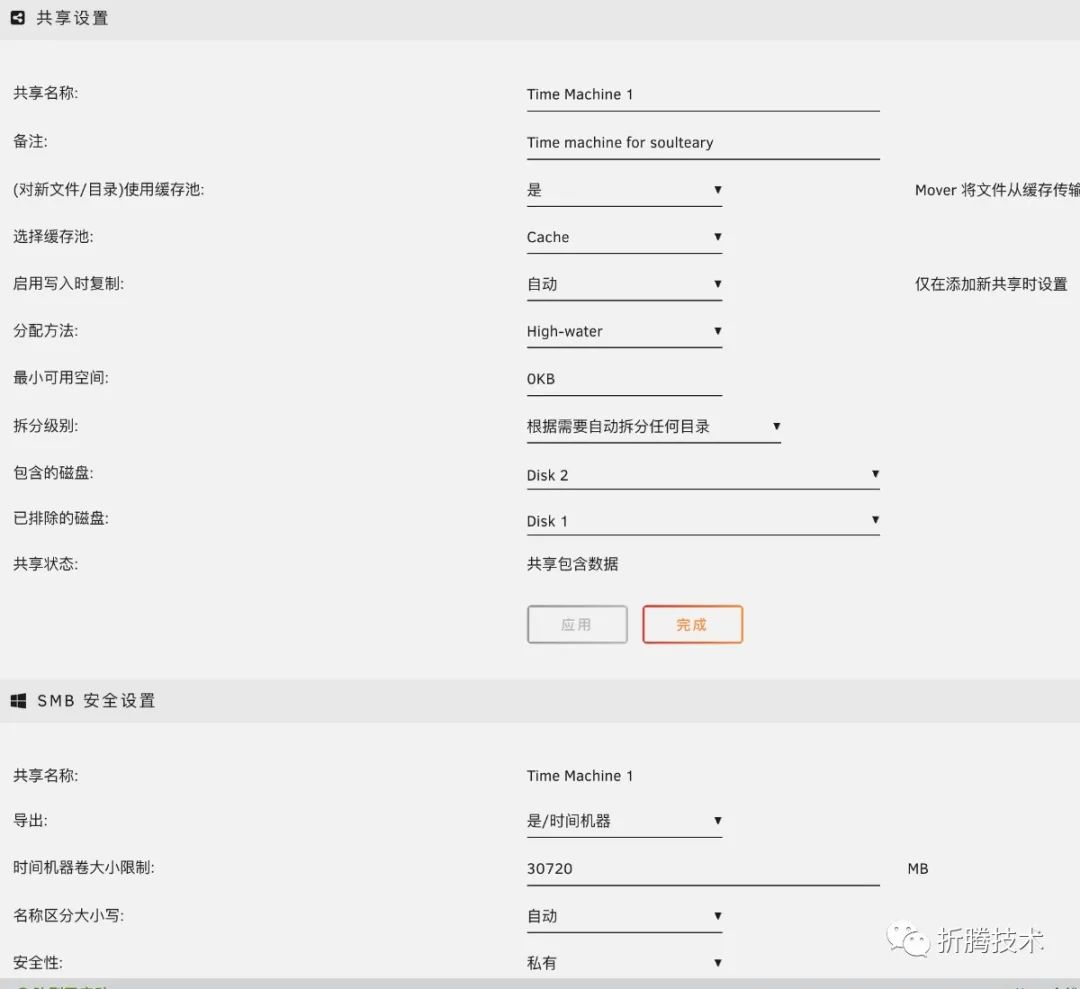
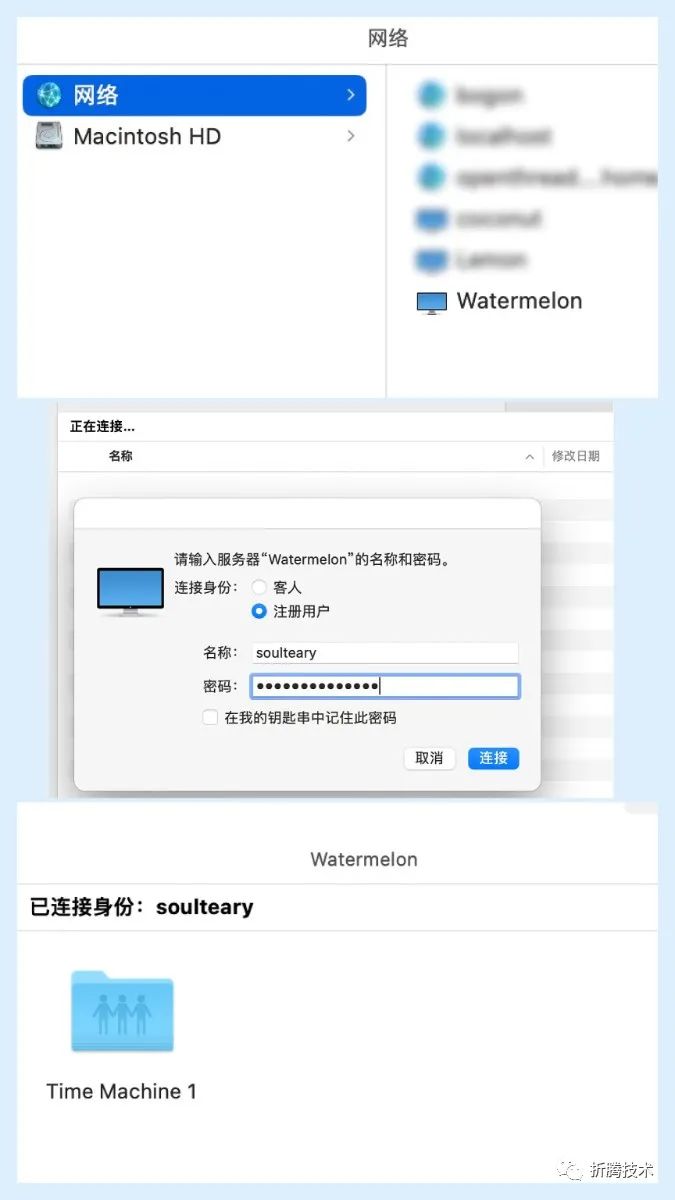
After we finish the configuration, we need to connect to this “share” once in macOS. The steps refer to the image: first visit “Network”, then connect to the “Unraid” device, and finally enter the account password to complete the connection.
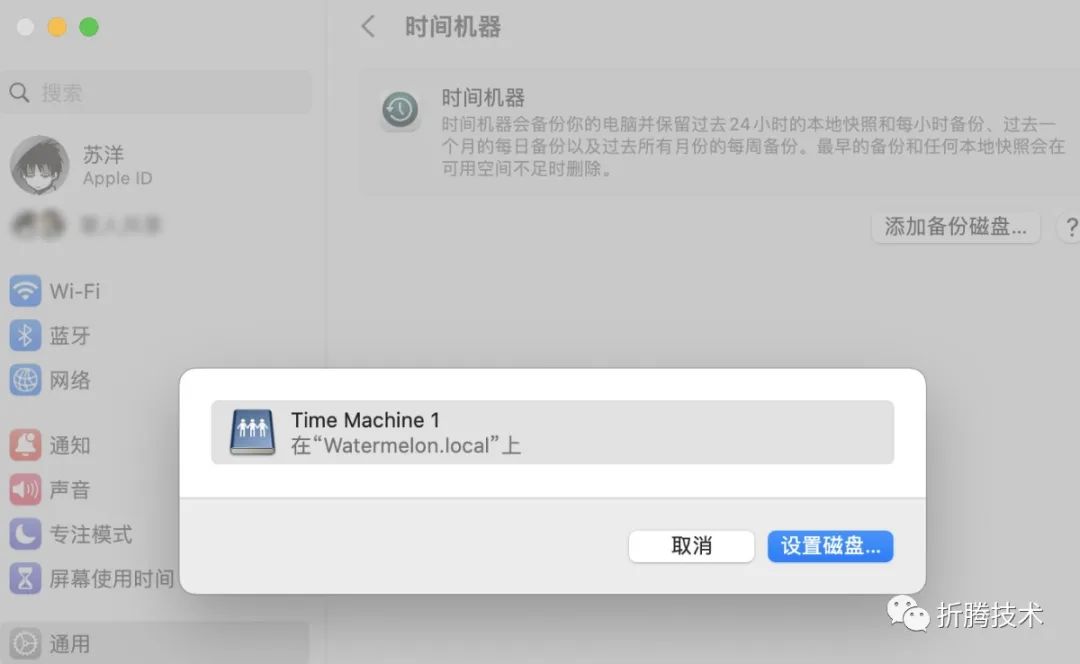
Then in the macOS system, set the Time Machine backup address to the “share” we created.
Improving Docker Container Usage on Unraid
The default Docker version on Unraid only has Docker containers, without the compose tool, to reduce the complexity of Docker application configuration.
We can download the new version of compose from GitHub. Compared to the old version written in Python, the new version is based on Golang, clean and hygienic. (If you encounter download issues, you can refer to the “Unable to Directly Install Application Plugins” section below to resolve them)
wget https://github.com/docker/compose/releases/download/v2.15.1/docker-compose-linux-x86_64
wget https://github.com/docker/compose/releases/download/v2.15.1/docker-compose-linux-x86_64.sha256
After downloading, we can first perform a checksum verification on the file:
# shasum -c docker-compose-linux-x86_64.sha256
docker-compose-linux-x86_64: OK
Next, place the file in an appropriate directory, and you can use docker-compose for simple container orchestration in the system:
mv docker-compose-linux-x86_64 /usr/bin/docker-compose
chmod +x /usr/bin/docker-compose
Unraid Pitfall Experiences
Compared to Synology, Unraid lacks relatively consistent hardware support, and compared to Windows, Ubuntu, and other operating systems, it lacks a large number of developers, so there are bound to be some minor flaws in compatibility and adaptation.
However, the problems are generally manageable.
Pitfall: Unable to Find Boot USB Drive
The operating system I used to create the installation disk is macOS, and manually specifying the system version may result in the boot disk not being recognized. However, if you let the tool “obediently” download the system and then install it, there will be no issues. (It is speculated that there is a problem with the logic processing of the creation tool)
If you also manually specify the version and have trouble finding the USB drive, try letting the tool create the image “automatically”.
Pitfall: Software Lacks Chinese Language Pack
The “language” option when creating the boot disk only affects the interface display of the disk creation tool. The default system does not come with multiple languages, only English.
The solution is simple: install the Chinese language pack. However, during the installation process, you may encounter the “unable to install” issue. You can refer to the methods below to resolve it.
Pitfall: Unable to Directly Install Application Plugins
In Unraid, to install plugins, we first need to enable the community application feature.
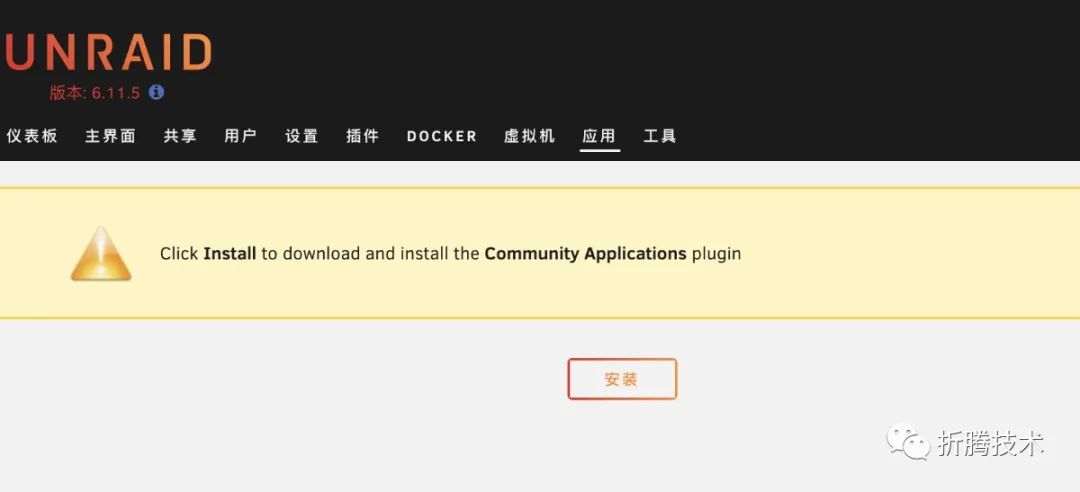
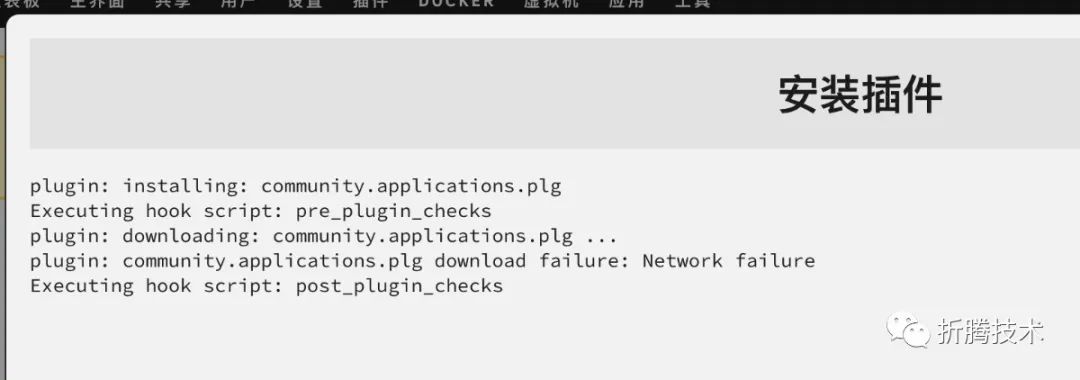
During the enabling process, we may encounter a “network failure” issue.
