Install iKuai OS on a cloud host to achieve SD-WAN networking, using ports 80 and 443 of the cloud host to build an enterprise website and personal blog. Use the cloud host as your bastion host to achieve data localization.
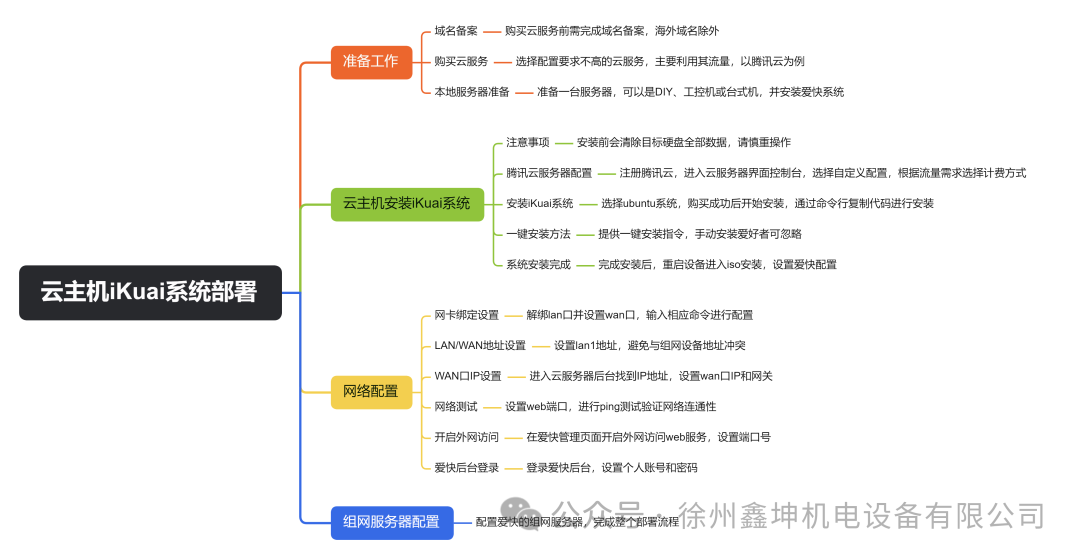
First, preparation work
1. Domain name and complete filing. Of course, this does not apply to overseas domains. If you don’t know how, leave a message, and I will provide a tutorial next time.
2. Purchase cloud services; the configuration does not need to be too high, mainly we use their traffic. This time, we take Tencent Cloud as a case.
3. Prepare a local server, which can be DIY, an industrial control machine, or a desktop, depending on your needs. Also, install the iKuai system.
1. Install iKuai OS on the cloud host
Note: This operation will erase all data on the target hard drive; please be cautious! Please be cautious! Please be cautious! If you don’t have it, please ignore it. Let’s get started.
First, register on Tencent Cloud and enter the cloud server console: as shown in the figure
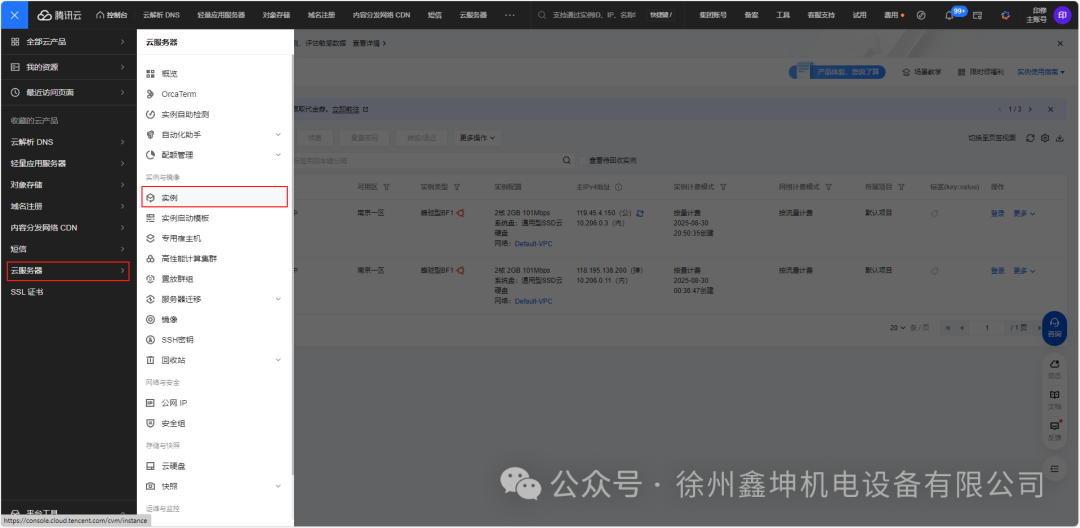
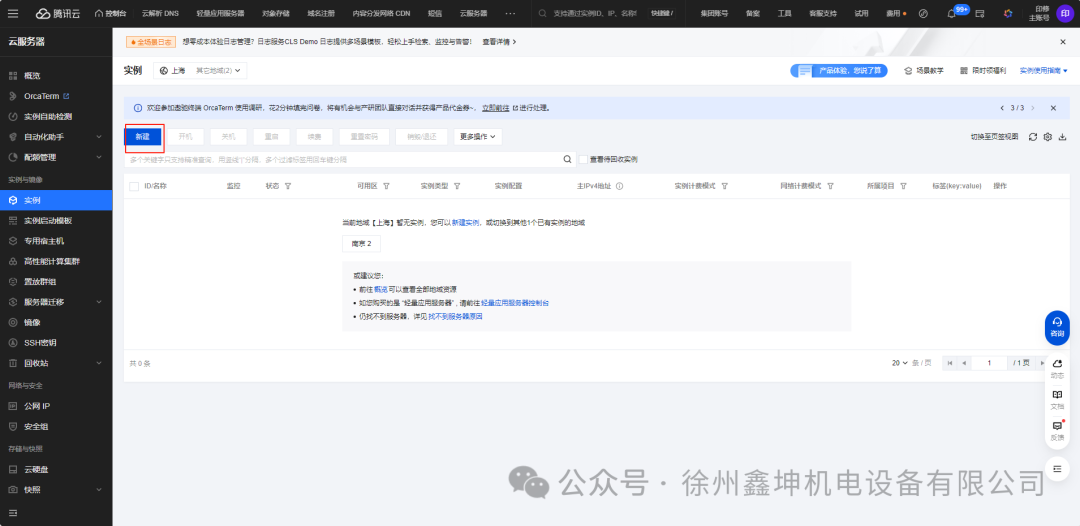
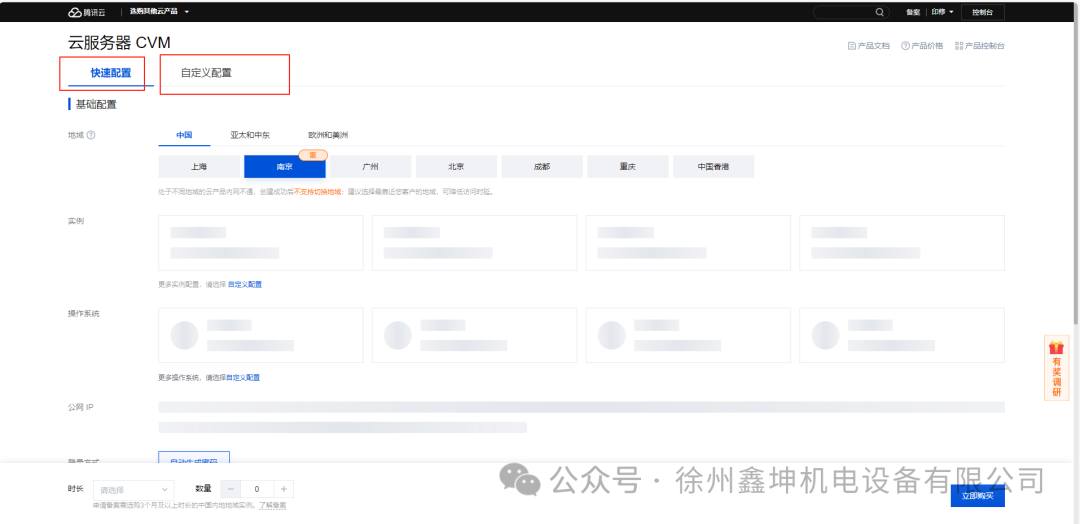
Here, based on our needs, we mainly use their traffic, so the lower the machine configuration price, the better.
Then we can only customize the configuration. Traffic can be billed annually, monthly, or pay-as-you-go if not much.
During the configuration process, we choose the Ubuntu system, and after successful purchase, we start the installation. As shown:
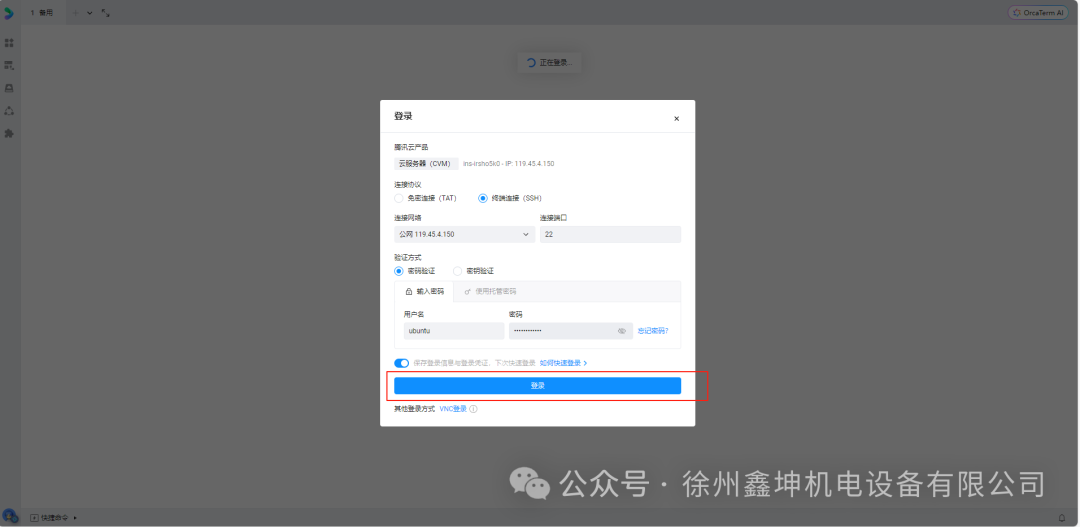
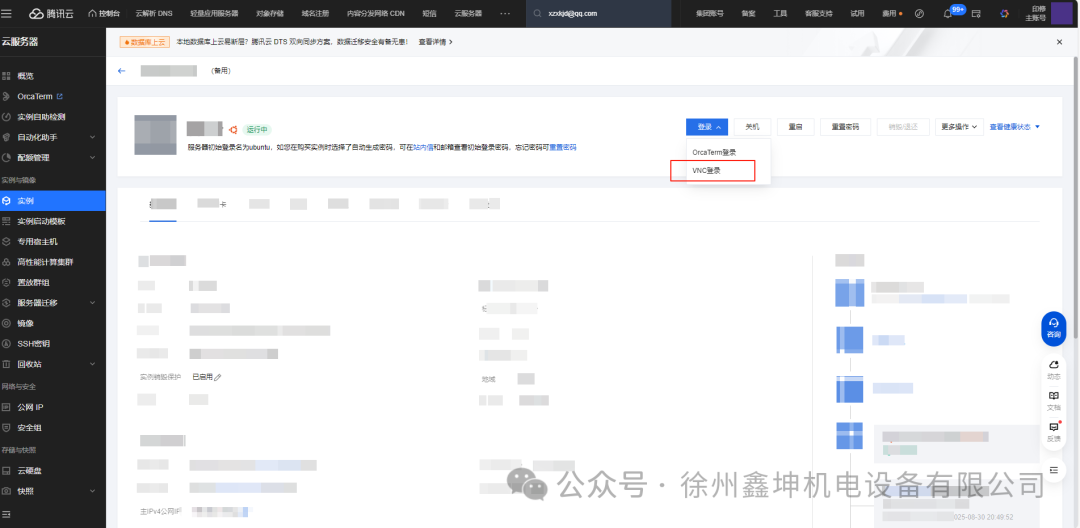
Here we choose to log in.
Before this, if prompted that the password is incorrect, you can reset it:
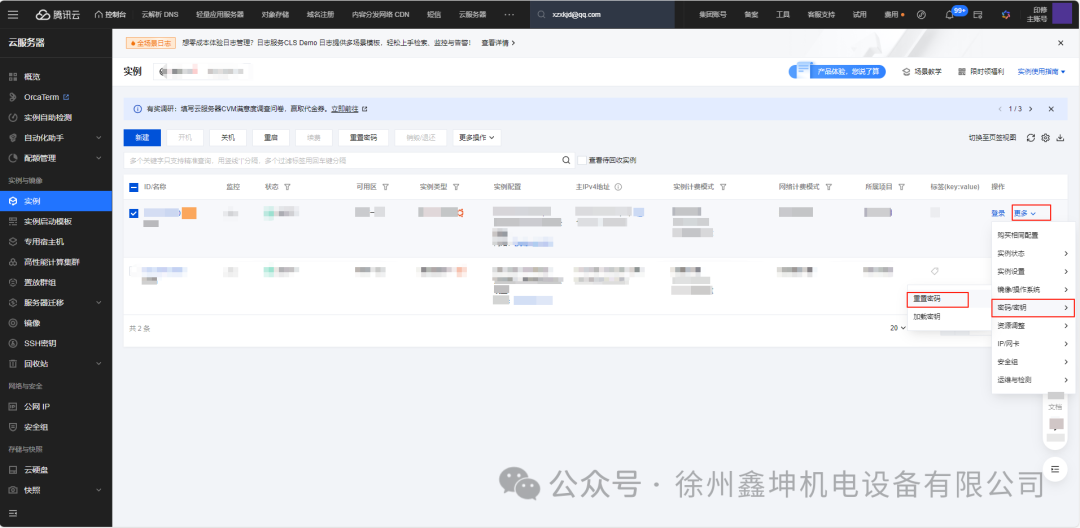
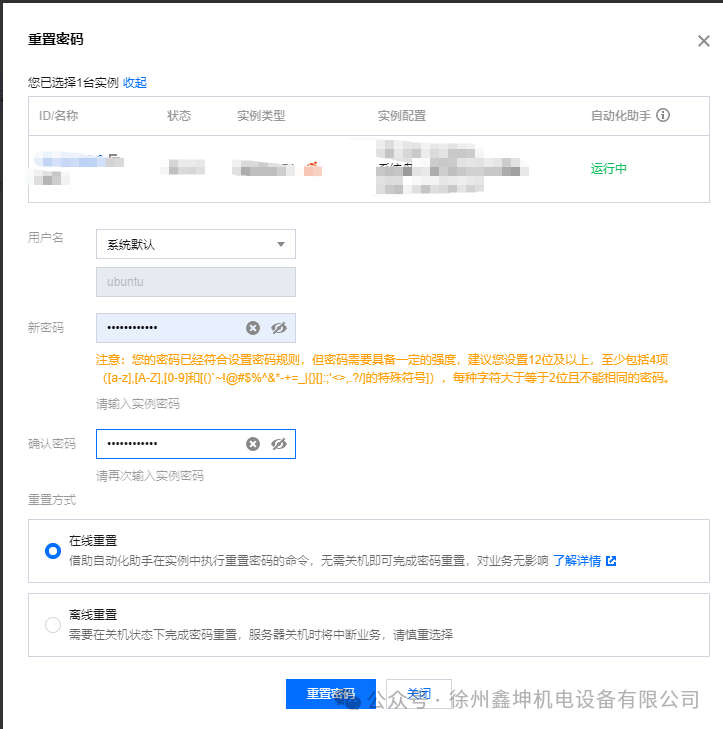
After entering, we start the installation.
1. Copy this line of code, paste it in, and press Enter:
wget https://www.ikuai8.com/tmp/ip.sh.txt -O ip.sh && chmod +x ip.sh && ./ip.sh
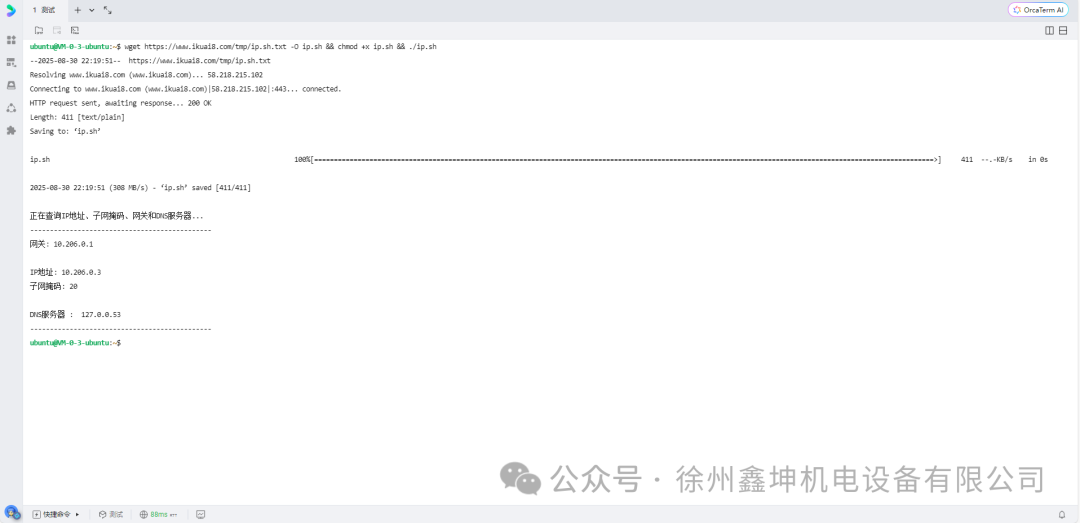
2. Copy this line of code, paste it in, and press Enter: Here is a brief explanation
Download the ISO system installation package, which is generally X64 now, but you can also choose X32. I chose 64-bit.
X32-bit
wget https://www.ikuai8.com/download.php?n=/3.x/iso/iKuai8_x32_3.7.1_Build202304060952.iso -O ikuai8.iso
X64-bit
wget https://www.ikuai8.com/download.php?n=/3.x/iso/iKuai8_x64_3.7.1_Build202304060952.iso -O ikuai8.iso
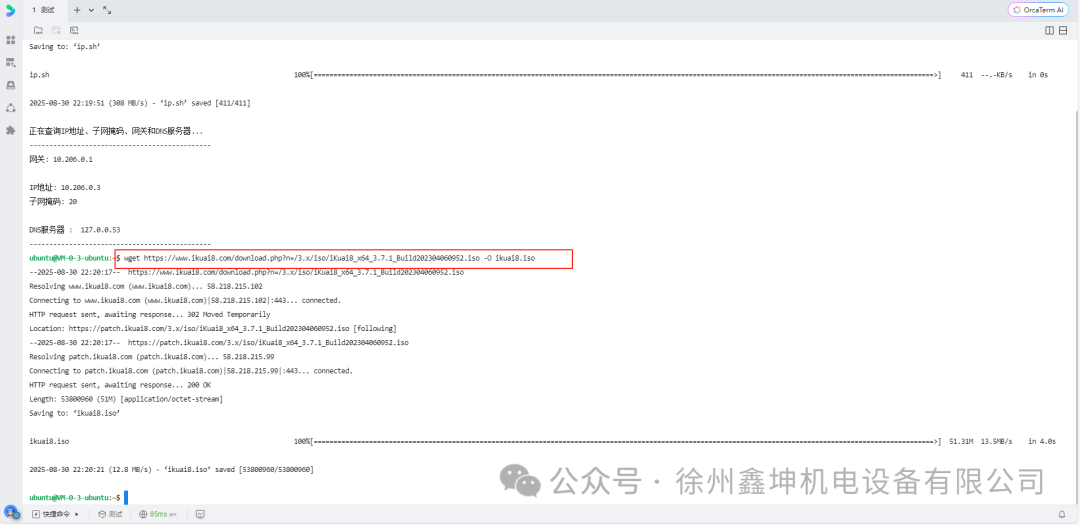
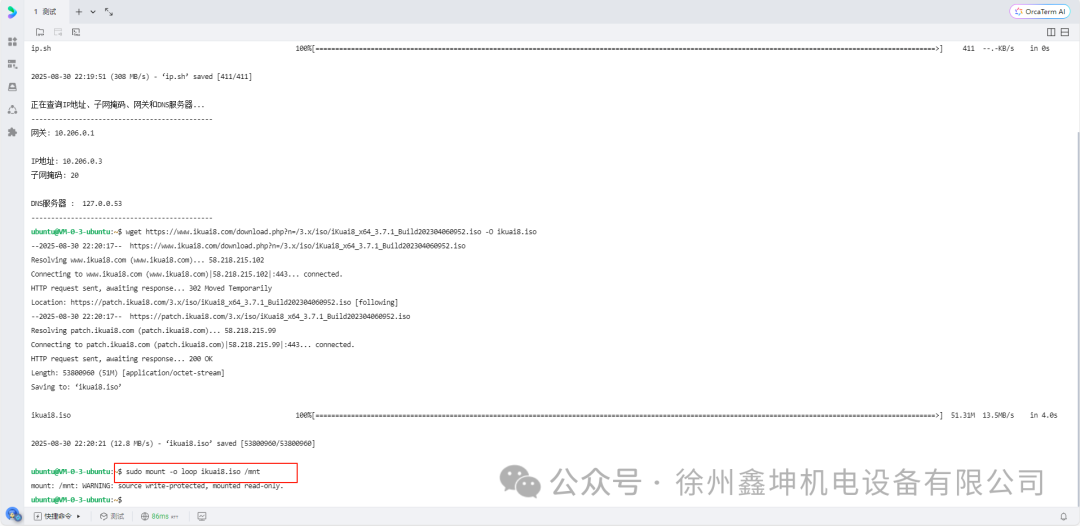
4. Copy this line of code, paste it in, and press Enter: This step is to mount the ISO image
sudo mount -o loop ikuai8.iso /mnt
5. Copy this line of code, paste it in, and press Enter: This step is to copy the ISO image boot files
sudo cp -rpf /mnt/boot /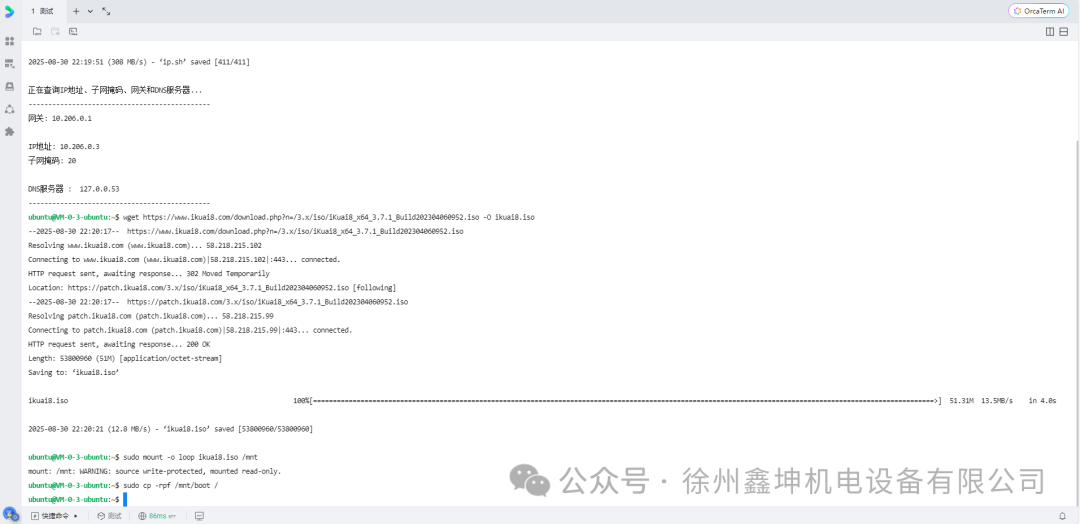 5 Copy this line of code, paste it in, and press Enter: This step is to reboot the device to enter the ISO installation
sudo reboot
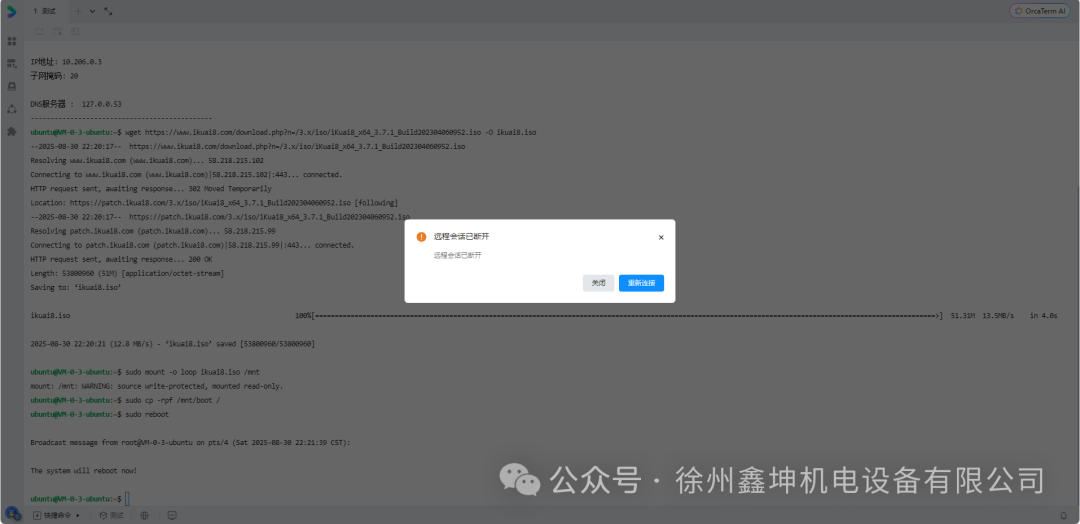
Above is the manual operation method. If you want to complete the installation with one command, just copy the line below; I prefer manual operation
wget https://www.ikuai8.com/tmp/install_ikiso.sh.txt -O ikiso.sh && chmod +x ikiso.sh && ./ikiso.sh
Next, we can close the command window and re-enter the VNC login interface.
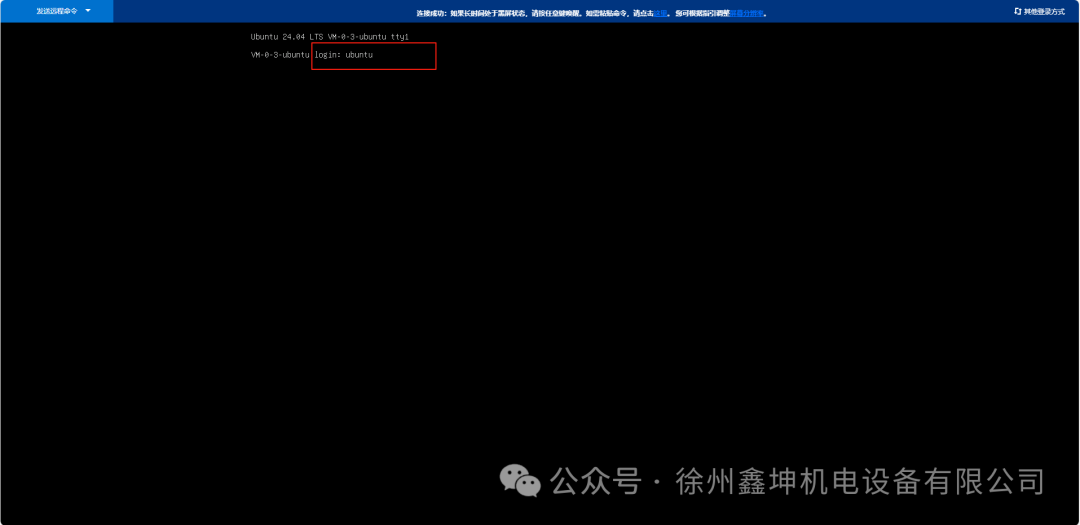
If prompted, the default username is: ubuntu, and the password is the one just reset. When entering the password, it will not be displayed. Just enter it and press Enter.
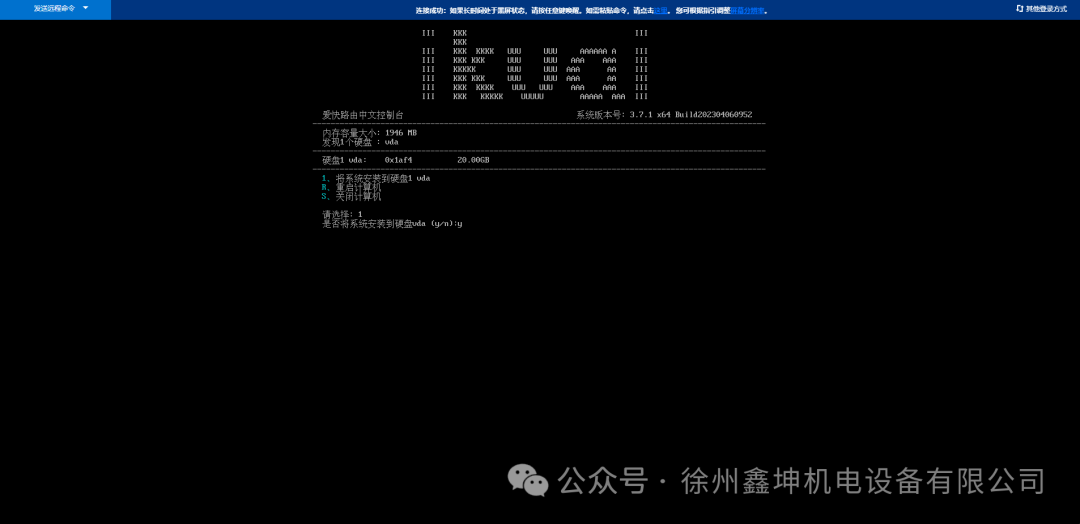
Next, this step is to start installing the iKuai system as shown: we enter the number 1, then enter y and press Enter to start the installation
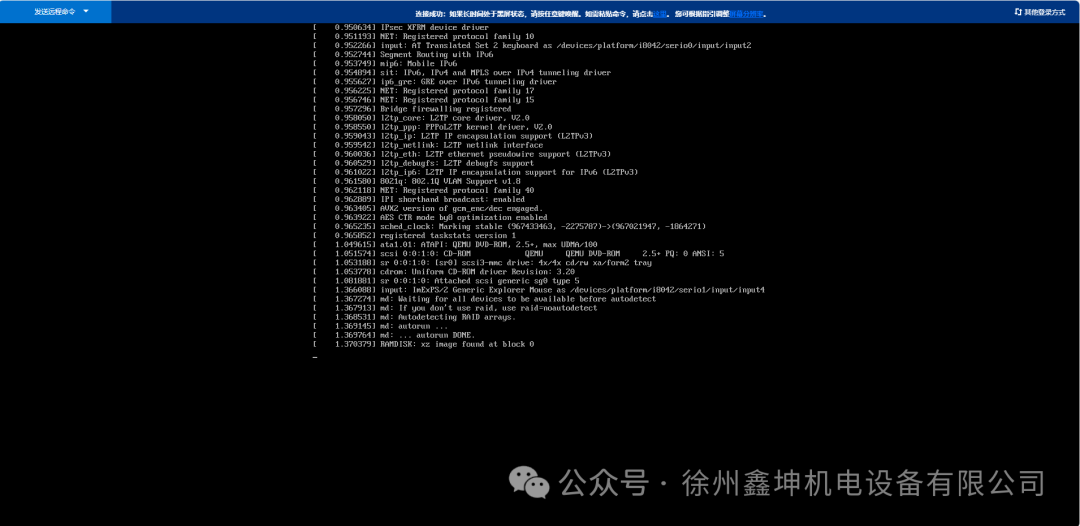
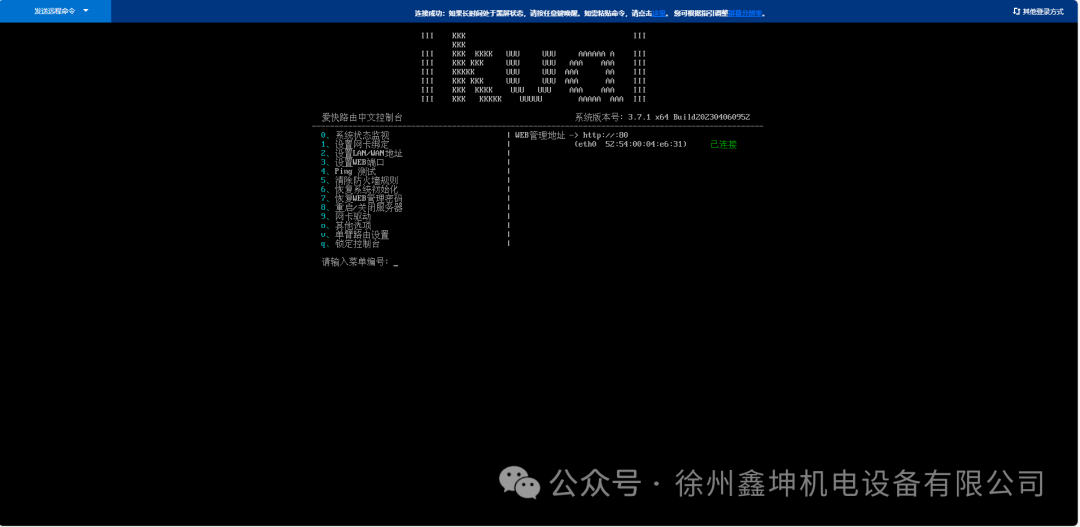
Seeing this page means the installation is complete.
Next is to set up the iKuai configuration
First is the binding of the network card, as shown, enter 1 and press Enter
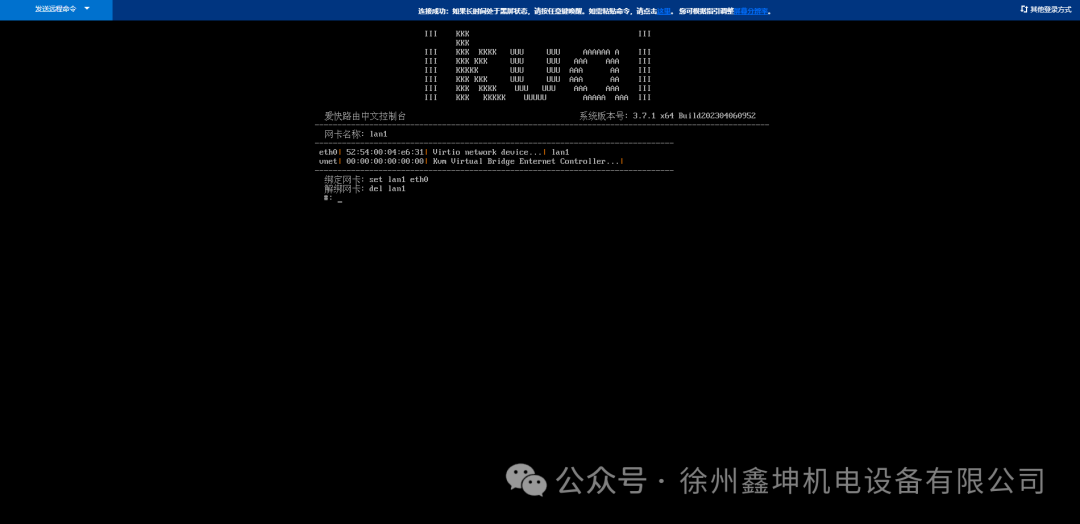
Here we need to set the LAN port of the network card and the WAN port for internet access
First, we enter: del lan1 to unbind the LAN port and set it to WAN port
Then enter: set wan1 eth0 to set eth0 as the WAN port, where 0 is the number zero
Then enter: set lan1 vnet to set vnet as the LAN port
After setting, we enter q to return
Then enter 2 to set the LAN/WAN address as shown:
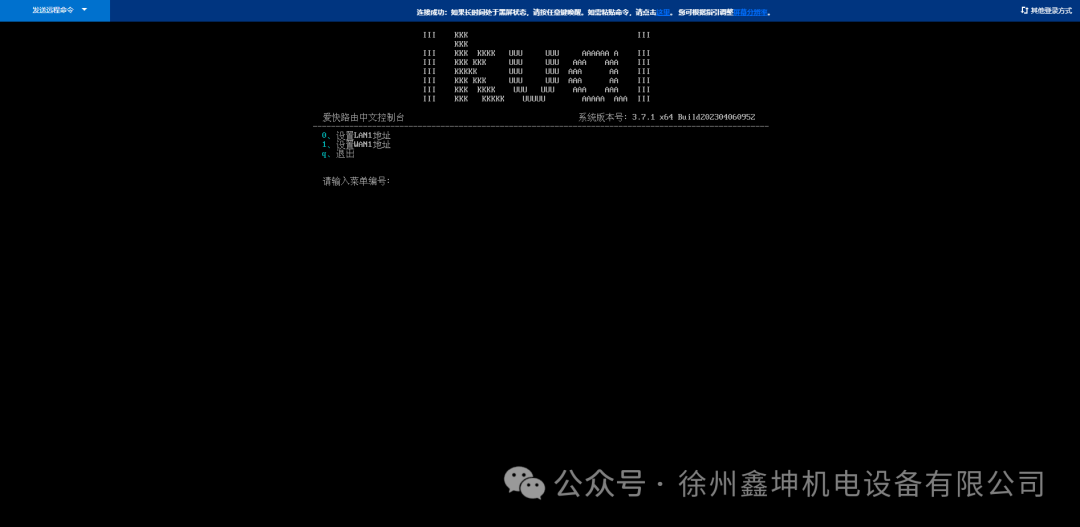
We first set the LAN1 address, enter the number key 0 to enter:
This is the LAN port. Although the LAN port in the cloud server segment is virtual, we need to set up networking next, which means it cannot conflict with the addresses of the devices we are going to network next, as shown:
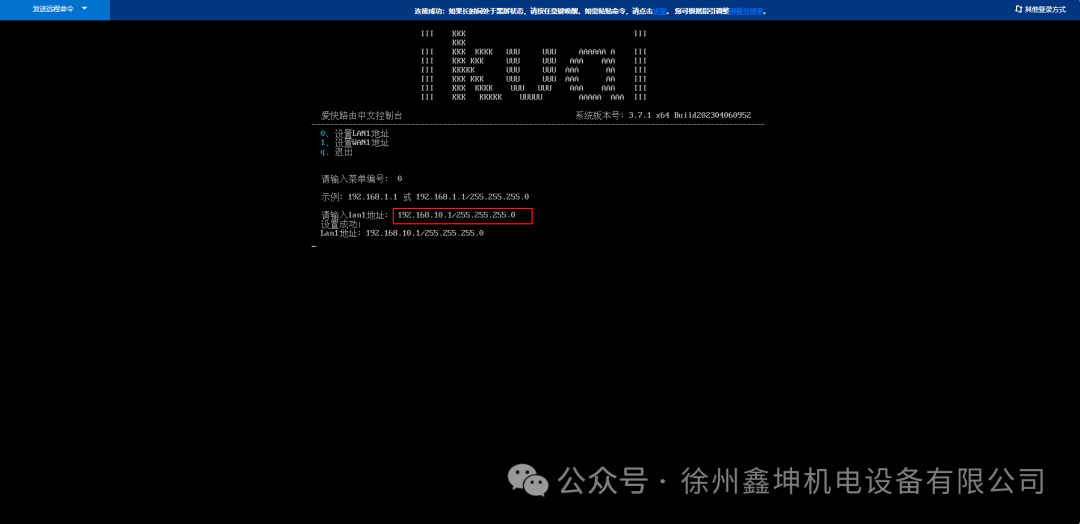
After setting, we continue to set the WAN port. Here, the WAN port IP is crucial; if set incorrectly, you won’t be able to access the internet. So we will operate step by step. First, we enter the cloud server backend to find the IP address as shown:
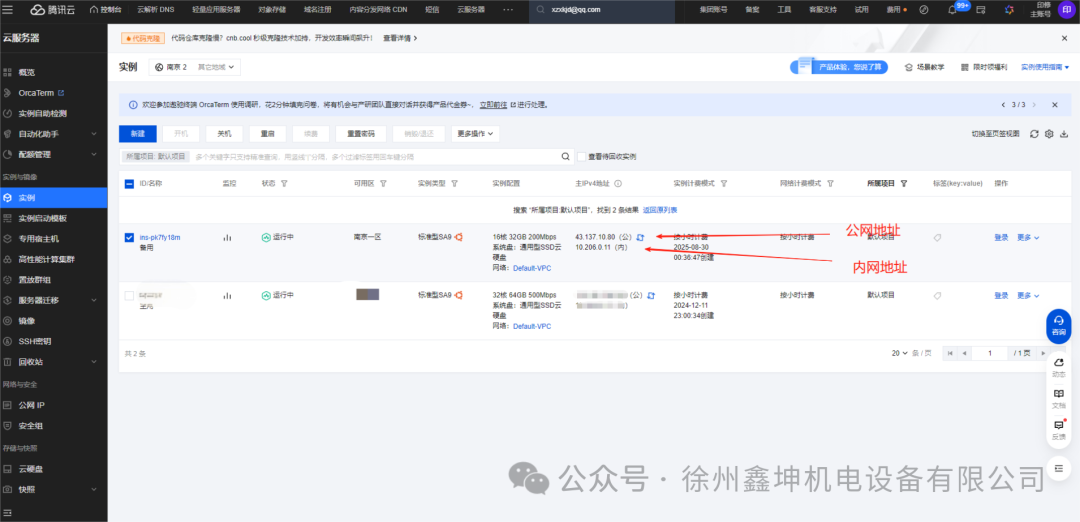
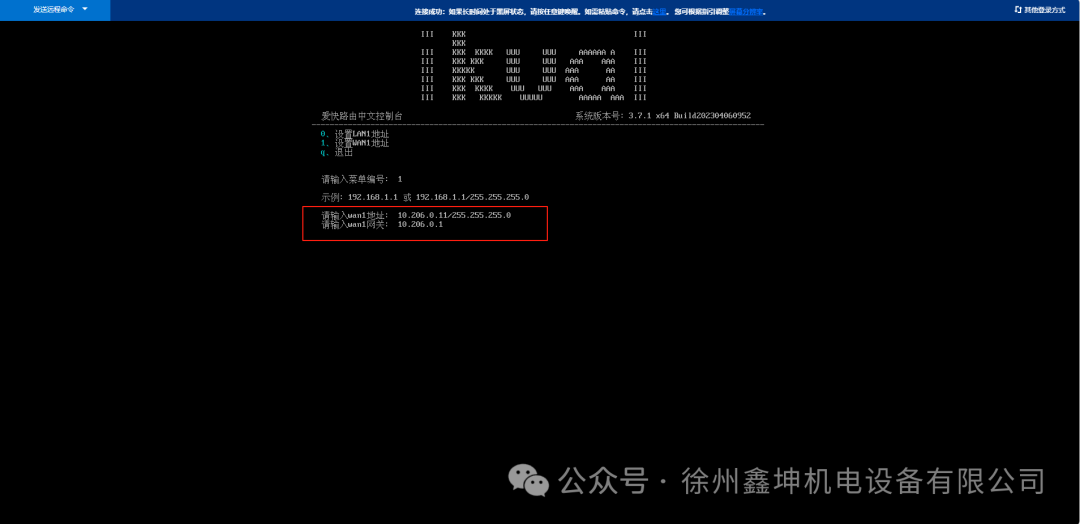
We need to input the internal network address under the public network into the iKuai WAN port, as shown: 10.206.0.11 is my internal network location. The gateway is the last two digits of the IP address changed to 1.
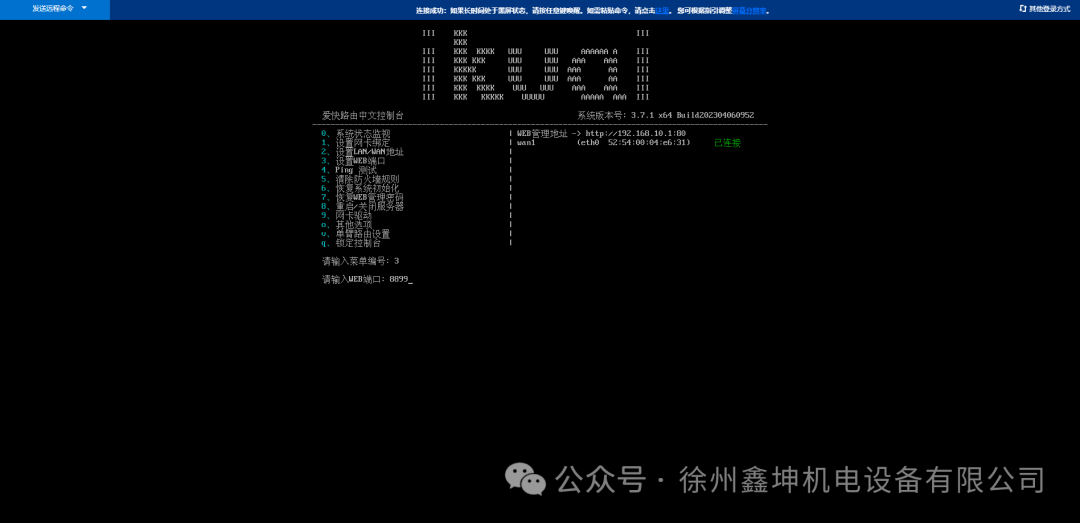
Next, we need to set a port to facilitate our access to the iKuai management backend. We enter 3 to set the web port as shown: I set it to 8899
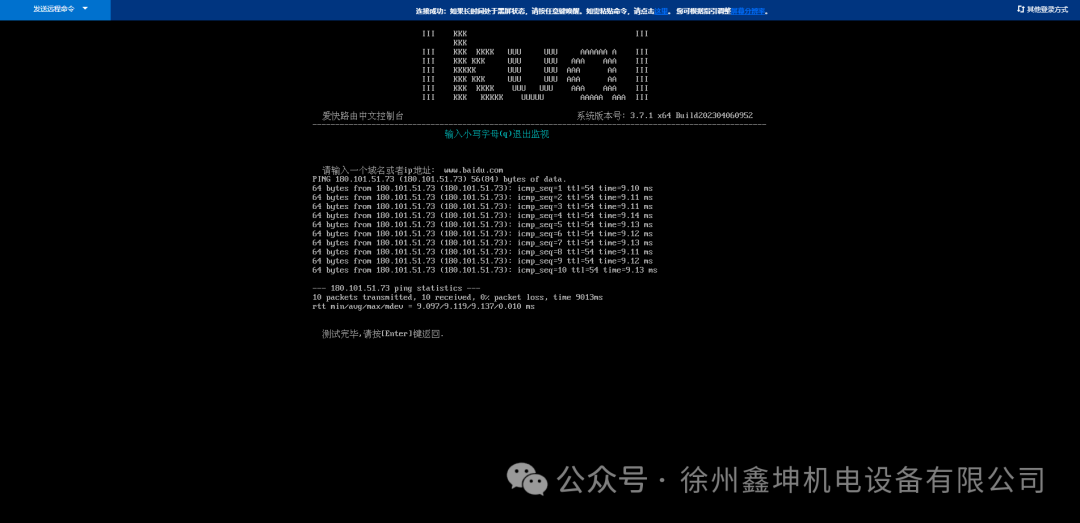
To test whether our network is connected, we can enter 4 to perform a ping test as shown: my network is connected
We enter q to continue returning to the main interface:
After entering the main interface, we enter the letter o on the keyboard to enter other options to enable external network access to the web service as shown:
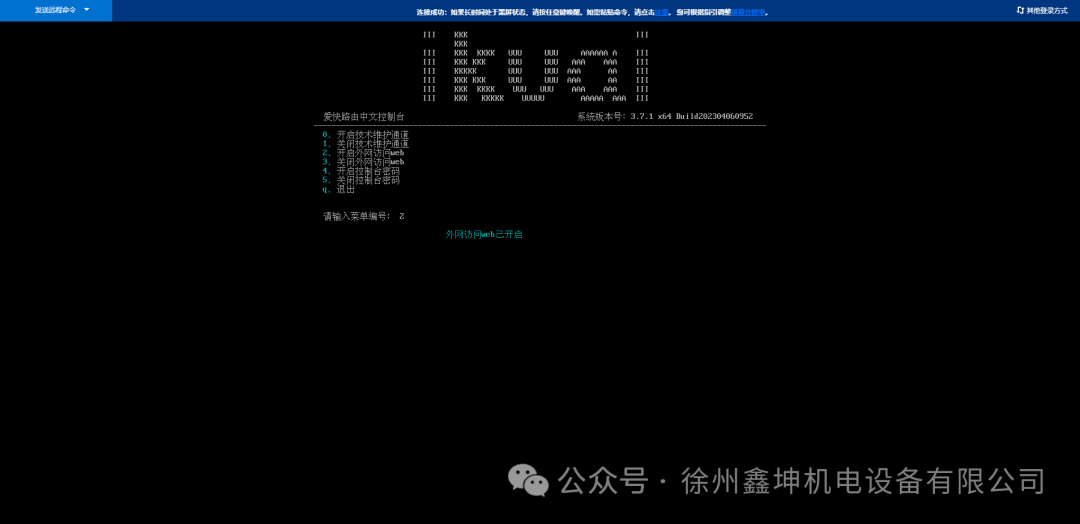
Isn’t it simple? Next, we can enter the web page of the iKuai management page. Next, enter the Tencent Cloud public IP address plus the port number 8899 to access the page, as shown:
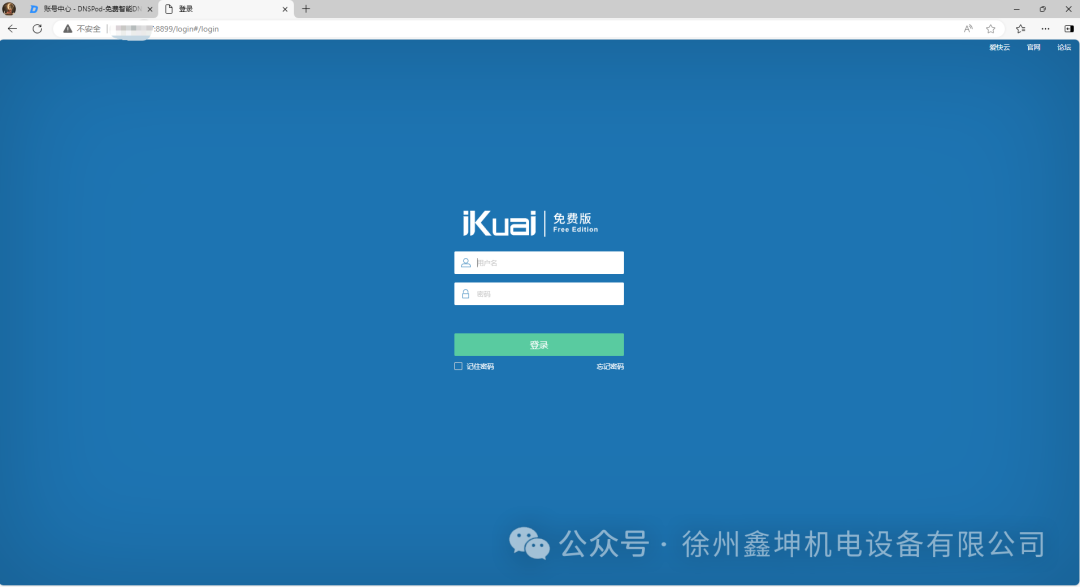
Here, the default login account for iKuai is: admin, and the password is: admin. After entering, you need to set your own account and password.
At this point, we have configured the iKuai on the cloud host. I will continue writing quickly.
Next, we will configure the iKuai networking server.– Writing is not easy, thank you for your support