Last week, I organized the WebSocket communication protocol of Xiao Zhi AI, titled “Reproducing Xiao Zhi AI Step 2: Learning Its WebSocket Protocol with Two Core Flowcharts“, and later during debugging, I discovered a missing point, which was the omission of the device registration step.
Initially, I found the <span>"OTA_VERSION_URL": "https://api.tenclass.net/xiaozhi/ota/"</span> field in the configuration file quite confusing, as it seemed to have no application throughout the communication process, and there was no concept of firmware in <span>py-xiaozhi</span>.
Additionally, when running the example, the <span>Client-Id</span> and <span>Device-Id</span> were directly taken from the repository, which should have already been registered on the server, so I only needed to add the device, hence I never noticed this issue.
Later, when I manually modified the <span>Device-Id</span>, I finally discovered it. After carefully studying <span>xiaozhi-esp32</span> and <span>py-xiaozhi</span>, and operating it myself, I finally understood.
Issue
If the device starts without going through the device registration process, the server will return a voice message indicating that the device version information was not found after the conversation begins, rather than adding the device in the background.
2025-04-21 14:51:23,295-WebSocketClient-INFO-Received JSON message: {"type":"tts","state":"sentence_start","text":"No version information found for this device. Please correctly configure the OTA address and recompile the firmware.","session_id":"14328015"}At this point, no matter how the conversation goes, the server will only return this sentence.
In both <span>py-xiaozhi</span> and <span>xiaozhi-esp32</span> projects, an OTA firmware version check is performed during the startup phase, so we also need to perform the OTA version check step when loading the configuration, while completing the device registration.
Registering Devices
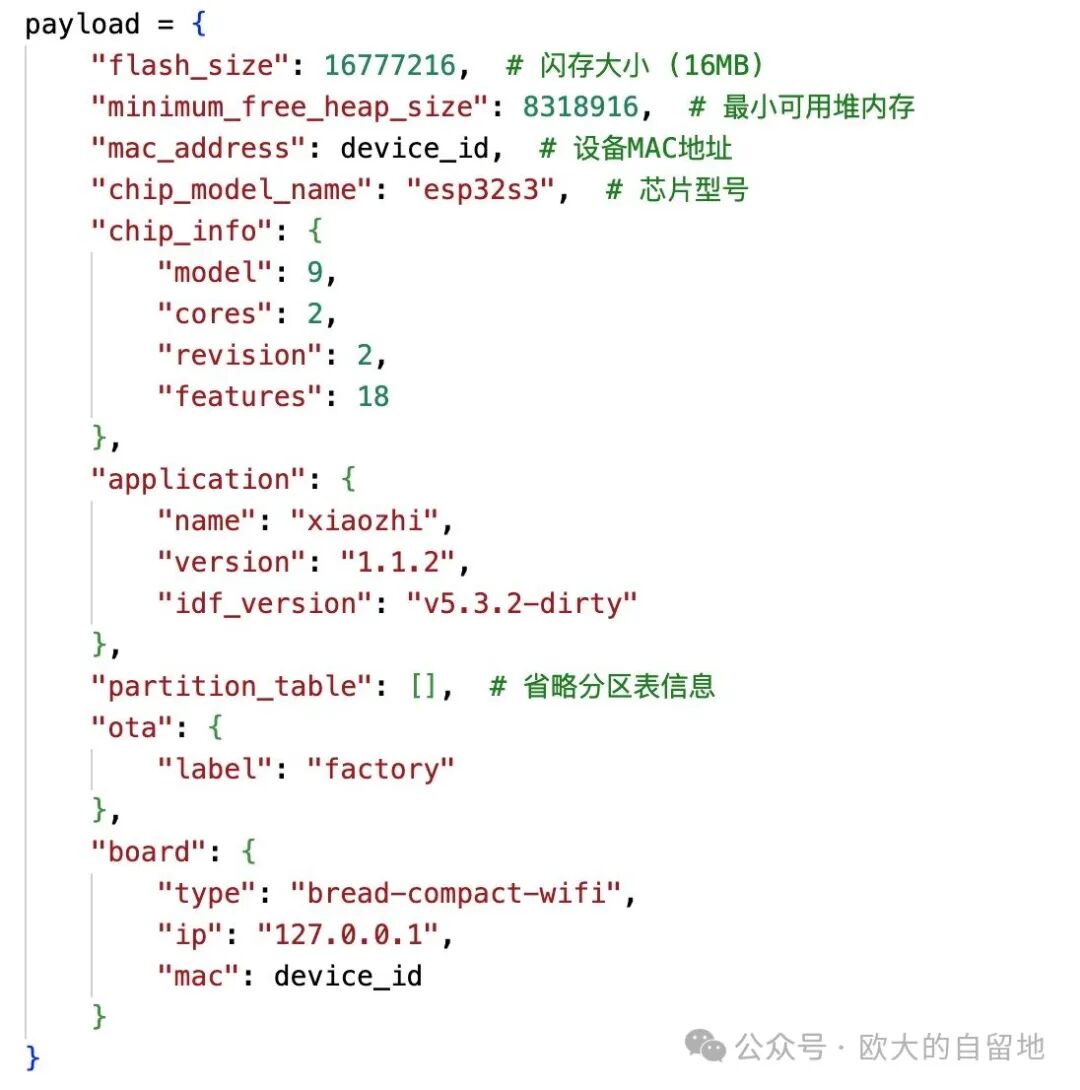
Registering a device is also straightforward; you just need to construct a JSON containing the firmware information and send it via a POST request to the <span>OTA_VERSION_URL</span> interface.
The JSON structure for the firmware information can directly use the official one, as it is used in the <span>Python</span> project and will not actually update the firmware.
Note: The device_id here must match the one in the configuration; otherwise, it will still not work later.
Additionally, when sending the POST request, the <span>header</span> must also include the <span>Device-Id</span> and <span>Client-Id</span>, otherwise, the registration will fail.
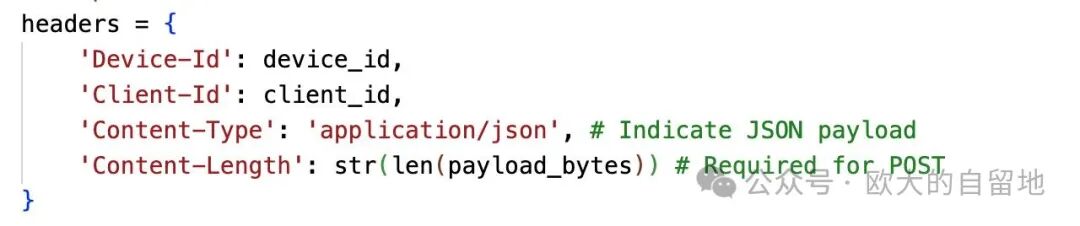
Finally, send this request using the POST method to the <span>OTA_VERSION_URL</span>; I won’t elaborate further here.
Server Response
After sending the OTA firmware version check request, if the device has not been registered before, the response from the interface will include an additional <span>activation</span> field compared to devices that have already been registered, which contains <span>code</span>, <span>message</span>, and <span>challenge</span> attributes, among which the <span>code</span> attribute is particularly useful.
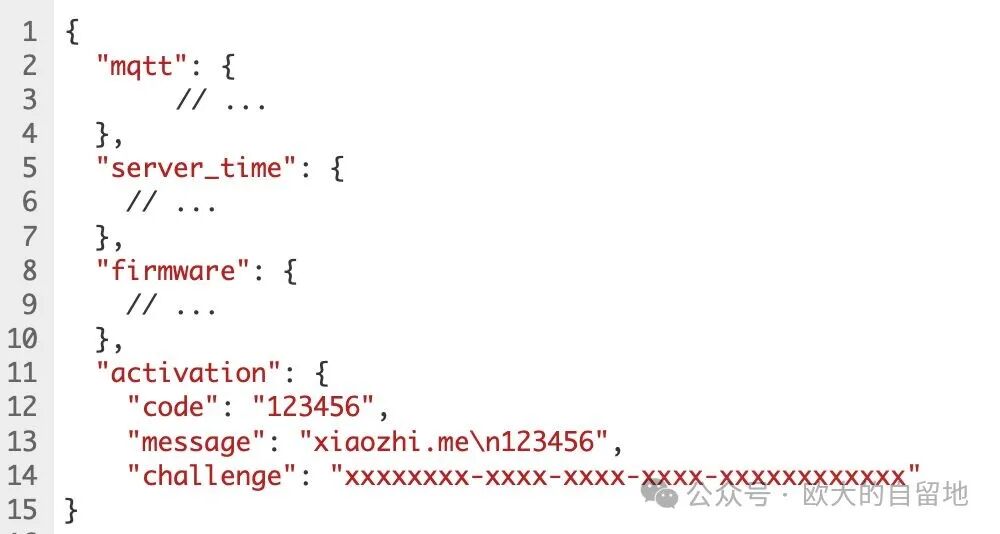
At this point, if a conversation starts, the voice will prompt for the verification code to add the device, which is the same as the <span>code</span> attribute.
2025-04-21 14:53:45,125-WebSocketClient-INFO-Received JSON message: {"type":"tts","state":"sentence_start","text":"Please log in to the control panel to add the device, enter the verification code: 602245.","session_id":"8b81b659"}The device side can also use this information to display device activation information, for example, by prompting the user on the screen to open the console and add the device using the verification code.
Precautions
It is important to note that if a WebSocket connection has already been established and a conversation has started before activating the device and adding it to the console, the add device operation will not take effect; you need to re-establish the WebSocket connection.
Moreover, only after re-establishing the connection will it connect to the correct agent; otherwise, it will default to the standard agent 😃.
Xiao Zhi Reproduction Series Articles
-
Reproducing Xiao Zhi AI Step 2: Learning Its WebSocket Protocol with Two Core Flowcharts
-
Reproducing Xiao Zhi AI: ESP32-S3 Setting Up Arduino + ESP-SR + ESP-TTS Development Environment Pitfall Record
Other DIY Projects
Open-sourced: Smart UV Glue UV Curing Lamp Reproduction Tutorial
How about a coin-sized game console? It can play Snake and Pac-Man – fully open-source!

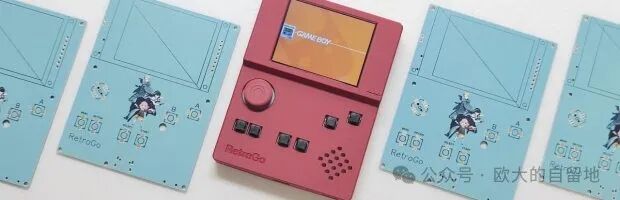
Costing 60 yuan, make an open-source game console with ESP32-S3 that can play FC/NES, GameBoy, and has a dedicated colored PCB
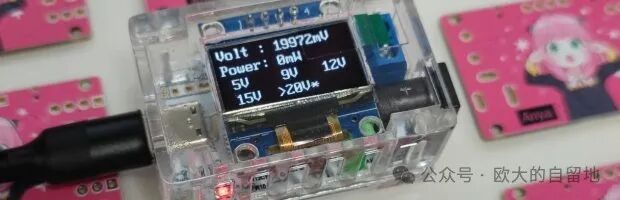
Don’t let idle fast chargers go to waste; DIY a USB-PD power deception device with a screen to display power
Follow the Official Account for Updates
If this article has been helpful to you, please follow, like, share, or forward it. Thank you very much 😃.
Historical Articles
-
Automatic Battery Loading: This Nickel-Hydrogen Battery Charger is Quite Interesting
-
Electromagnet-Driven 7-Segment Code Clock: A Bit of Mechanical Flavor
-
Split Keyboard ErgoX: A Little Improvement
-
Fishing Side Screen: Turning It into a Small Computer for Fishing
-
How Much Does a 25 Yuan Price Tag Cost? Disassembling a 500-in-1 Game Console
-
Made a Travel Case for a Leifeng Electric Toothbrush: If You Have a 3D Printer, Come Try It
-
Essential for Arduino Players: SimulIDE Circuit Simulator
-
Making a Mechanical Numeric Keypad Based on STM32+QMK with Encoder and OLED Screen
-
An Open-Source Pure PCB Keyboard Project the Size of a Credit Card
-
Here It Comes! Running a RISC-V Emulator on ESP32-S3 to Boot Linux in Just 8 Seconds
-
No-Code DIY All-in-One Air Monitoring Station AirCube, Also Connectable to Home Assistant
-
How about a coin-sized game console? It can play Snake and Pac-Man – fully open-source!
-
Costing 60 yuan, make an open-source game console with ESP32-S3 that can play FC/NES, GameBoy, and has a dedicated colored PCB
-
An Open-Source Small Steel Mesh Printing Table Project Experience
-
DIY a Flexible Filament Ambient Light for 30 Yuan
-
Fully Open-Source! DIY USB Current Meter Tutorial Using a Microcontroller for 70 Cents, Getting Started with Hardware Design, Firmware Development, and Appearance Modeling