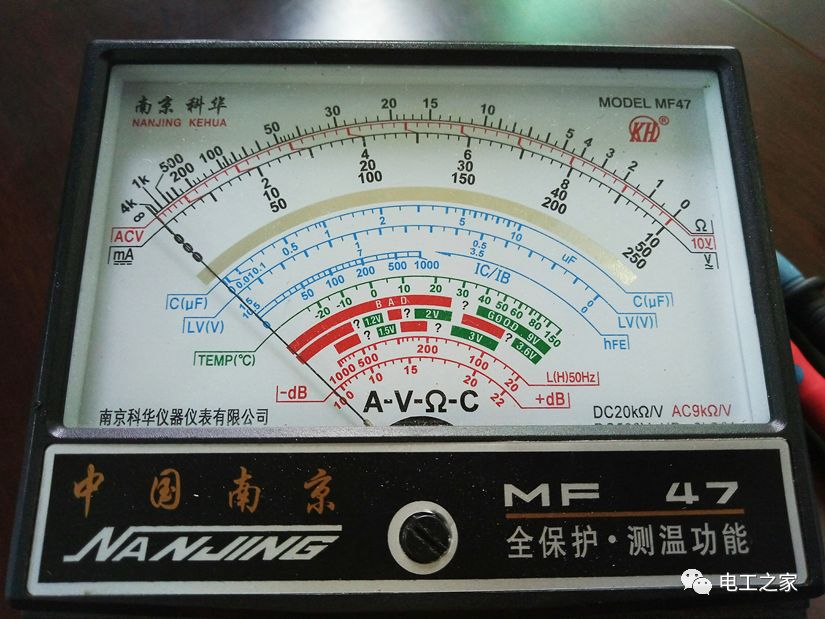
A multimeter, also known as a multi-tester or volt/ohm meter, is a multifunctional and multi-range measuring instrument. It is the most basic tool in the field of electronic testing and is widely used in the industry. It is a measurement tool that personnel in the electronics industry must master. Multimeters are divided into analog and digital types. A typical multimeter can measure DC voltage, DC current, AC voltage, and resistance, and some can also measure AC current, capacitance, diodes, and certain parameters of transistors.
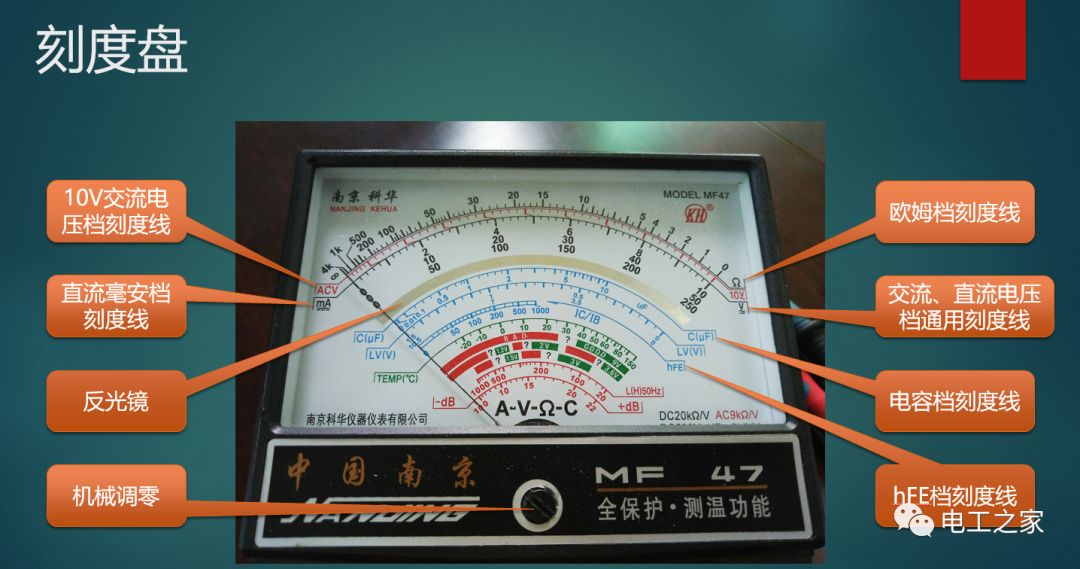
The function of the mirror: When the observer’s line of sight is at an angle to the pointer on the dial, two pointers can be seen (one in the mirror and one actual). The reading at this time is inaccurate and does not represent the true reading of the multimeter. Only when the observer’s line of sight is perpendicular to the dial will the pointer in the mirror coincide with the actual pointer, and the observed value will then be the true reading of the multimeter.
Precautions Before Measurement
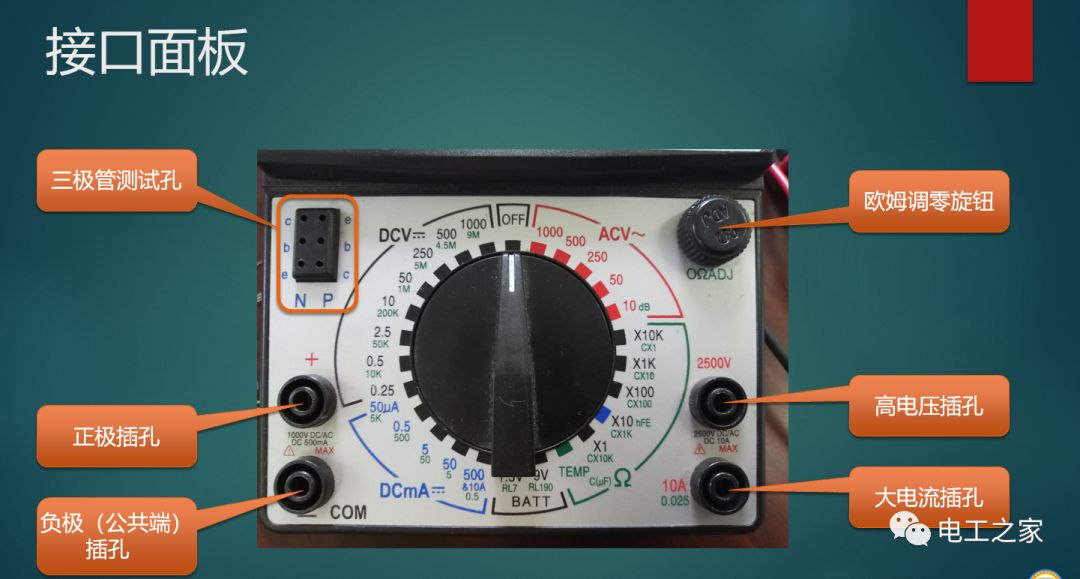
1. Before measuring, check whether the positions of the red and black probes are connected correctly. The black probe must be connected to the “-” (common terminal) socket, while the red probe can be connected to the “+” (positive terminal) socket, high voltage socket, or high current socket depending on the measurement situation. If the red and black probes are reversed when measuring DC, it may cause the pointer to reverse and damage the meter’s components.
2. Before measuring the circuit, ensure that the selected range matches the measurement object, that the range is correct, and that the polarity is correct; otherwise, not only will you not get the correct measurement result, but you may also damage the multimeter.
3. When measuring, try to hold both probes with your right hand, and avoid touching the metal parts of the probes and the components being measured with your fingers.
4. If you need to change the range during measurement, you must remove the probes from the circuit before switching; otherwise, it may damage the contacts of the switch and the internal circuit of the multimeter.
5. Before measuring, confirm that the pointer is at zero (check in the OFF position). If there is a deviation, mechanical zero adjustment should be performed.
Standard Measurement Steps
1. Mechanical zero adjustment;
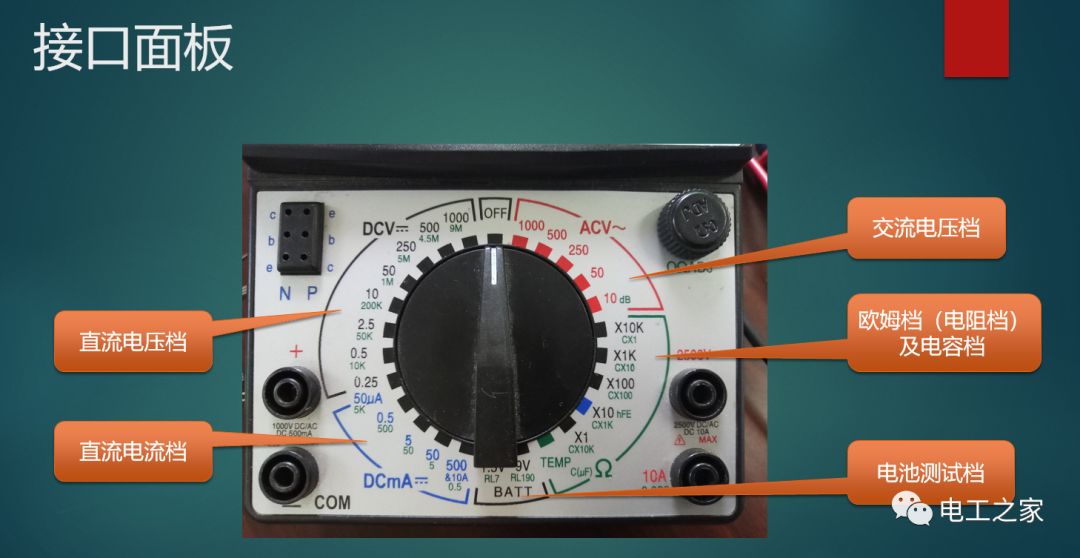
2. Determine the quantity to be measured: voltage, current, resistance, capacitance, or others;
3. Select the appropriate range and switch to the corresponding position (the ohm range needs to be zeroed);
4. Determine the socket to be used: whether it is a standard positive socket, high voltage socket, high current socket, or transistor test socket;
5. Start measuring, and wait for the pointer to stabilize before reading;
Choosing the Range
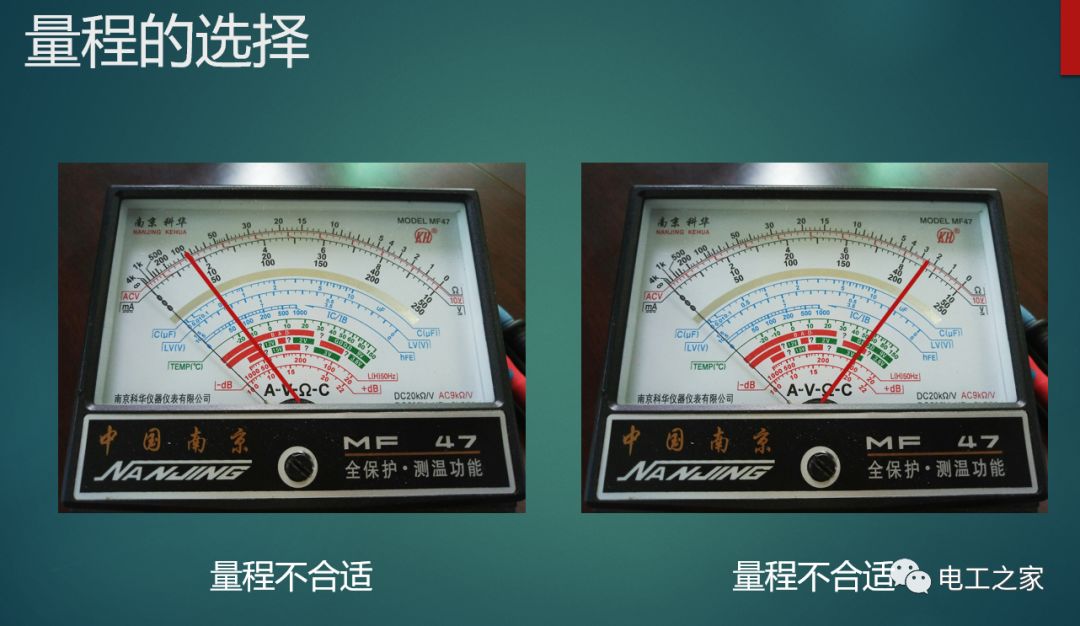
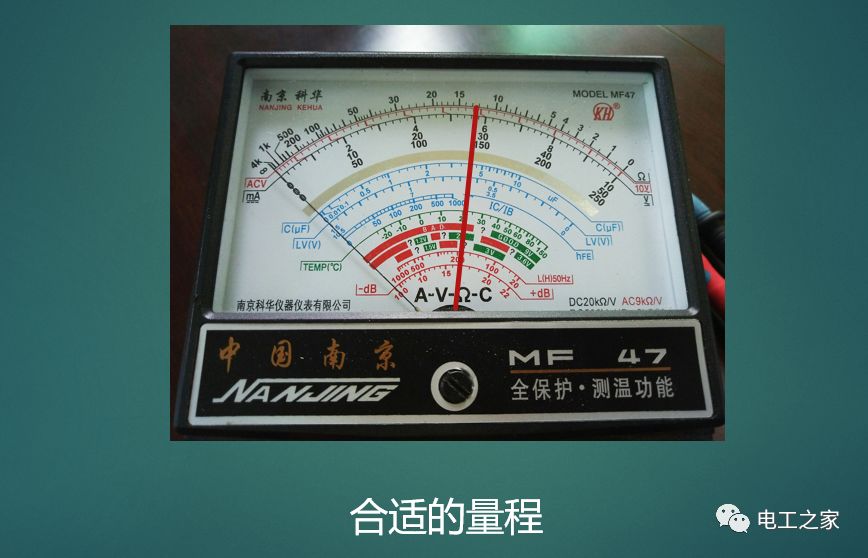
When measuring, choose the appropriate range; if the range is too large, it will affect measurement accuracy, and if it is too small, the exact value cannot be read. The specific selection method is: if the approximate value of the voltage to be measured is known, select the range that is closest to it (but greater than that value); if the value of the voltage to be measured is completely unknown, select the maximum range, and then appropriately reduce the range based on the pointer’s deflection.
Reading Techniques
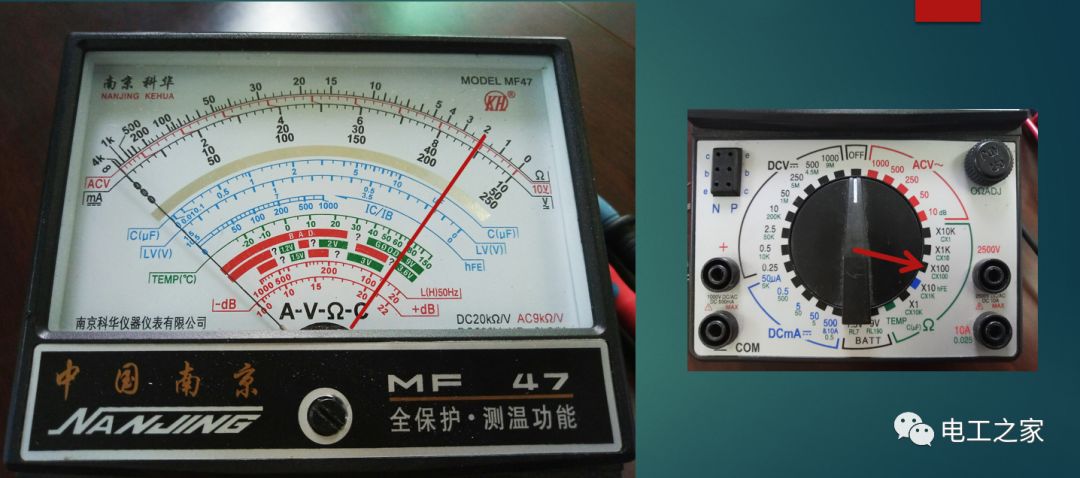
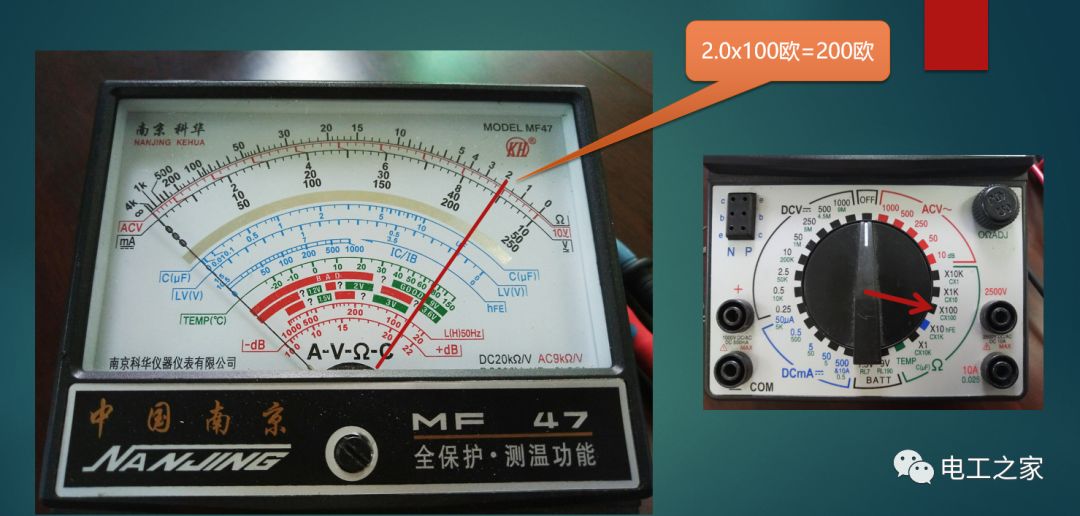
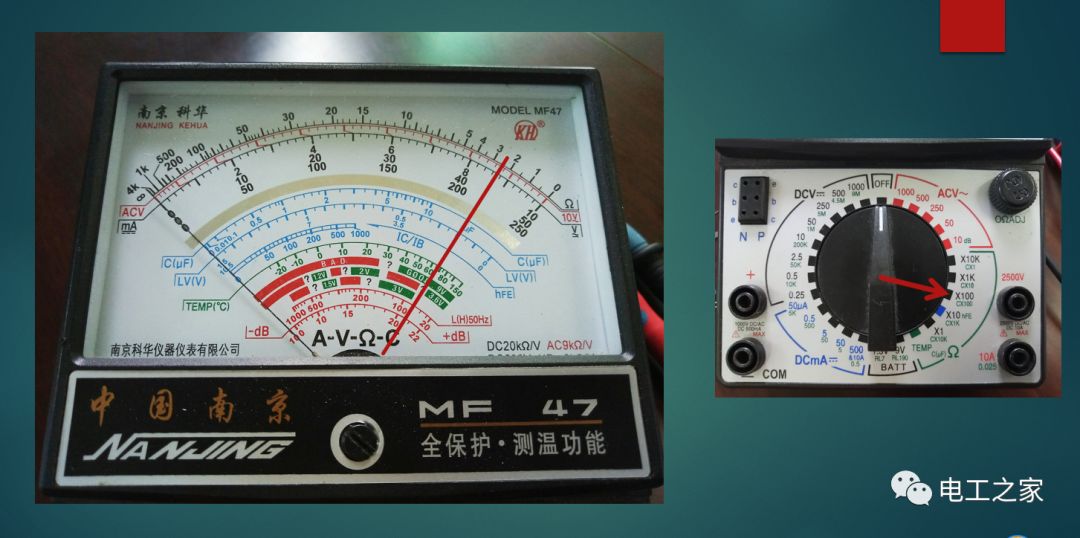
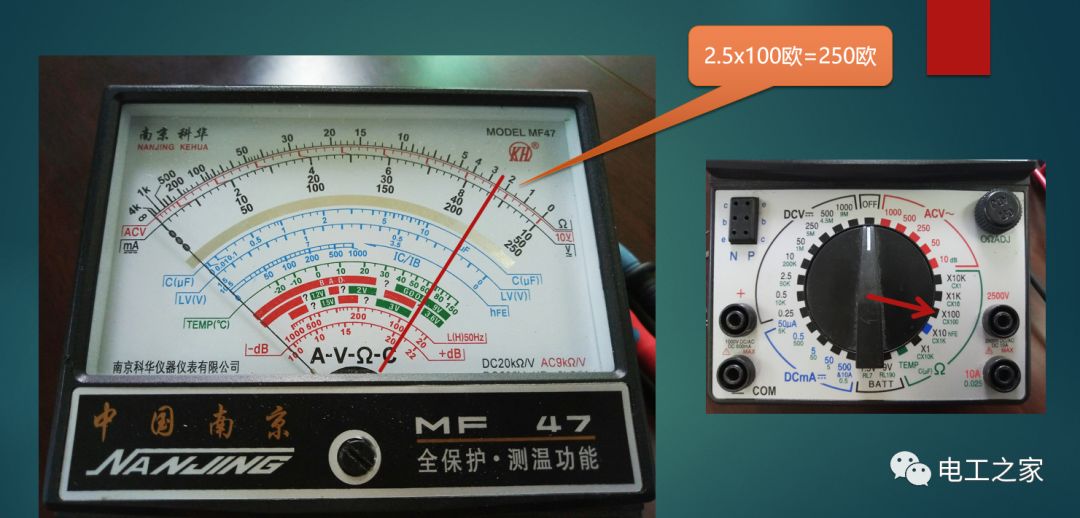
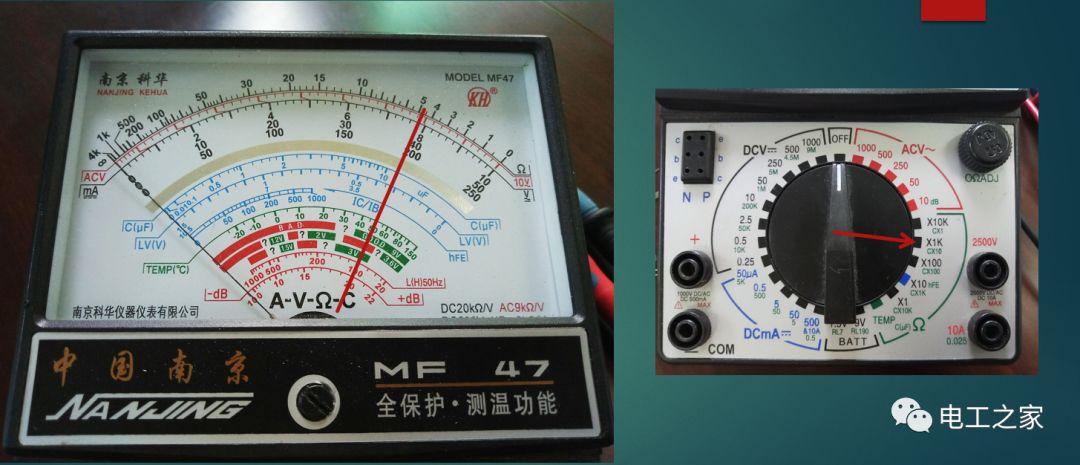
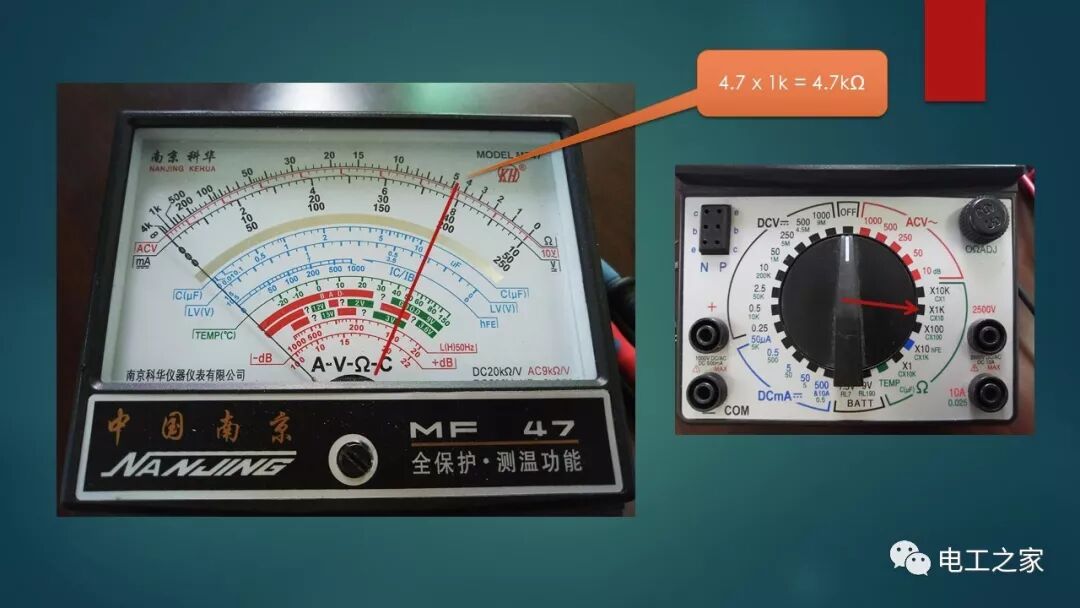
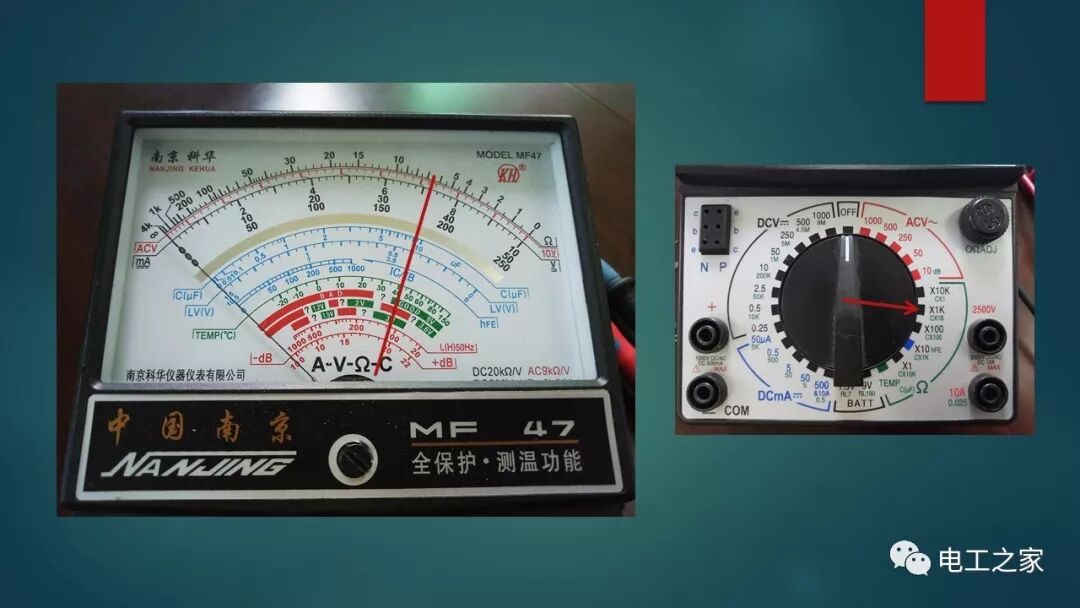
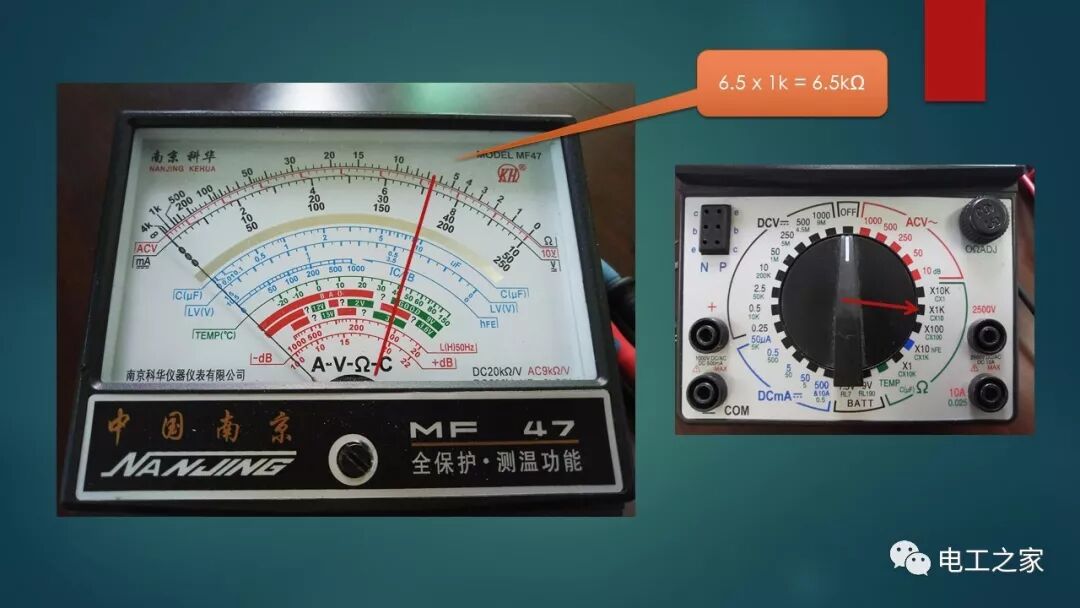
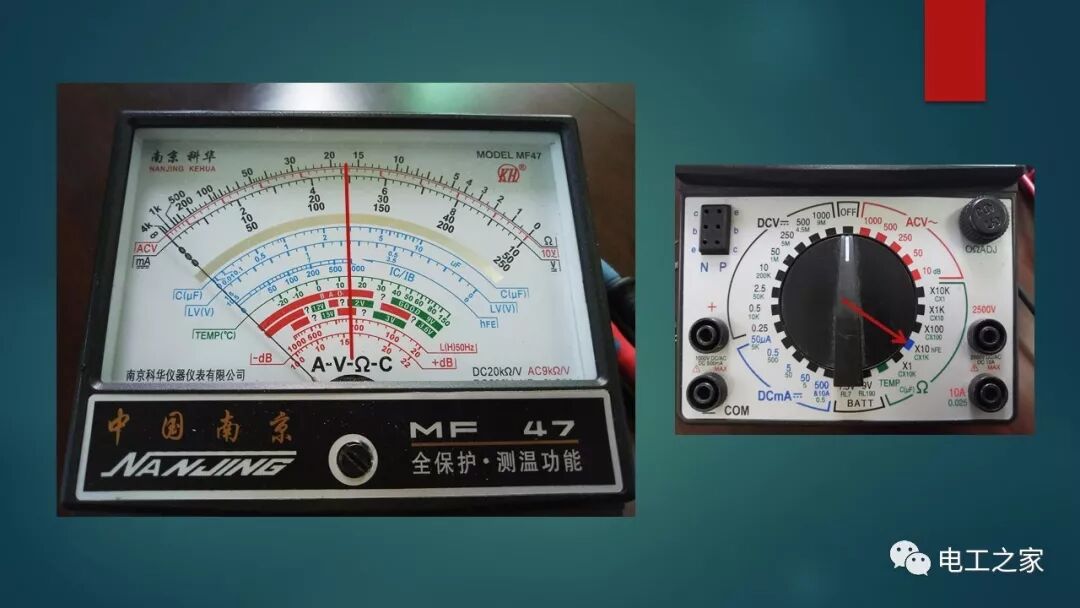
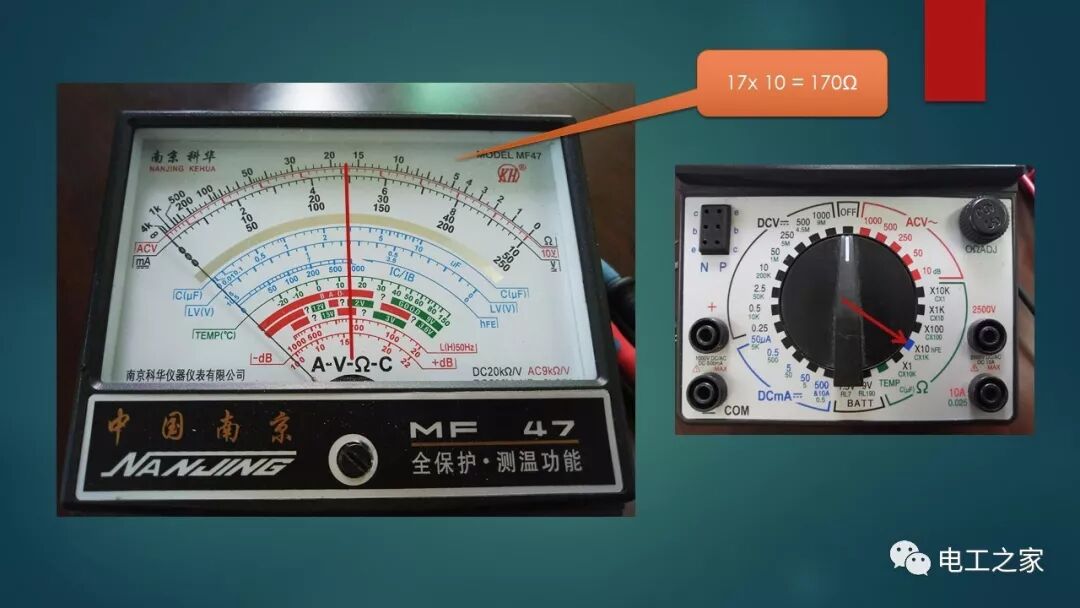
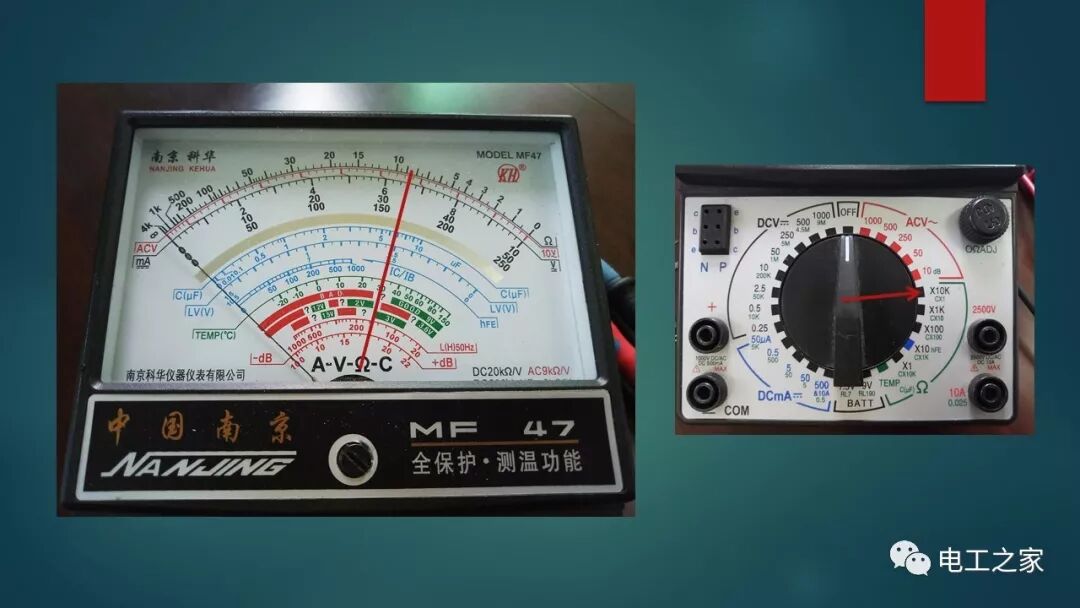
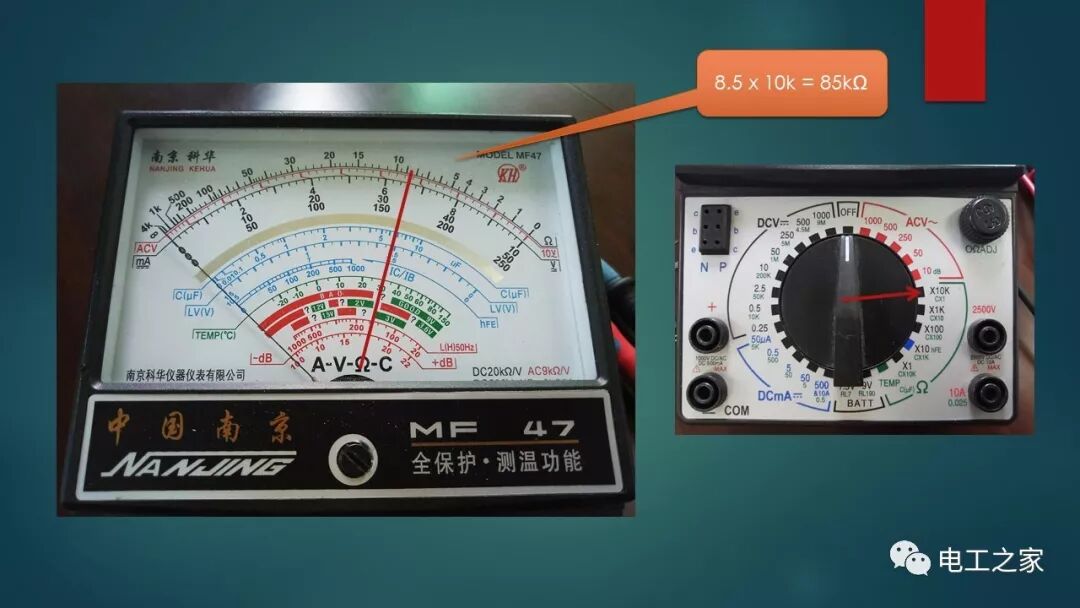
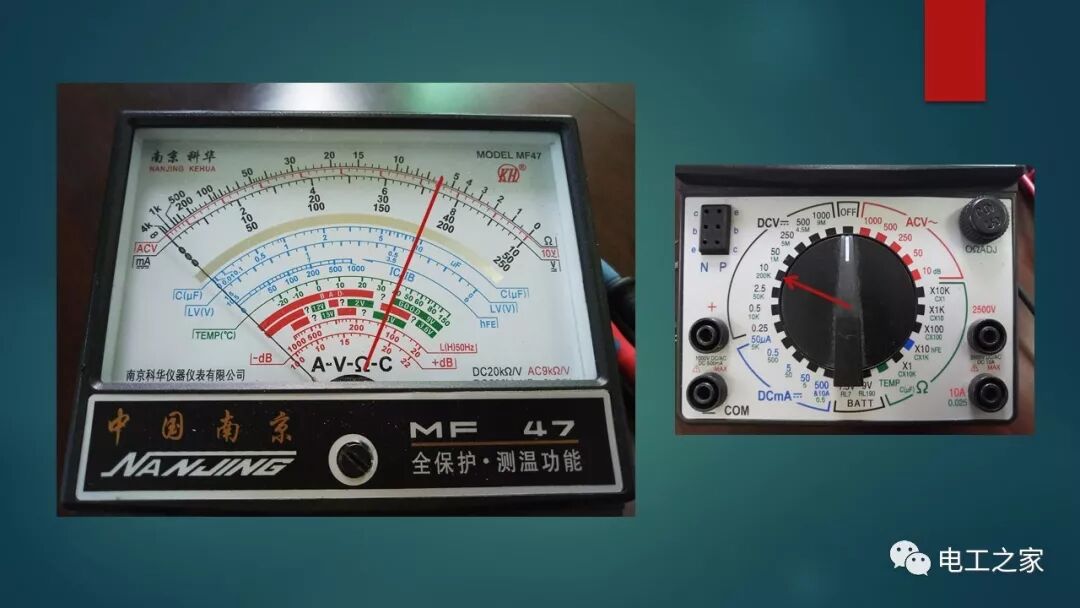
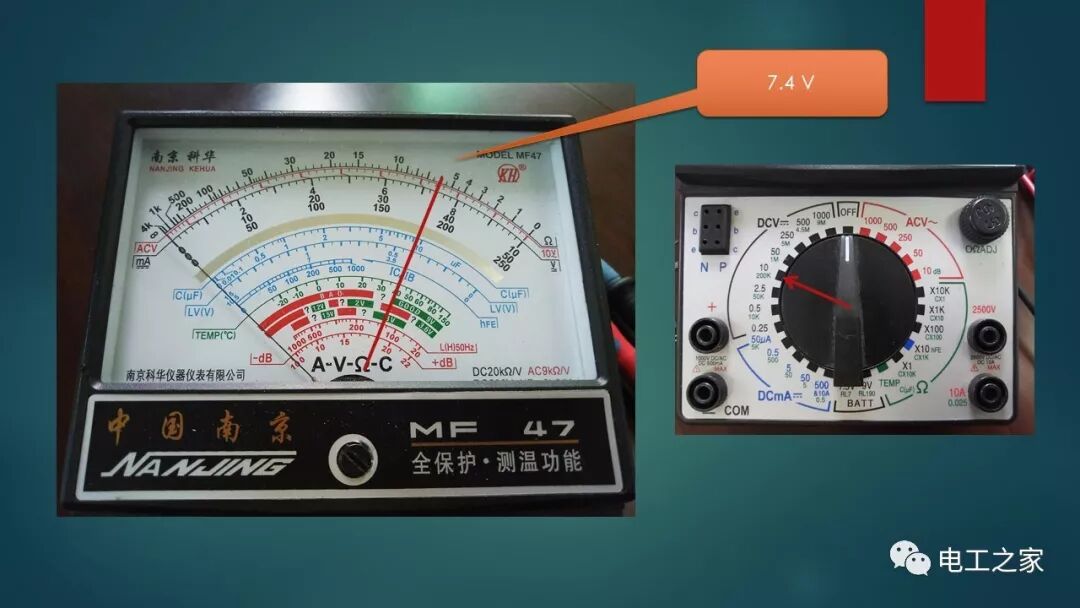
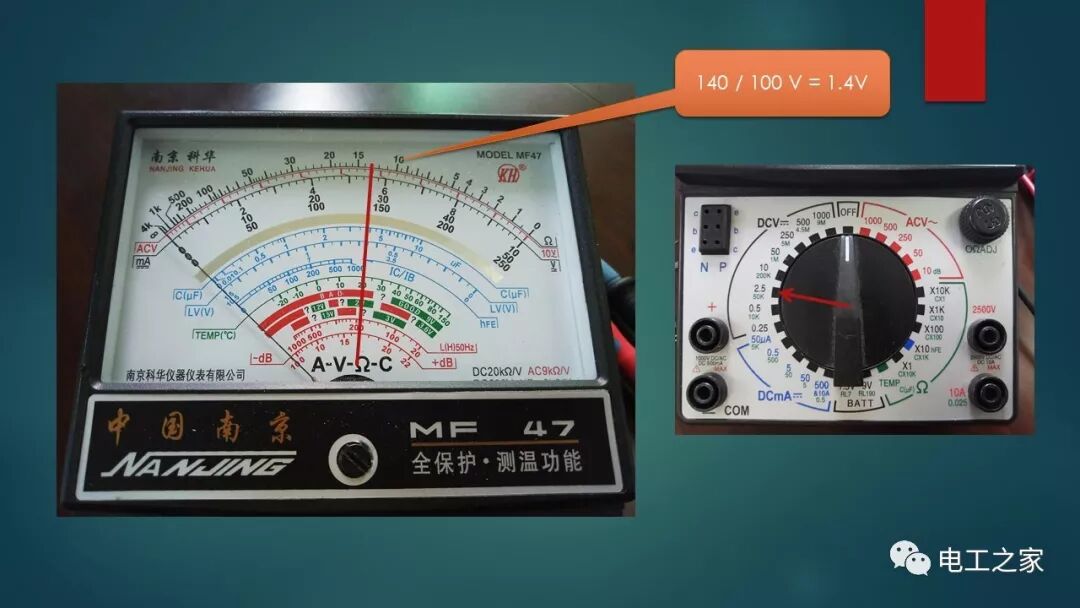
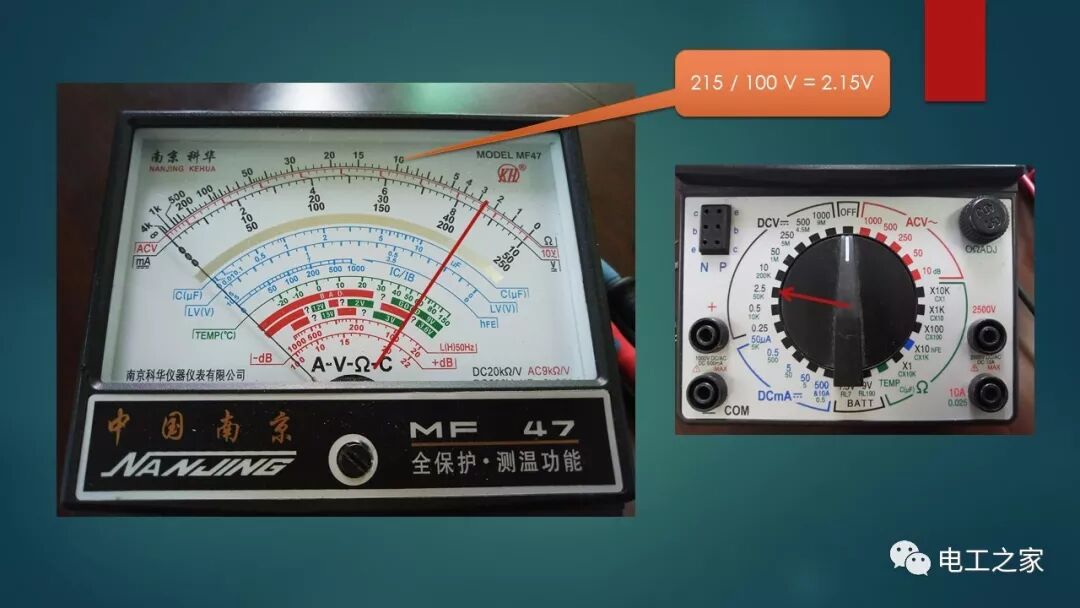
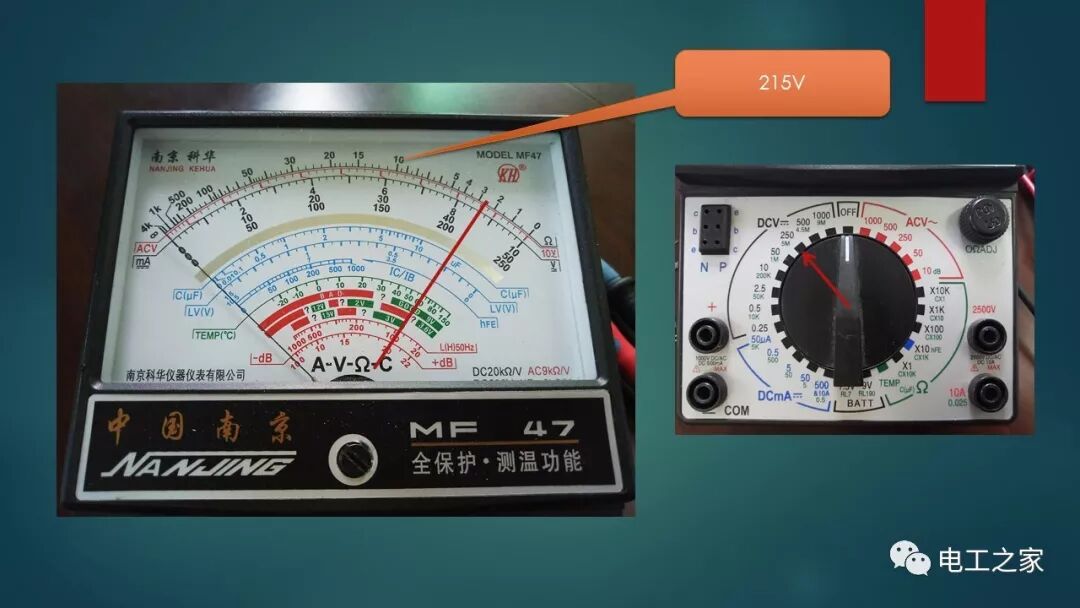
Due to the numerous ranges of the multimeter, it is impossible to label all of them on the scale. Some ranges are directly in multiples, which can be represented using the same scale, and then converted to obtain the correct result.
For example: For the DC range, there are 0.25, 2.5, and 250, but the scale only has the 250 scale. If you need to measure using the 2.5 range, you can first read the result on the 250 scale. If the result is 175, you can scale the 250 scale down by dividing by 100. Therefore, the final measurement result is 175 / 100 V = 1.75V. The same applies to the 10 scale and the 50 scale.