Understanding Arduino: How Much Do You Know?
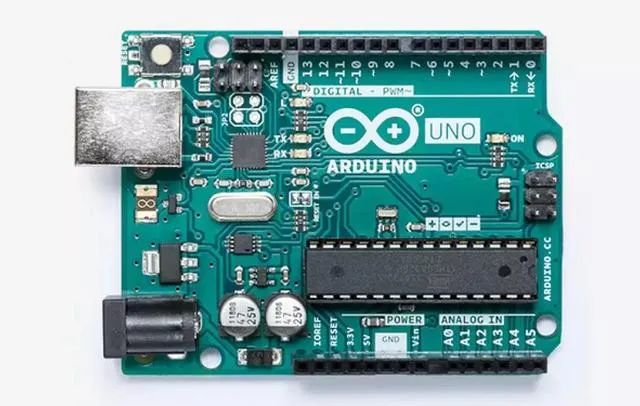
Arduino
In simple terms, Arduino is an open-source electronic prototyping platform consisting of a simple microcontroller and an easy-to-use programming environment. It connects various sensors, actuators, displays, and other external devices through pins, supporting flexible and scalable applications widely used in smart homes, automation, and the Internet of Things.
PART01
Features of Arduino
1. Cross-Platform
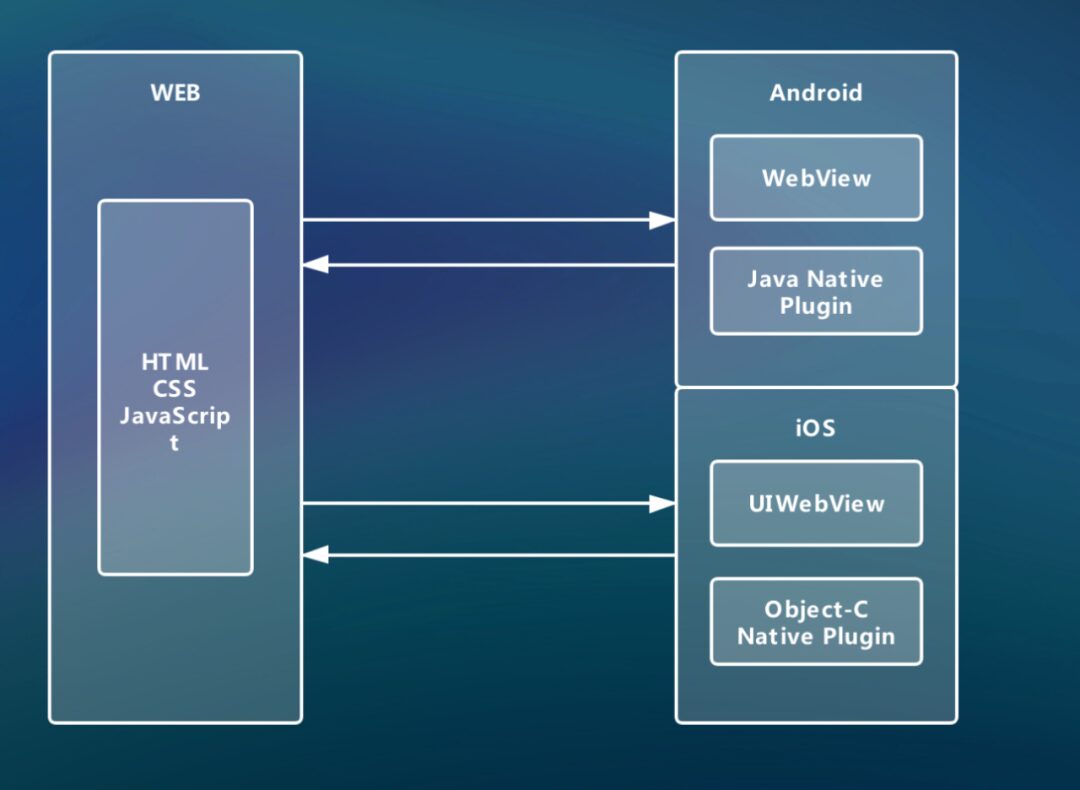

2. Simple and Clear
Arduino
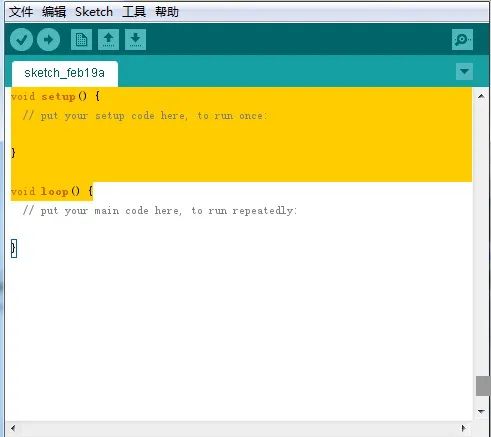
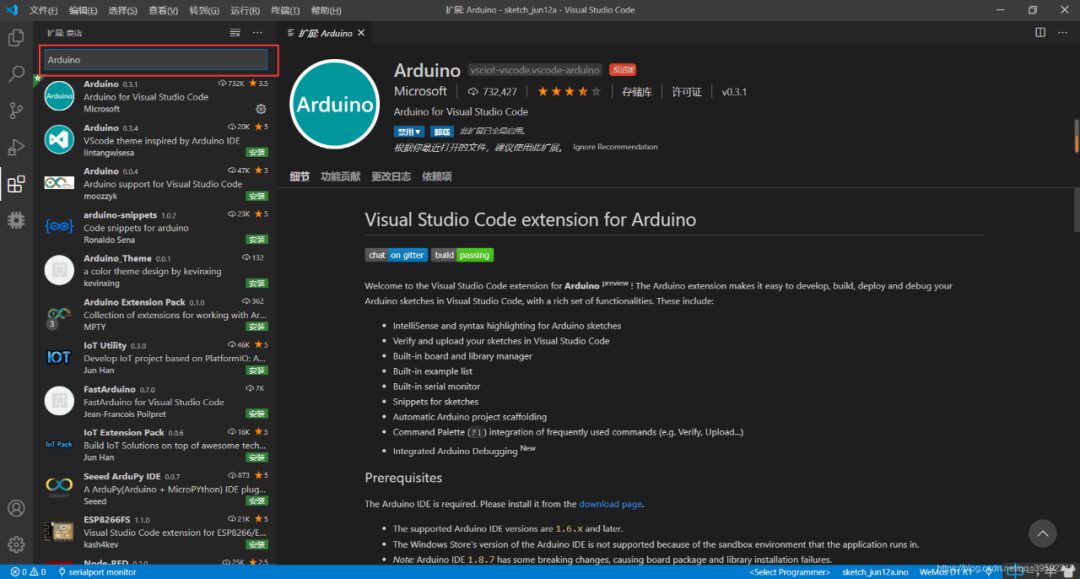
3. Openness
PART02
Functions
PART03
Hardware Composition
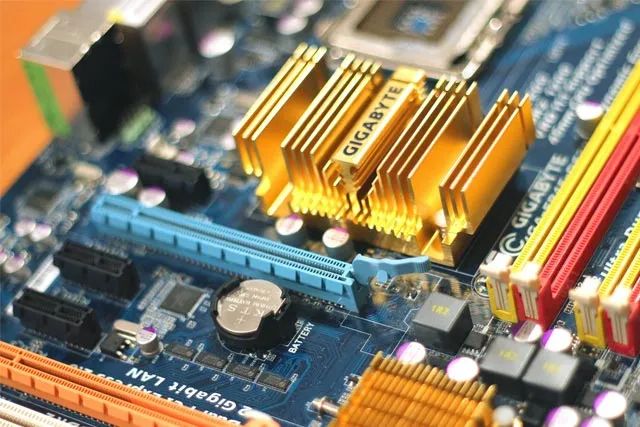
Arduino is an open-source platform based on the Processing language and Wiring framework, attracting many electronics enthusiasts and developers with its simple programming environment and powerful functionality. The Arduino board has a rich set of digital and analog input/output pins that can connect various electronic components such as sensors, motors, and displays, enabling the creation of various interactive projects and smart devices.
Arduino shields are a type of accessory designed to extend the functionality of the Arduino board. They can be stacked on top of the Arduino board and connected through pins to achieve specific functionality. For example, a sensor shield can provide more sensor interfaces, and a network shield can connect Arduino devices to the internet for data transmission and remote control.
Arduino shields typically have the same pin configuration as the Arduino board for easy connection. Their emergence has greatly simplified the circuit building process, allowing Arduino enthusiasts to quickly build their own projects.

1. Main Board
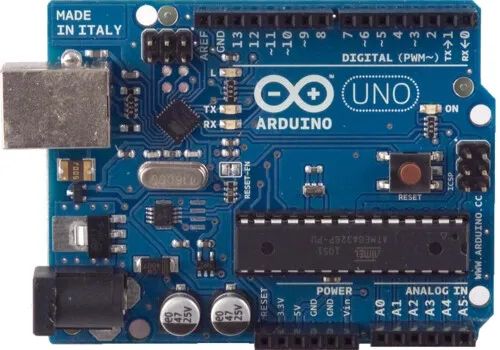
The Arduino main board is an open-source electronic prototyping platform based on the ATmega328P microcontroller, providing a rich set of digital and analog input/output pins for connecting various electronic components such as sensors and actuators. The core of the Arduino main board is the ATmega328P microcontroller, which features 14 digital input/output pins (6 of which can be used as PWM outputs), 6 analog input pins, a 16MHz crystal oscillator clock, USB connection, power jack, ICSP header, and reset button. By connecting to a computer via USB data cable, it can achieve power supply, program download, and data communication. The Arduino main board supports various programming languages such as C/C++ and Python, allowing users to write code to control connected electronic components and create various interactive projects and smart devices.

2. Shields
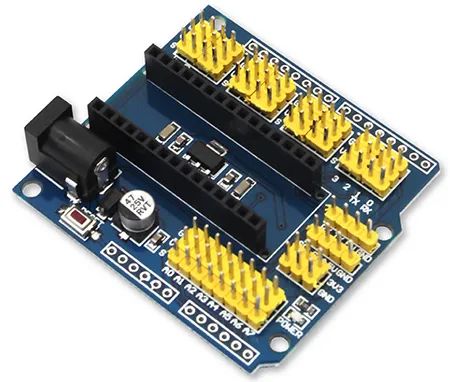
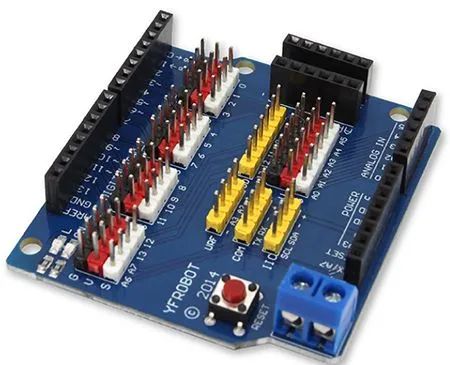
Arduino shields are designed to enhance the functionality of the Arduino main board. They can be stacked on top of the Arduino board and connected through pins to achieve specific functionality. There are various types of Arduino shields based on different application needs, such as sensor shields, motor driver shields, network communication shields, etc. Sensor shields can provide more sensor interfaces, motor driver shields can drive more motors, and network communication shields can connect Arduino devices to the internet for data transmission and remote control.
The emergence of Arduino shields has greatly simplified the circuit building process, allowing Arduino enthusiasts to quickly build their own projects. Users can choose the appropriate shield based on their needs to flexibly extend the functionality of the Arduino main board.


PART04
Types of Development Boards
1. Arduino Uno: This is a very popular basic development board based on the ATmega328P microcontroller, featuring 14 digital input/output pins (6 of which can be used as PWM outputs), 6 analog input pins, a 16MHz crystal oscillator, and USB connection. The Uno board is the first in the USB Arduino series and serves as the reference model for the Arduino platform.
2. Arduino Leonardo: This development board is based on the ATmega32U4 microcontroller, providing 20 digital input/output pins (7 of which can be used as PWM outputs, 12 as analog inputs). It has a micro USB connection, a power socket, an ICSP header, and a reset button. The Leonardo has built-in USB communication capabilities without the need for an external auxiliary processor.
3. Arduino Mega 2560: This is a development board based on the ATmega2560 microcontroller, featuring 54 digital input/output pins (15 of which can be used as PWM outputs), 16 analog inputs, and 4 UART hardware serial ports. Its larger size is suitable for applications that require more IO ports and greater storage capacity.
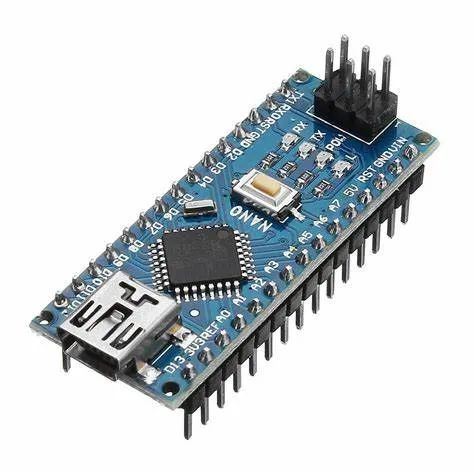
4. Arduino Nano: This compact development board is based on the ATmega328P microcontroller and can be directly inserted into a breadboard for use. The Nano has eliminated some extra features for a more compact design.
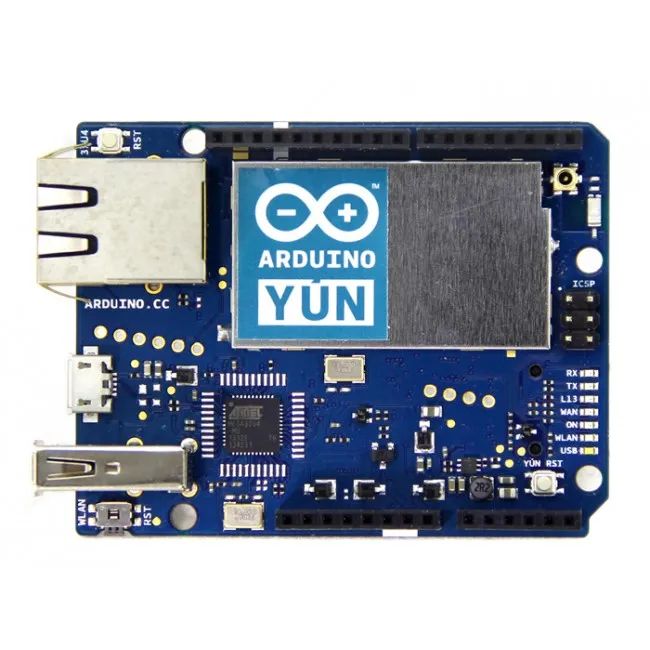
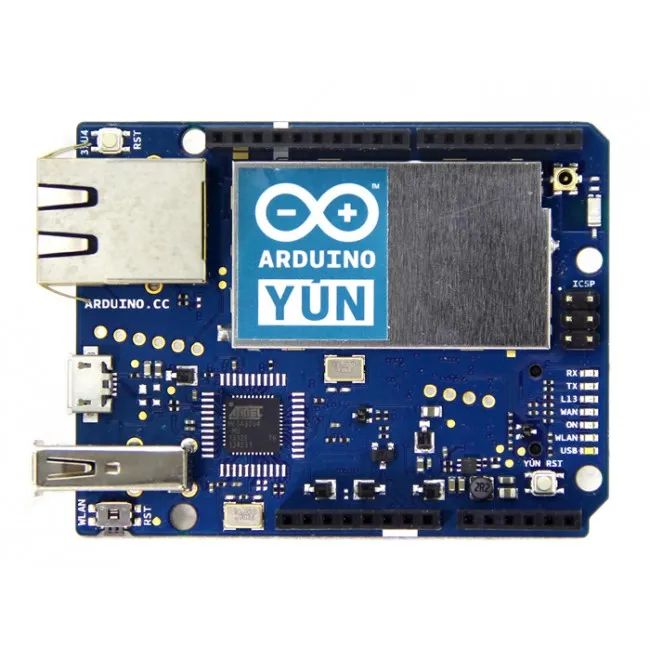
5. Arduino Yún: This is a development board with Wi-Fi capabilities, allowing easy addition of network functionality to Arduino projects.
6. Arduino Due: This development board is based on the ARM Cortex-M3 core ATmega32U4 microcontroller, equipped with 54 digital input/output pins (12 of which can be used as PWM outputs), 12 analog outputs, and multiple UART, I²C, and SPI interfaces. The Due uses a 3.3V voltage instead of the common 5V.
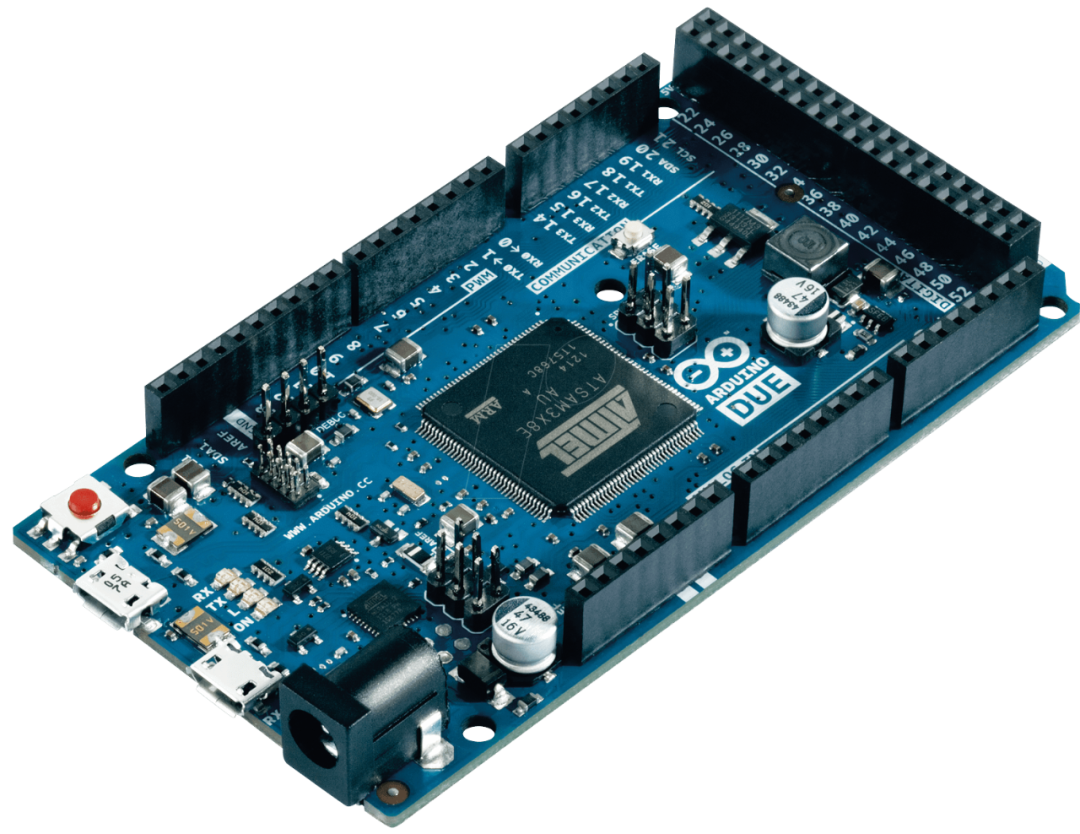
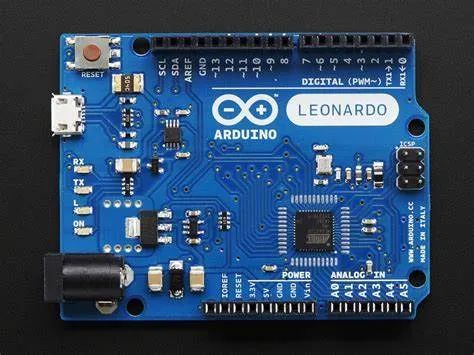
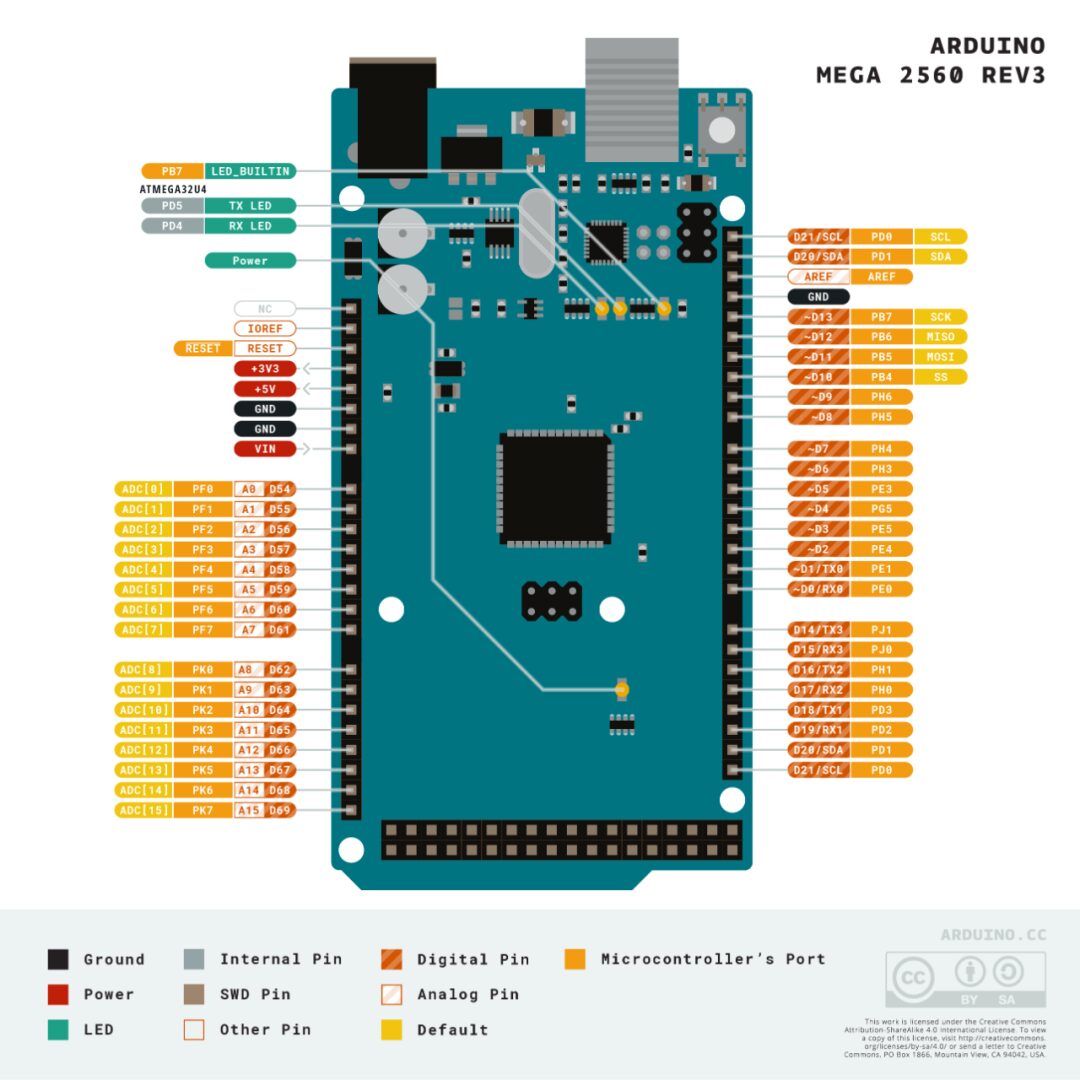

Common Development Boards
PART05
Examples

Experiment Preparation

Code Content
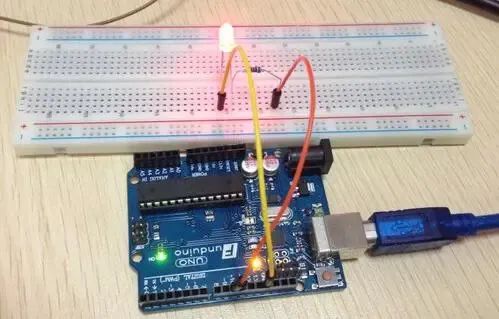
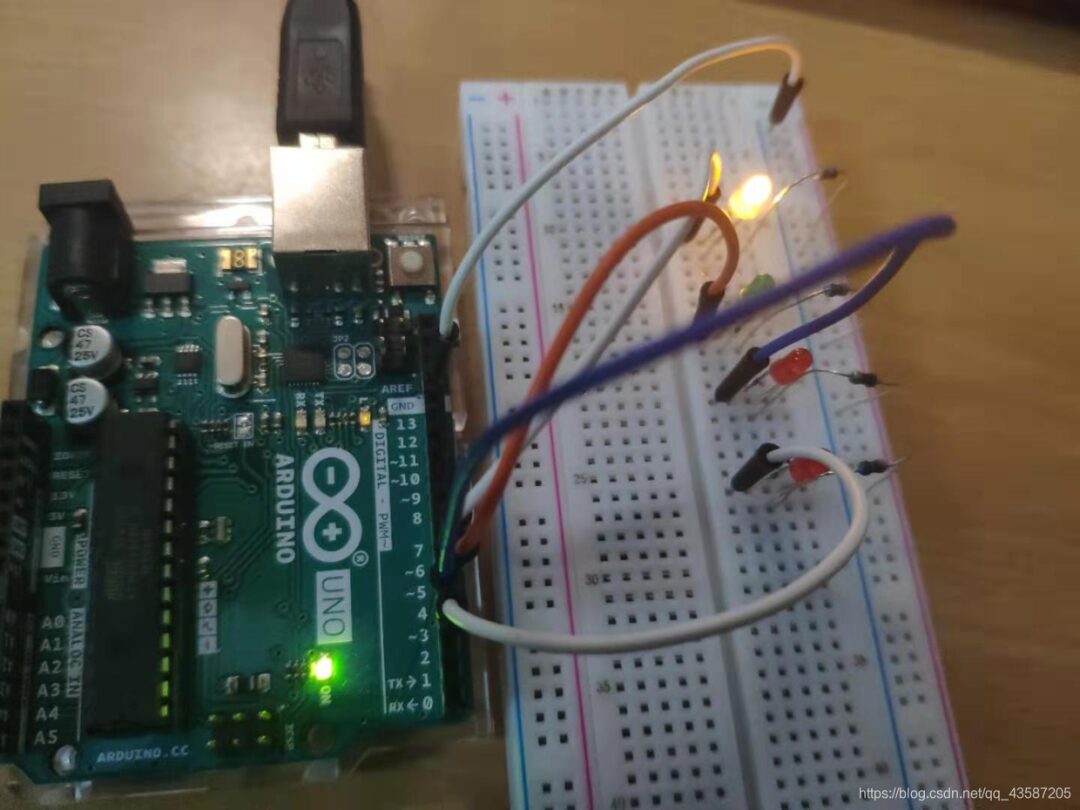
const int ledPin = 2;//LED connected to digital pin 2.
void setup(){ pinMode(ledPin, OUTPUT);//Set LED pin as output.}void loop(){ digitalWrite(ledPin, HIGH);//Set LED pin to high. delay(1000);//Delay for 1 second. digitalWrite(ledPin, LOW);//Set LED pin to low. delay(1000);//Delay for 1 second.
}




Images and Text | Wang Jianhui
Layout | Wang Jianhui