Star + Top to master cutting-edge information on embedded AIoT technologyLike + Follow, let’s become better together!
As the saying goes: The beginning is always the hardest. However, sometimes with the help of experienced predecessors, starting becomes much easier. For instance, when diving into embedded AI, the first step is to set up the development environment according to the tutorial manual.
Description of the software and hardware devices for the development environment
PC Host: Windows 11 (32GB RAM, 1TB SSD)
Virtual Machine: Ubuntu 22.04 (allocated 16GB RAM, 512GB disk)
Development Board: ELF2 (RK3588 4G+32G), running Ubuntu 22.04 Desktop system
The process of training and deploying embedded AI models can be roughly divided into the following steps:
1. Model Training: Use high-performance computing resources to iteratively train the model, continuously adjusting model parameters to minimize prediction errors or maximize task performance metrics.
2. Model Conversion and Optimization: For RK series processors, the RKNN-Toolkit can be used for model conversion.
3. Deployment on Embedded Devices: Deploy the converted and optimized model onto embedded devices, write inference-related code, and perform validation.
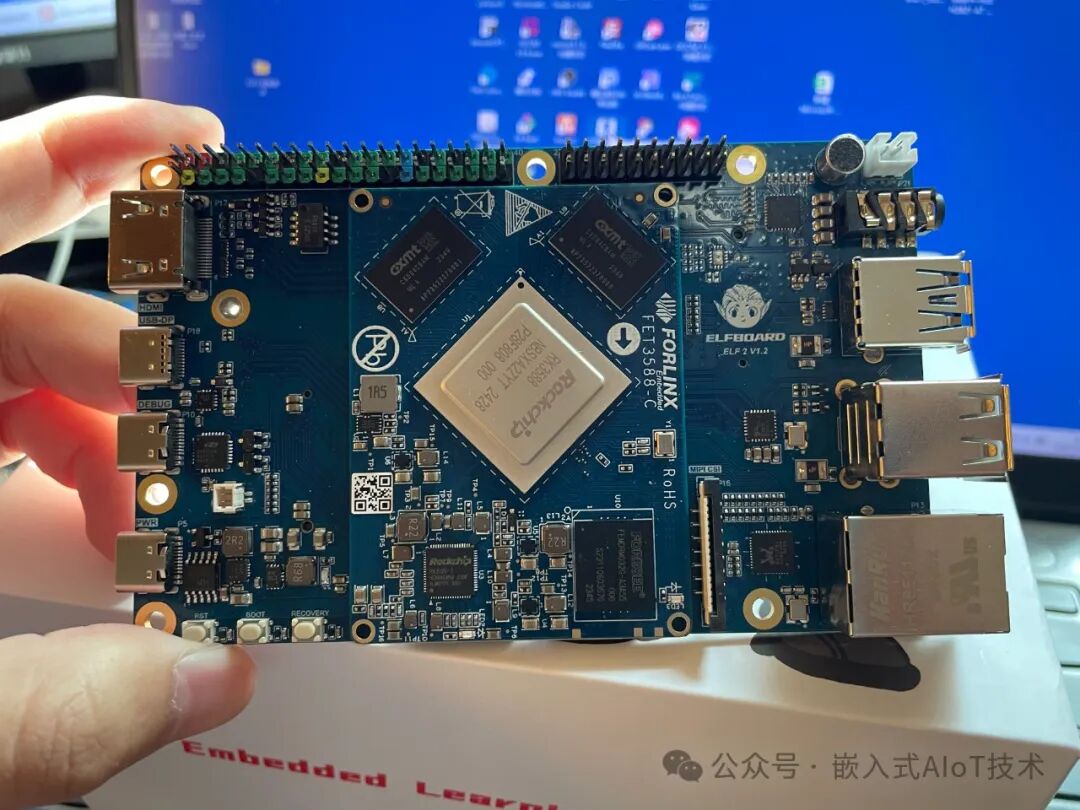
The Feilin Embedded ElfBoard ELF2 development board uses the RK3588 processor with a core board configuration of 4GB + 32GB, running the Ubuntu 22.04 Desktop system.
To get started with embedded AI, the first step is to set up the corresponding development environment on both the virtual machine Ubuntu 22.04 and the development board Ubuntu 22.04 (which means installing the necessary software packages). The process is as follows:
1. Install Anaconda on the Virtual Machine
1. In the virtual machine Ubuntu 22.04, install the Miniconda package manager. This tool allows users to create and manage multiple independent Python environments, ensuring that different Python environments do not interfere with each other.
The ELF2 documentation provides the installation script for Miniconda; simply run the script to install:
elf@ubuntu:~$ chmod +x Miniconda3-4.7.12.1-Linux-x86_64.sh elf@ubuntu:~$ ./Miniconda3-4.7.12.1-Linux-x86_64.sh2. After installing Miniconda in the virtual machine Ubuntu 22.04, restart the terminal, and you will see (base) at the front, indicating that conda is currently in the base virtual environment since no other virtual environments have been created yet.
If you want to prevent the base virtual environment from activating at startup, you can execute the following command:
conda config --set auto_activate_base false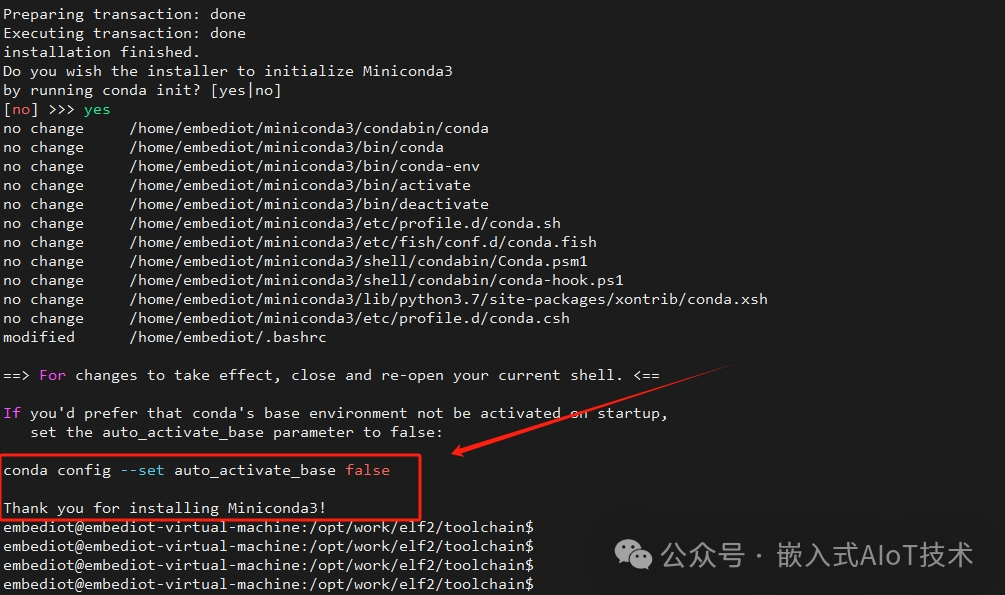
3. Here are some commonly used commands for the conda tool:
(1) View the list of virtual environments: conda env list (2) Create a new virtual environment: conda create --name [environment_name] python=[version] (3) Activate the virtual environment: conda activate [environment_name] (4) Deactivate the virtual environment: conda deactivate (5) Install libraries in the virtual environment: conda install [package_name] or pip install [package_name] (6) Remove the virtual environment: conda env remove --name [environment_name]2. Create a Python Virtual Environment in the Virtual Machine
4. After completing the conda tool installation, you can create a virtual environment, assuming the virtual environment is named: py3.10-tk2-2.1, execute the following command to create it:
conda create --name py3.10-tk2-2.1 python=3.10After creation, execute the following command to activate the virtual environment:
conda activate py3.10-tk2-2.1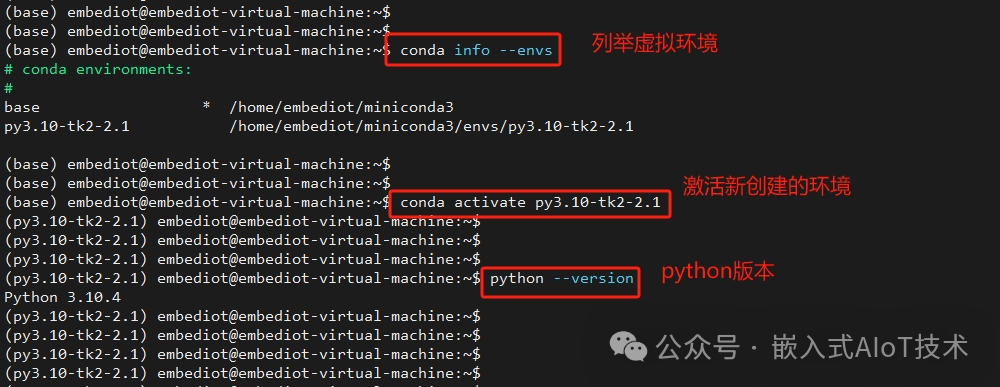
3. Install RKNN-Toolkit2-2.10 in the Virtual Machine
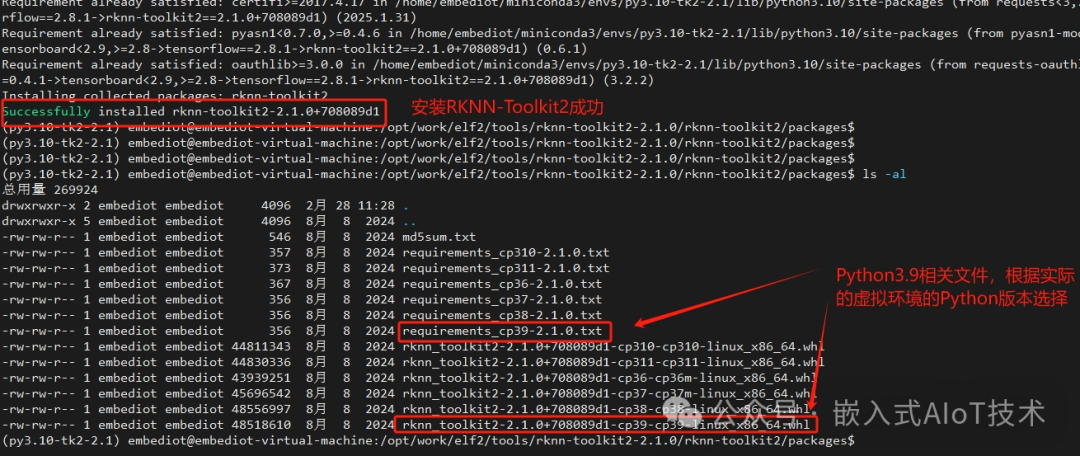
5. In the newly created virtual environment, install RKNN-Toolkit2-2.1.0. Upload the RKNN-Toolkit2-2.1.0.zip package to the virtual machine’s Ubuntu 22.04 and extract it. Then, in the rknn-toolkit2-2.1.0/rknn-toolkit2/packages directory, execute the following command:
pip install -r requirements_cp310-2.1.0.txt -i https://mirrors.tuna.tsinghua.edu.cn/pypi/web/simple some-packageAfter successfully executing the previous command, continue in the same directory and execute the following command:
pip install rknn_toolkit2-2.1.0+708089d1-cp310-cp310-linux_x86_64.whl6. After executing the above two commands, the terminal will display Successfully installed rknn-toolkit2-2.1.0. It is important to note that if the virtual environment is based on Python 3.9, you should choose files with “cp39” when executing the above two commands. Similarly, if it is based on Python 3.11, choose files related to “cp311”.
4. Install RKNN-Toolkit-Lite2 on the Development Board
7. Use the fileZilla tool to upload the rknn-toolkit2-2.1.0/rknn-toolkit-lite2/packages directory’s
rknn_toolkit_lite2-2.1.0-cp310-cp310-linux_aarch64.whl file to the development board, then execute the following command to install the file:
elf@elf2-desktop:~$ sudo apt-get update elf@elf2-desktop:~$ sudo apt-get install python3-pip elf@elf2-desktop:~$ pip install rknn_toolkit_lite2-2.1.0-cp310-cp310-linux_aarch64.whl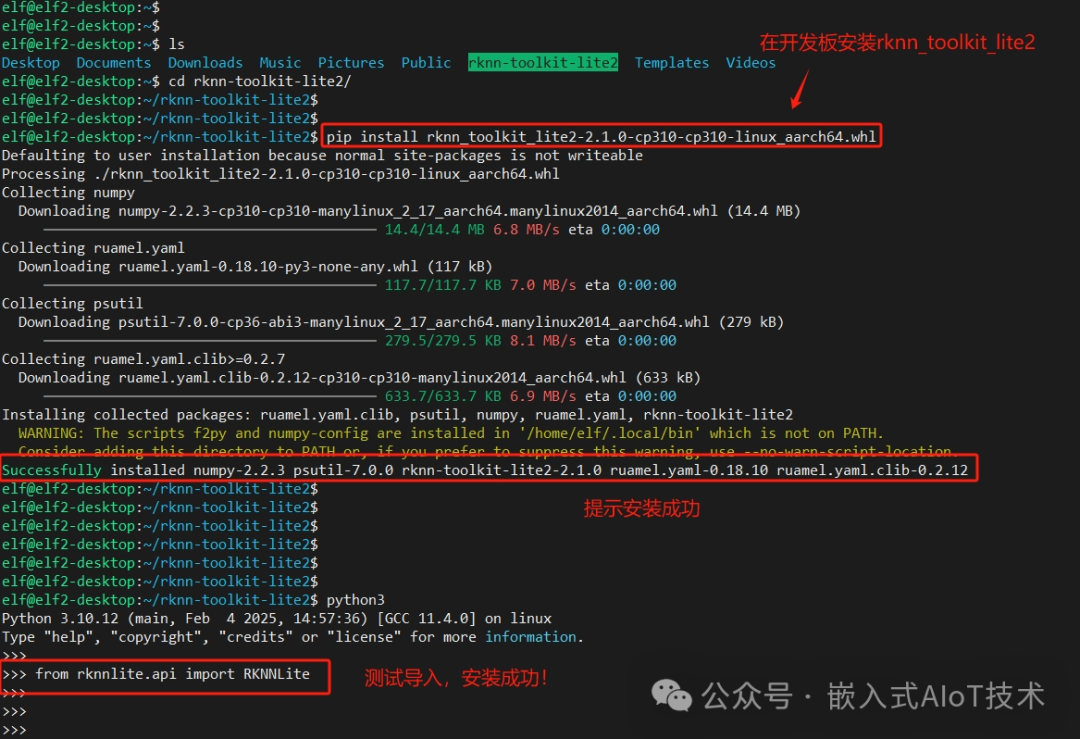
5. Update RKNPU2 on the Development Board
8. The development board comes pre-installed with the RKNPU2 component, which integrates the NPU driver and supports model loading and inference through C language.
It is understood that RKNPU2 is managed with a unified version number, and there may be compatibility issues between different versions. Therefore, it is recommended that users maintain version consistency between RKNN-Toolkit2 and RKNPU2. Users are advised not to update RKNPU2 arbitrarily!
9. If it is necessary to update RKNPU2 to the latest version, follow these steps: In the rknn-toolkit2-2.1.0 folder, find the following four files: librknnrt.so/rknn_server/start_rknn.sh/restart_rknn.sh,
where librknnrt.so should be uploaded to the /usr/lib directory of the development board, and the other three files should be uploaded to the /usr/bin directory. Execute the following commands:
elf@elf2-desktop:~$ sudo mv librknnrt.so /usr/lib/ elf@elf2-desktop:~$ sudo mv rknn_server /usr/bin/ elf@elf2-desktop:~$ sudo mv start_rknn.sh /usr/bin/ elf@elf2-desktop:~$ sudo mv restart_rknn.sh /usr/bin/ elf@elf2-desktop:~$ sudo chmod +x /usr/bin/rknn_server elf@elf2-desktop:~$ sudo chmod +x /usr/bin/start_rknn.sh elf@elf2-desktop:~$ sudo chmod +x /usr/bin/restart_rknn.sh elf@elf2-desktop:~$ restart_rknn.shAfter installing Miniconda, creating a Python virtual environment, installing RKNN-Toolkit2-2.1.0, installing RKNN-Toolkit-Lite2 on the development board, and updating RKNPU2, the development environment for embedded AI has been successfully set up.
Next, we will continue to practice data processing, model deployment, and conversion in embedded AI. Thank you for reading and following!
-END-
Previous Recommendations: Click the image to read
At 35 years old, with a college degree, is it still appropriate to learn embedded edge AI technology?

Fun embedded AI, machine vision, and audio-video processing

Popular among friends, I use DeepSeek to assist in embedded software and hardware development!
Star + Top to master cutting-edge information on embedded AIoT technologyLike + Follow, let’s become better together!