| After the Storm, the Rainbow Appears
To enable the BETAFPV 915 Nano to support PPM output from the FUTABA T14SG, an ESP32 development board was used. After coding twice with Mu Ge (Bilibili ID: Er Mu Shan Ren), it was finally ready for test flight.
Although ELRS is high refresh, what about the delay with PPM? I fly an old model (Zen-like flying), so you can check the video for the delay; I personally don’t feel much.
| Software is SketchUp
Components include: BETAFPV915Nano, Power Board (Power Bank Circuit Board), Micro-Nano Adapter Board, ESP32 Development Board, Simulator, Audio Jack, and two 18650 batteries in parallel.
The exploded view is as follows:
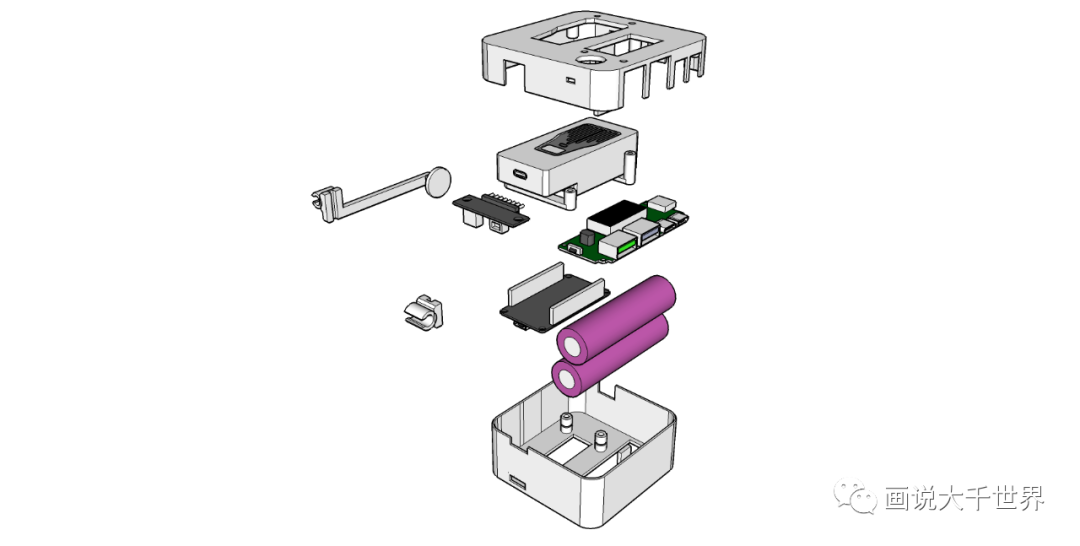
Figure 1 | Component Diagram
The upper shell is hollowed out with reserved screw holes for the fan:
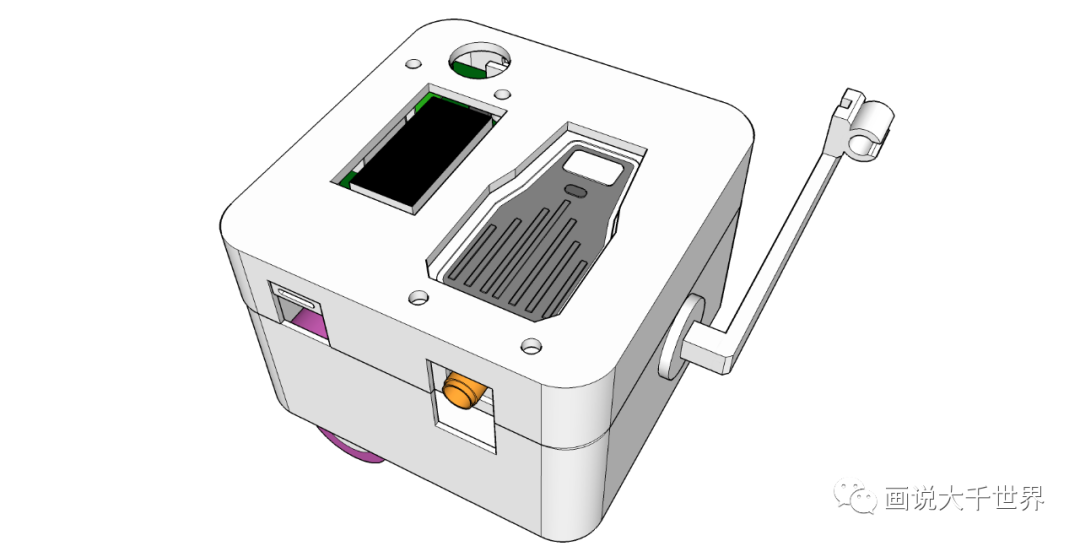
Figure 2 | Hollow and Reserved Screw Holes for Fan
The fixed buckle design refers to the small plastic screwdriver that comes with it. It can be clipped onto the handle, with reserved tie-wrap fixing holes, so if you are worried about it falling off, you can use a tie wrap for security.
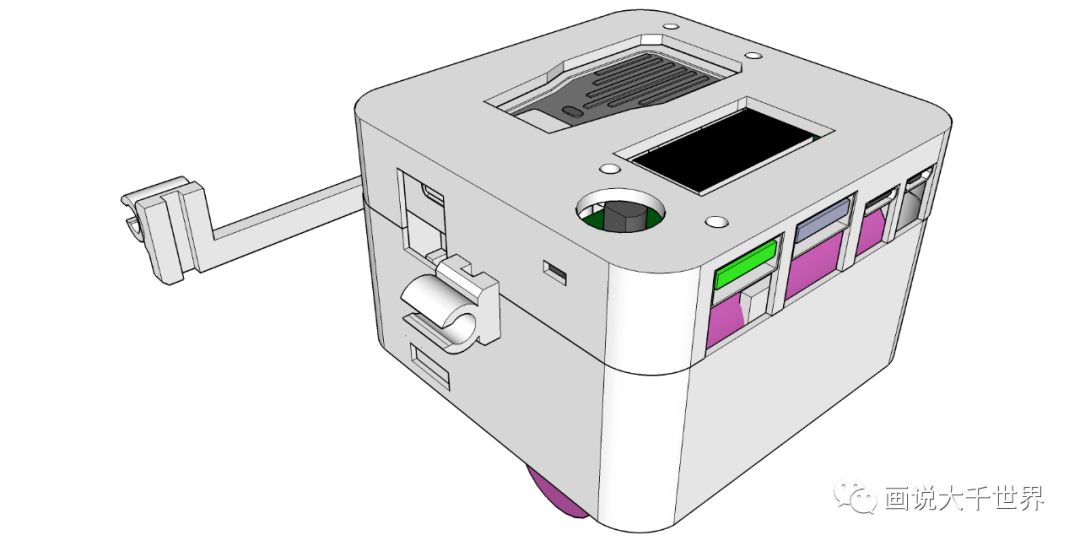
Figure 3 | Fixing Method
Overall dimensions: 73*72*46, weight: 200g (including battery), the opening has been enlarged and lengthened for better heat dissipation.
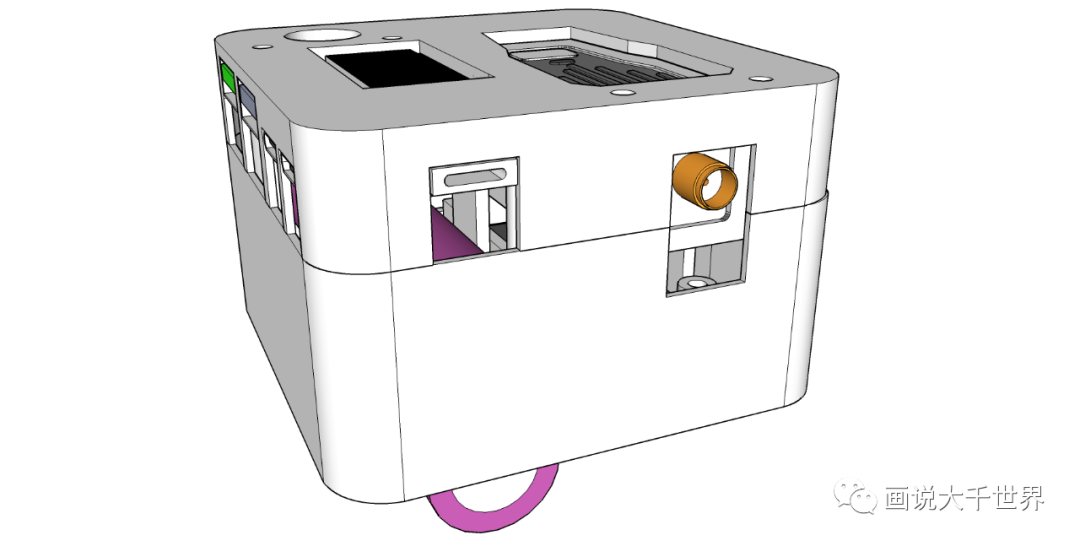
Figure 4 | Antenna Port, Battery Charging Port
Because the ESP32 has soldered pins, and was not removed with a soldering iron, it occupies a large space, preventing the battery from being placed horizontally, which makes the overall structure thicker..
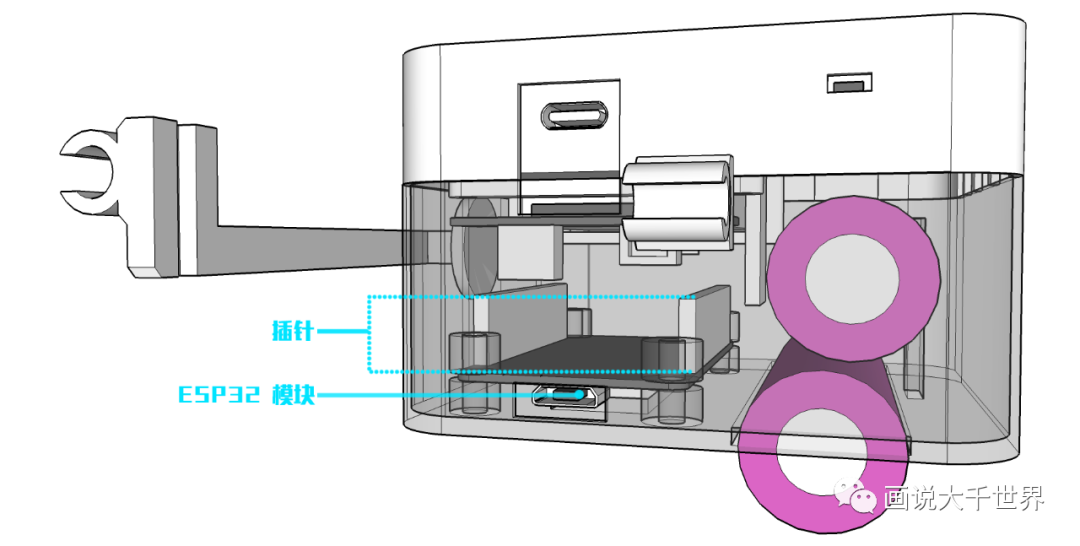
Figure 5 | ESP32 Takes Up Too Much Space
| After installing the internal components, use AB glue to secure them
Wiring for the ESP32, remote control simulator, and audio jack connection.
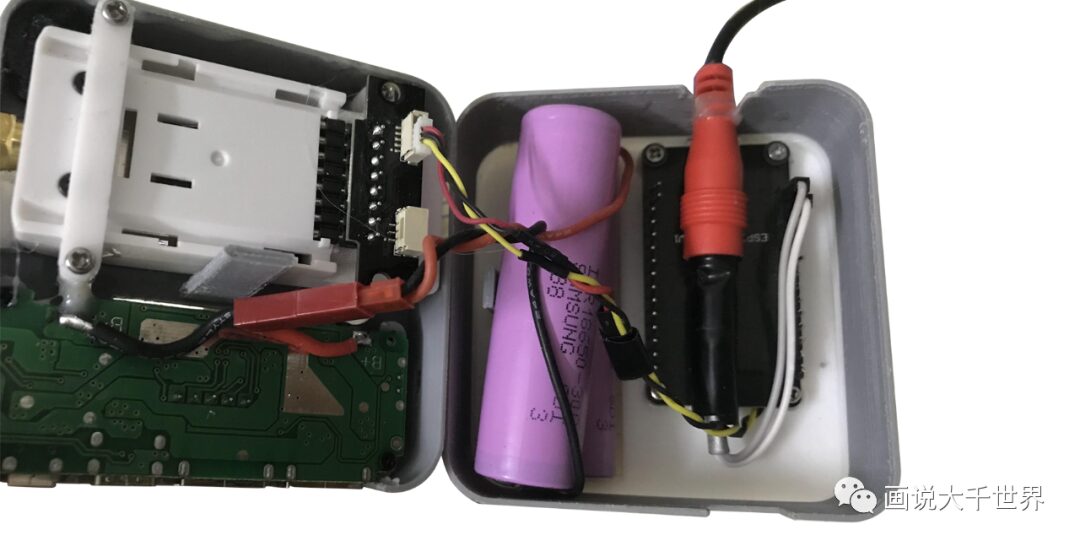
Figure 6 | Internal Installation
Wiring and fixing of BETAFPV915Nano and power board. The structure on the top of the box does not use screws, and directly using AB glue can avoid the warping of printed parts.
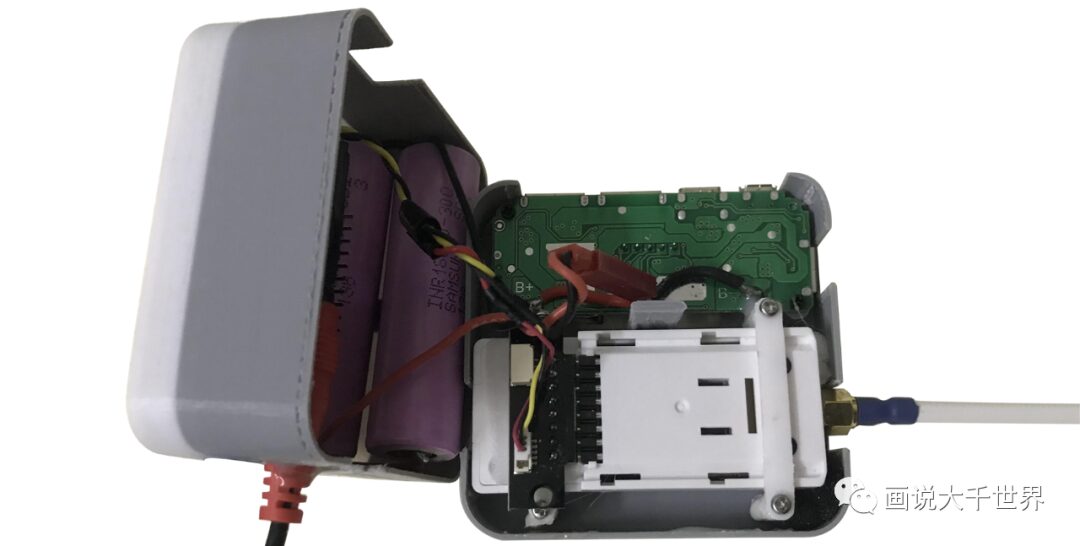
Figure 7 | Internal Installation
| Power board facing the operator, operational status is clear at a glance
Since this is in the testing phase, it is uncertain whether all components can remain stable. The module is fixed as much as possible facing the operator, allowing for real-time monitoring of any component anomalies.
The data lines used are existing ones; subsequent tests will use shorter lines, making the overall appearance look cleaner.
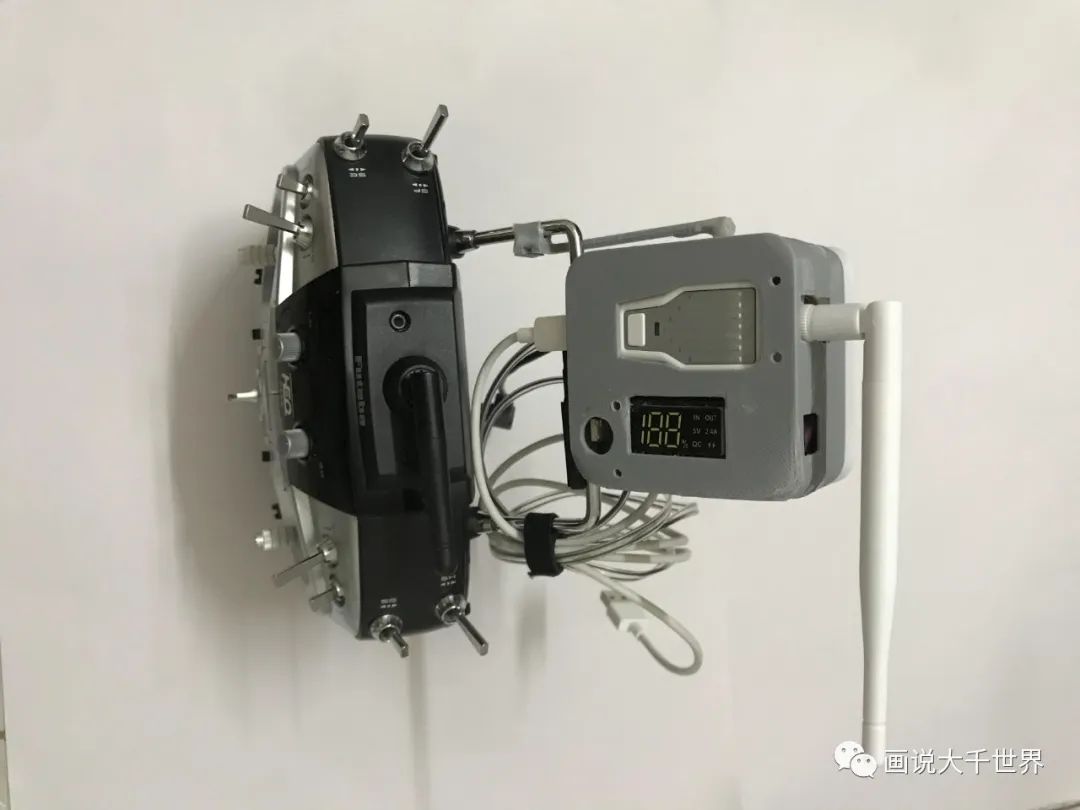
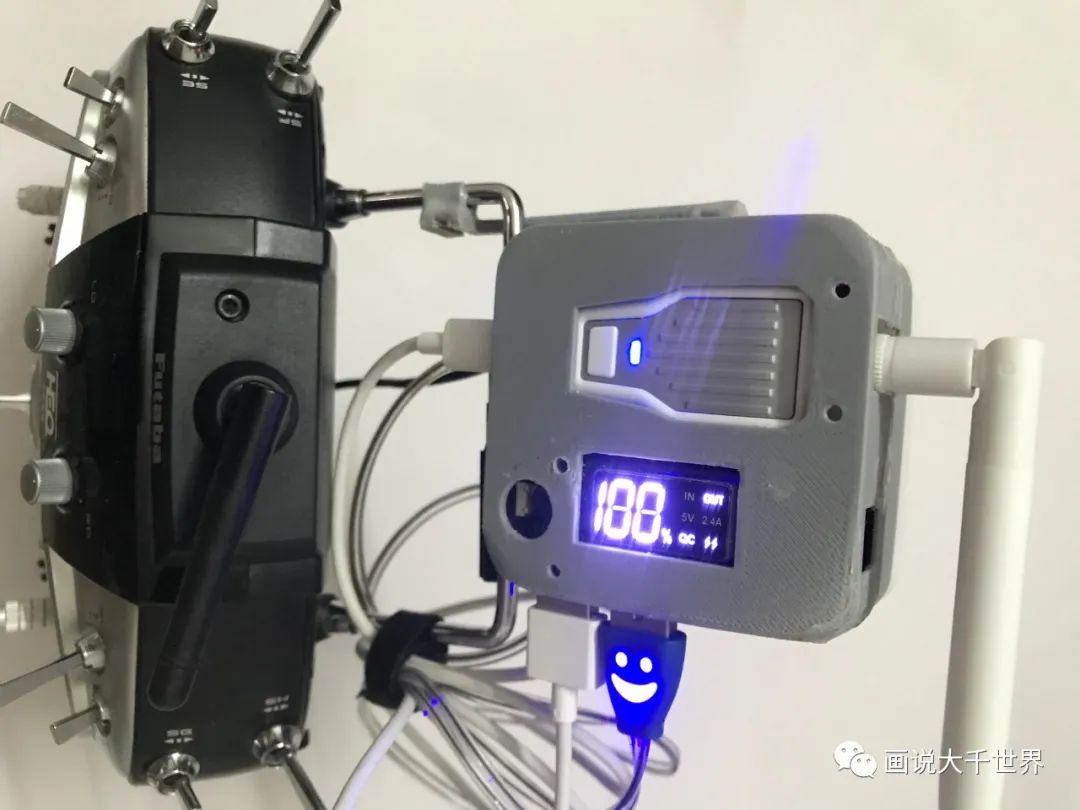
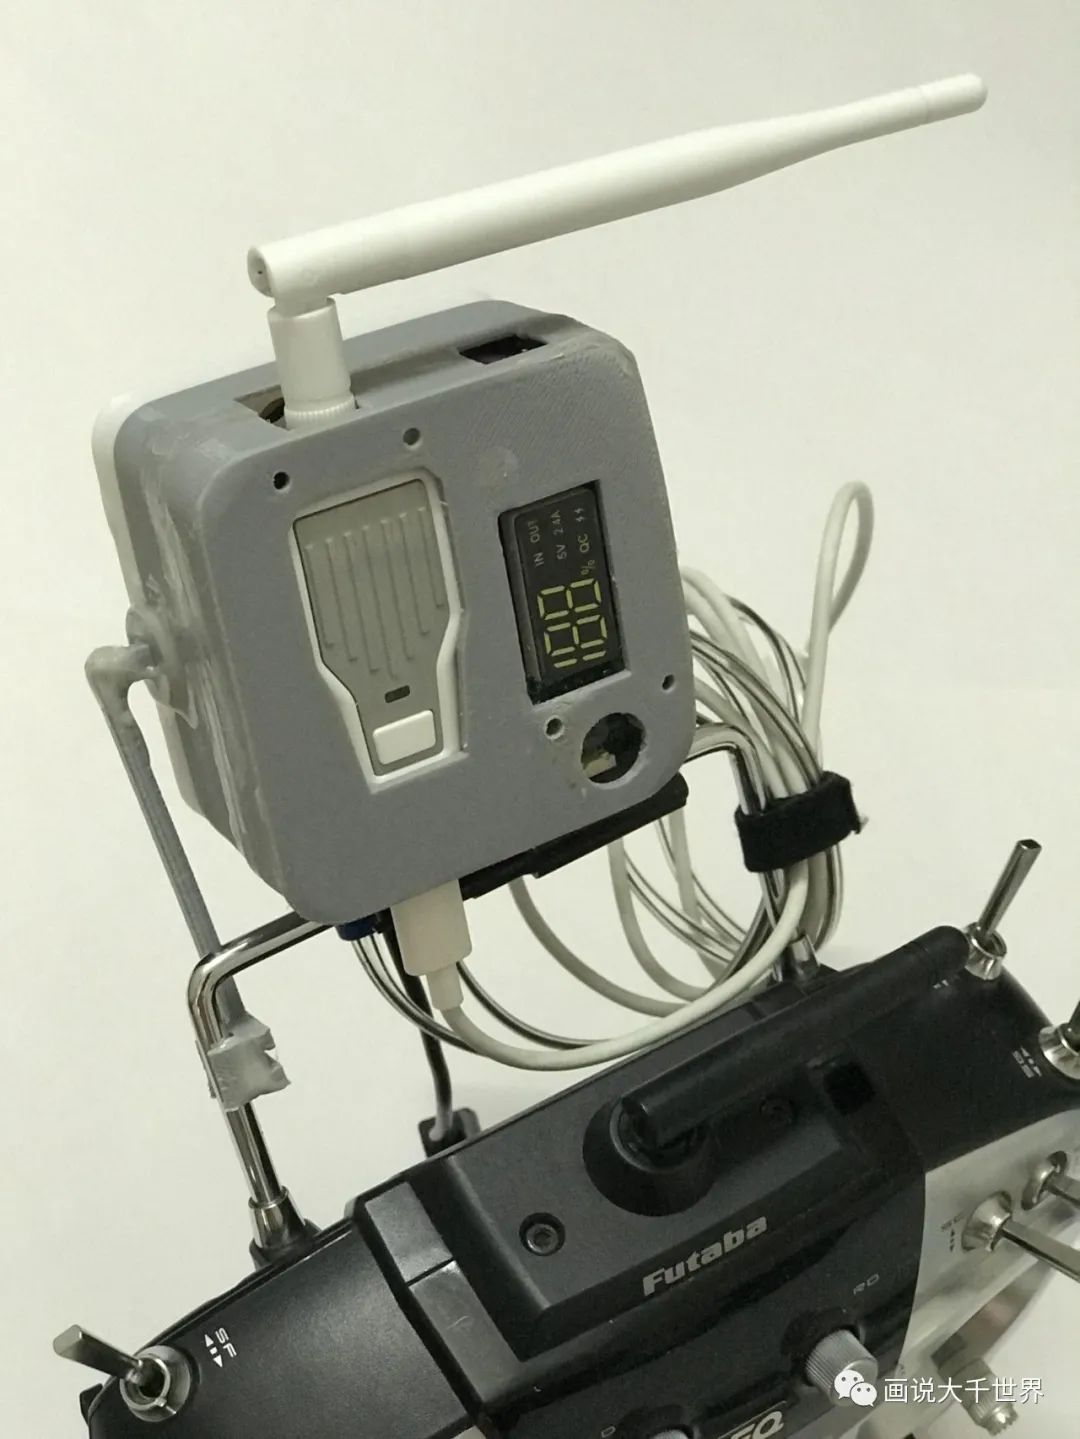
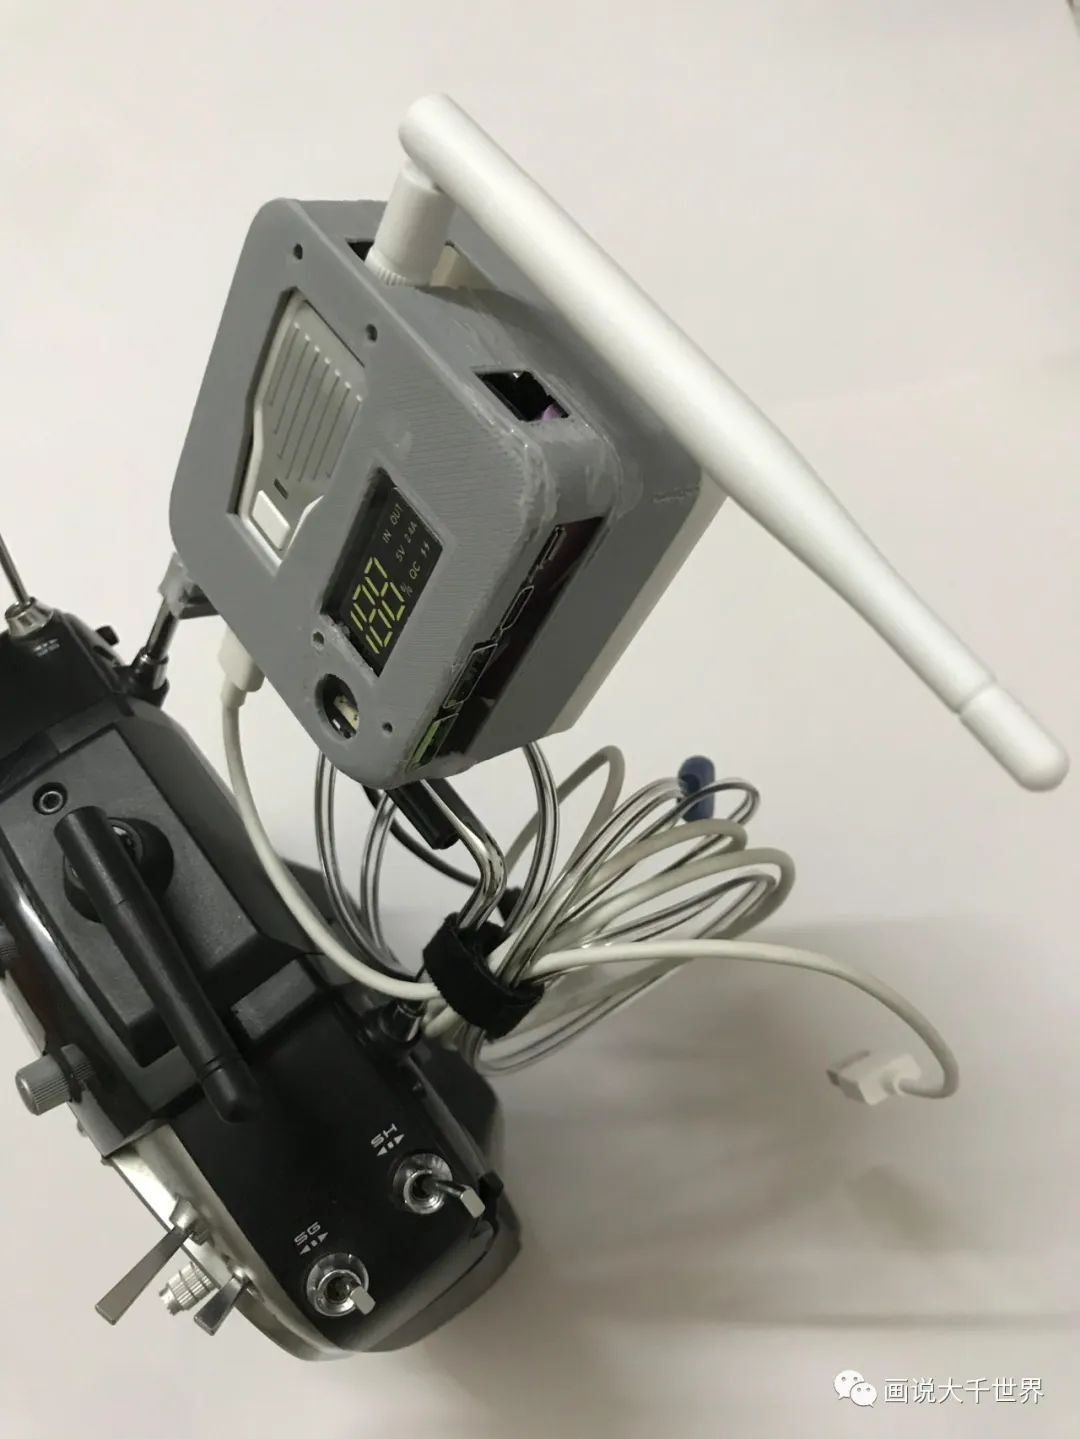
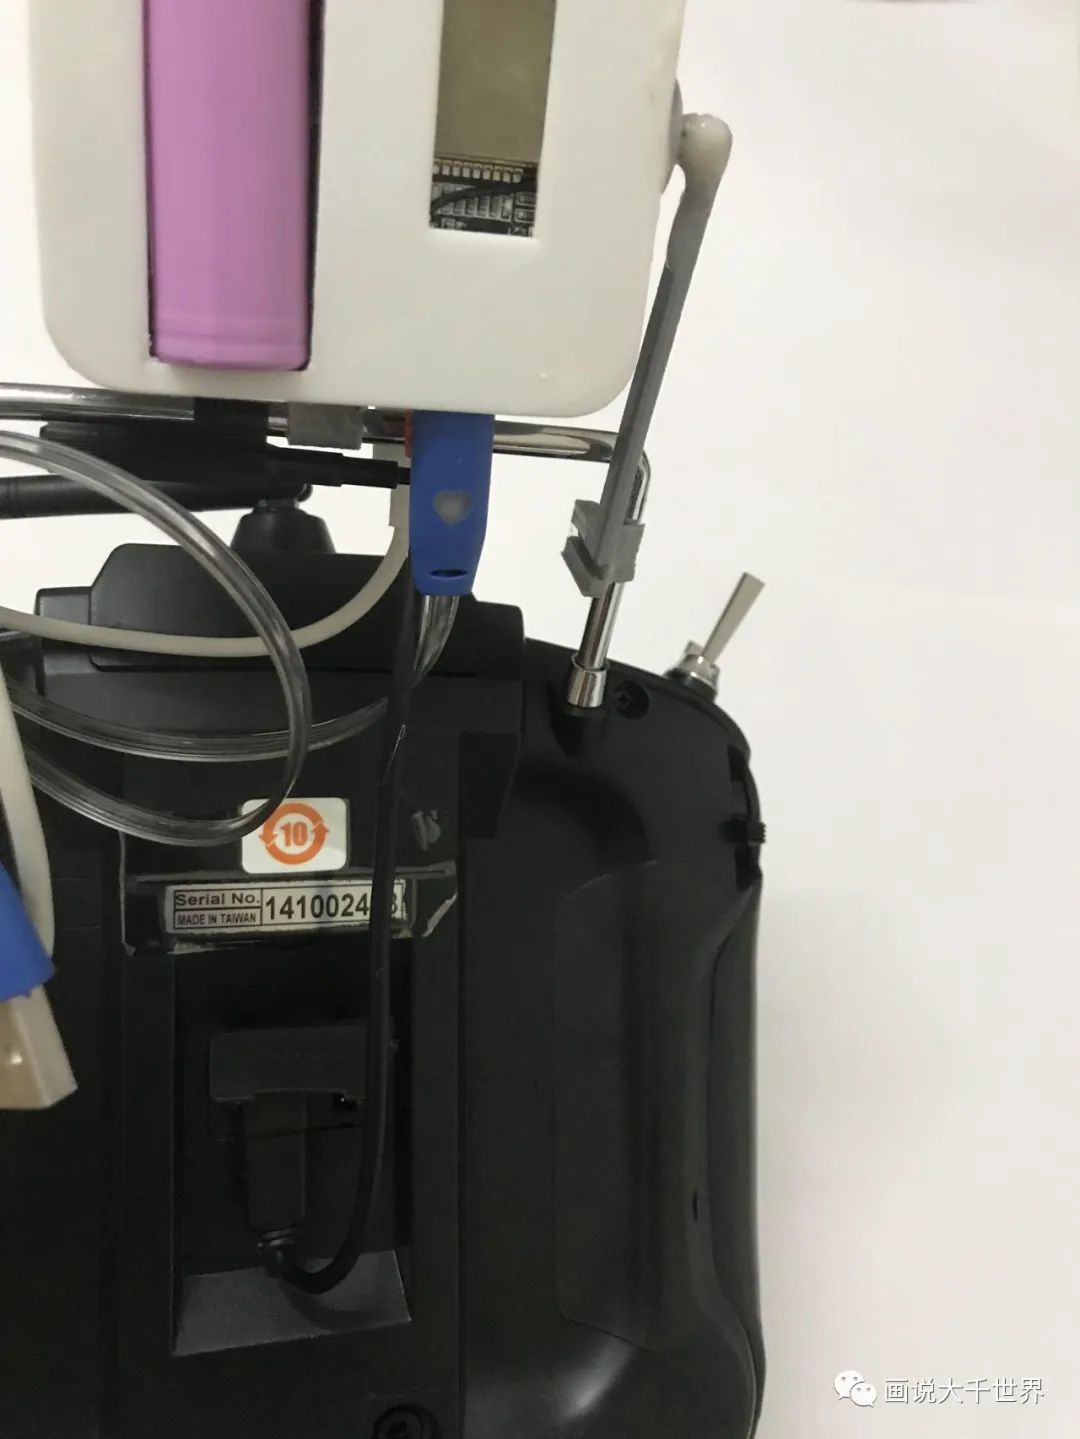
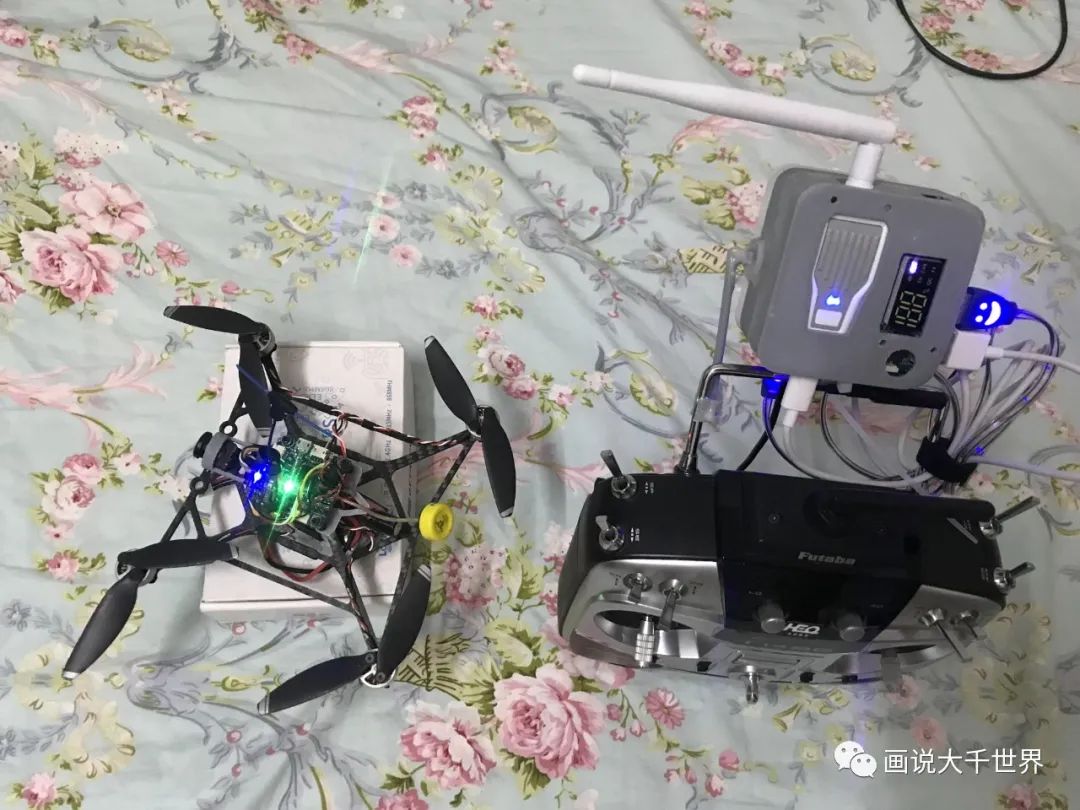
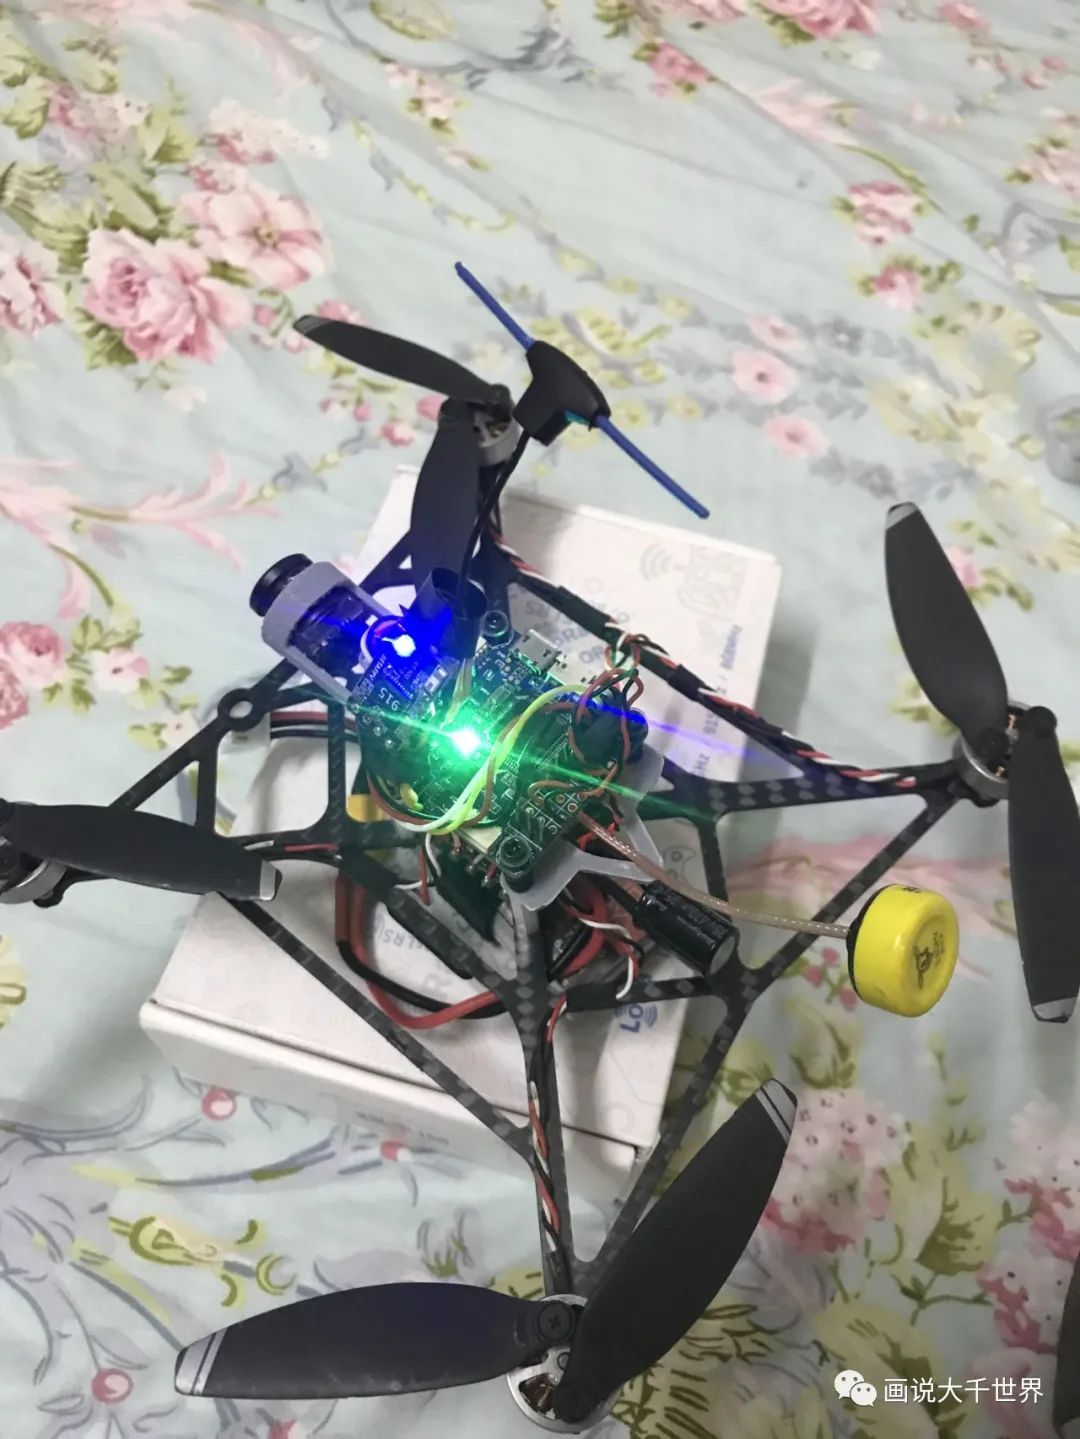
Figure 8 | Real Object Image
| Thanks to BETAFPV for providing the 915 Nano, and to Mu Ge for his enthusiastic help
Without the manufacturer’s testing, this endeavor wouldn’t have been possible; without Mu Ge’s help, pairing the old 14SG remote with ELRS would have been difficult.
If you want to interact closely with the experts, you can search for “Er Mu Shan Ren” on Bilibili, or reply “QQ group” in the public account to pop up the group chat QR code, and scan it with QQ to join the group.