Bookmark + Pin to master cutting-edge technology news in embedded AIoTLike + Follow to become even better together!
Description of Software and Hardware Devices in the Development Environment
PC Host: Windows 11 (32GB RAM, 1TB SSD)
Virtual Machine: Ubuntu 22.04 (allocated 16GB RAM, 512GB disk)
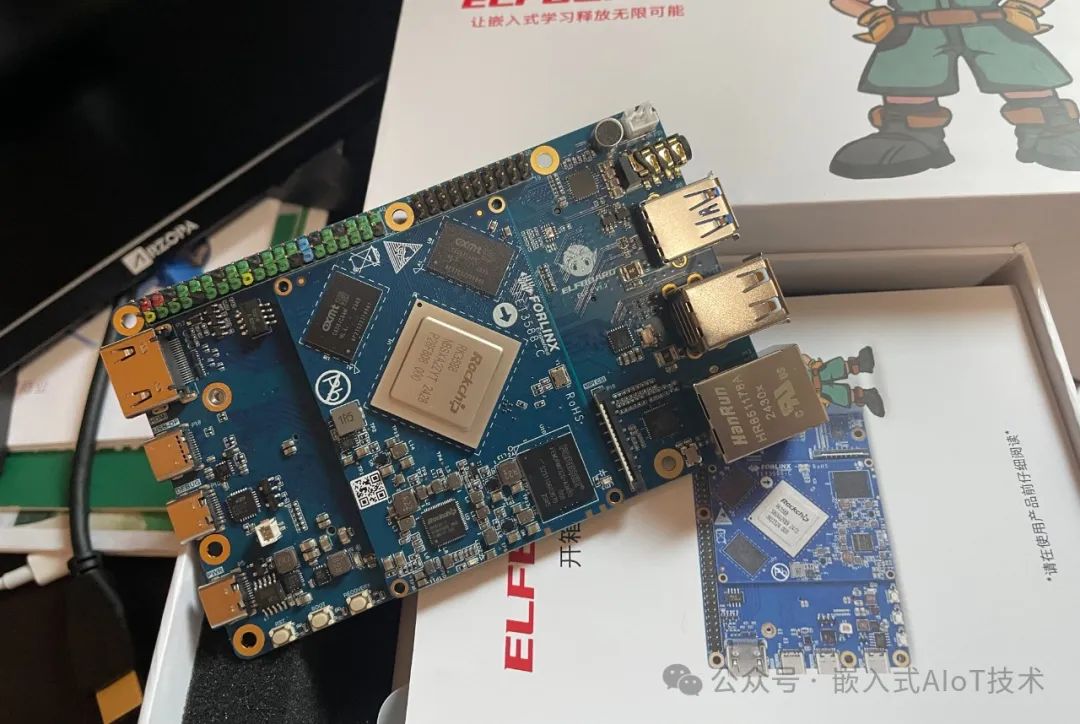
Development Board: ELF2 (RK3588 4G+32G), running Ubuntu 22.04 Desktop system
Learning Process
Following the learning documentation provided with the development board, “AI Model Training to Deployment Based on RK3588.pdf”, the first and second chapters allow for the basic setup of the development environment. The manual can be accessed by clicking 【Read the Original】.
According to the chapter directory provided in the manual, the third and fourth chapters focus on theoretical concepts. I prefer to start with practical operations, so I jumped directly to “Chapter Five – Model Deployment and Conversion” for learning.
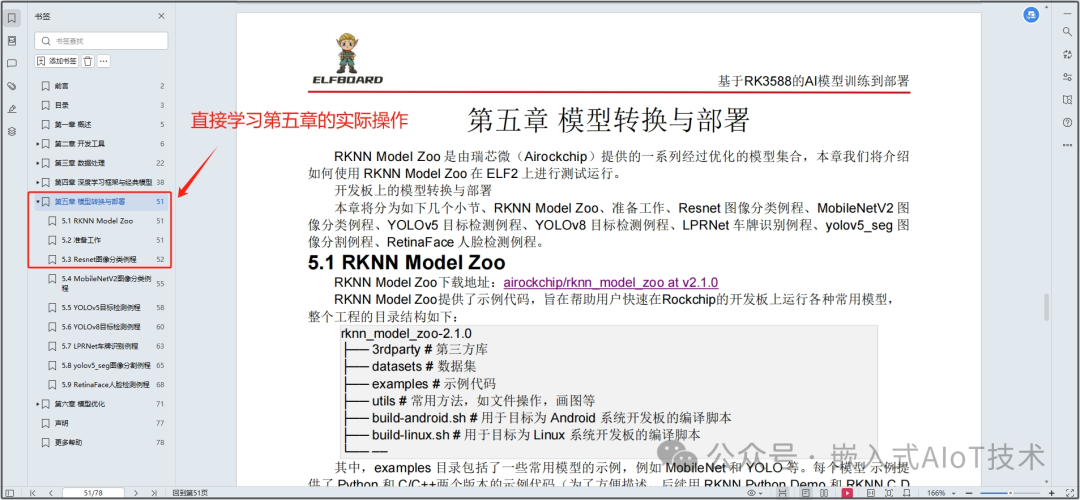
Chapter Five demonstrates the use of the model library rknn_model_zoo provided by Rockchip. After a series of intense operations, the following rules can be summarized:
1. Unzip the rknn_model_zoo-2.1.0 package in the Ubuntu 22.04 virtual machine.
2. Set the environment variable using export GCC_COMPILER.
3. Navigate to the rknn_model_zoo-2.1.0/examples directory and select a model example.
4. Execute the download_model.sh script to download the model to the virtual machine.
5. Execute the Python script to start converting the downloaded model to RKNN format.
6. Execute the build-linux.sh script to compile the example source code and generate an executable file.
7. In the rknn_model_zoo-2.1.0/install directory, the generated example can be found.
8. Upload it to the development board to run, and the execution results can be seen in the terminal.
In the above process, steps 4/5/6 are related to model downloading, conversion, and deployment, and the entire Chapter Five follows this workflow.
Since rknn_model_zoo is a collection of models packaged by Rockchip, our learning of this model library follows a step-by-step operation, but deeper details still need to be learned and analyzed.
For example, opening the download_model.sh file reveals that it directly downloads pre-trained models from the internet, but the training details and optimizations of the models are not described in this script (and it is unnecessary to describe them), so we directly use the pre-trained models.
Each example has a Python folder; for instance, the resnet example has a resnet.py script, which is used to convert models from other formats to rknn format. How this Python script is written requires further in-depth study.
The build-linux.sh script compiles the executable file for the example. After executing this script, the executable file for the example on the development board can be obtained, but the execution details of the build-linux.sh script need to be researched independently.
Upload the model converted to rknn format and the application program to the development board, and run the application via the command line to obtain the expected output results.
Summary
After studying this entire chapter, the operations are relatively simple and follow a step-by-step approach, with not much difficulty. It is expected to take about half a day to a day. After learning this chapter, one will have an intuitive understanding of model conversion and deployment.
Next, we will continue to try learning about the deployment of the rkllm-toolkit, which is a large language model provided by Rockchip, and attempt to deploy DeepSeek on the ELF2 development board.
Thank you for reading!
-END-
Previous Recommendations: Click the image to jump to read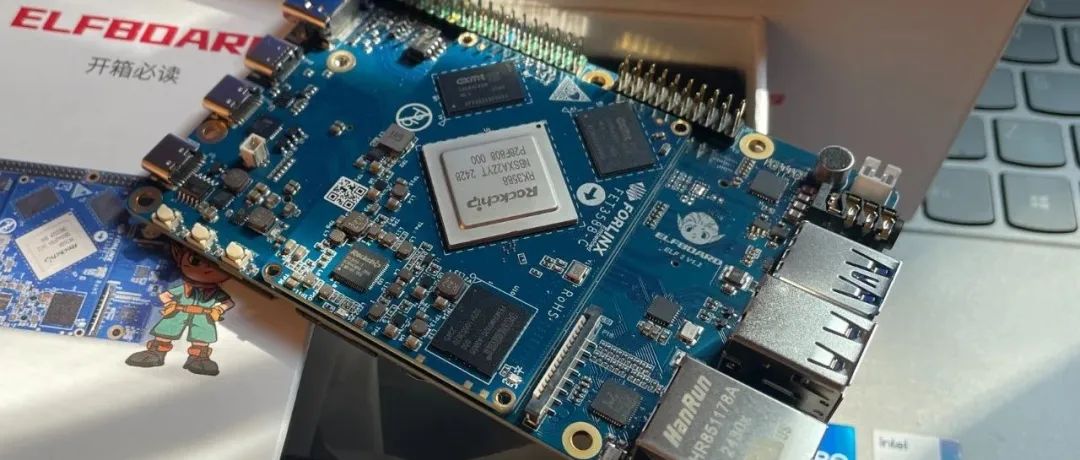
Step One in Embedded AI: Setting Up the Development Environment!
Fun Embedded AI, Machine Vision, and Audio-Video Processing

At 35 years old, with a college diploma, is it still appropriate to learn embedded edge AI technology?
Bookmark + Pin to master cutting-edge technology news in embedded AIoTLike + Follow to become even better together!