When using Buildroot to create an embedded Linux development and runtime environment for Microchip MPU, pay attention to the following two websites:
-
[Microchip Official Buildroot Tutorial](https://www.linux4sam.org/bin/view/Linux4SAM/BuildRoot)
-
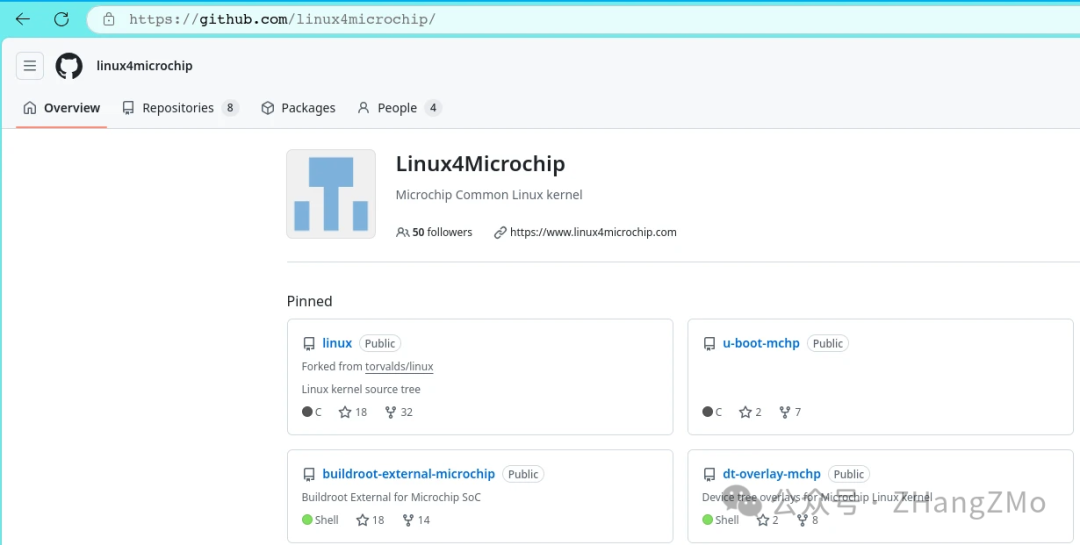
[Microchip Official Buildroot Source Code](https://github.com/linux4microchip/)
This series will create my first runnable embedded Linux system based on the Buildroot repository provided by Microchip.
Software Required for Installation
Ensure that the host computer running the Linux system has installed libssl-dev and git software.
I personally prefer using Ubuntu, so you can install libssl-dev with the following command:
sudo apt-get install libssl1.0-devYou can also directly visit the Linux development website maintained by Microchip, search for the content you need based on your requirements, and follow the official tutorial step by step.

Download Buildroot and Buildroot-External Packages
All code resources related to embedded Linux development for Microchip’s MPU series products are available at the following URL:
[Microchip Official Linux Development Resources on Github](https://github.com/linux4microchip/)
Download Buildroot Packages from the Official Website
-
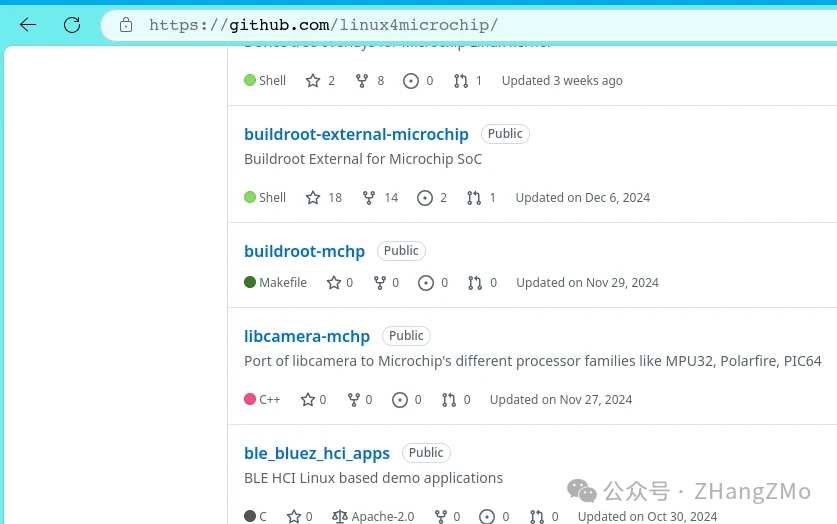
buildroot-mchp (mainly from the Buildroot repository)
-
buildroot-external-microchip (Microchip’s own maintained Buildroot supplementary configuration)
-
[buildroot-mchp Link](https://github.com/linux4microchip/buildroot-mchp)
-
[buildroot-external-microchip Link](https://github.com/linux4microchip/buildroot-external-microchip)
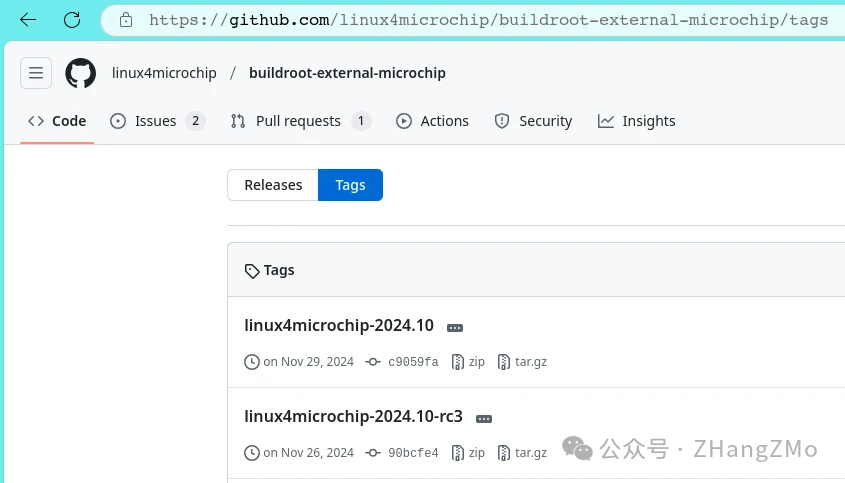
Download Buildroot-External-Microchip
Select to download the latest version tag – 2024-10:
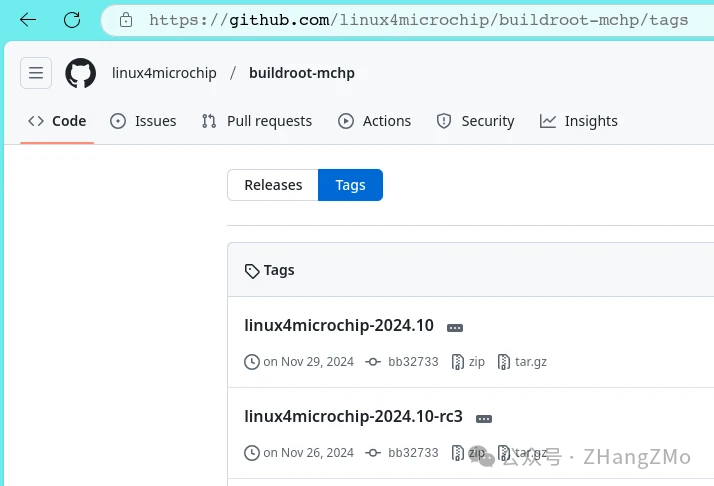
Download Buildroot-Mchp
Select to download the latest version tag – 2024-10
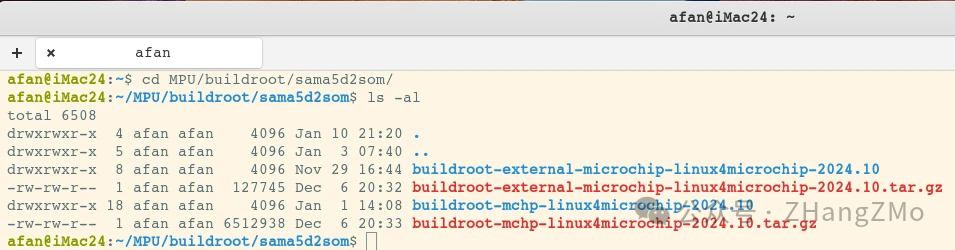
After downloading, place the compressed package in the same local directory and unzip it:
Configure Buildroot Code for Target Device
All supported target device configuration files are located in the buildroot-external-microchip-linux4microchip-2024.10/configs path:
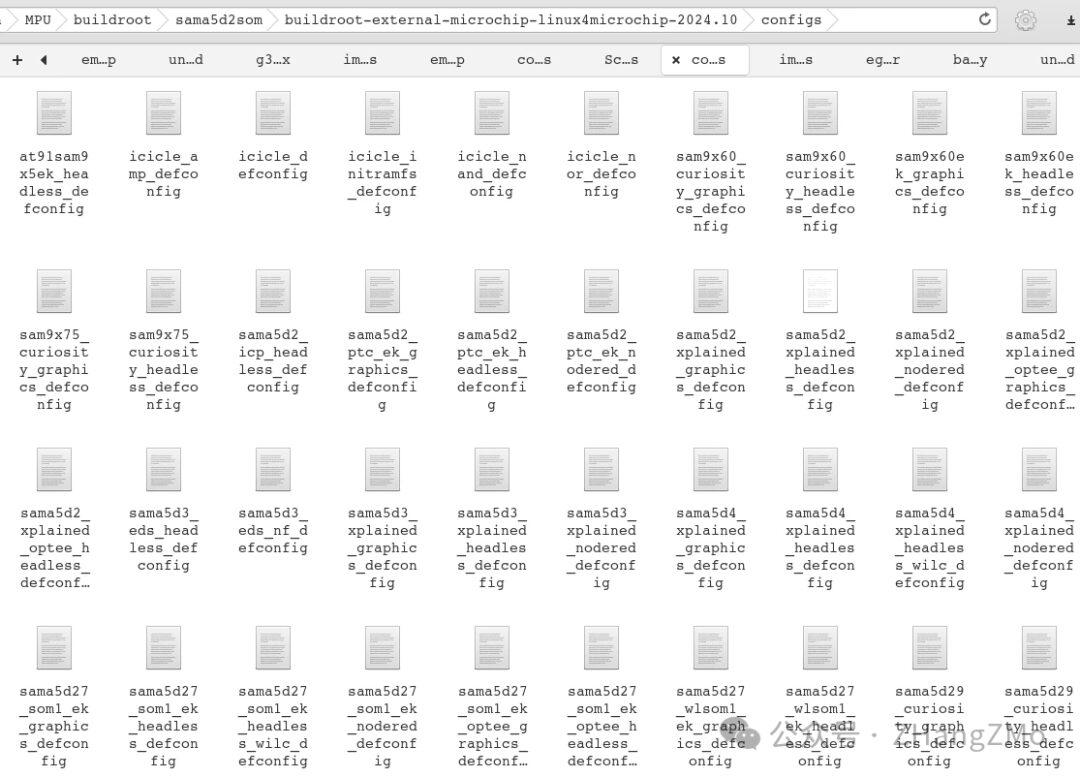
This series of articles will demonstrate using the Microchip SAMA5D2-XULT development board, select as needed. If the embedded Linux used does not require a graphical system, choose the sama5d2_xplained_headless_defconfig configuration file; conversely, if graphical application development is needed, select the sama5d2_xplained_graphics_defconfig configuration file:
Since this configuration does not require a graphical system, the following configuration command will be used:
cd buildroot-mchp-linux4microchip-2024.10/

BR2_EXTERNAL=../buildroot-external-microchip-linux4microchip-2024.10/ make sama5d2_xplained_headless_defconfig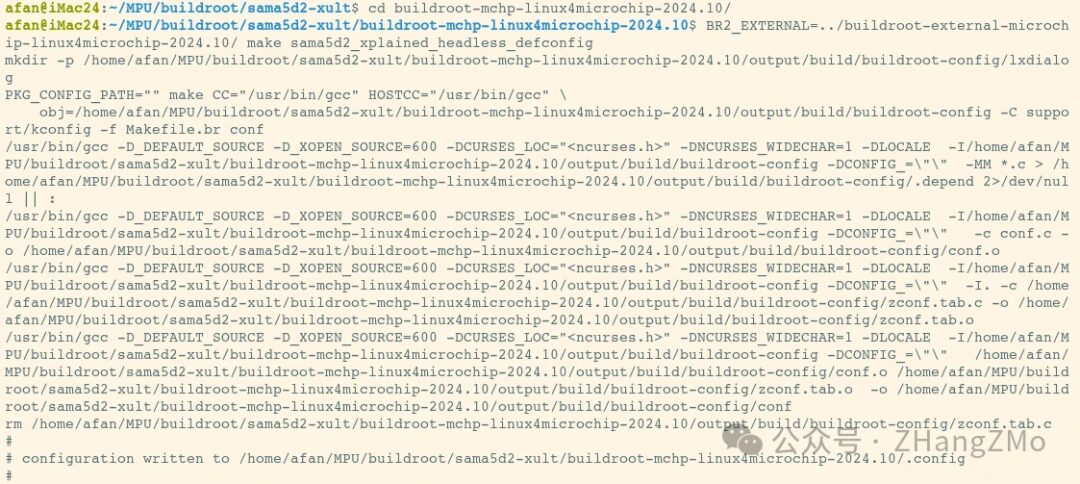
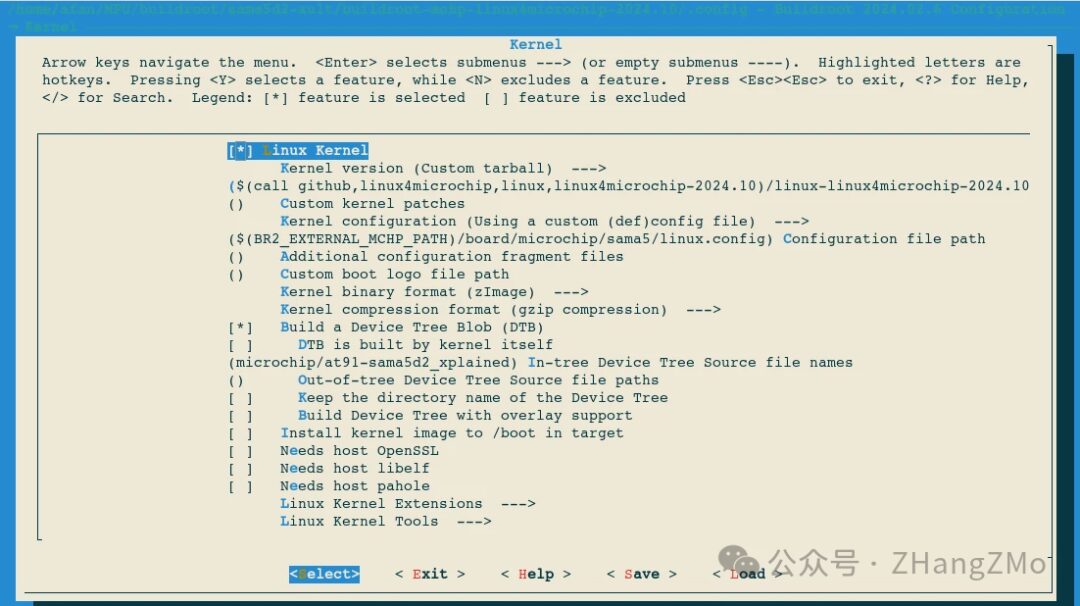
View Configuration in Buildroot
You can enter the make menuconfig command in the current directory (buildroot-mchp-linux4microchip-2024.10) to view and change configurations:
make menuconfig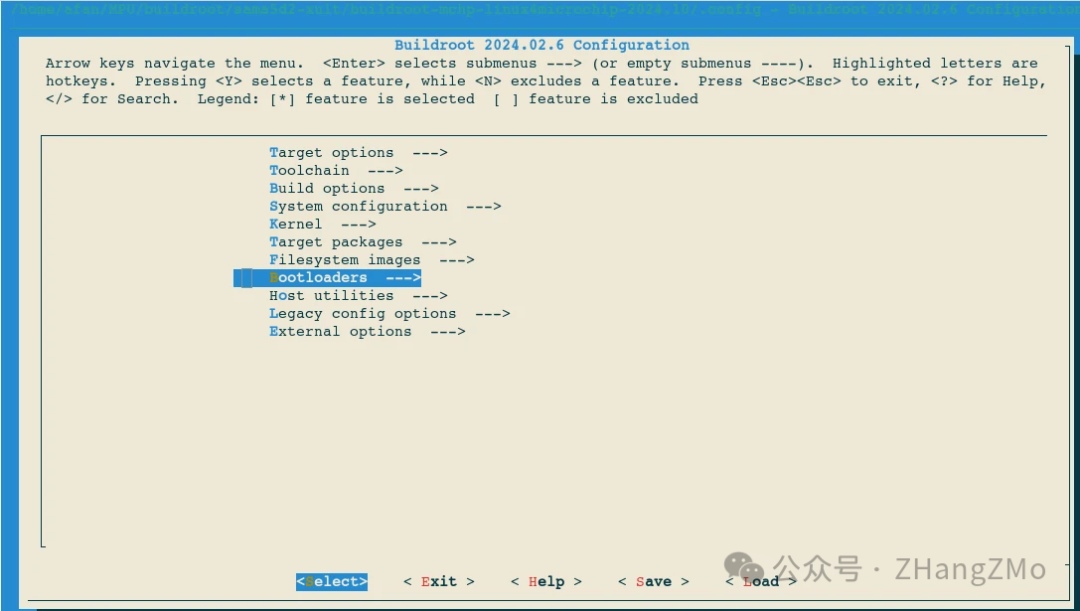
View the Linux Kernel Configuration:
View the Configuration of at91bootstrap and U-Boot:

Execute Buildroot Compilation
Execute the make -j10 command and wait for the compilation to complete:
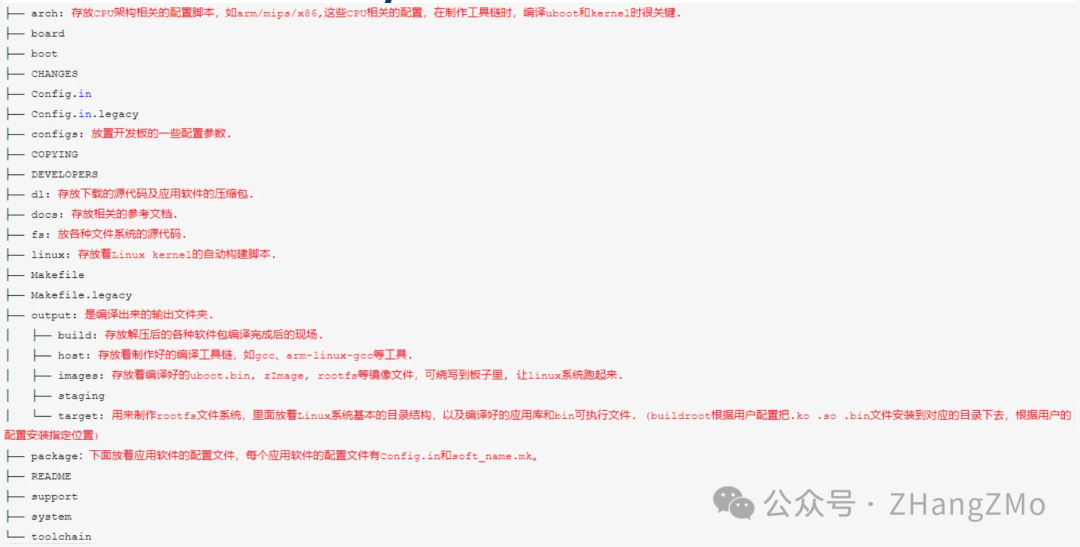
make -j10After the compilation is complete, you can see the newly generated folders in the output directory: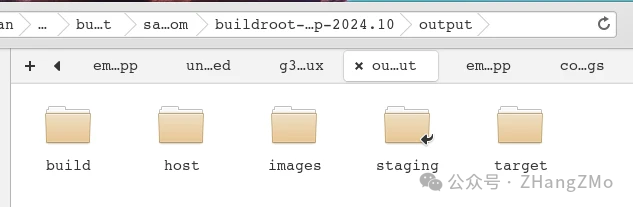
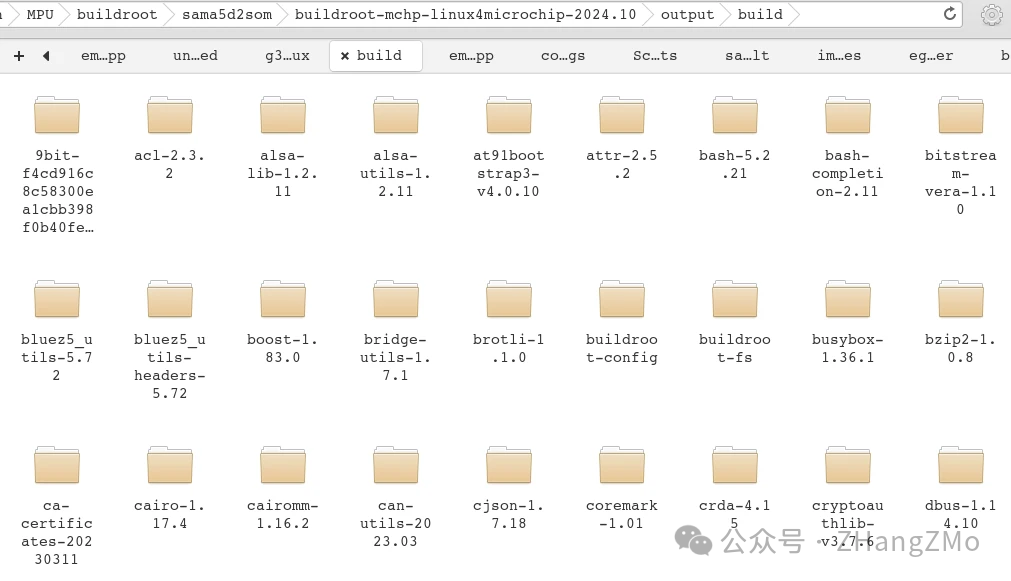
The build folder contains files generated during the compilation process:
If we need to modify the device tree dts files for the kernel, we need to find the corresponding files in the linux-custom directory under this directory.
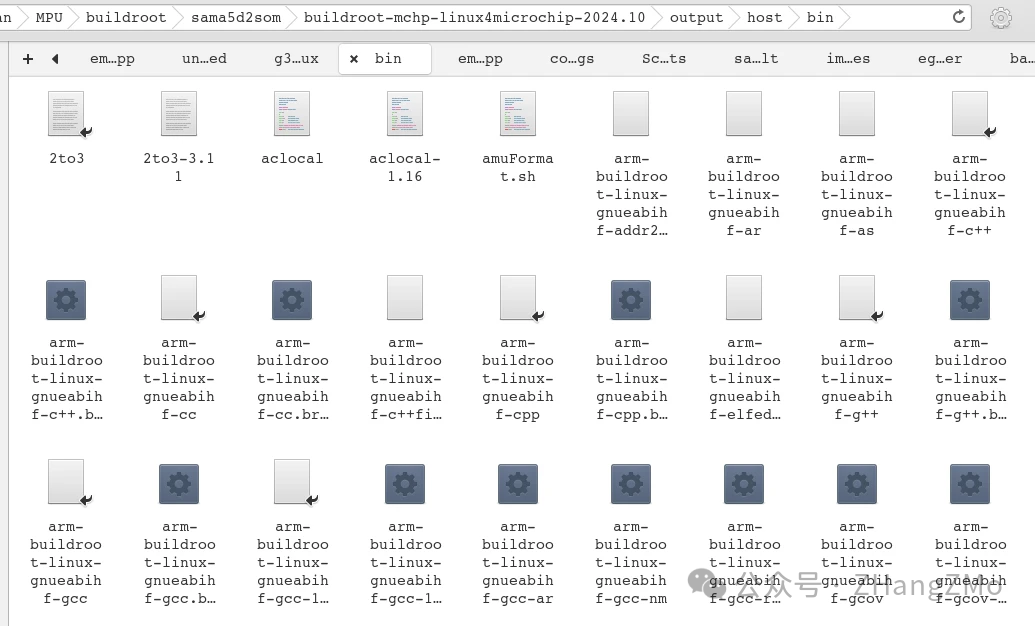
The host folder contains files generated during the compilation process needed for the Linux Host, such as cross-compilation tools, dynamic libraries, static libraries, etc.:
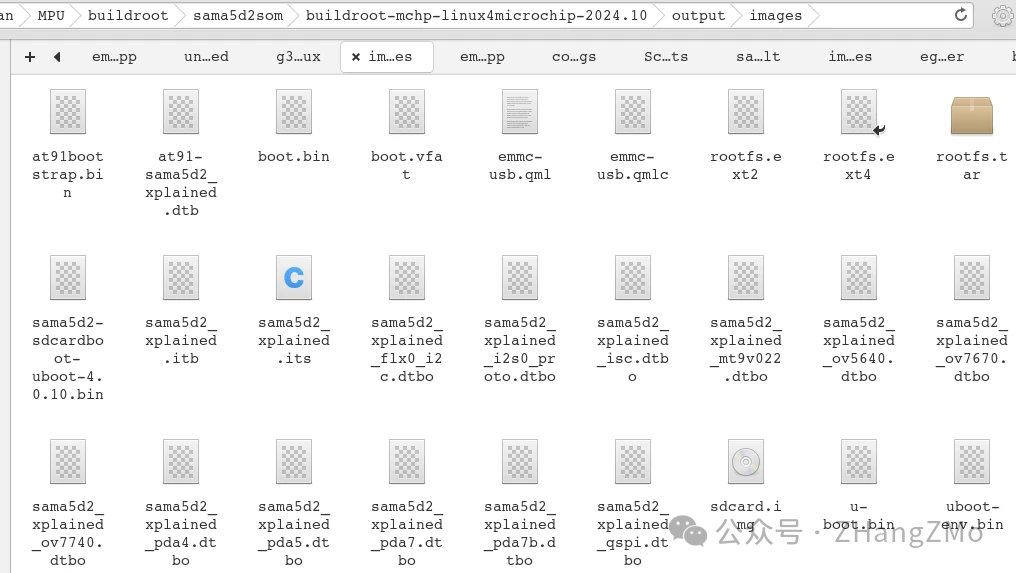
The images folder contains target files output from the compilation, such as image files to be burned to an SD card or eMMC. If we change the contents of the root filesystem, we need to delete some files in this directory to regenerate the output files, which will be detailed in later chapters:
The target folder contains the Linux root filesystem for the target board, including configuration files for the Linux system, libraries needed to run the system, and libraries required by users, etc. If we need to add our compiled executable files or libraries, we need to manually place them in this directory:

Explanation of Folders in Buildroot Directory
Video Tutorial
[Video Tutorial Link](https://www.bilibili.com/video/BV1GM6qYeEvJ/)