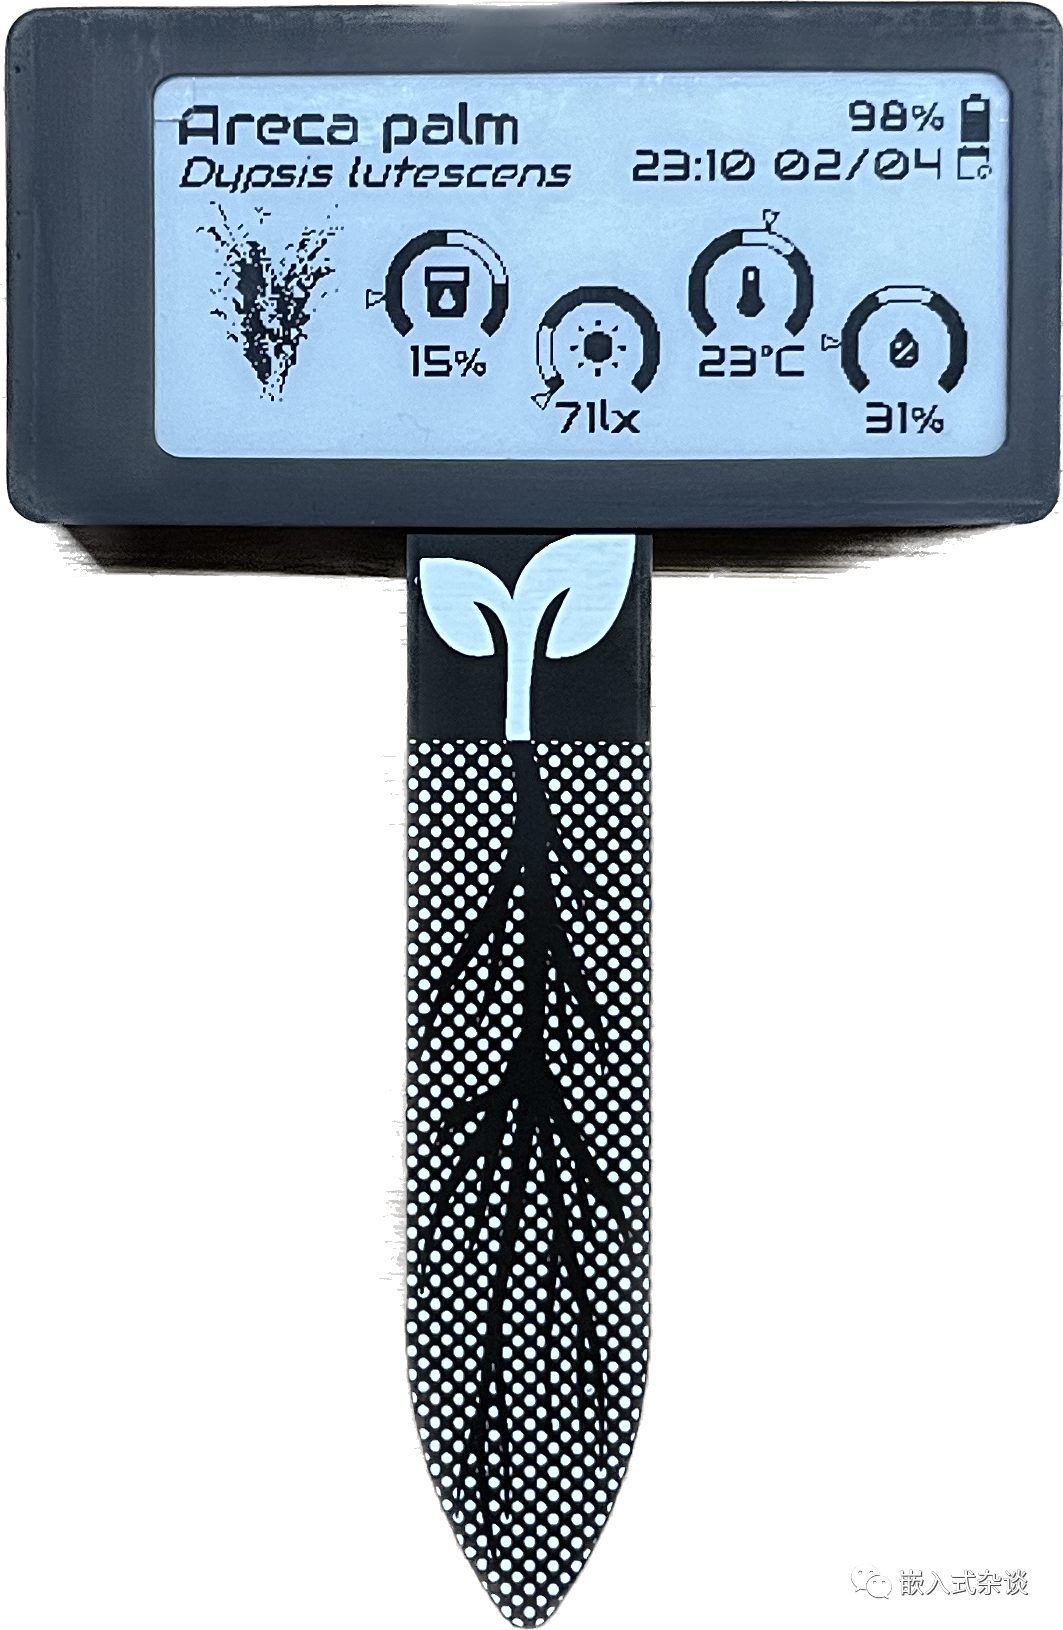
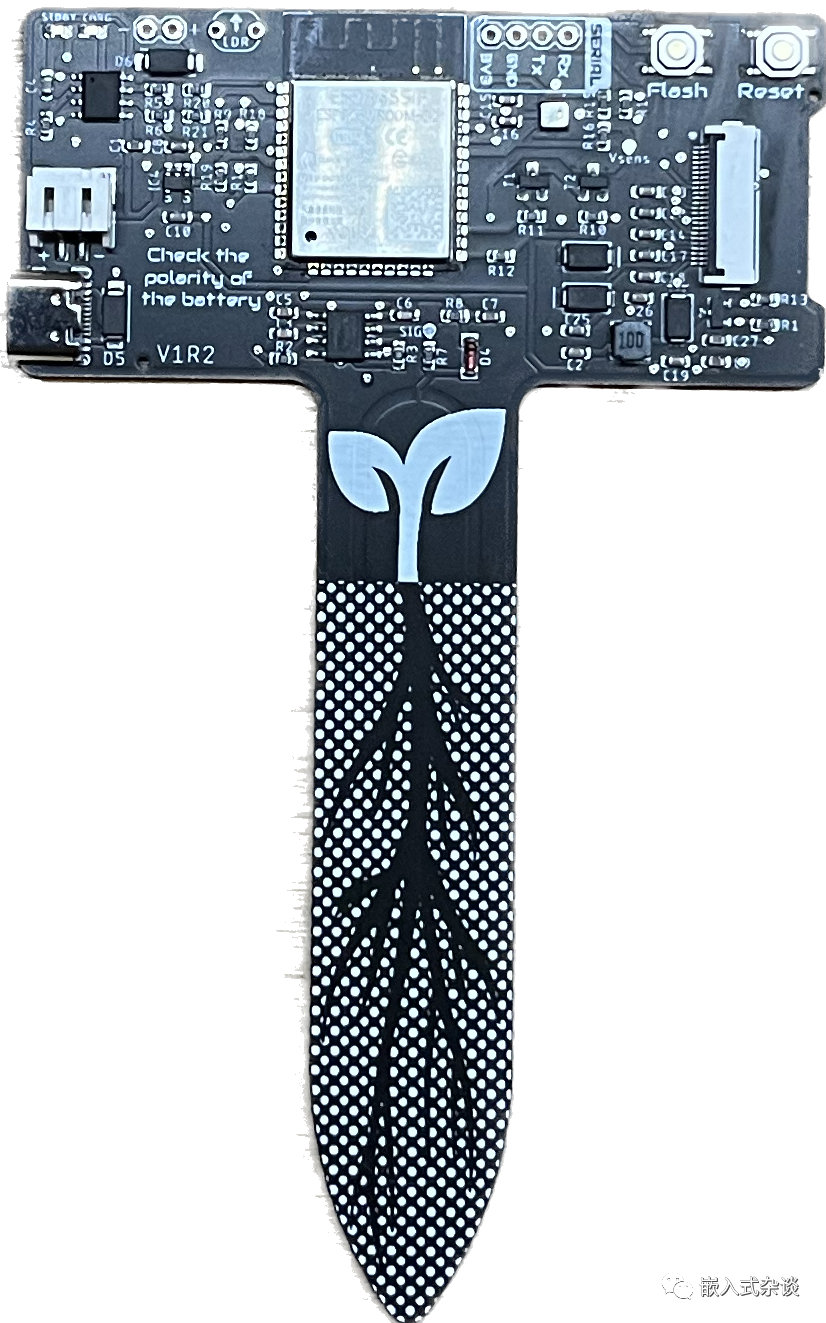
Smart Plant monitors your beloved plants intelligently and displays their status on an e-paper screen, simple, elegant, and low power consumption.
Smart Plant is designed to help gardeners monitor the health of their plants. With an advanced sensor suite, Smart Plant can measure soil moisture, ambient light, air temperature, and air humidity. In addition to IoT capabilities, Smart Plant is equipped with a 2.9-inch e-paper display, allowing you to see plant data at a glance.
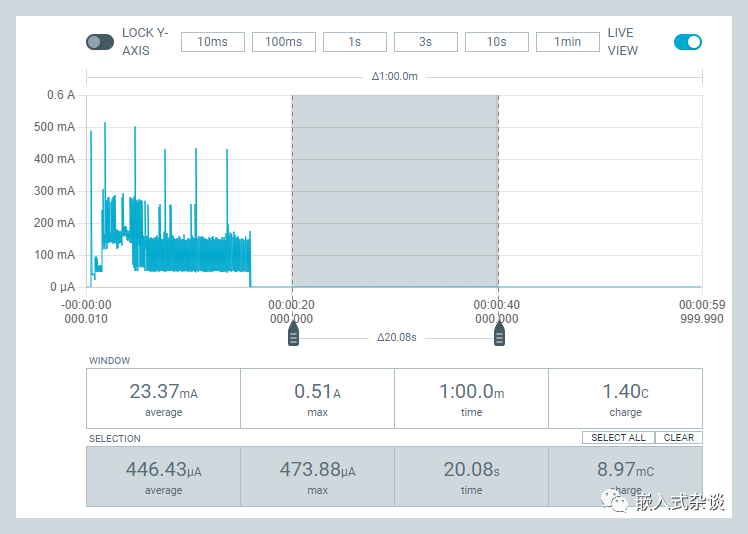
Smart Plant features a high-efficiency design, with its ESP32 microcontroller having a deep sleep function, allowing the battery to last for several weeks. When it needs charging, Smart Plant can be charged using a USB-C cable or a small solar panel, making it an eco-friendly choice for gardeners looking to minimize their environmental impact.
All of this is housed in a compact and elegant device that can be directly inserted into the plant pot.
Github Address:
https://github.com/JGAguado/Smart_Plant/blob/main/docs/source/index.rst
Official Website:
https://smart-plant.readthedocs.io/en/latest/
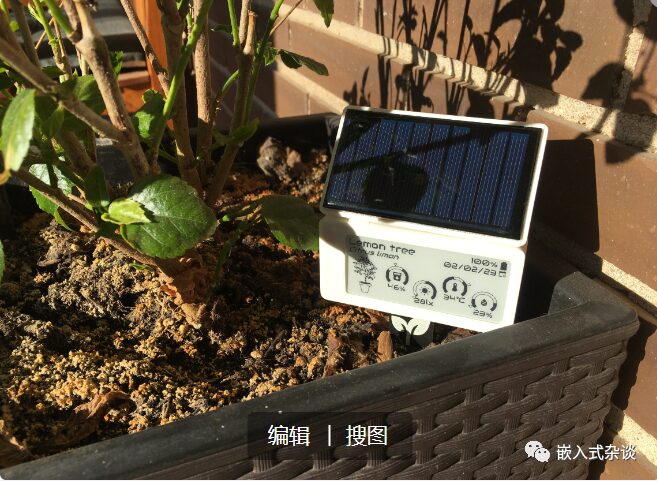
Smart Plant with Solar Panel
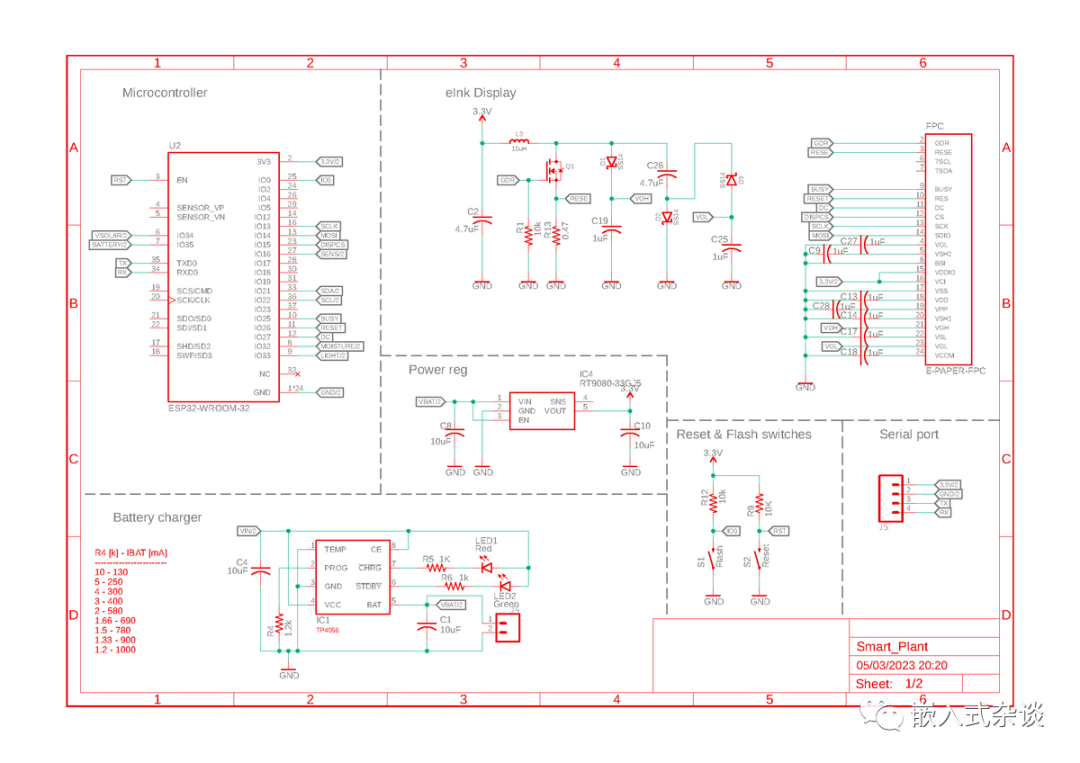
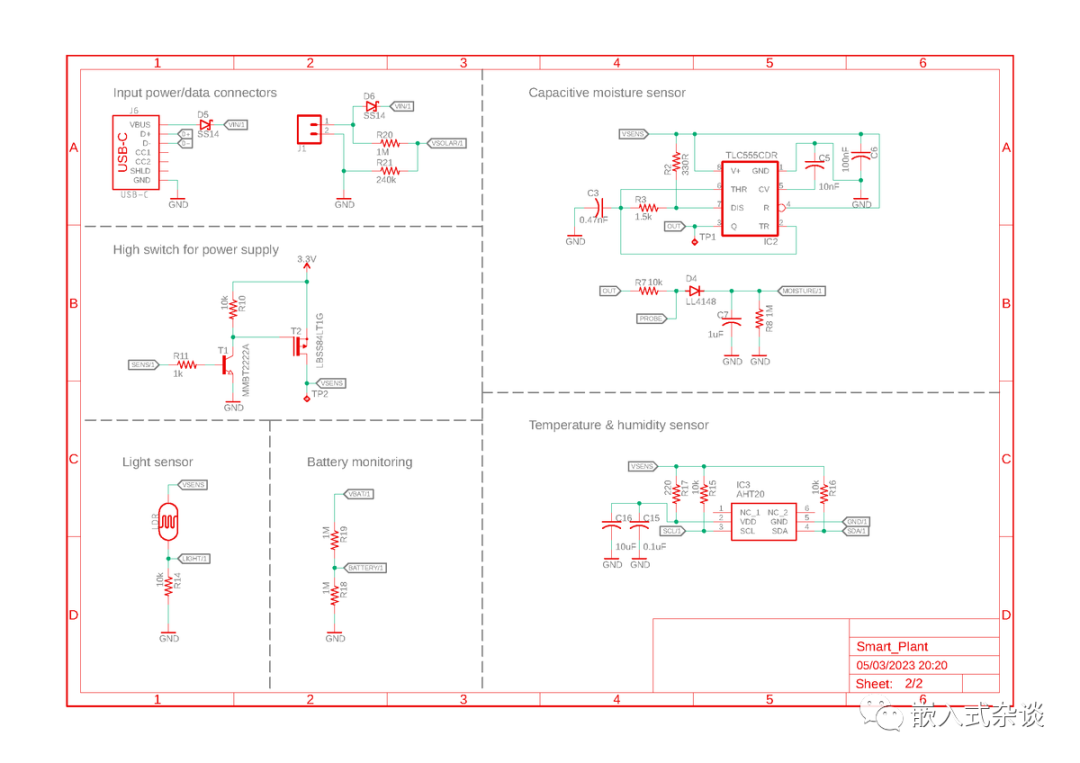
Hardware Schematics
Assembly
In addition to the PCB board, Smart Plant also includes the following components:
A 2.9-inch e-paper display, recommended for use (tested and working) with a resolution of 296×128, which you can order directly from the manufacturer.
It is recommended to use a 1000mAh lithium battery to save space and power. The ideal size should not exceed 50x34x5mm to fit into the designed casing.
You can also choose to install a solar panel to charge the battery in sunny conditions. The output voltage of the solar panel should not exceed 6V, and it is recommended to install a casing size of 80x45mm.
Power Supply
The smart device is powered by a lithium battery inserted through a white JST connector. The battery voltage is regulated to a working voltage of 3.3V through a low-power LDO.
To charge the battery, there is a battery management integrated circuit that provides the correct charging curve for the lithium battery and offers a visual indicator when charging (red LED indicates charging, green LED indicates standby). Smart Plant has two charging methods: USB-C or solar panel.
Solar Panel
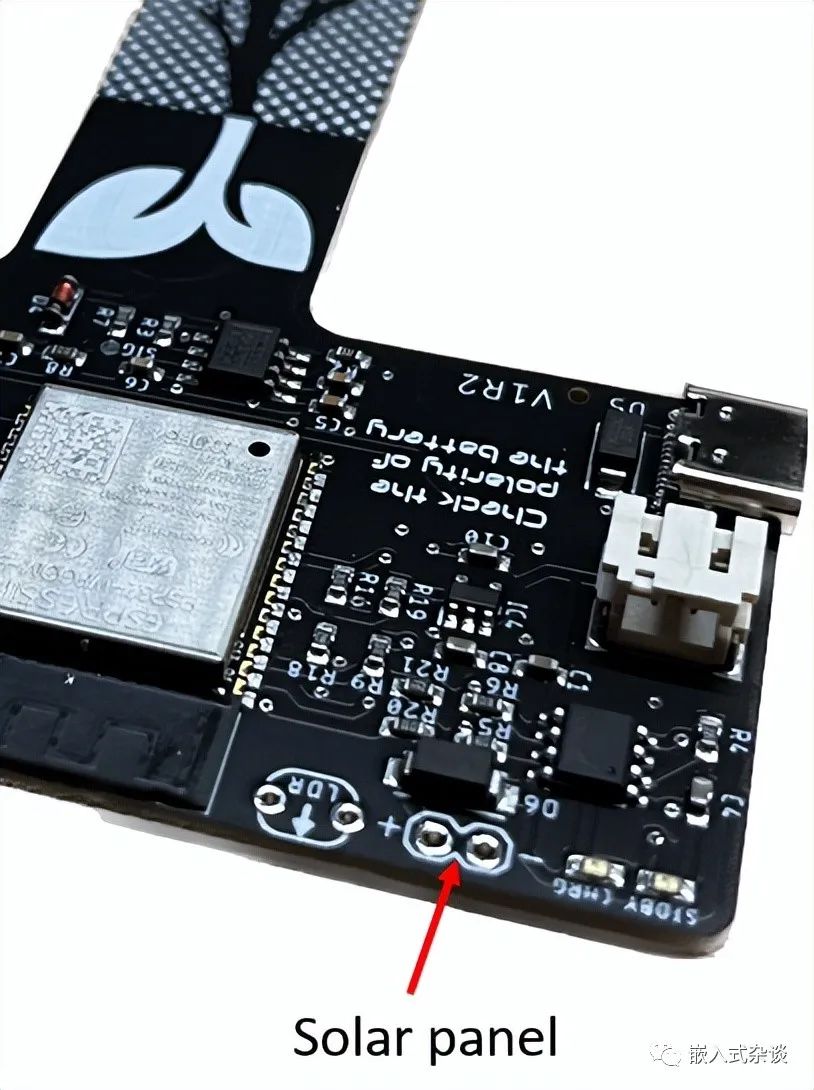
In addition to the USB-C interface, to extend the usage time between two (USB) charges, Smart Plant can also be configured to be powered by a solar panel. This version is not the default version and requires soldering the solar panel onto the circuit board, as shown.
USB Type-C Interface
USB Type-C is a very suitable expansion port for portable electronics, and since it uses a standardized 5V power supply, it is an ideal choice for charging Smart Plant, as the battery management IC is designed for 1000mAh charging.
Sensors
Since Smart Plant needs to work for long periods without charging, it must avoid unnecessary consumption during deep sleep. This means that power to the sensors should only be supplied when needed.
Therefore, a high-side switch circuit is connected to the GPIO16 output of the microcontroller to enable/disable the sensor power line.
Soil Moisture
Since Smart Plant can be directly inserted into the soil of the pot, the inserted area contains a printed circuit that acts like a probe to measure the soil’s capacitance, determined by the soil moisture. With no metal electrodes, the probe will not degrade over time.
The moisture is measured in the range of 0-3.3V via the ADC on GPIO32.
Light Sensor
Illuminance is measured via the ADC on GPIO33, and while which type of illuminance sensor is still being tested, the internal circuit can accept either an LDR or a photodiode.
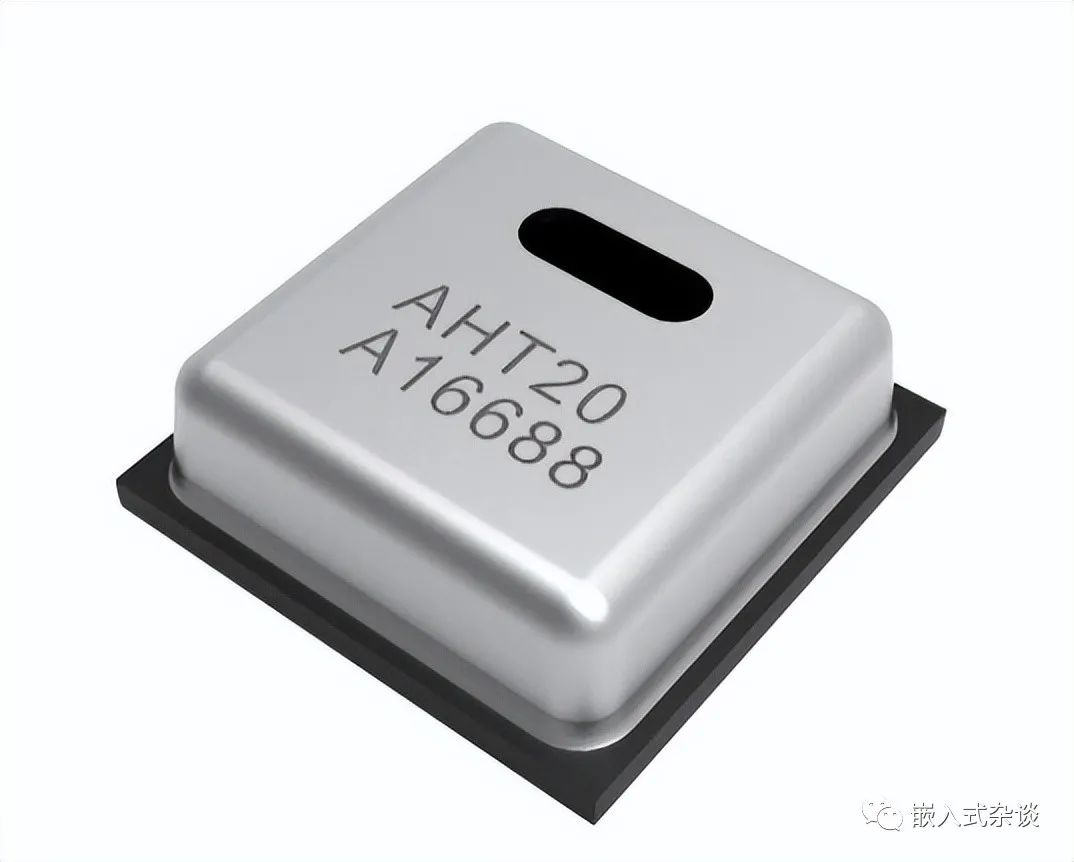
Ambient Temperature and Humidity
Smart Plant embeds an AHT20 temperature and humidity sensor, providing calibrated data via the IIC bus:
E-Paper Display
The e-paper display pin assignment with ESP32 GPIO is as follows:

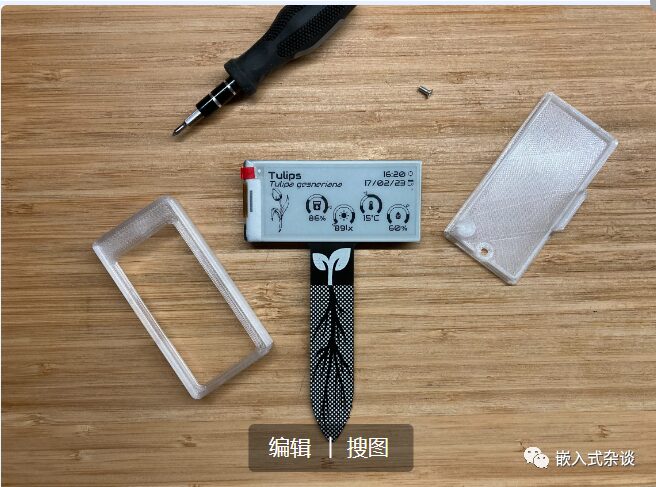
Enclosure
Smart Plant PCB can be installed in a custom 3D printed enclosure, which you can print with your own 3D printer.
Programming
The smart device primarily supports two programming methods, which have been tested:
-
ESPHome
-
Arduino
In both cases, you first need to put the circuit board into flashing mode. To do this, press and hold the flash button while resetting the board (press the reset button once); for more details, refer to the link https://smart-plant.readthedocs.io/en/latest/programming.html
Follow the public account “Embedded Talk“, reply “smart plant” to learn more information (schematics, software, etc.).