Introduction
Today, I will share how to set up a lightweight personal blog, VanBlog, on the Linux Ubuntu system, and use the Cpolar internal network penetration software to generate a public address for easy remote access to the locally deployed site anytime, anywhere. No public IP is required, and there’s no need to set up a reverse proxy, which can be cumbersome.
There are many platforms available for personal website building now. I have previously shared tutorials on how to build a site using WordPress. However, for beginners, the required professional knowledge may be more extensive, making it somewhat challenging.
Today, I will discuss the lightweight personal blog system, VanBlog, which is easier to set up, even for complete beginners. It supports fully automated HTTPS certificate requests, dark mode, mobile responsiveness, and commenting features.
Additionally, it has built-in traffic statistics and image hosting, and integrates a commenting system. VanBlog also offers unlimited scalability, a comprehensive backend management panel, supports dark mode, mobile devices, one-click image uploads from the clipboard to the image host, and comes with a powerful editor. Below, I will share how to deploy it locally and achieve remote access using internal network penetration.
1. Local Deployment on Linux
VanBlog supports various installation methods. This tutorial demonstrates a quick deployment using a one-click script on Ubuntu 18.04, but it also supports quick setup using Docker.
First, execute the command below in the terminal:
curl -L https://vanblog.mereith.com/vanblog.sh -o vanblog.sh && chmod +x vanblog.sh && ./vanblog.sh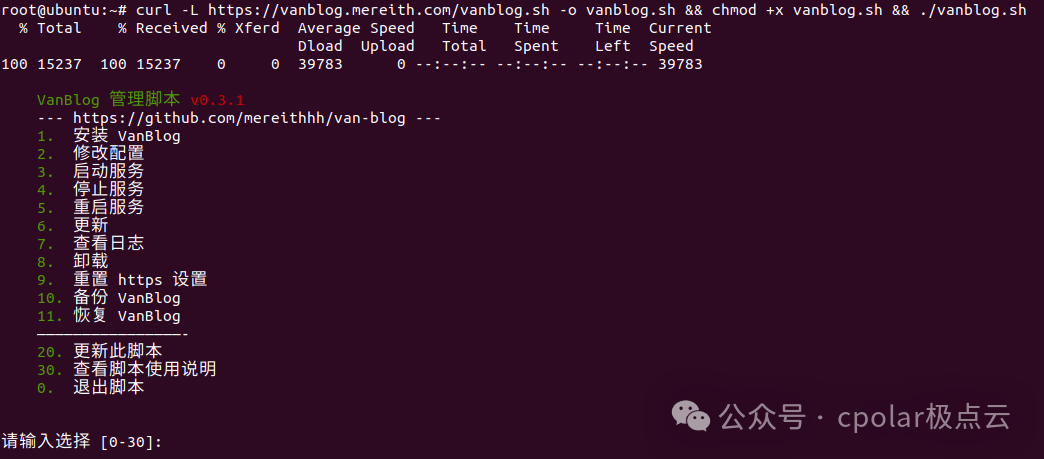
You will see the script starting, then enter 1 to install VanBlog:
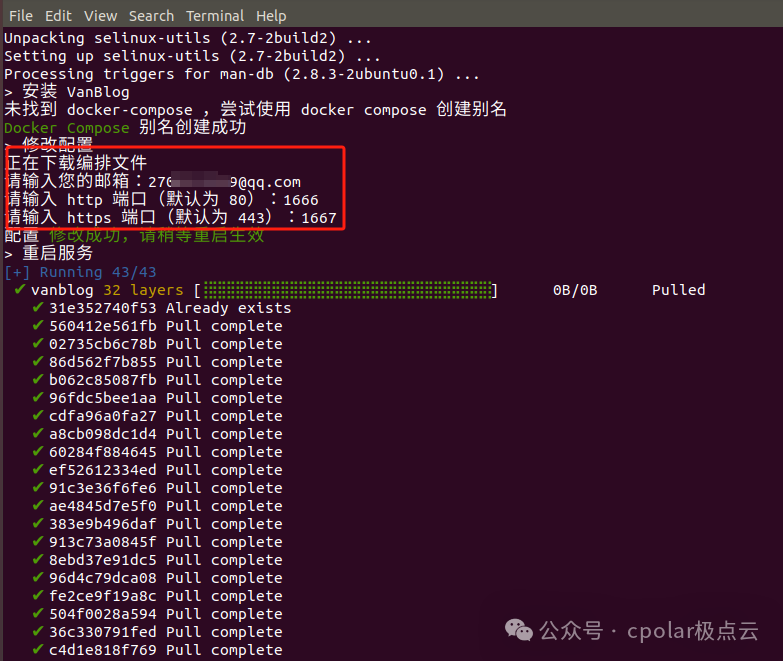
During the installation process, you will be prompted to enter information related to the configuration file, specifically your email and two port numbers:
You can set the email as you wish, and the two port numbers can use the default values of 80 and 443, provided no other services are occupying these ports. I used non-default port numbers here; you can set them according to your implementation.
After entering the information, wait a few minutes. Once the installation is complete, you will be notified that VanBlog has restarted successfully and provided the panel address.
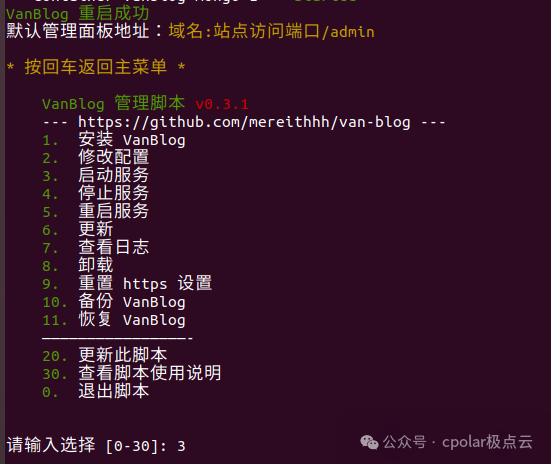
Then, enter 3 to start the VanBlog service:

Now, you can enter the following in the browser’s address bar:local IP address + port number /admin to access the blog configuration interface and make necessary settings for the site:
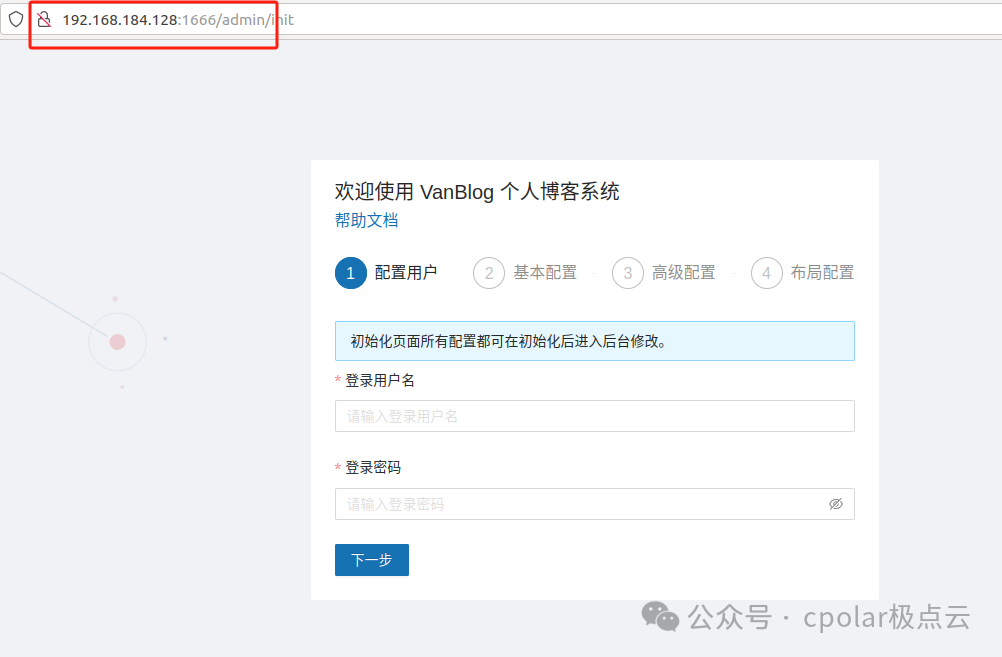
After completing the first step of configuring the user login account and password, proceed to the second step for basic configuration:
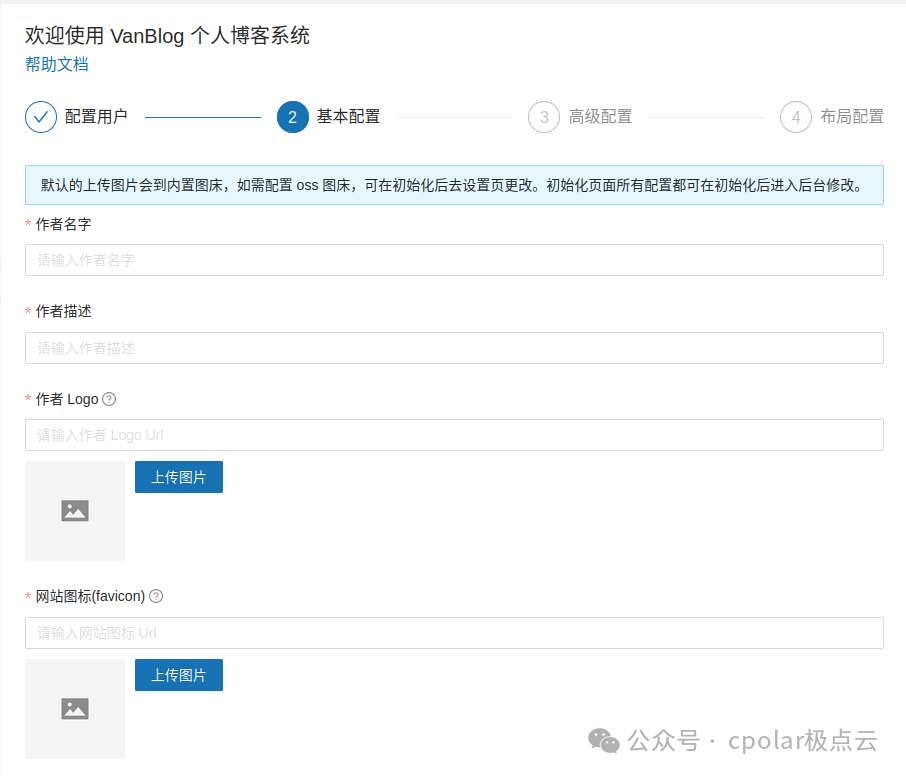
Here, you can set the author information displayed when publishing articles, the website name, website address, etc.
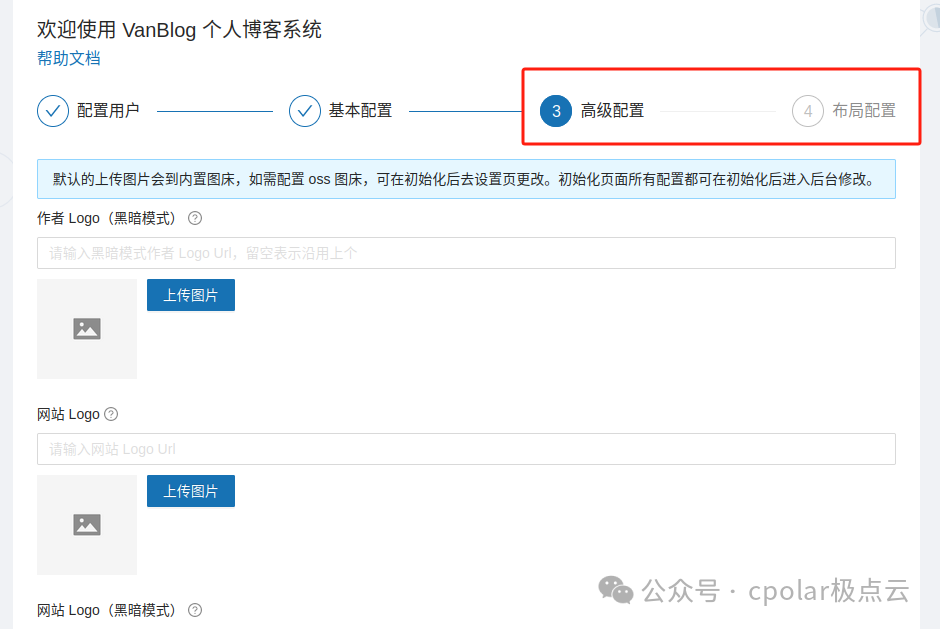
After completing the second step, for the third step, you can temporarily skip the advanced configuration and layout configuration by clicking next and submitting.
Then you will see a successful initialization prompt:
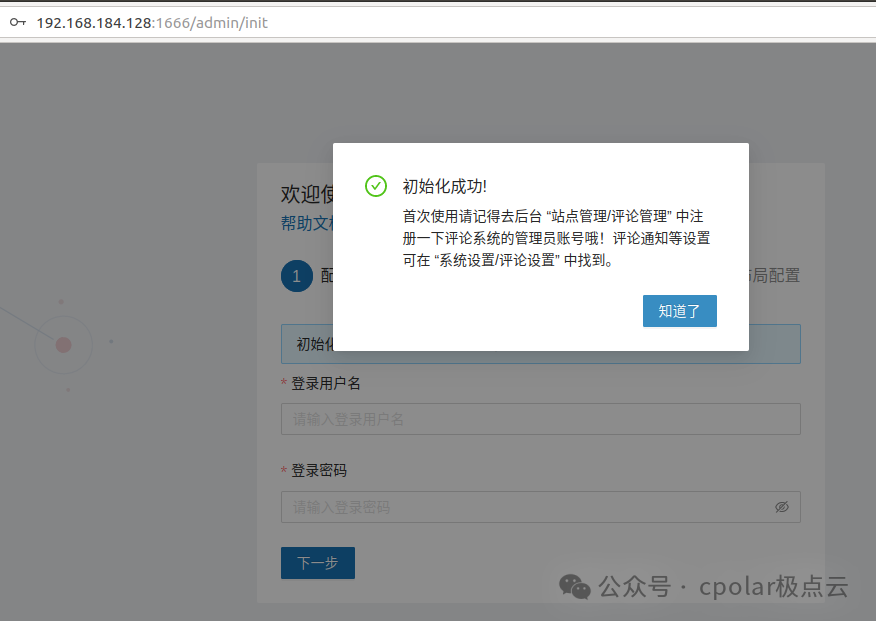
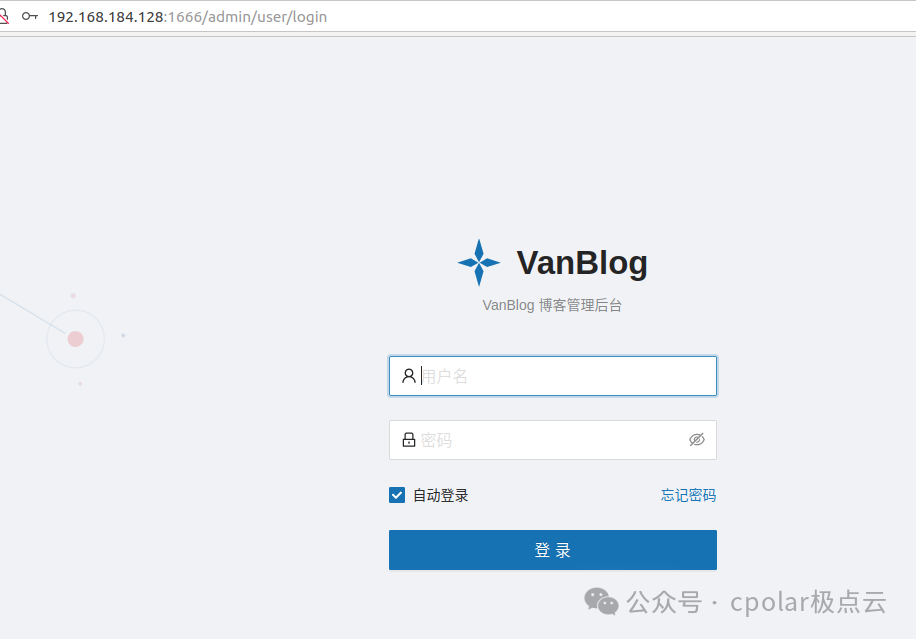
Click ‘Got it’ to redirect to the blog management backend interface, where you can log in using the configured user account and password:
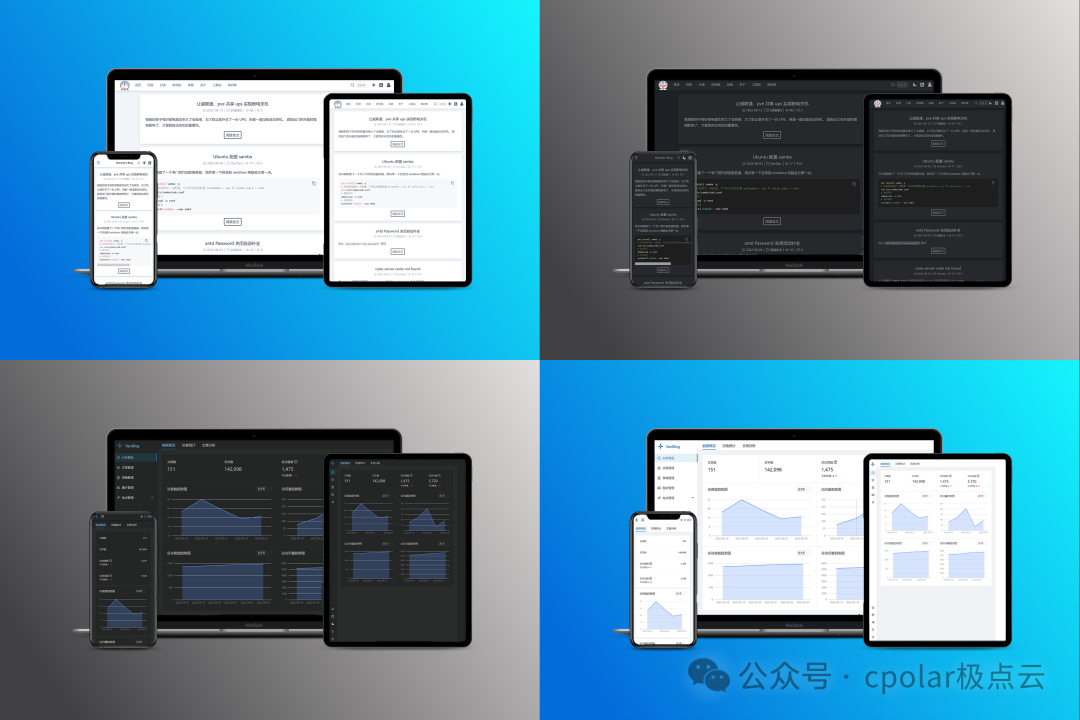
After logging in, you will see that the management backend is very simple and aesthetically pleasing:
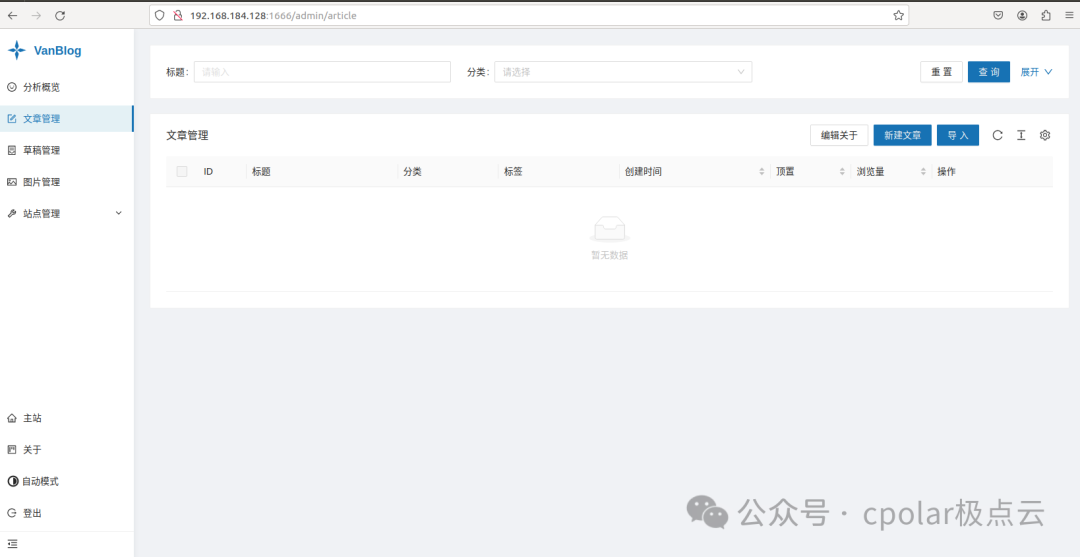
At this point, we have basically completed the process of setting up the VanBlog blog site on the local Linux system.
2. Simple Use of VanBlog
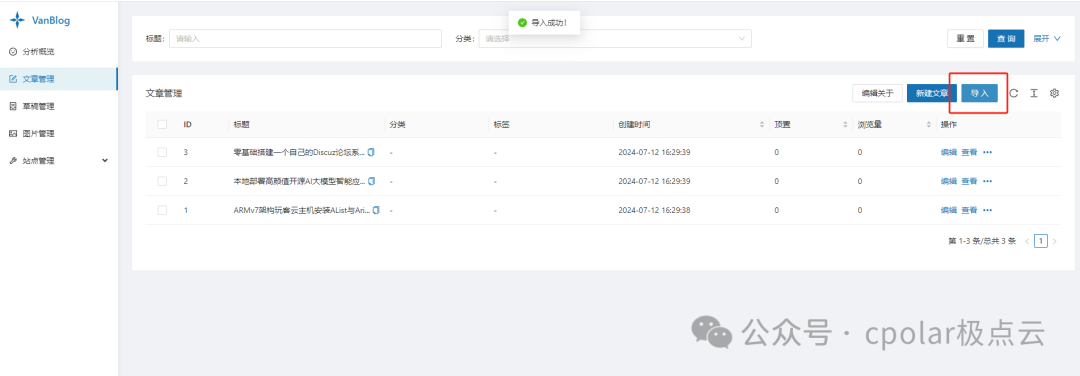
Now, we can click the import button in the backend to upload one or more articles in markdown format.
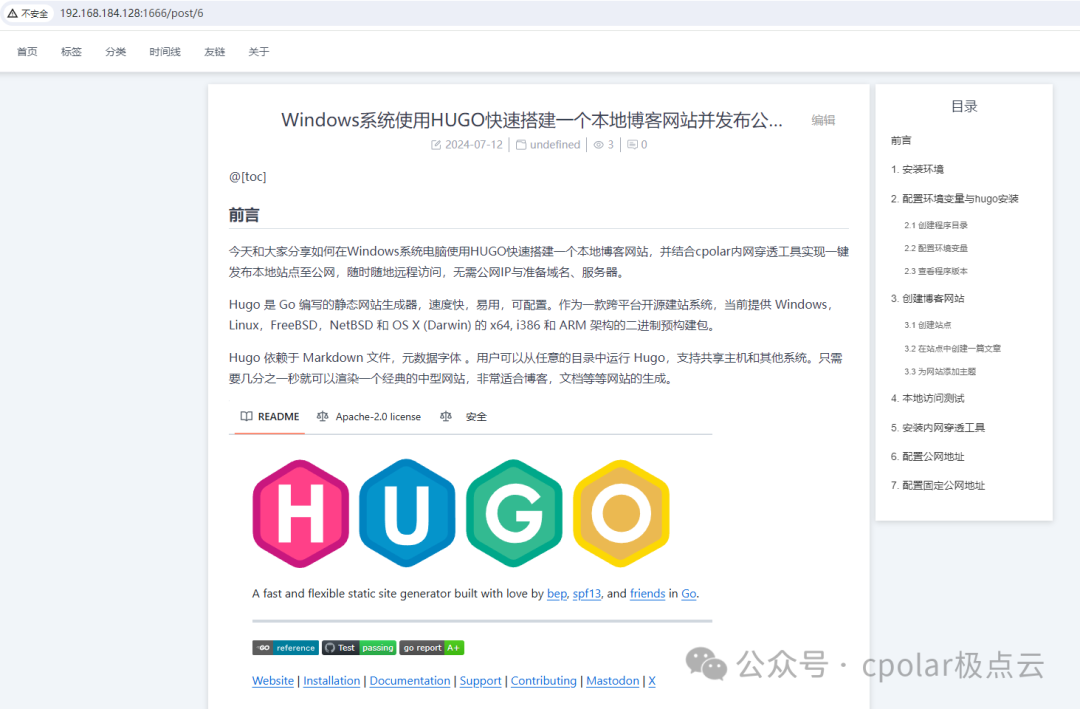
Then, you can click the main site button to enter the homepage, where you can see that the article you just imported is already displayed on the homepage.
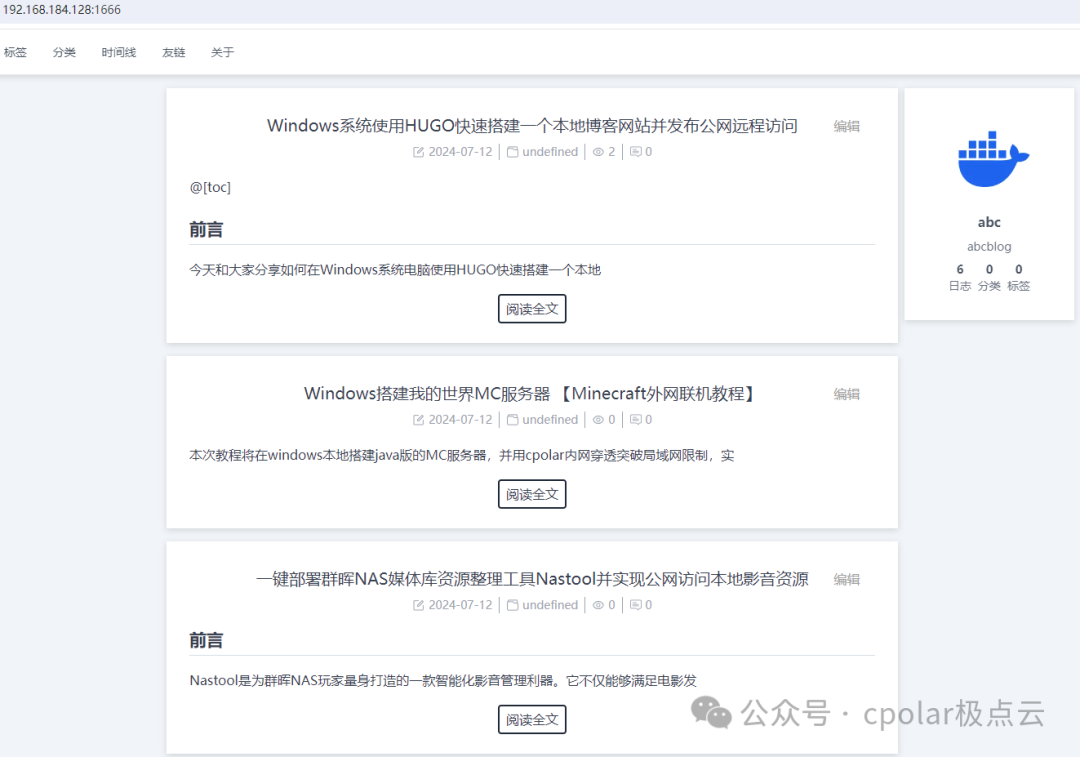
Clicking on ‘Read More’ will take you to the article page, where the right sidebar can also display the directory:
In the backend management interface, clicking the edit button next to the article title will take you to the article editing interface:
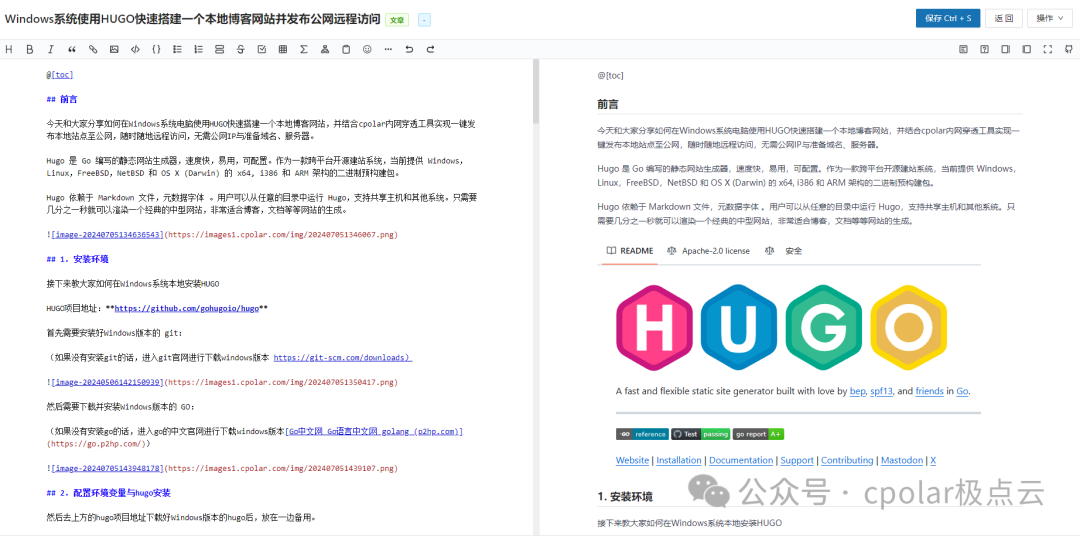
The editing interface is a very clean and clear split-screen display, where what you input on the left is reflected on the right in a WYSIWYG manner.
3. Installing Internal Network Penetration
Now that we have set up the blog site locally, if there is no public IP, it can only be used within the local area network, which has certain limitations. If you want to access it remotely while on the go, you can use the Cpolar internal network penetration tool to generate a public address, eliminating the need to redeploy locally. You can access the locally deployed VanBlog directly using the public address, allowing you to manage the site anytime.
Here are the steps to install Cpolar:
Cpolar official website: https://www.cpolar.com
-
Use the one-click script installation command
curl -L https://www.cpolar.com/static/downloads/install-release-cpolar.sh | sudo bash-
Add the service to the system
sudo systemctl enable cpolar-
Start the Cpolar service
sudo systemctl start cpolarAfter Cpolar is successfully installed, access the Linux 9200 port from an external browser: 【http://local IP:9200】, log in with your Cpolar account, and you will see the Cpolar web configuration interface. Next, configure it in the web management interface:
4. Creating a Public Address
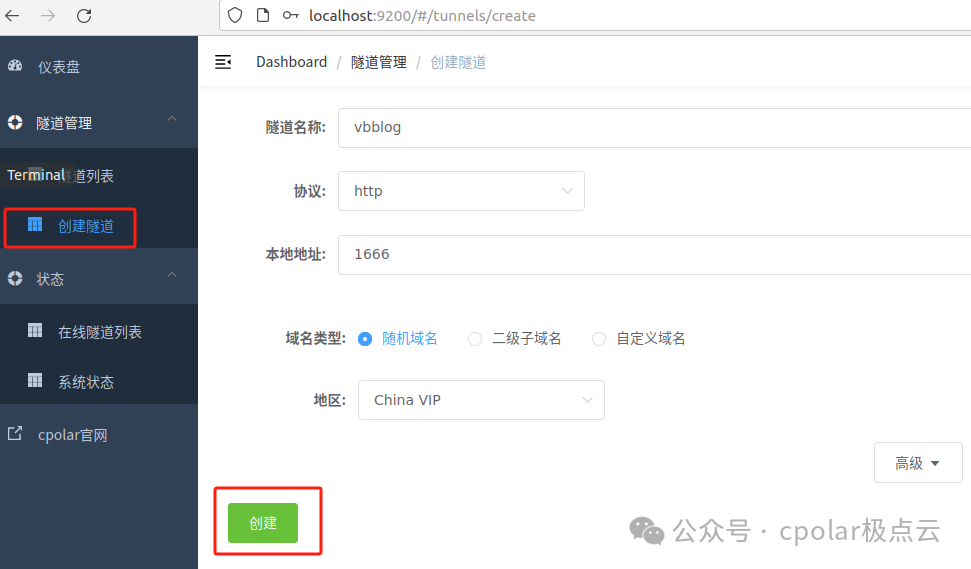
Click on the tunnel management on the left dashboard — create a tunnel to create a public address tunnel for VanBlog!
-
Tunnel Name: You can name it as you wish, ensuring it does not duplicate existing tunnel names
-
Protocol: Select http
-
Local Address: 1666
-
Domain Type: Free to choose a random domain
-
Region: Select China VIP
ClickCreate
After the tunnel is created successfully, click on the status on the left — online tunnel list to view the generated public access address. Two access methods are generated: one is http and the other is https; you can choose either to access it in the browser.
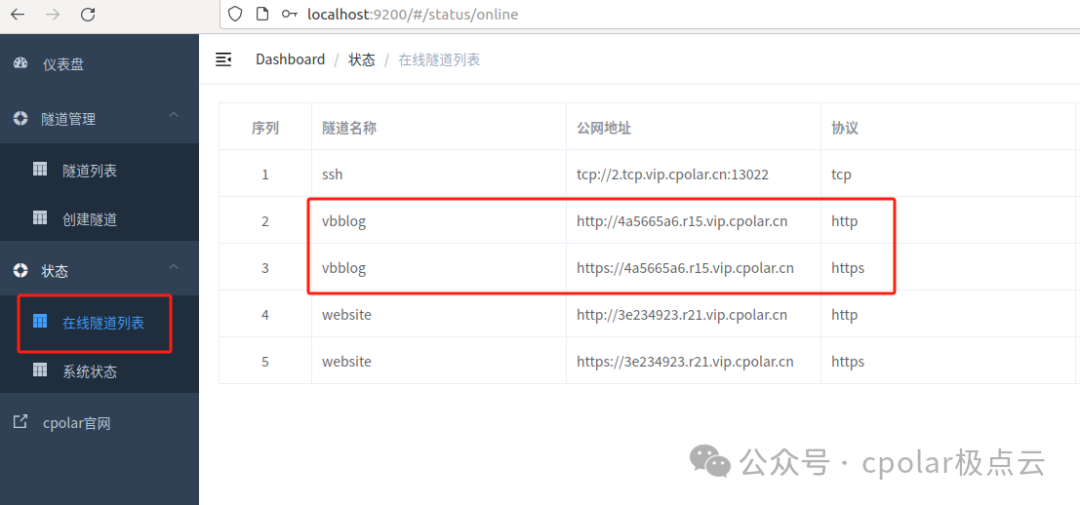
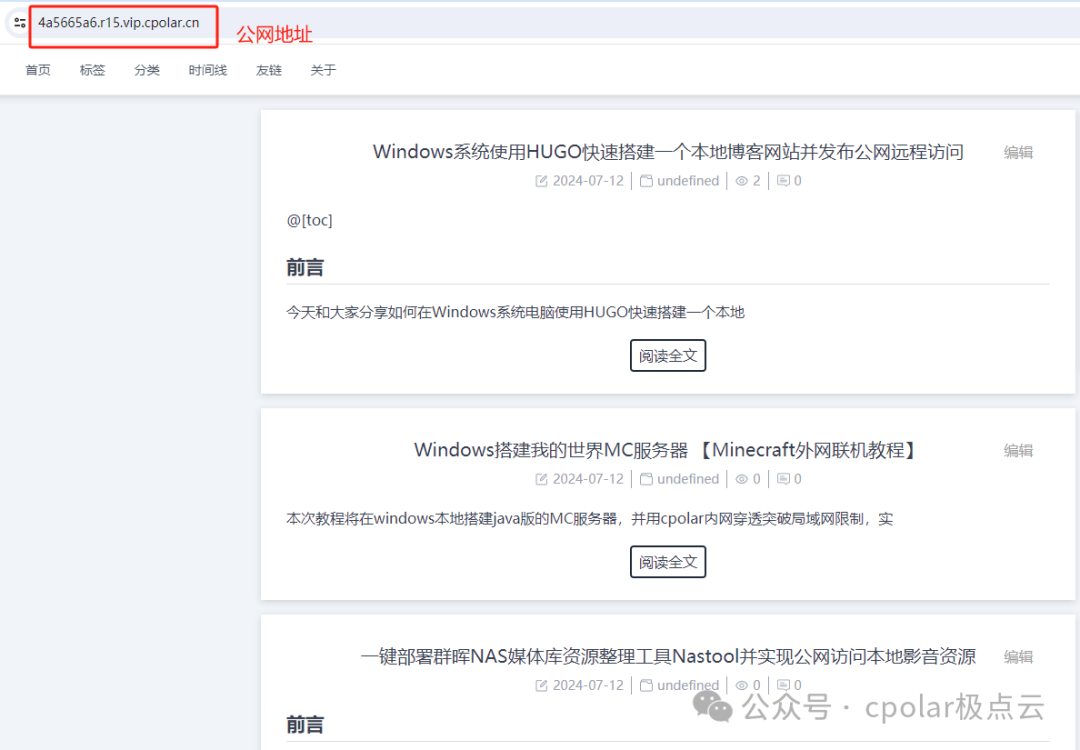
You can see successful access, allowing you to share it with friends or access the locally built site remotely anytime, anywhere. By using Cpolar’s public domain name, you can access locally deployed services on the public network without purchasing a cloud server!
5. Creating a Fixed Public Address
However, since the tunnel created using Cpolar above uses a random public address that changes randomly within 24 hours, it is not suitable for long-term remote access. Therefore, we can configure a secondary subdomain for it, which will be a fixed address that does not change randomly 【ps: cpolar.cn has been filed】
Note that you need to upgrade the Cpolar package to the basic package or above, and each package corresponds to different bandwidth. 【cpolar.cn has been filed】
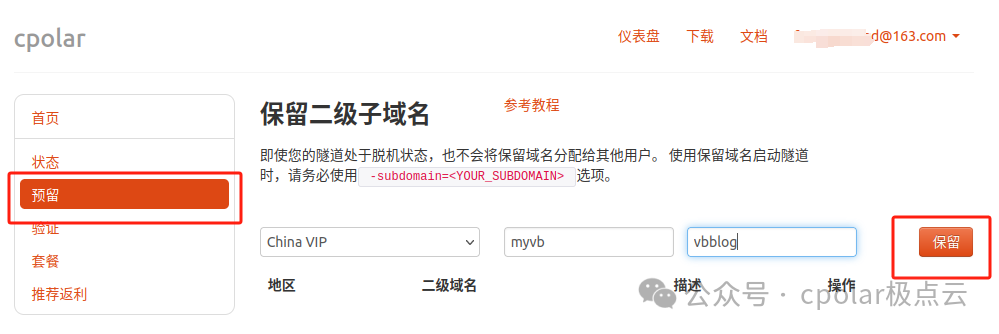
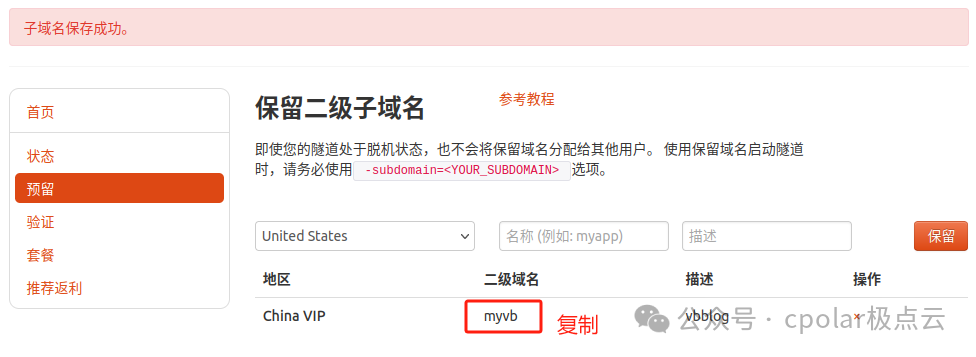
Log in to the Cpolar official website, click on the reserved section on the left, select to reserve a secondary subdomain, set a name for the secondary subdomain, and click reserve. After successful reservation, copy the reserved secondary subdomain name:
After successful reservation, copy the name of the successfully reserved secondary subdomain:
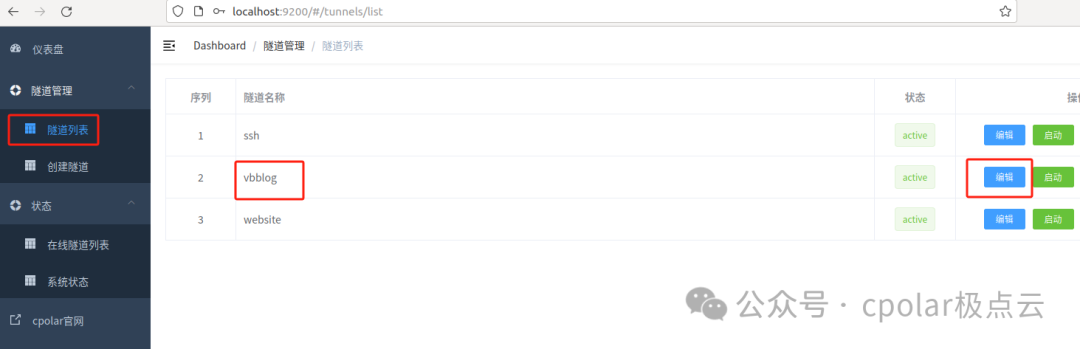
Return to the Cpolar web UI management interface, click on the tunnel management on the left — tunnel list, find the tunnel you want to configure, vbblog, and click edit on the right:
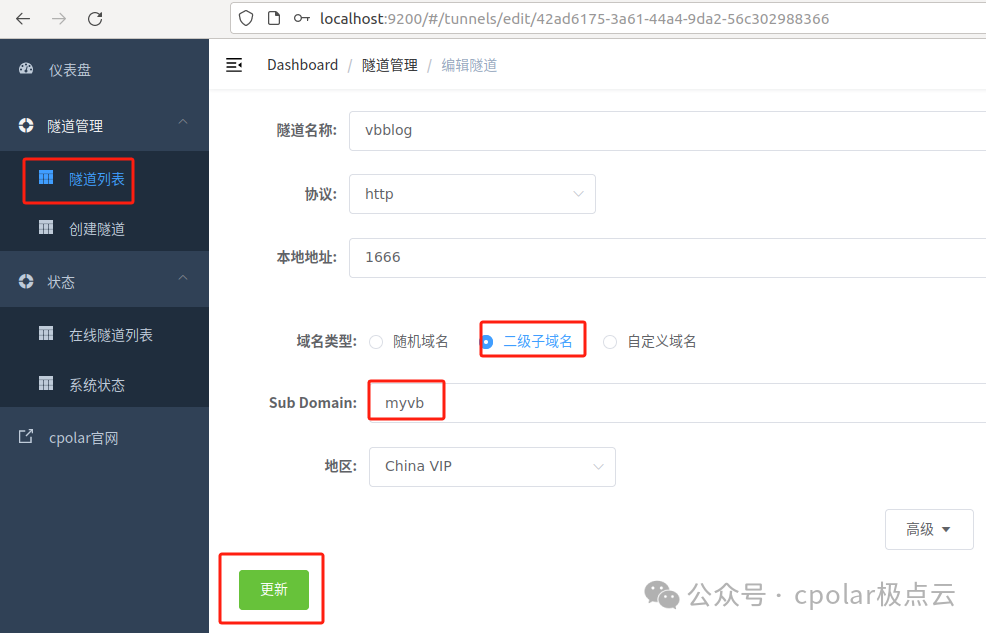
Modify the tunnel information to configure the successfully reserved secondary subdomain into the tunnel
-
Domain Type: Select secondary subdomain
-
Sub Domain: Fill in the successfully reserved secondary subdomain
ClickUpdate(Note, click update once, no need to submit repeatedly)
After the update is complete, open the online tunnel list, and you will see that the public address has changed, and the address name has also become the fixed secondary subdomain name:
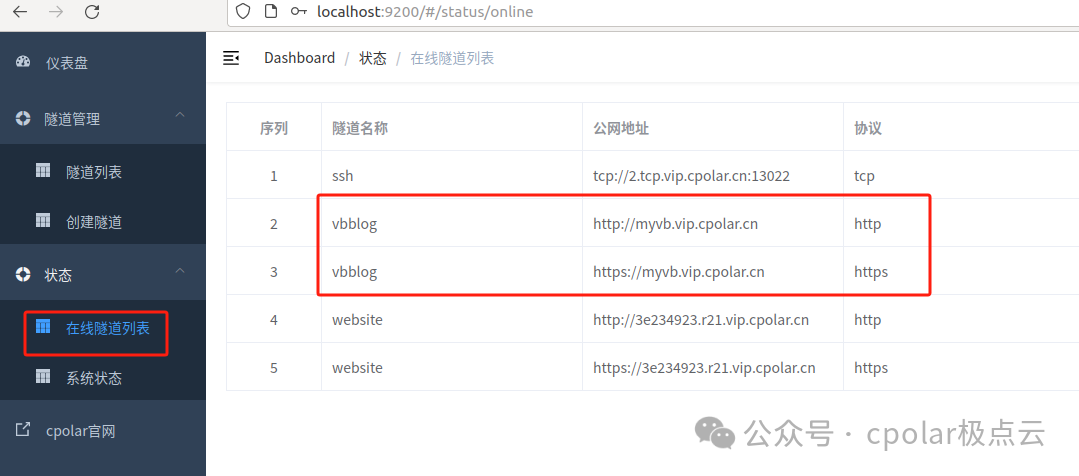
Finally, we can use the fixed public address to access the locally built VanBlog blog, and we can see that the access is successful. Thus, a fixed and permanent public address has been set up.

This concludes the entire process of how to use VanBlog to set up a blog site locally on a Linux system and achieve one-click public release for remote access anytime, anywhere using the Cpolar internal network penetration tool. Thank you for watching, and feel free to leave comments for any questions.
If you need to reprint, please indicate the source
Other Recommendations
“Starting SSH Service on Raspberry Pi and Installing Internal Network Penetration for Remote Connection to Local Raspberry Pi without Public IP”