How can we take screenshots in Linux systems? In fact, Linux systems usually come with a default screenshot application. Let’s take a look at several common desktop environments in Linux and how to take screenshots.
GNOME Desktop
The default screenshot tools vary across different desktop environments. In the GNOME desktop environment, you can simply search for “Screenshot” to open the screenshot application.
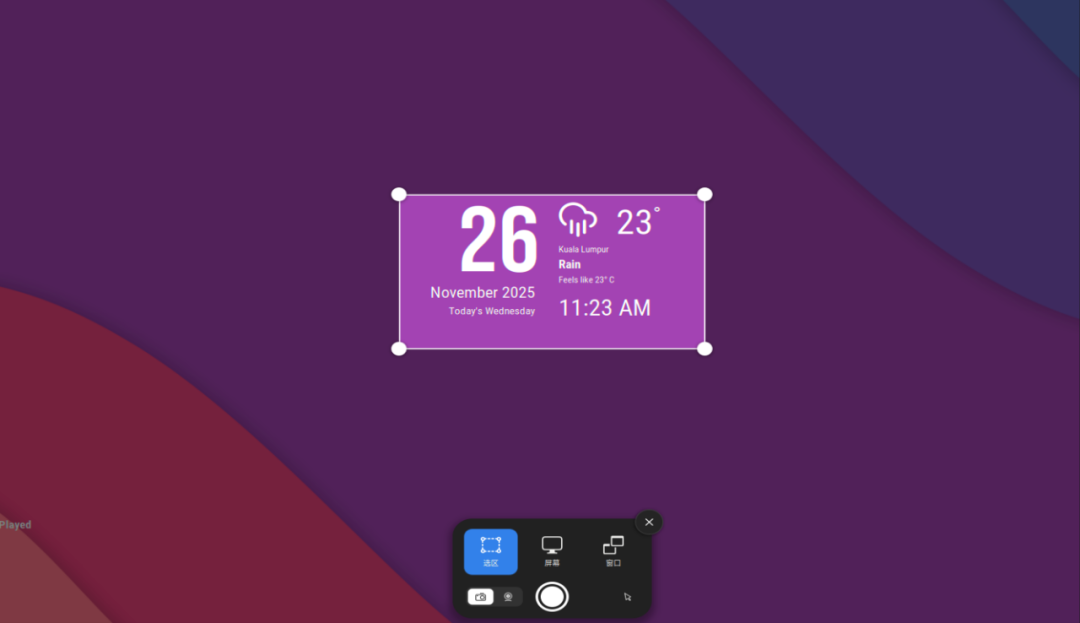
The default application in the GNOME system is quite simple, allowing for full-screen, window, and area selection screenshots and screen recording, but it does not support annotations.
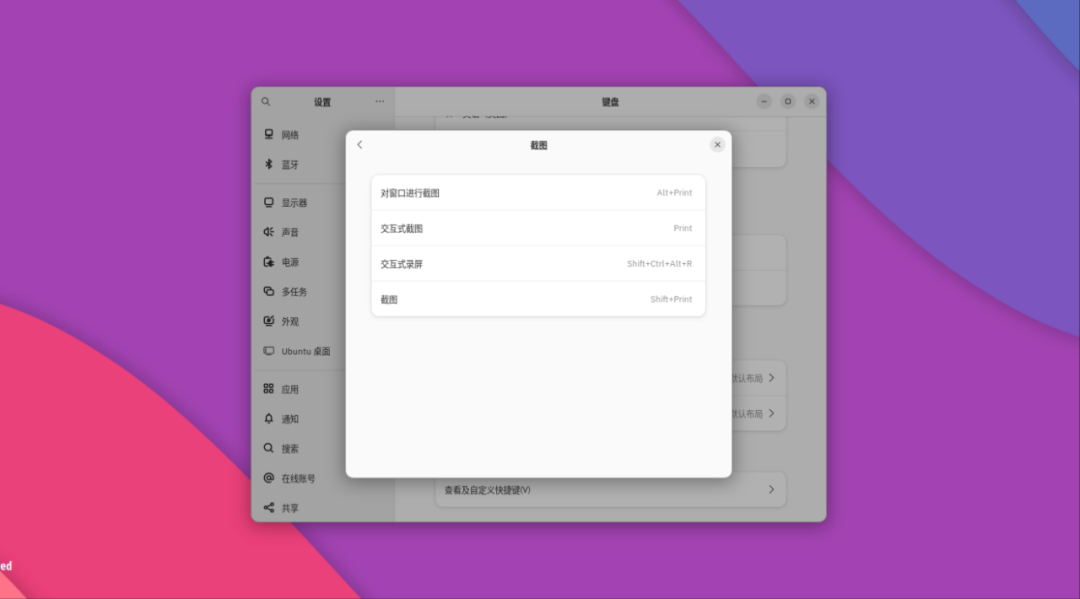
Shortcuts:
-
Take a screenshot of the entire screen:
<span><span>Print</span></span>key. -
Interactive screen recording:
<span><span>SHIFT + CTRL + ALT + R</span></span> -
Take a screenshot of the current active window:
<span><span>Alt + Print</span></span> -
Take a screenshot of a selected area:
<span><span>Shift + Print</span></span>
KDE Plasma Desktop
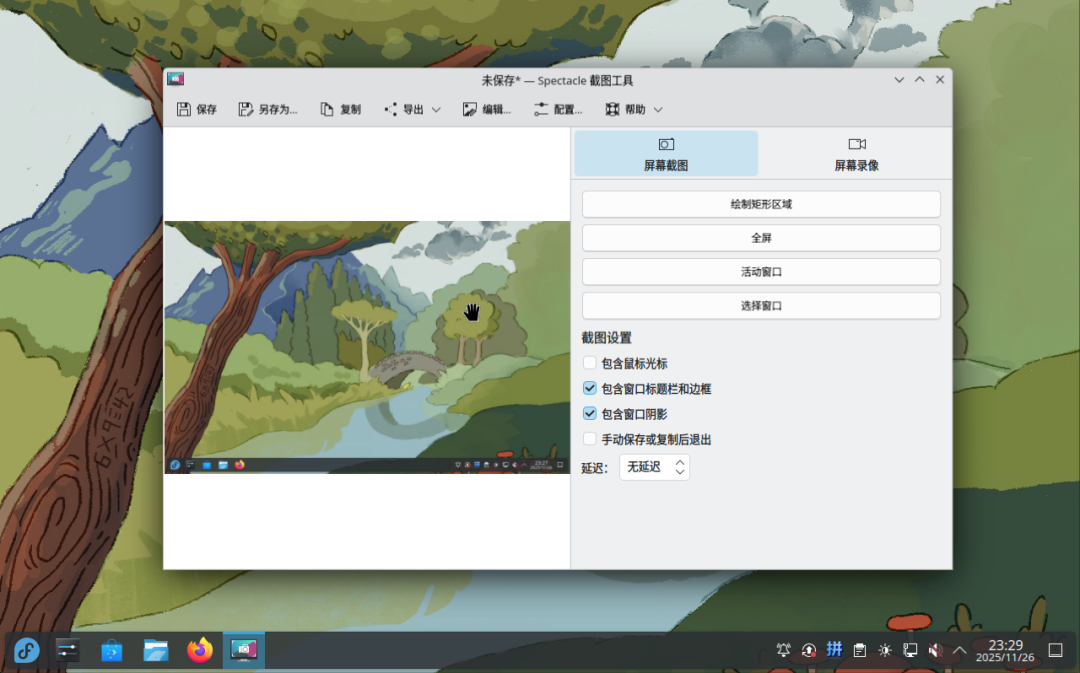
The KDE desktop environment uses the Spectacle screenshot tool by default, which is powerful and not only allows for screenshots and screen recordings but also image editing.
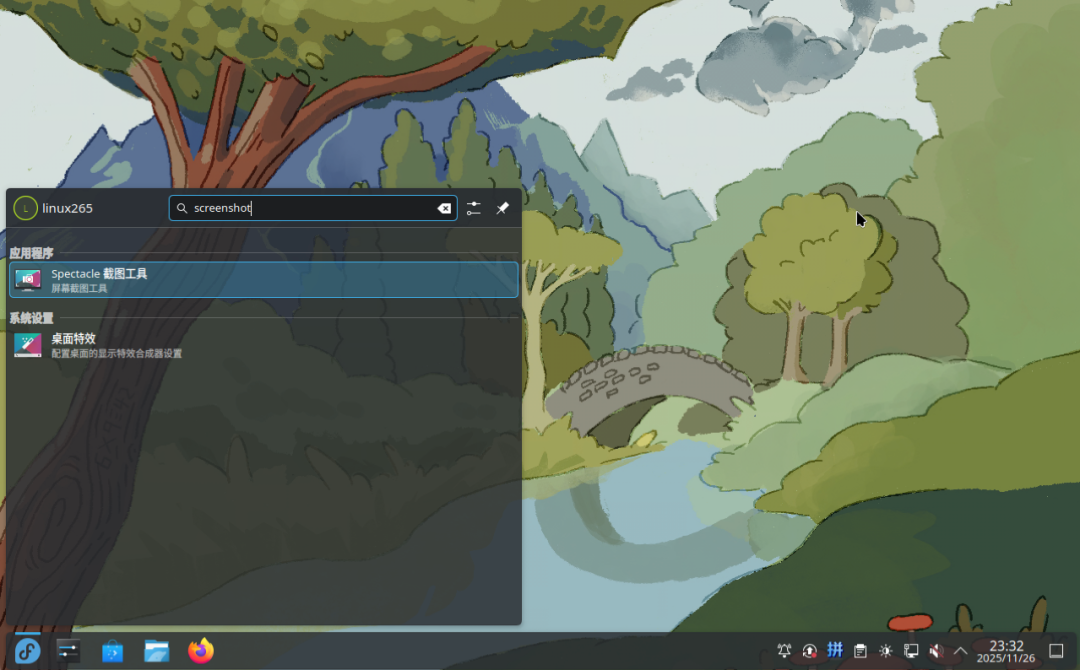
You can open it by searching for “screenshot” in the start menu to locate the application.
After clicking the application, it opens and defaults to taking a screenshot of the entire screen.
Shortcuts:
-
Launch:
<span><span>Print</span></span>key. -
Take a screenshot of the entire screen:
<span><span>Shift + Print</span></span>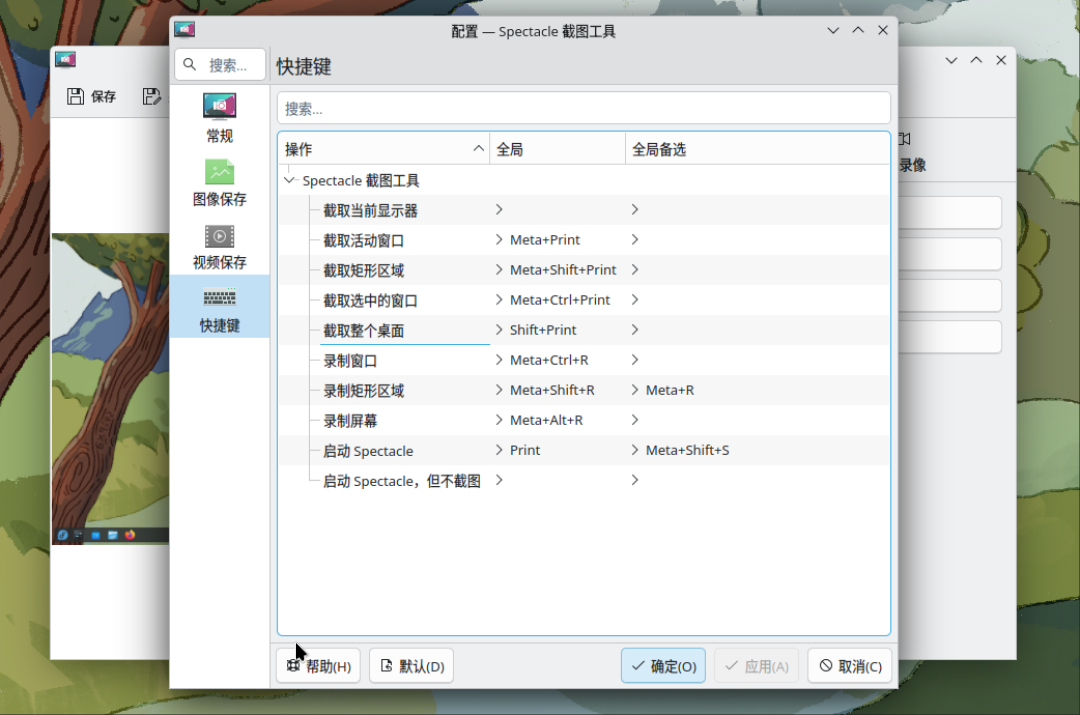
Xfce Desktop
The Xfce desktop environment also has a default screenshot tool, which is similarly simple and can take screenshots of the entire screen, the current window, and selected areas.
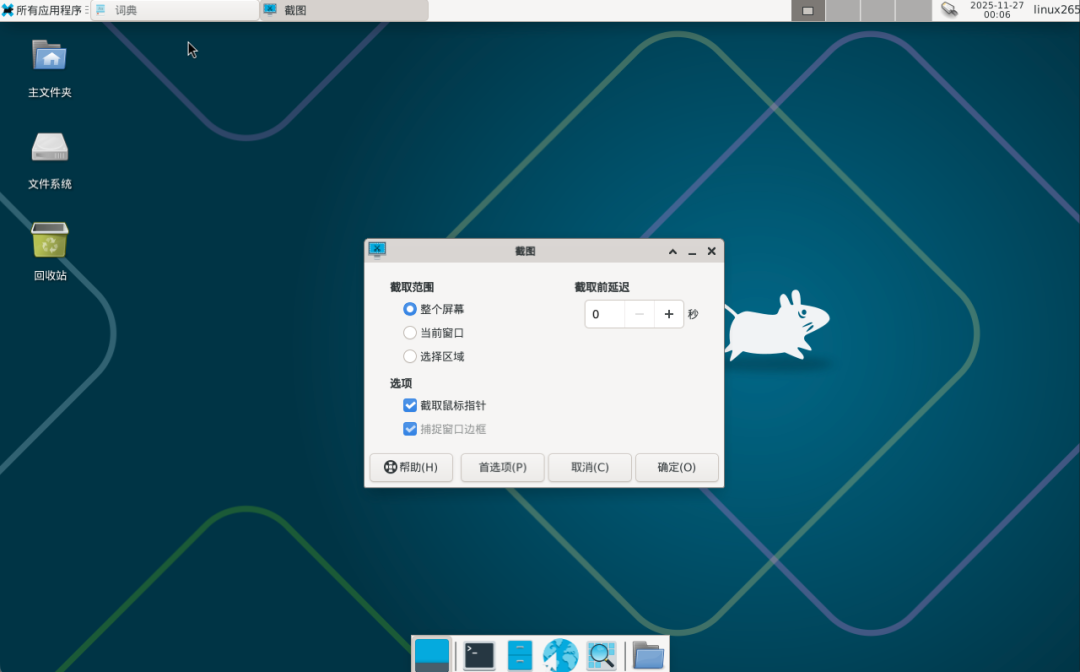
Shortcuts:
-
Take a screenshot of the entire screen:
<span><span>Print</span></span>key. -
Take a screenshot of the current active window:
<span><span>Alt + Print</span></span> -
Take a screenshot of a selected area:
<span><span>Shift + Print</span></span>
Cinnamon Desktop
This desktop is most commonly used in Linux Mint, which is also the most well-known desktop environment for Linux Mint.
Similarly, after opening the global menu in the system, you can search for “ScreenShot” to find the screenshot application. The default screenshot application only supports three modes: full screen, window, and selection.
The effect after opening is as follows:
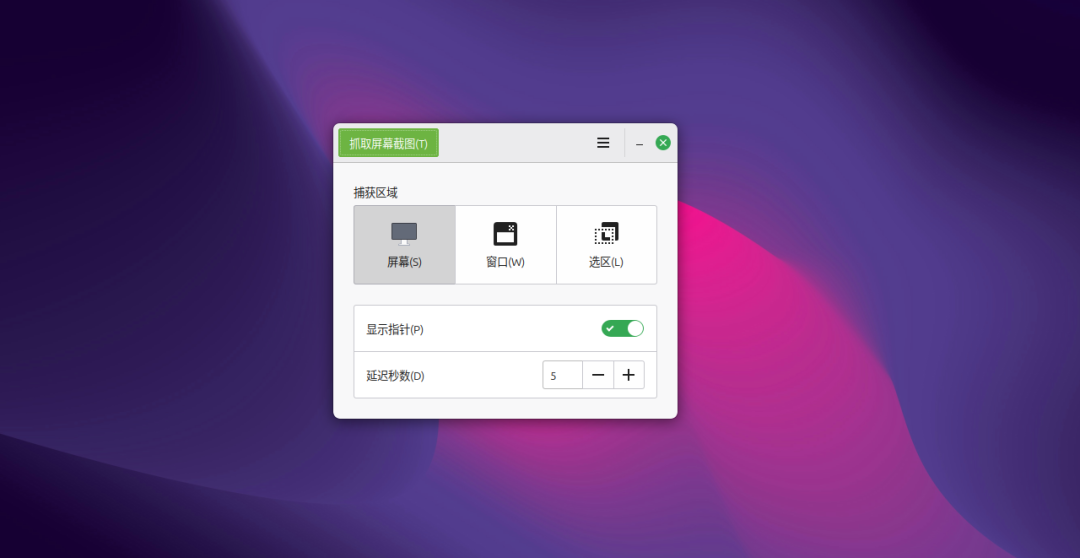
Shortcuts:
-
Take a screenshot of the entire screen:
<span><span>Print</span></span>key. -
Take a screenshot of the current active window:
<span><span>Alt + Print</span></span> -
Take a screenshot of a selected area:
<span><span>Shift + Print</span></span>
Flameshot
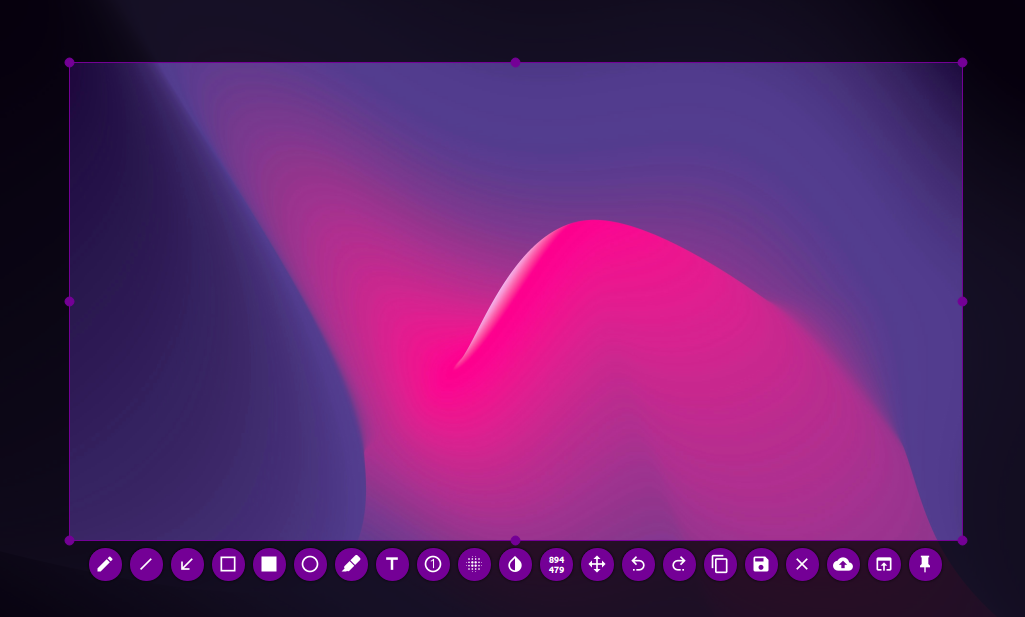
Flameshot is a cross-platform screenshot application that supports screenshotting on Windows, MacOS, and Linux systems. It can be easily installed via commands or by downloading software packages.
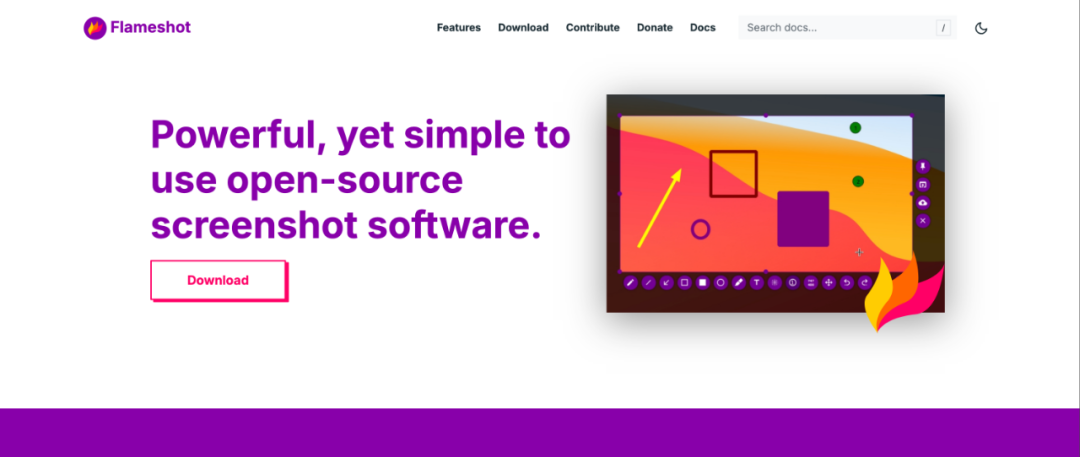
Of course, using the command to install is simpler, just one command, for example:
sudo apt install flameshotAfter installation, you can start using Flameshot, which not only allows for screenshots but also provides extensive editing capabilities, drawing, and annotations, making it very powerful.
Screenshot Tools in Linux – Flameshot
Final Thoughts
Among the commonly used desktop environments GNOME, KDE, Xfce, and Cinnamon, the default screenshot tool in KDE desktop has editing features. If you only need basic screenshot functionality, these applications can meet your requirements.
However, if you want more powerful features, you may need to install other screenshot applications, such as Flameshot.
If you frequently use WeChat on Linux, you can also fully utilize the screenshot feature provided by WeChat.
 Homebrew is also great on Linux!Aurora is another immutable Linux distribution!Recommended 3 minimal Linux distributionsWhy learn Linux systems?Old friend, remember to 🌟star it, so it’s easier to find me next time!