1. Download Software
Follow the WeChat official account “I Love Microcontrollers” and reply with “proteus” to get the latest download link.
2. Install Software
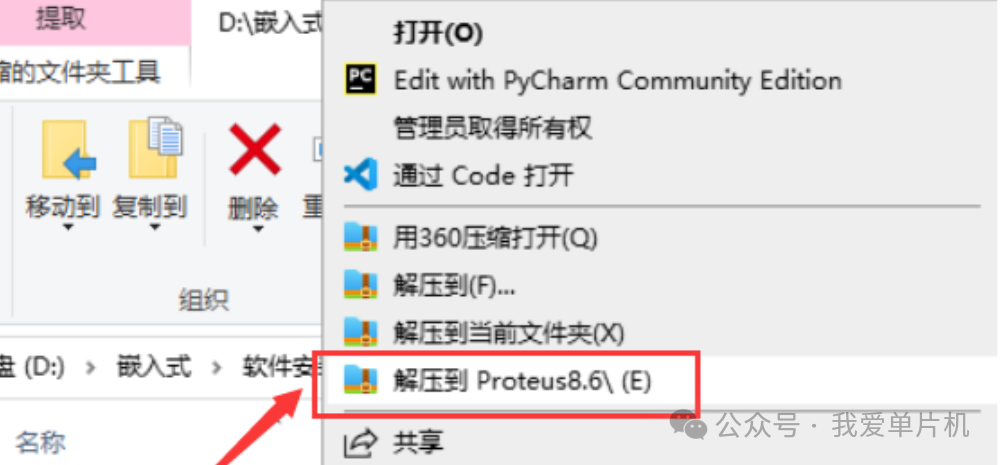
1. Extract the software:Right-click to extract to “Proteus8.6”
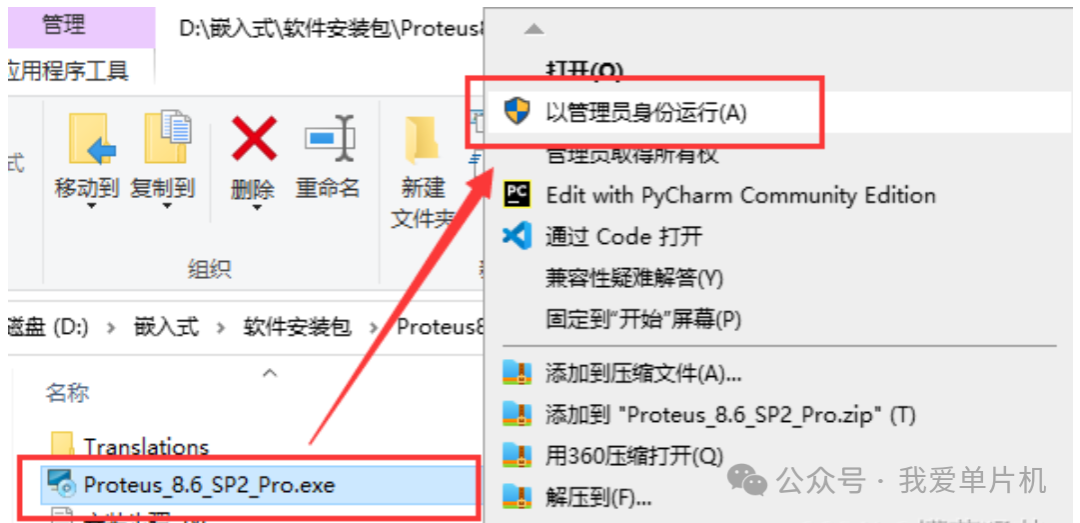
2. Run the .exe file:Right-click to run as administrator
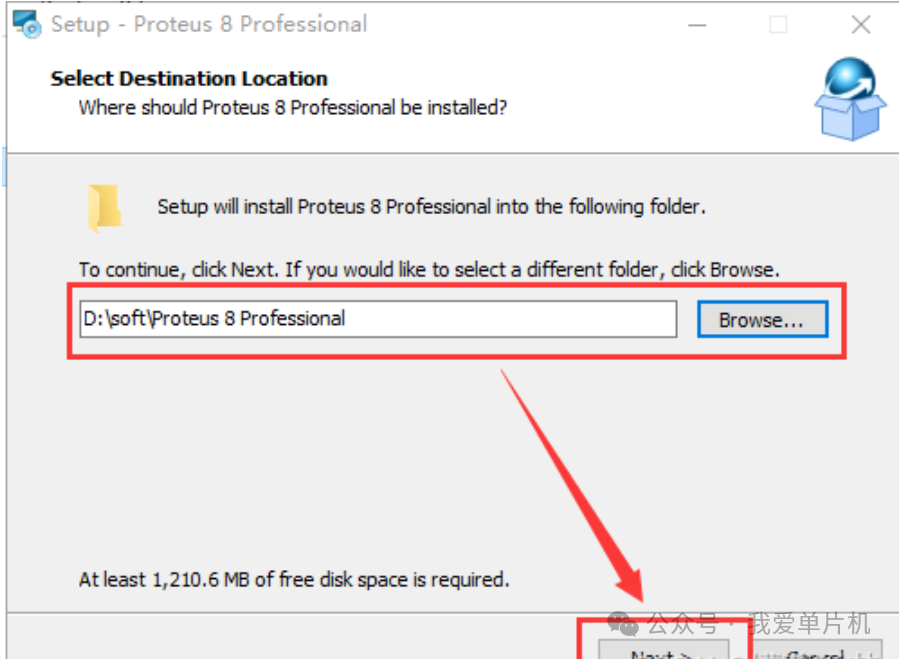
3. Choose the installation path:You can customize it, but note two points:First, the path should not contain Chinese characters, otherwise there may be many problems later;Second, try not to place it on the C drive.Remember this path, as it will be needed later.
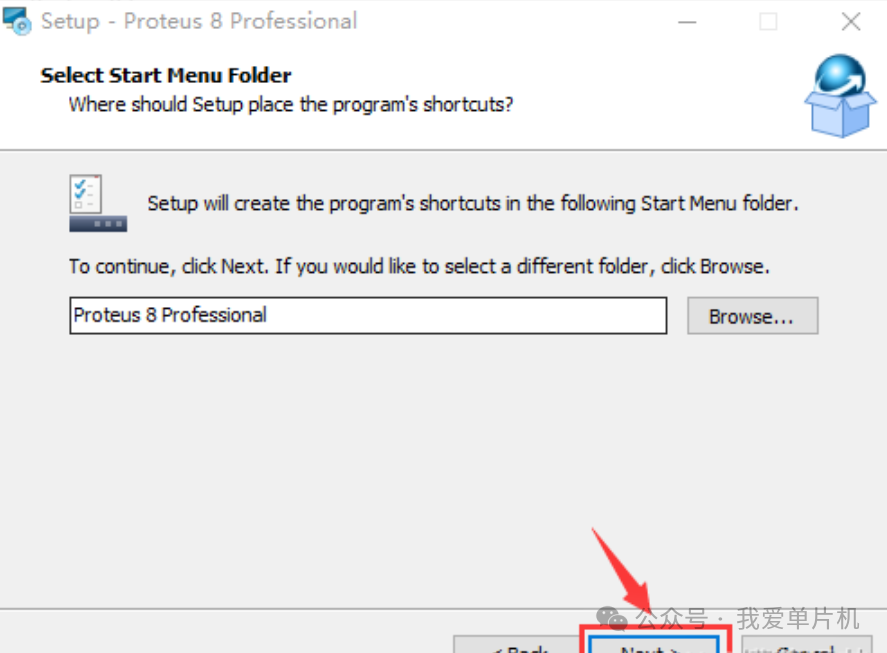
4. Select [Next]
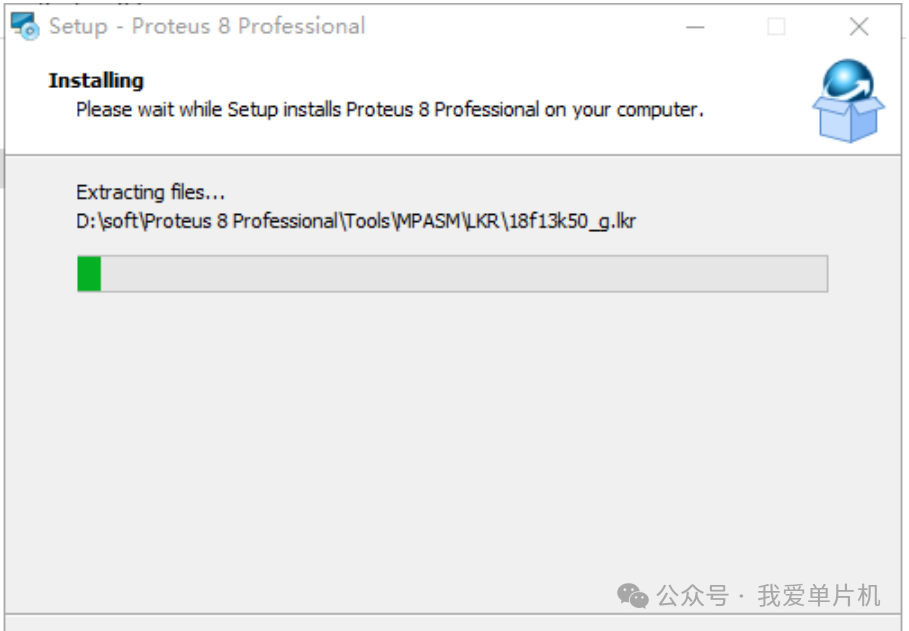
5. Start installation
6. Click Finish to exit the installer

7. Open the extracted folder and copy the [Translations] folder
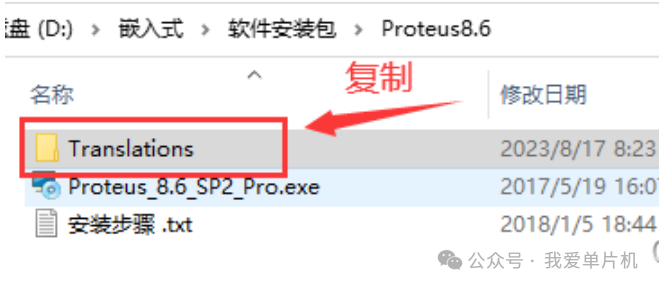
8. Open the installation path set in step 3, paste the copied [Translations] folder there, and select [Replace the files in the destination].

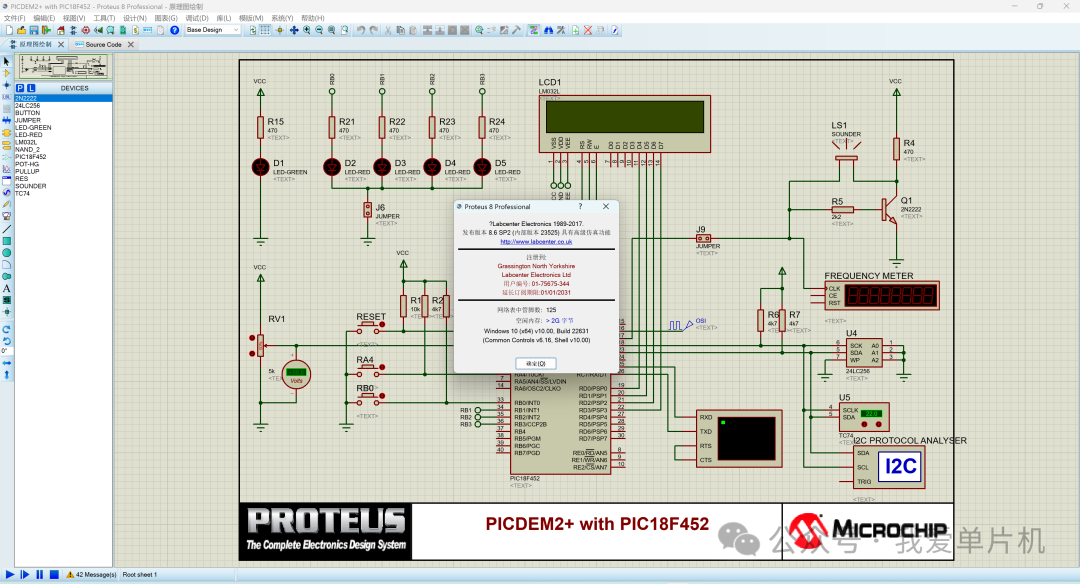
9. Run the software
Back to the desktop, you will see a shortcut for [Proteus 8 Professional]. Double-clicking it will bring up the following interface.
The installation is complete.