Can You Program Arduino with LabVIEW?
LabVIEW’s graphical programming is simple and easy to use, making it accessible for many engineers. The promotion of open-source hardware (such as Arduino) has allowed more and more enthusiasts to engage in DIY projects, creating small planes, robots, and IoT applications. Being able to use LabVIEW to program open-source hardware like Arduino undoubtedly simplifies programming, especially for those with little or no programming experience. So, can you really use LabVIEW to program Arduino?
The answer is yes—through a software package called LINX.
Required Software and Hardware
Arduino Development Board
Currently, LINX supports several Arduino boards including Leonardo, Mega2560, Nano, Pro Micro, and Uno. Don’t have one? If you’re interested, you can buy one during the Double Eleven shopping festival; a Nano costs about 15 yuan on Taobao.
VIPM
VI Package Manager is used to install LabVIEW plugins and is usually installed automatically when LabVIEW is installed. If you don’t have this software, you can download it using the link below.
https://download.ni.com/evaluation/labview/lvtn/toolkits/jki/vipm-windows.exe
LINX Software Package
Search for LINX in VIPM to download.
LabVIEW
You can download the evaluation version from the NI website.
Downloading and Installing LINX
In the top right corner of VIPM, enter “LINX” to find the LINX software package.
Once found, click the install button in the top left corner of the dialog box to install LINX into LabVIEW.

After the installation is complete, the following dialog box will pop up.
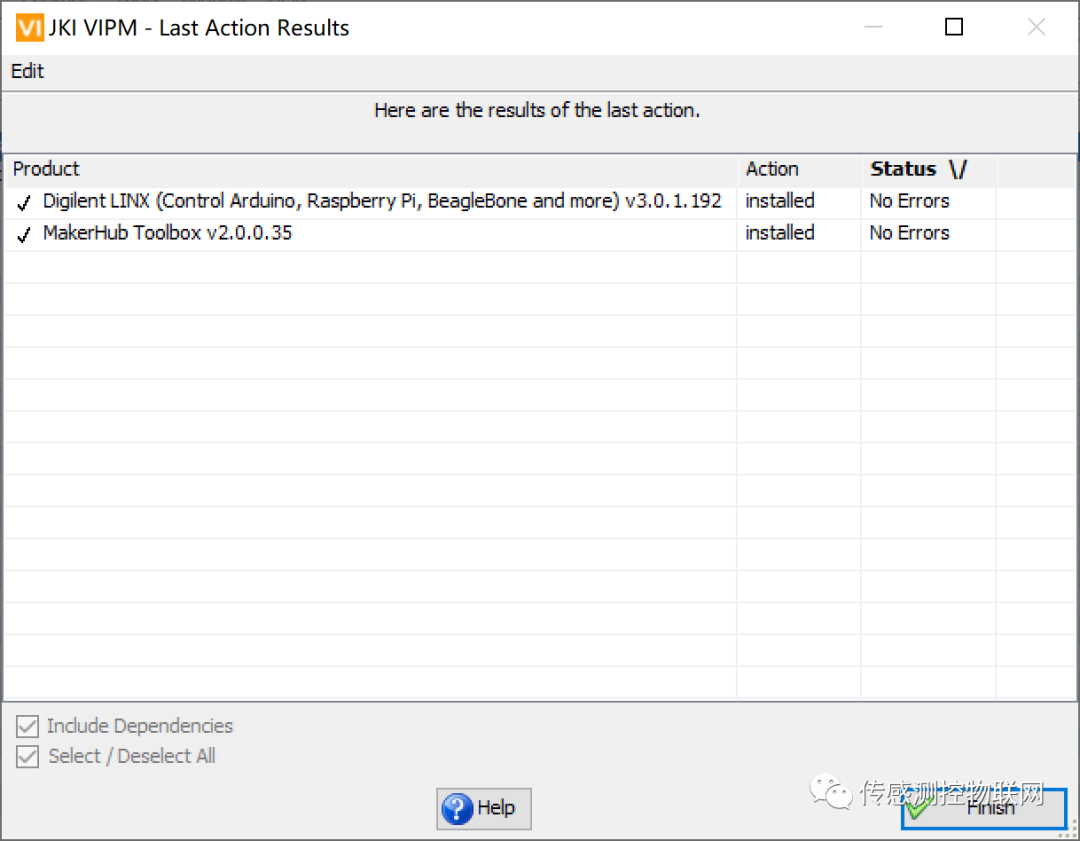
Click Finish, and the following dialog box will appear. Click the Launch Example button in the dialog box to open the LED blink example program.
Uploading Firmware to Arduino
To enable LabVIEW to control Arduino, the corresponding firmware must be present on the Arduino. This firmware is responsible for communicating with the LabVIEW program and controlling Arduino based on the instructions sent from LabVIEW.
Taking Arduino Mega2560 as an example, connect it to the computer via USB. If the driver is already installed, you will see Arduino Mega2560 and its corresponding serial port number in the device manager.
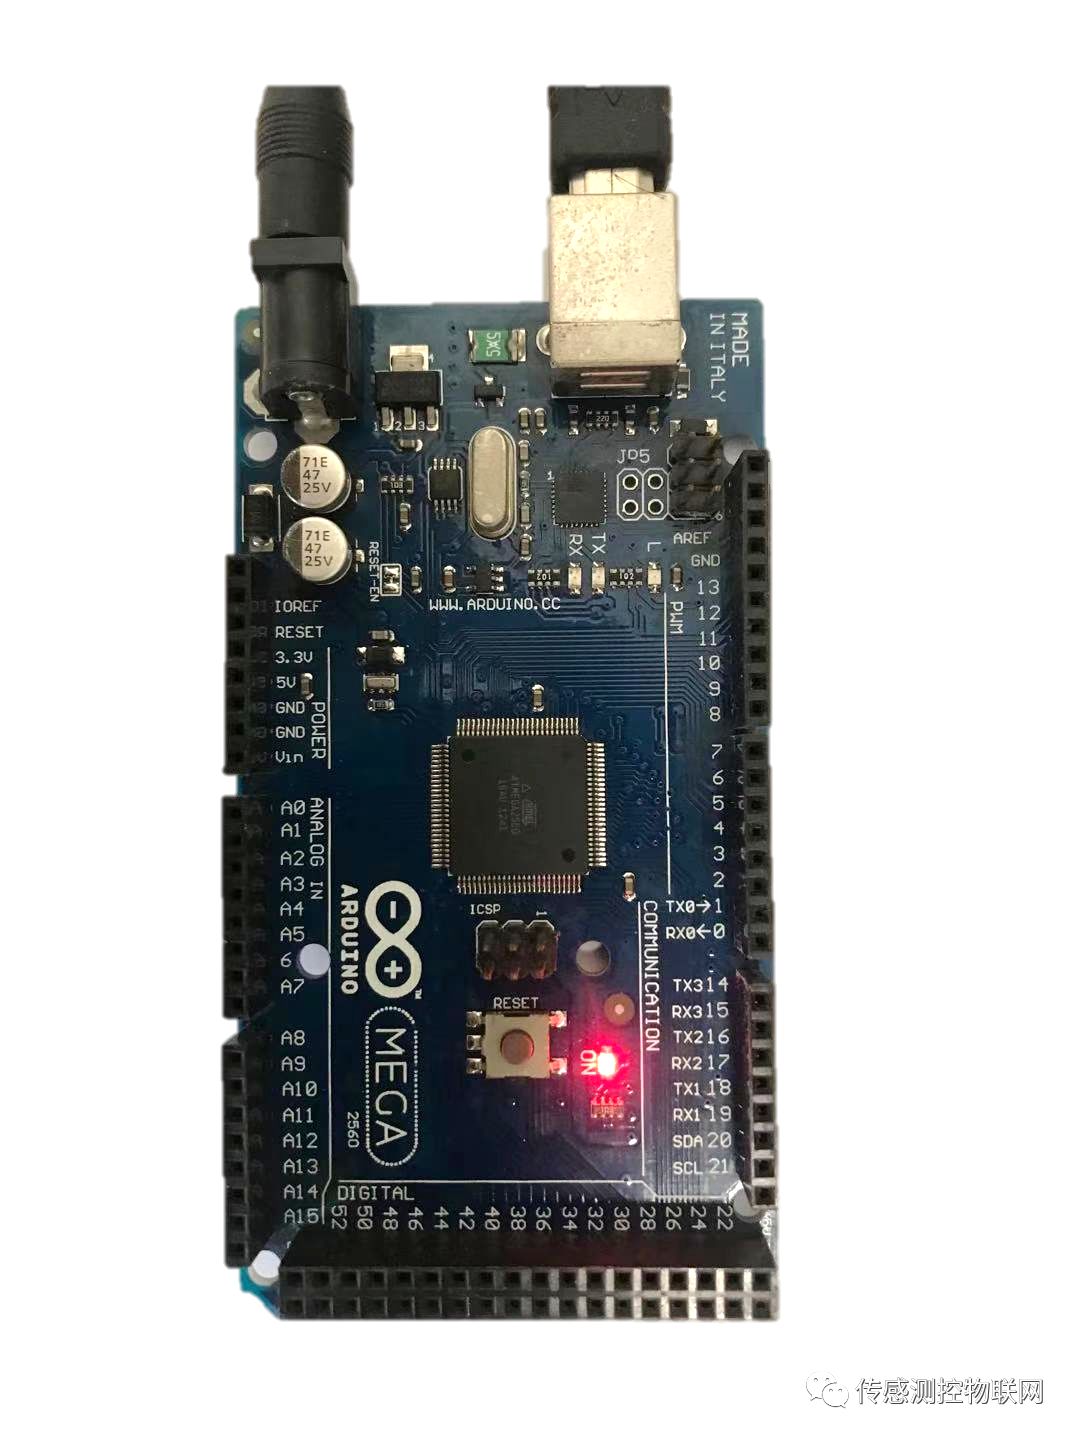
In the LabVIEW tool menu, find the “MakeHub” menu item, expand it as shown in the picture, and click on the “LINX Firmware Wizard” menu item. Follow the prompts to select the appropriate Arduino model.

Select the serial port number used by Arduino (you can check this in the device manager), click “Next”, select “Pre-Built Firmware”, and click “Next” to upload the firmware to Arduino.
LabVIEW Programming (Arduino LED Blink Example)
Switch to the “LINX-Blink (Simple)” example that opened after installing LINX, or open it by searching for examples in LabVIEW help (enter “LINX” to search).
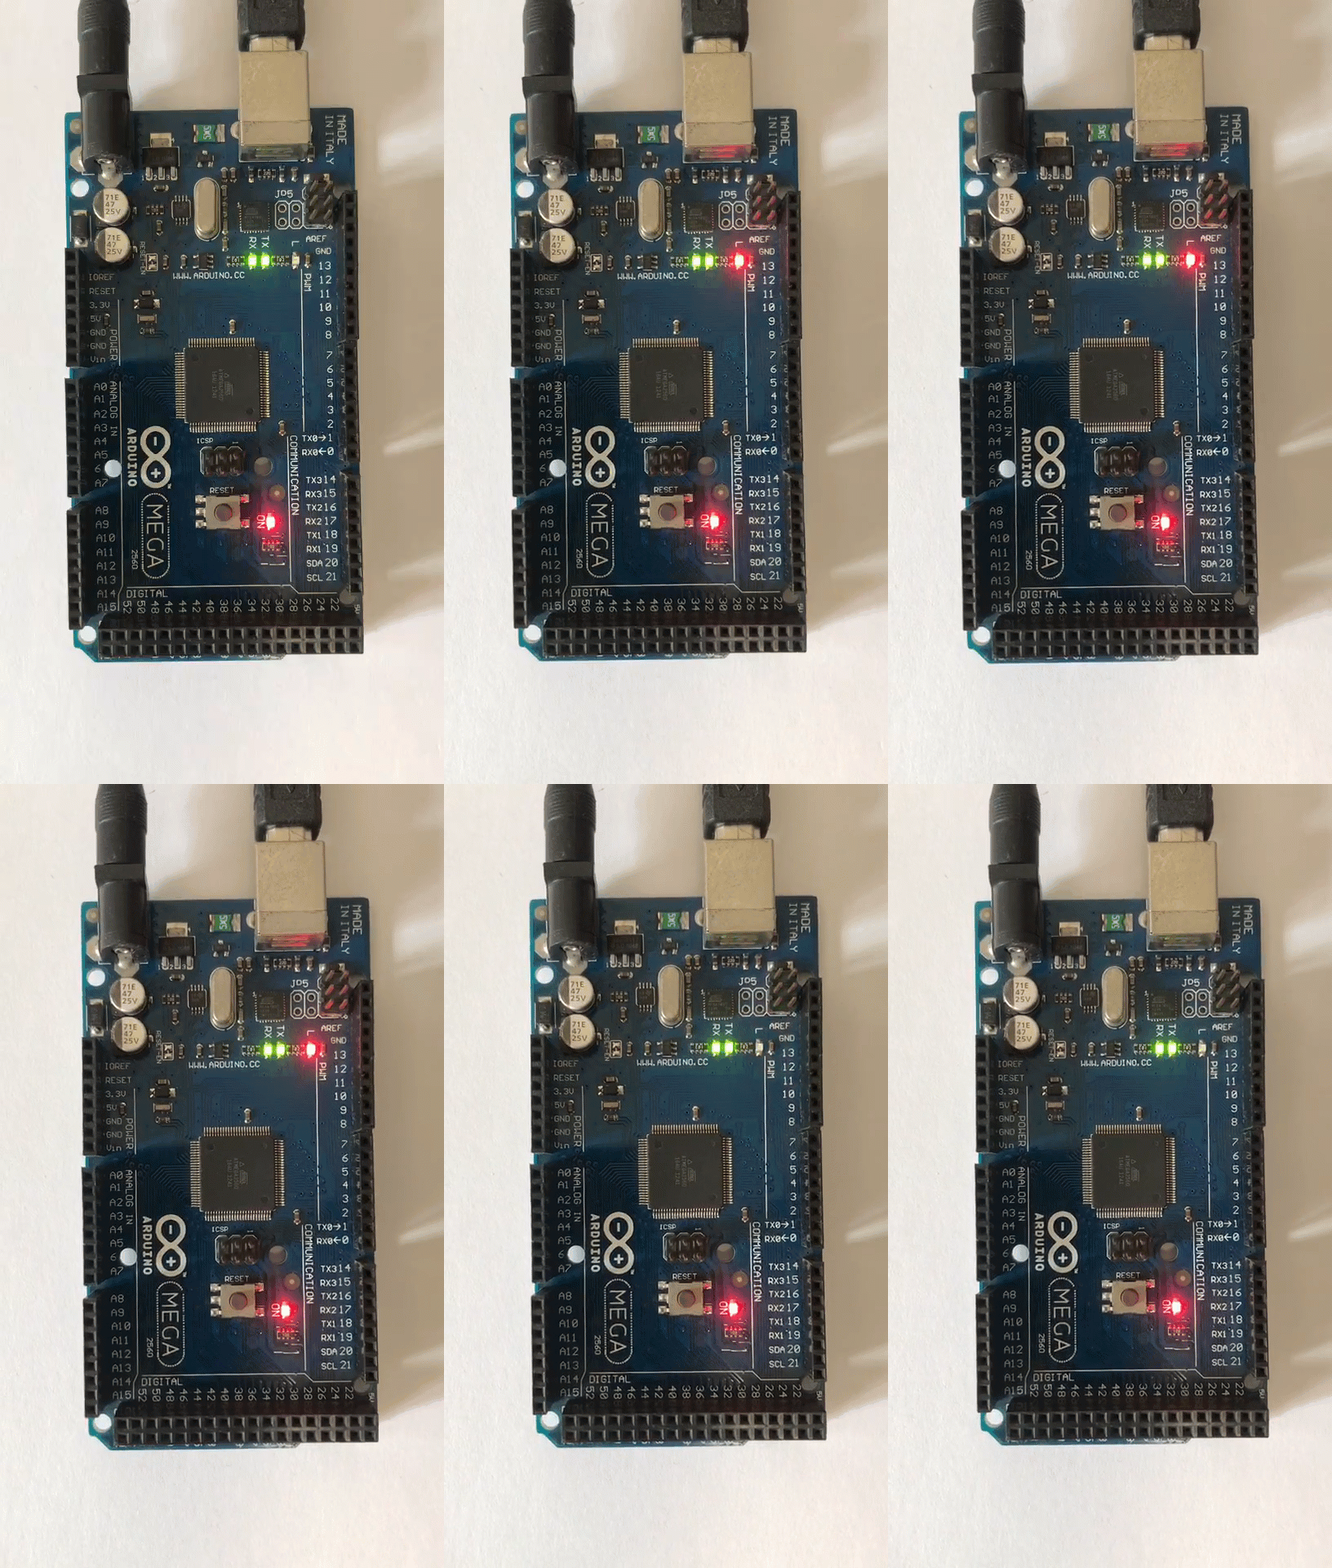
The front panel looks like the image below. Click on the LED light on the right, and the LED light on the Arduino Mega2560 board marked as “L” will turn on or off accordingly.
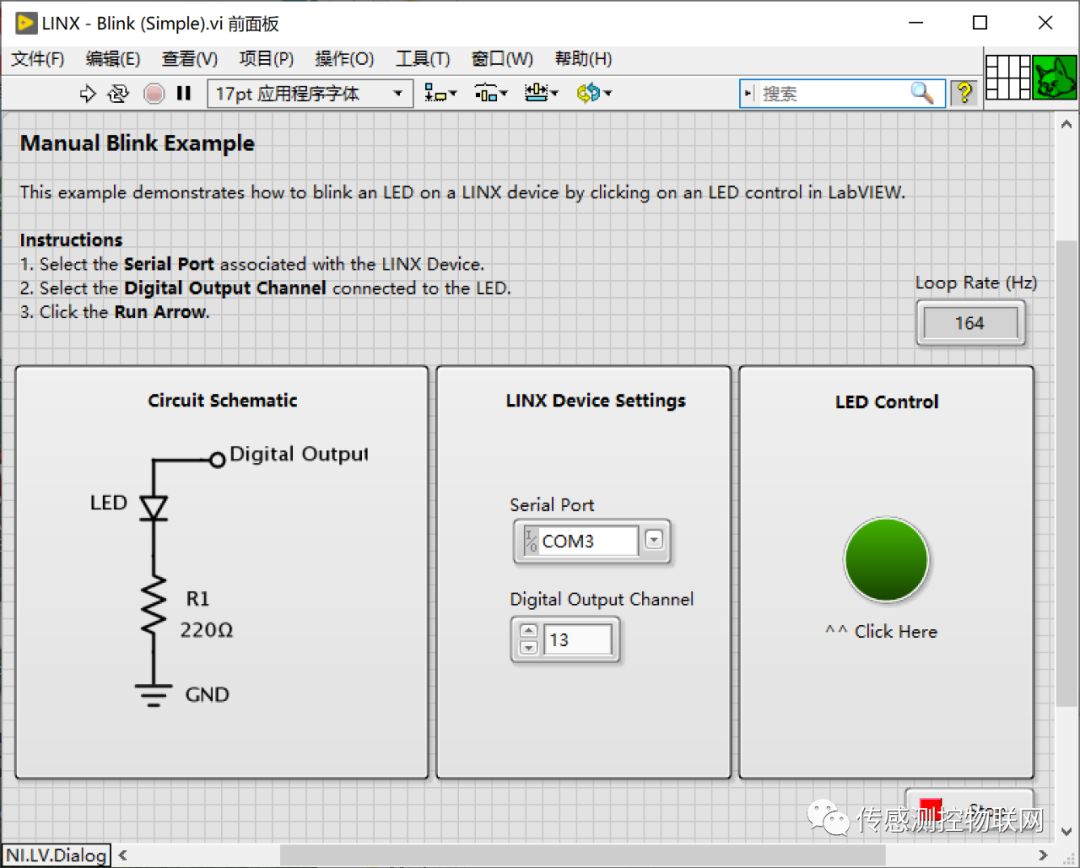
The code is shown in the image below.
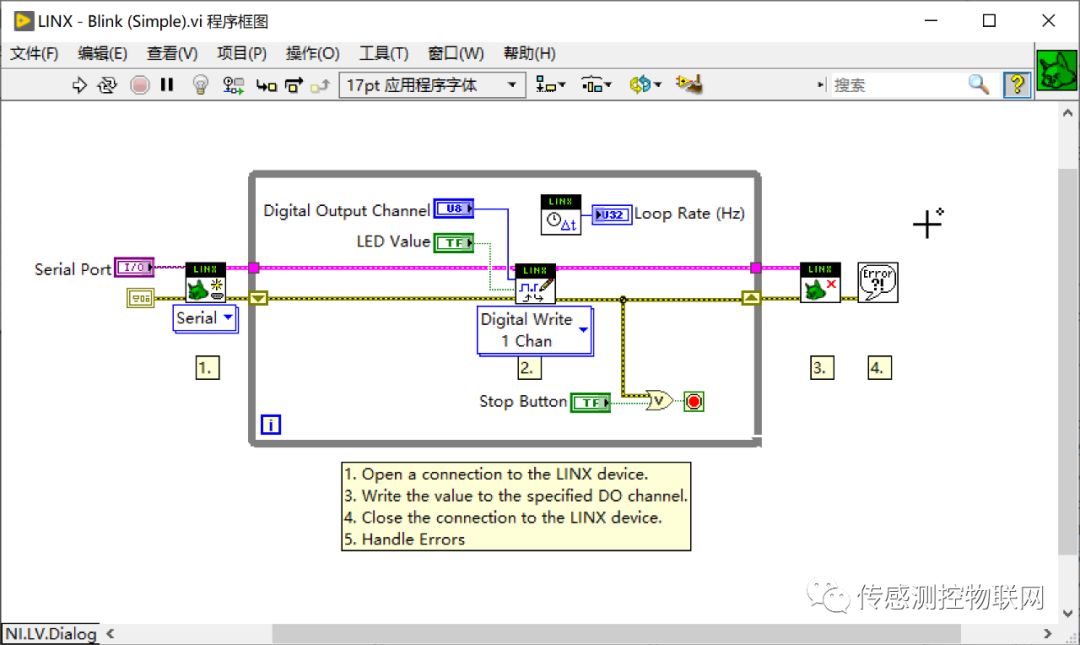
The code is very simple: it connects to Arduino Mega2560 through OpenSerial, then uses DigitalWrite to output the corresponding value (1 or 0) of the LED control on the front panel to the corresponding pin on Arduino Mega2560 (specified by the Digital Output Channel parameter), and finally closes the connection between LabVIEW and Arduino Mega2560 using Close.
The animated image below shows the running effect of LINX-Blink (Simple).
Introduction to LINX VI Library
In the LabVIEW program block diagram interface, right-click to find the LINX library under the MakerHub category.

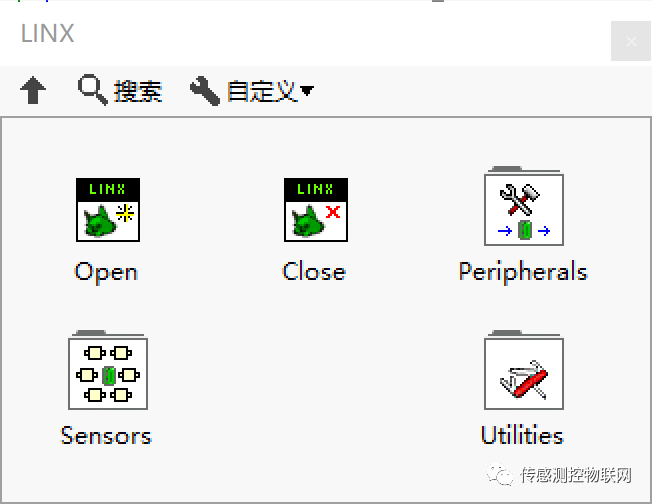
The LINX library includes Open, Close, peripheral-related VIs, sensor-related VIs, and utility VIs.
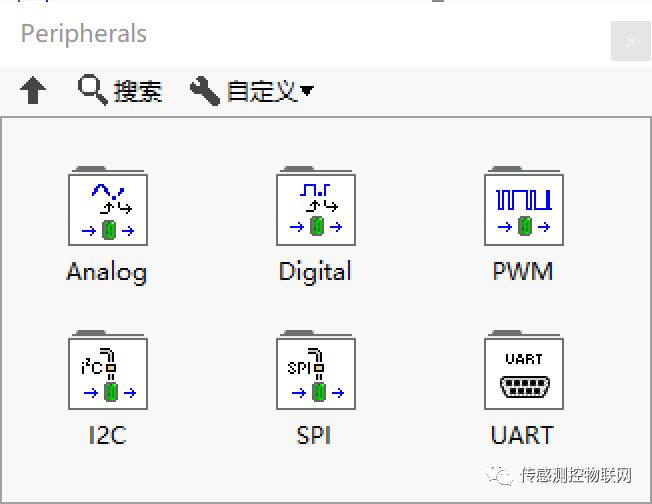
The peripheral subcategory includes analog input, digital port reading/writing, PWM output, I2C communication, etc.
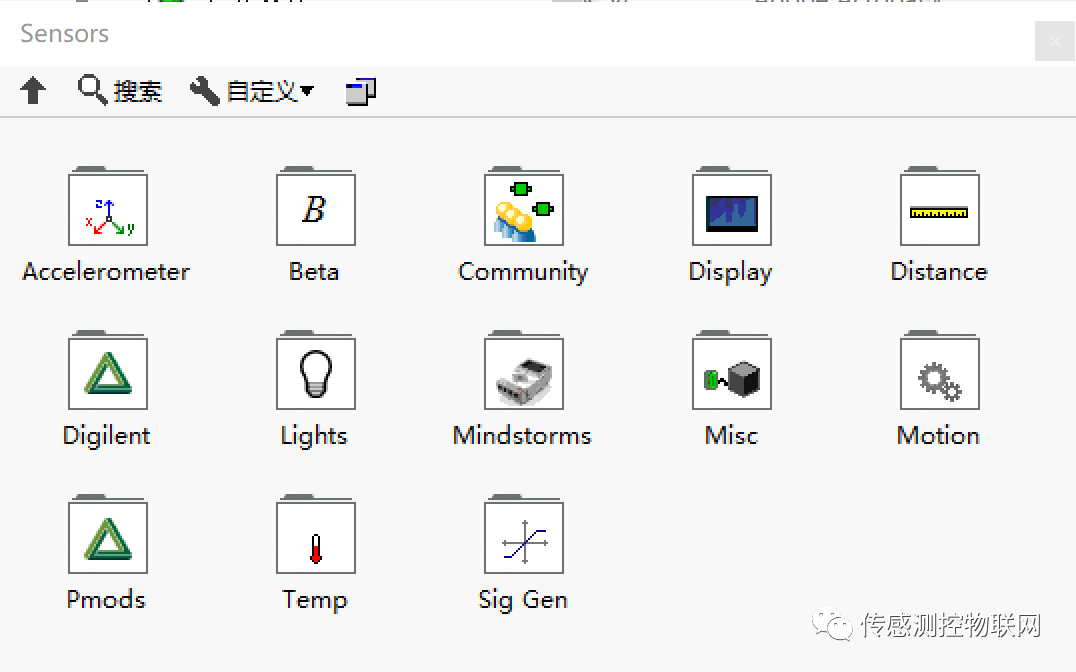
The sensor subcategory includes LCD modules, stepper motors, accelerometers, temperature sensors, etc. The specific supported models can be found through the VI names and descriptions.
This is just an introductory overview; readers need to explore more about LINX functionalities themselves.
It should be noted that currently we can only use LINX to control Arduino but cannot download LabVIEW code to Arduino (Raspberry Pi can be done).
