Contributed by: Science and Technology Innovation Research Office
Edited by:Office
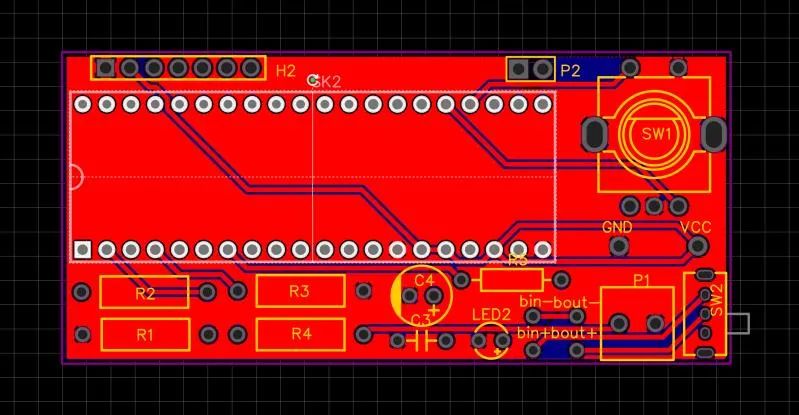
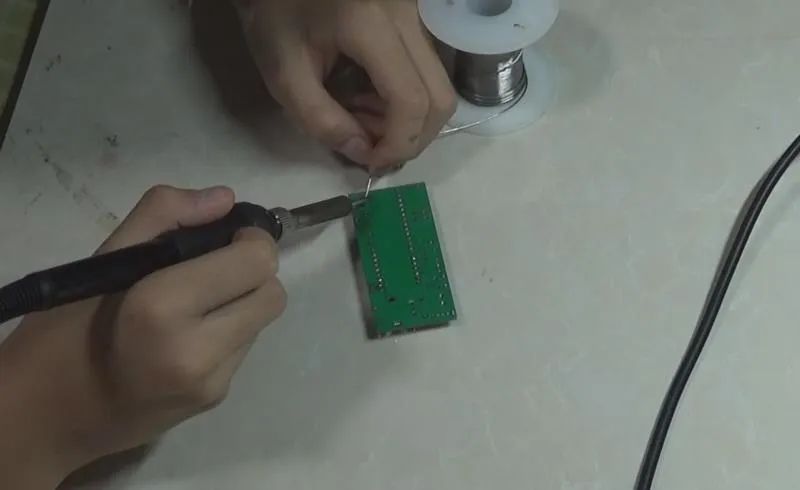
The electronic components I used included: microcontroller STC8A8K64S4A12, microcontroller socket, encoder, knob cap, 10k resistor, 2k resistor, 5.1k resistor, 47uF capacitor, 10nF capacitor, LED, terminal block, and pin headers. I sat in front of my workstation and started soldering, which took about an hour, and the oscilloscope was completed! I began debugging, and after several rounds of adjustments, the oscilloscope successfully triggered and displayed the test waveform. I succeeded! The oscilloscope was successfully made! I immediately shared this good news with Teacher Yang, who was even happier than I was!
However, after completing this oscilloscope, I felt somewhat unsatisfied, so I tried to use a surface-mount microcontroller, but the first two attempts failed. I promptly consulted Teacher Yang about the reason. I initially thought it was an issue with the flux, but Teacher Yang explained the function of flux in a vivid and patient manner, which greatly benefited me. After careful analysis, we speculated that the problem occurred during my soldering process. Once the problem was identified, I decided to give it another try. I first sprayed insect cleaner on the chip to clean off the flux, picked up the soldering iron again, and this time I was even more careful, striving to avoid any issues. Ultimately, I succeeded! I successfully replaced the through-hole microcontroller with a surface-mount microcontroller!
At that moment, I was truly ecstatic; the sense of achievement after overcoming difficulties is beyond words. Thus, I successfully made an oscilloscope. This self-challenge, with the help of Teacher Yang and my own efforts, was a success!
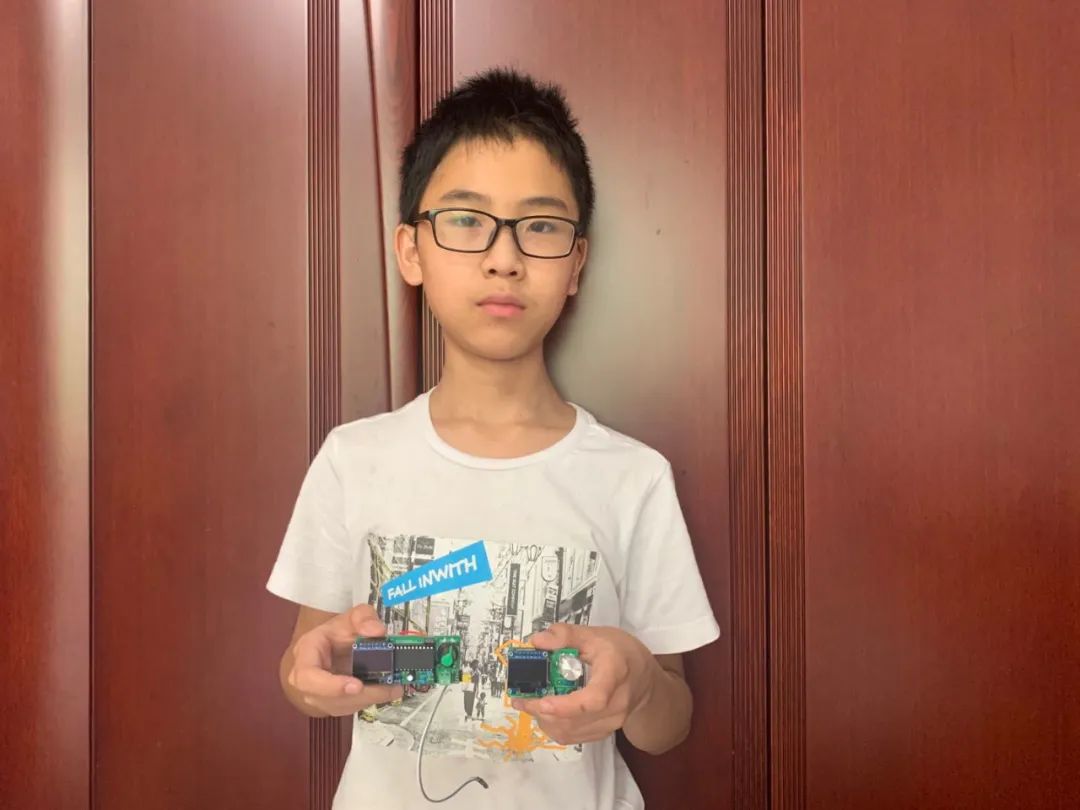
I sincerely feel that engaging in what I love is so joyful! I also realize how fortunate I am to have a platform like Hengshi and a mentor like Teacher Yang, which allows me to develop my interests alongside my intense studies! Next, I will work hard to learn scientific knowledge and improve my theoretical level. More importantly, I will remember what my homeroom teacher, Xu Qiqi, often tells us: first learn to be a good person, then do things. I will continue to practice our school’s motto of pursuing excellence, striving upward, and serving my country in the future.