Arduino was born in Italy in 2005. Due to its low cost and powerful functionality, it has become one of the most popular open-source hardware platforms globally, making it the best choice for creating hardware projects.
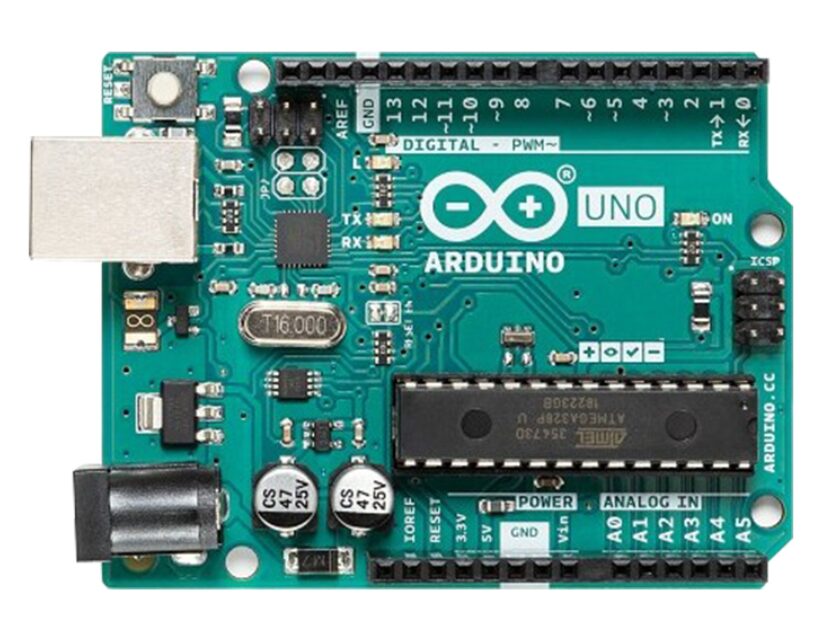
In this chapter, we will explore the design of an interactive animation project based on the Arduino Uno chip. Through the process of creating these projects, we will familiarize ourselves with the characteristics of various sensors and actuators, mastering the use of digital input/output and analog input/output, preparing for the upcoming Chapter 3: “Creative Programming with Robots.”
The Arduino control board is a sensor-integrated teaching tool circuit board that I modified based on the official Esplora version.
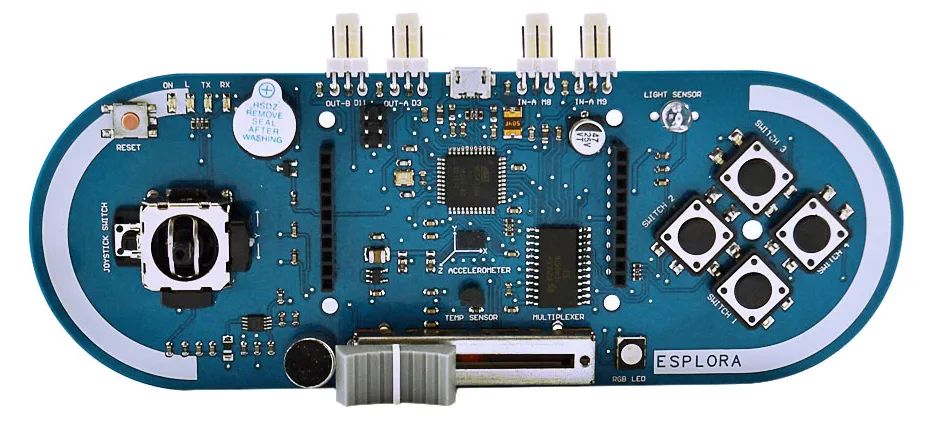
Official Esplora (domestic imitation version)
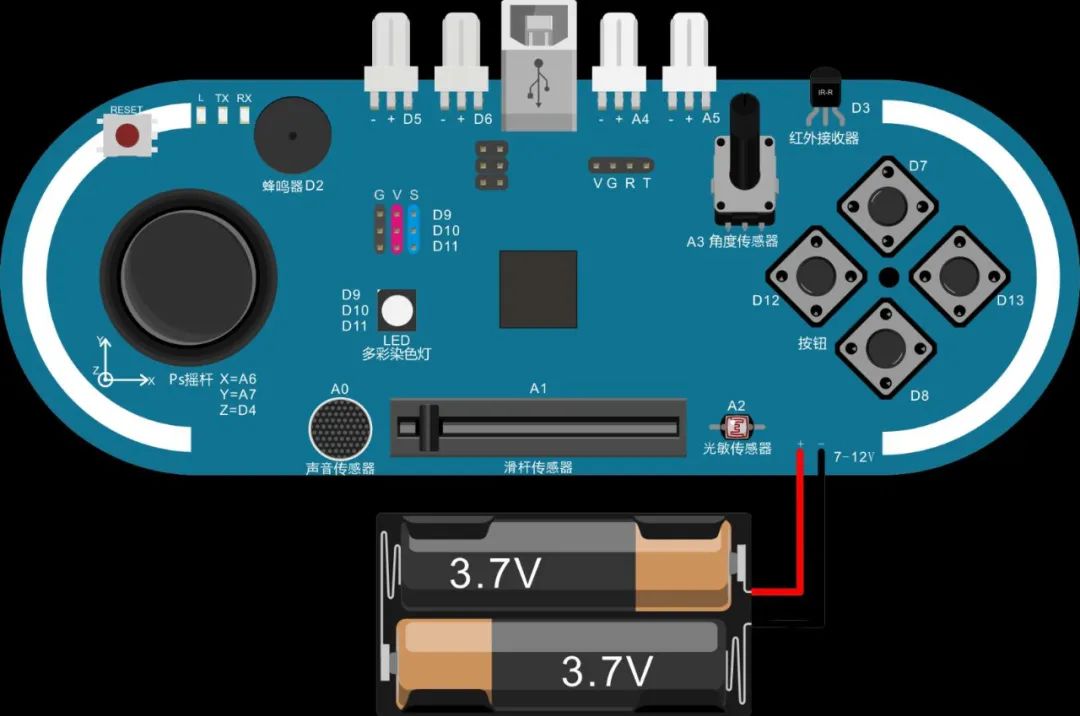
Improved version by Teacher Jin
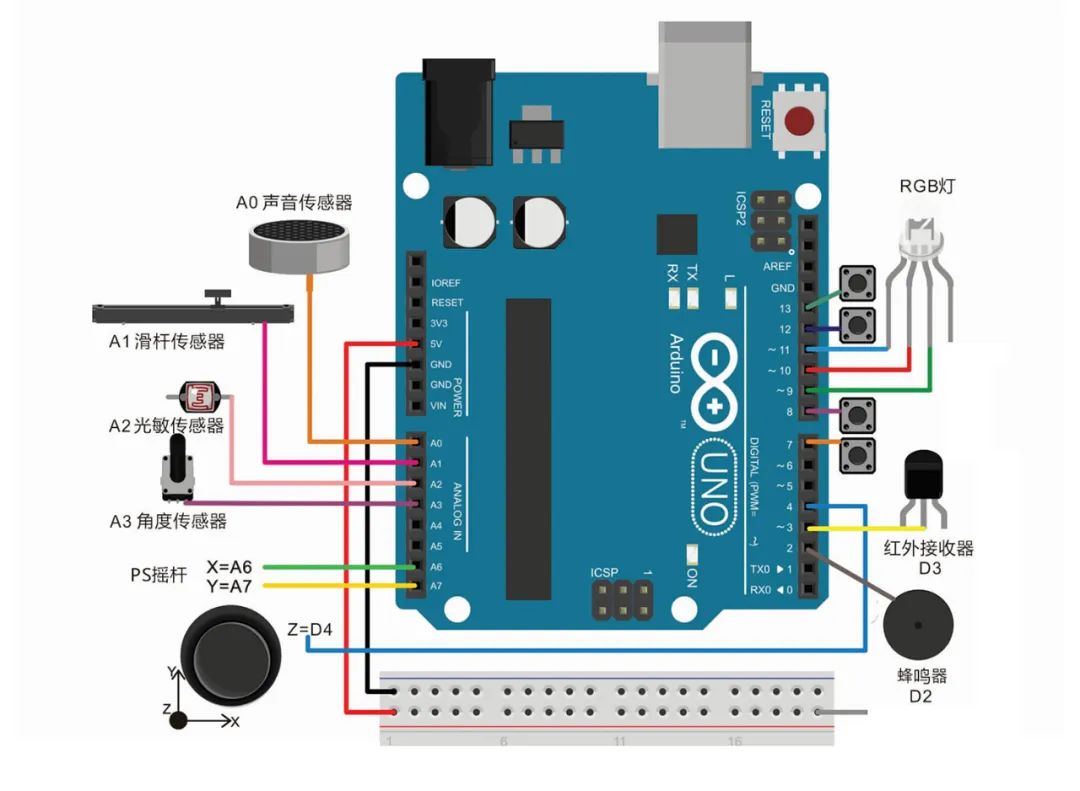
This main board is particularly convenient for teachers to maintain during lessons, allowing open-source hardware programming classes to be conducted with a regular computer classroom. There is no longer any concern about beginners connecting circuits incorrectly and damaging the board.
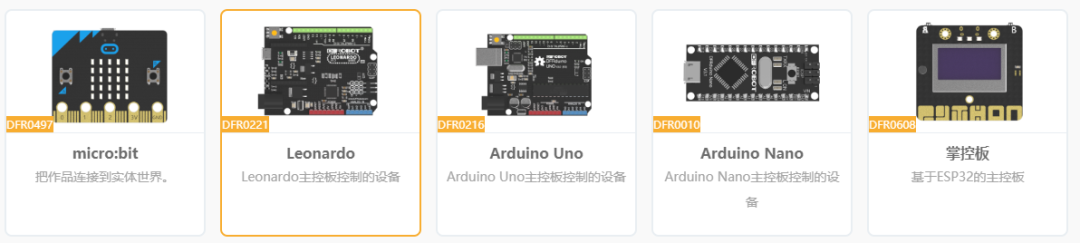
Loading open-source hardware extension library in Mind+ software
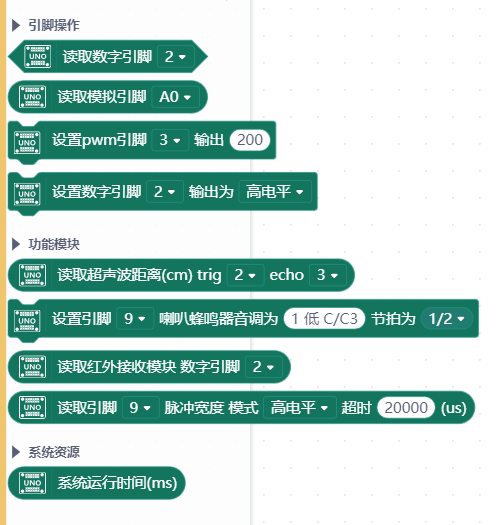
Arduino Uno block code
In this chapter, we will explore the following project activities:
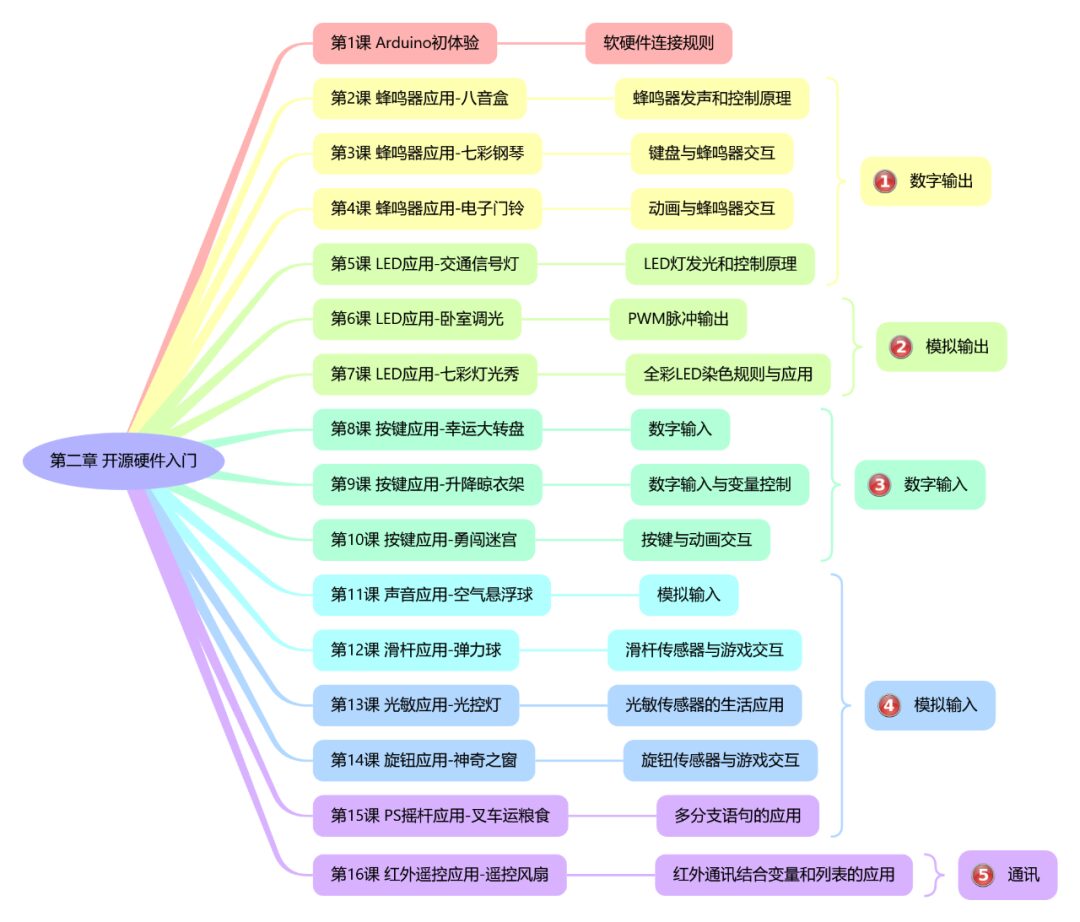
Chapter 2: Introduction to Open Source Hardware Lesson 1: First Experience with Arduino Rules for Hardware Connection Lesson 2: Buzzer Application – Music Box Buzzer Sound and Control Principles Lesson 3: Buzzer Application – Rainbow Piano Keyboard and Buzzer Interaction Lesson 4: Buzzer Application – Electronic Doorbell Animation and Buzzer Interaction Lesson 5: LED Application – Traffic Light LED Light Emission and Control Principles Lesson 6: LED Application – Bedroom Dimming PWM Pulse Output Lesson 7: LED Application – Colorful Light Show Full-Color LED Coloring Rules and Applications Lesson 8: Button Application – Lucky Spin Digital Input Lesson 9: Button Application – Lifting Clothes Rack Digital Input and Variable Control Lesson 10: Button Application – Maze Challenge Button and Animation Interaction Lesson 11: Sound Application – Air Floating Ball Analog Input Lesson 12: Slider Application – Bouncing Ball Slider Sensor and Game Interaction Lesson 13: Light Sensitive Application – Light Control Lamp Application of Light Sensitive Sensor in Daily Life Lesson 14: Knob Application – Magical Window Knob Sensor and Game Interaction Lesson 15: PS Joystick Application – Forklift Transporting Food Application of Multi-branch Statements Lesson 16: Infrared Remote Control Application – Remote Control Fan Infrared Communication Combined with Variable and List Applications Communication Digital Output Analog Output Digital Input Analog Input
The following are some project case effects

For more exciting content, please stay tuned.
You are also welcome to leave us a message through our WeChat public account.
Finally, salute to the Arduino open-source team.

Mega2560
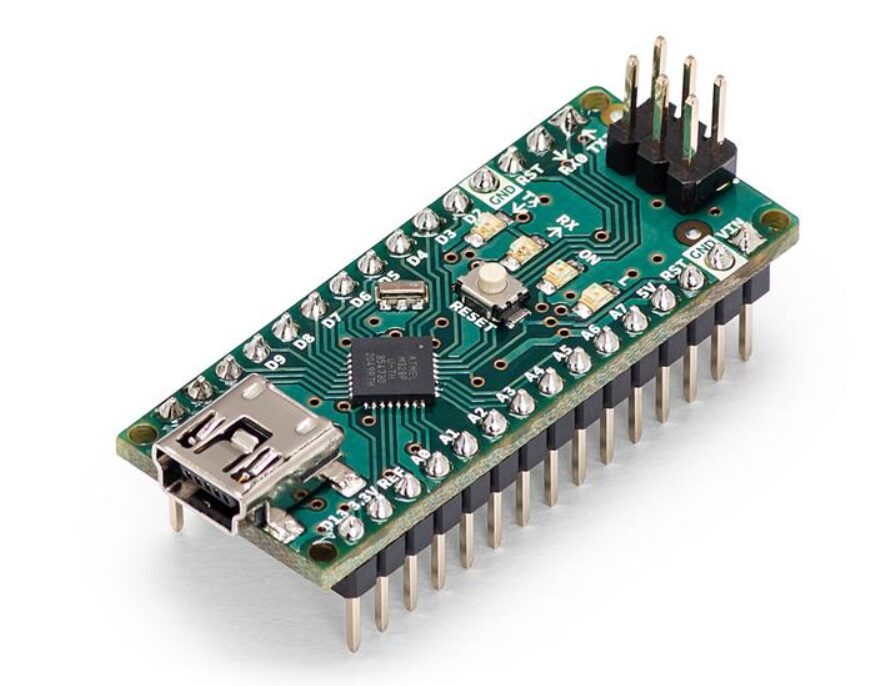
Nano
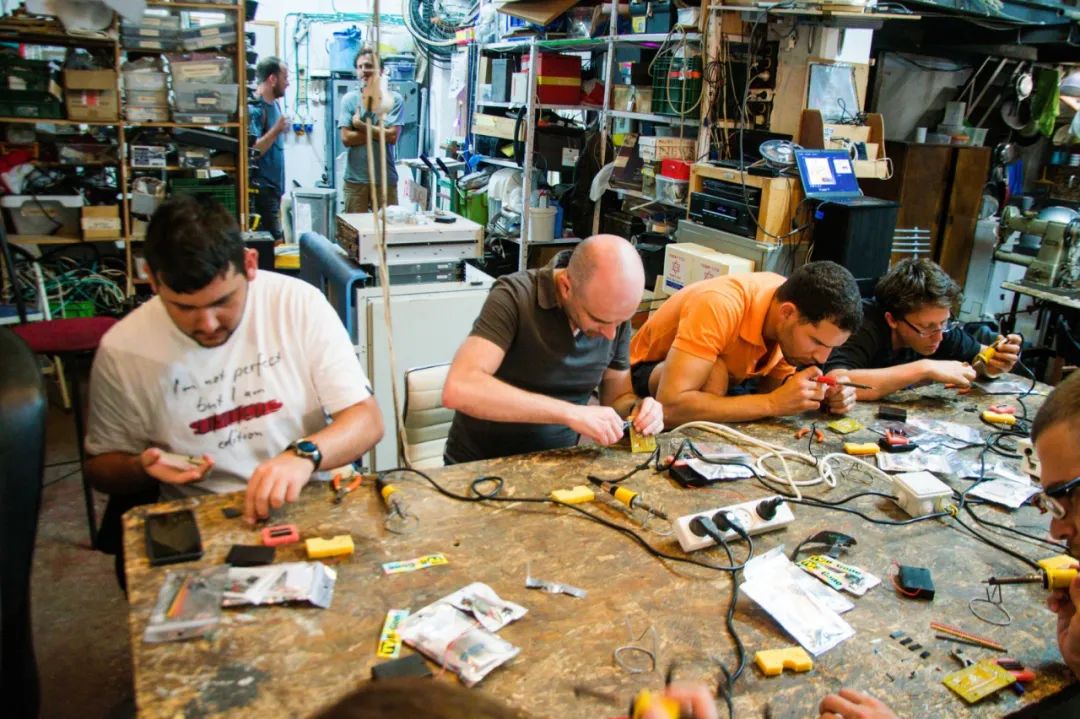
What can Arduino do? Here are some images for you to see.
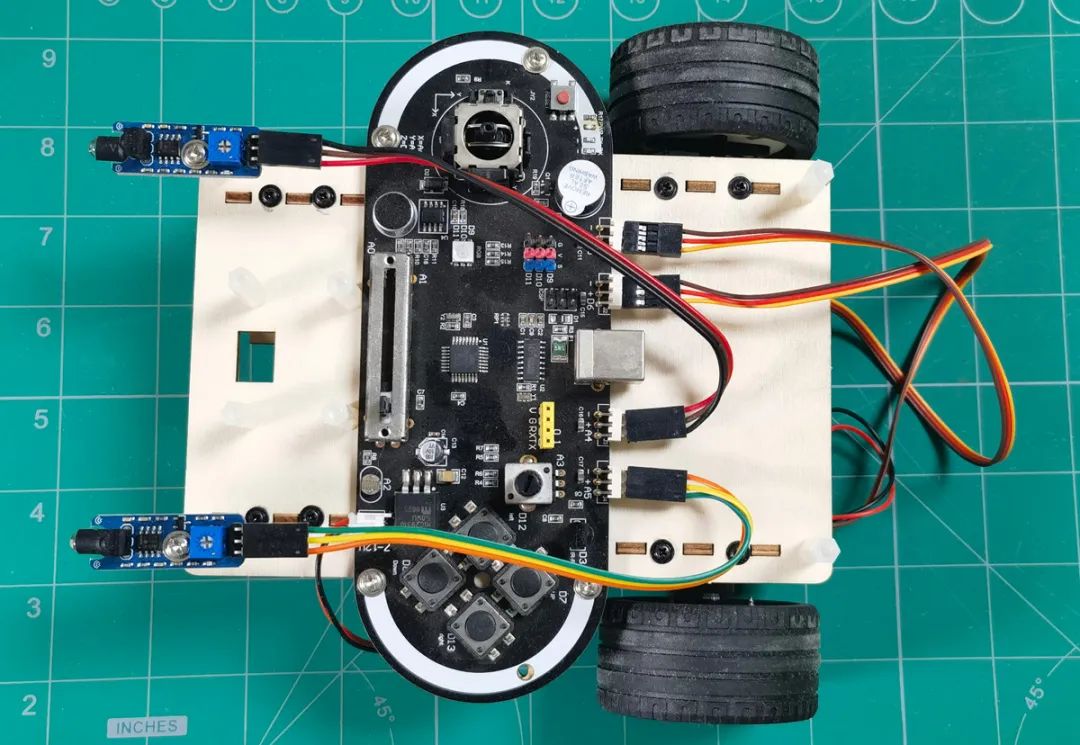
Smart car made using Arduino Esplora modified board
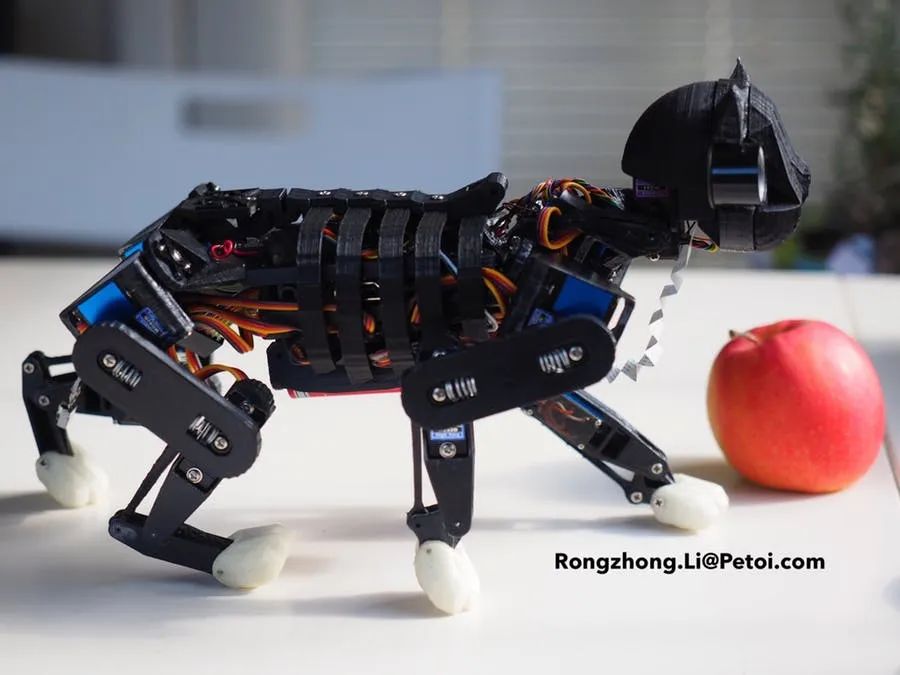
Quadruped robot controlled by Arduino Nano main board
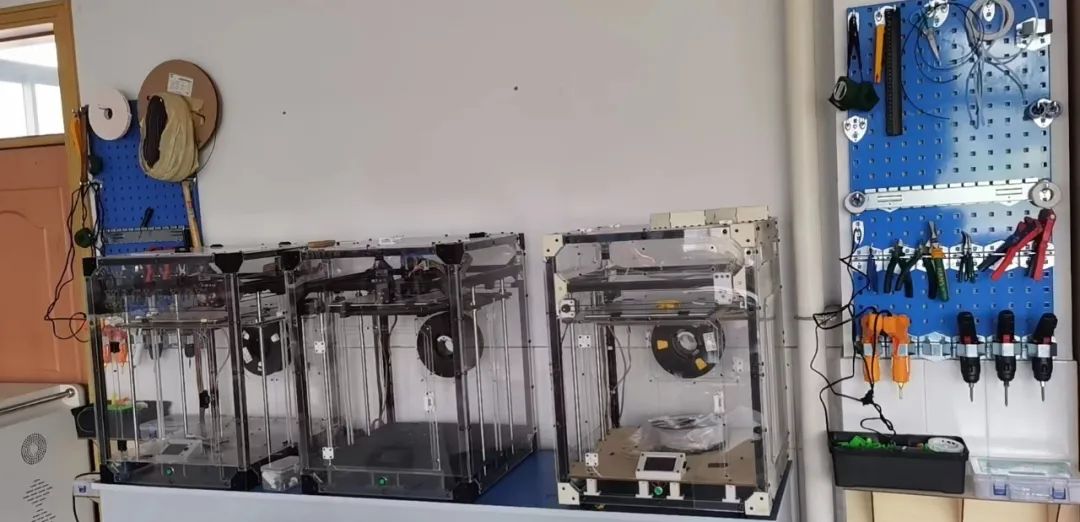
Indeed, those three large transparent 3D printers were also developed and manufactured by our team. The main control board used is the Arduino Mega2560.