Click the blue text to follow us

Visual C++ 2010
Installation Guide

Hello everyone
It’s time for the repair station’s teaching session!
In this session, let’s see
how to install
Visual C++ 2010 (Exam Version)
Software Introduction
According to the exam syllabus, the level 2 C language exam environment is Microsoft Visual C++ 2010 Learning Edition. Visual C++ is a C++ compiler from Microsoft that translates “high-level language” into “machine language (low-level language)”. It is a powerful visual software development tool.
Installation Requirements
System Requirements:
Windows 7 or higher, 32/64-bit operating system
Hardware Requirements:
CPU @2+GHz, RAM @4G or higher
Installation Steps
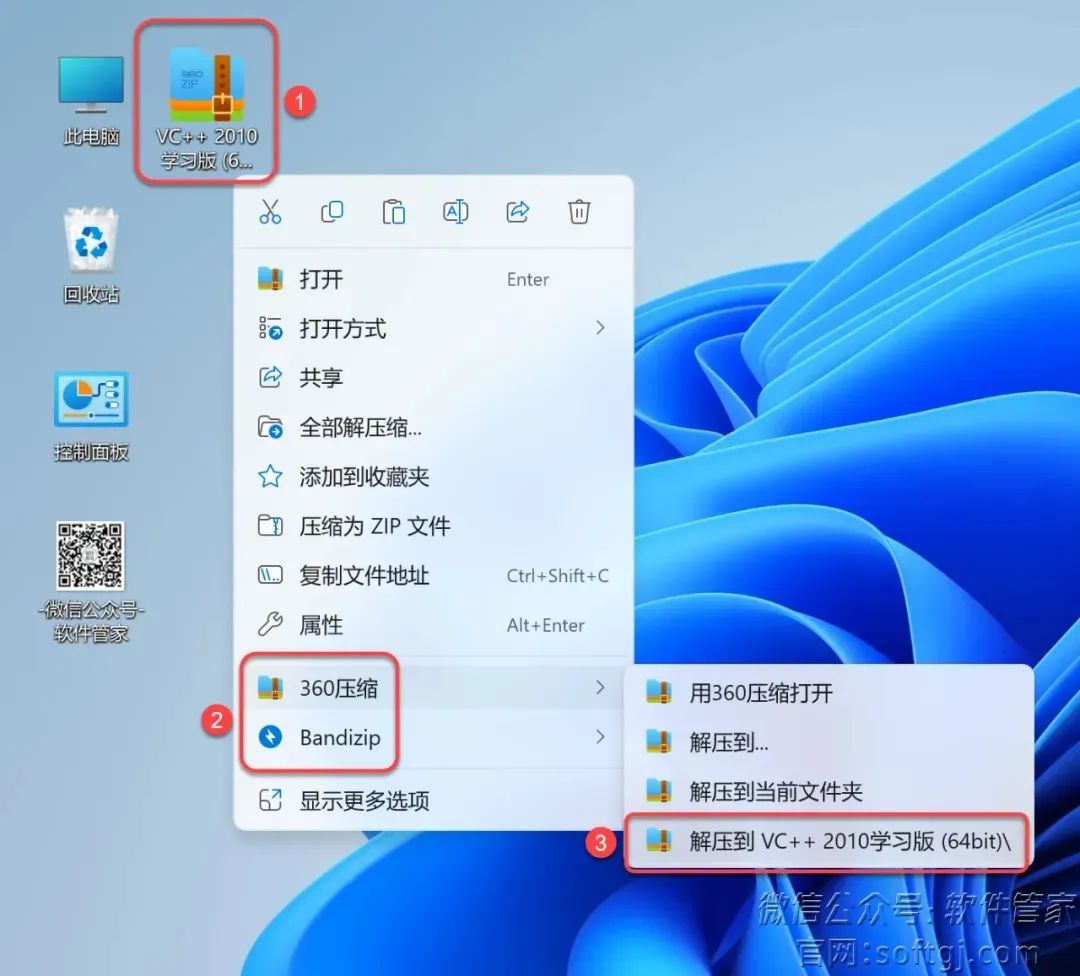
1. Unzip the installation package:
① Right-click on the 【VC++ 2010 Learning Edition (64bit)】 compressed package;
② Select the decompression software installed on the computer (e.g., 360 Compression);
③ Click 【Extract to VC++ 2010 Learning Edition (64bit)】.
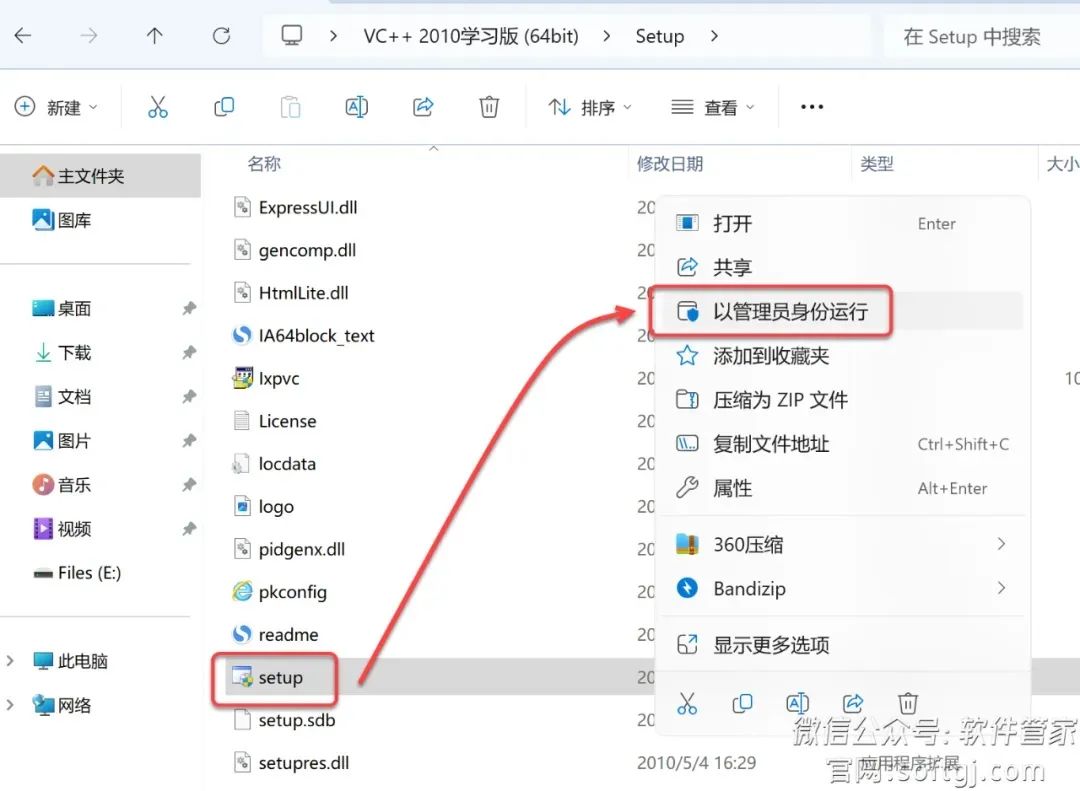
2. Open the extracted folder and double-click to open the 【Setup】 folder.
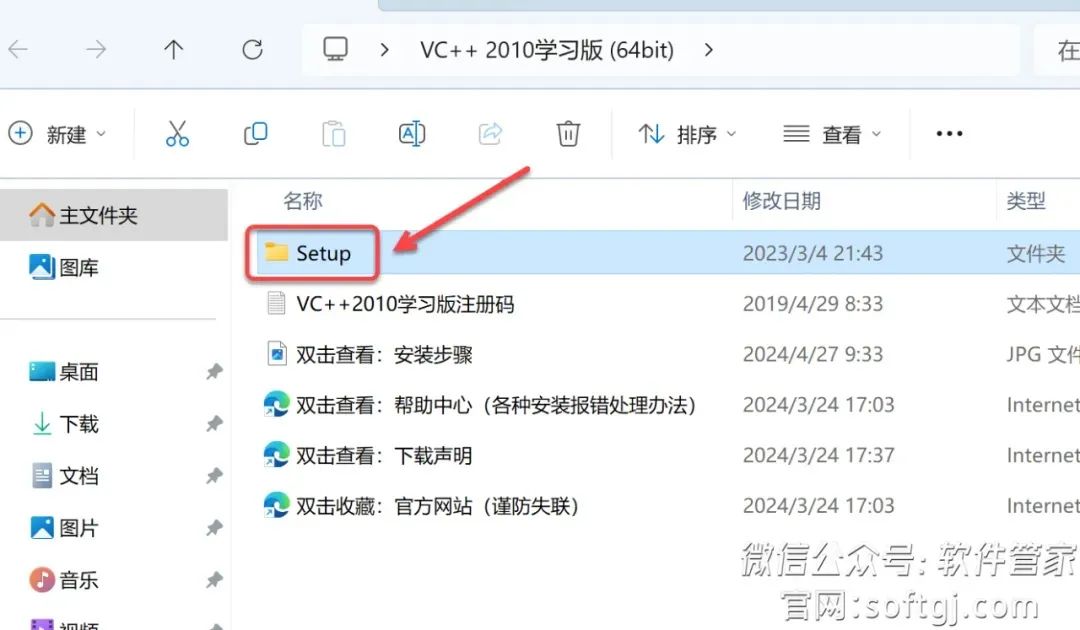
3. Right-click on 【setup】 and select 【Run as Administrator】.
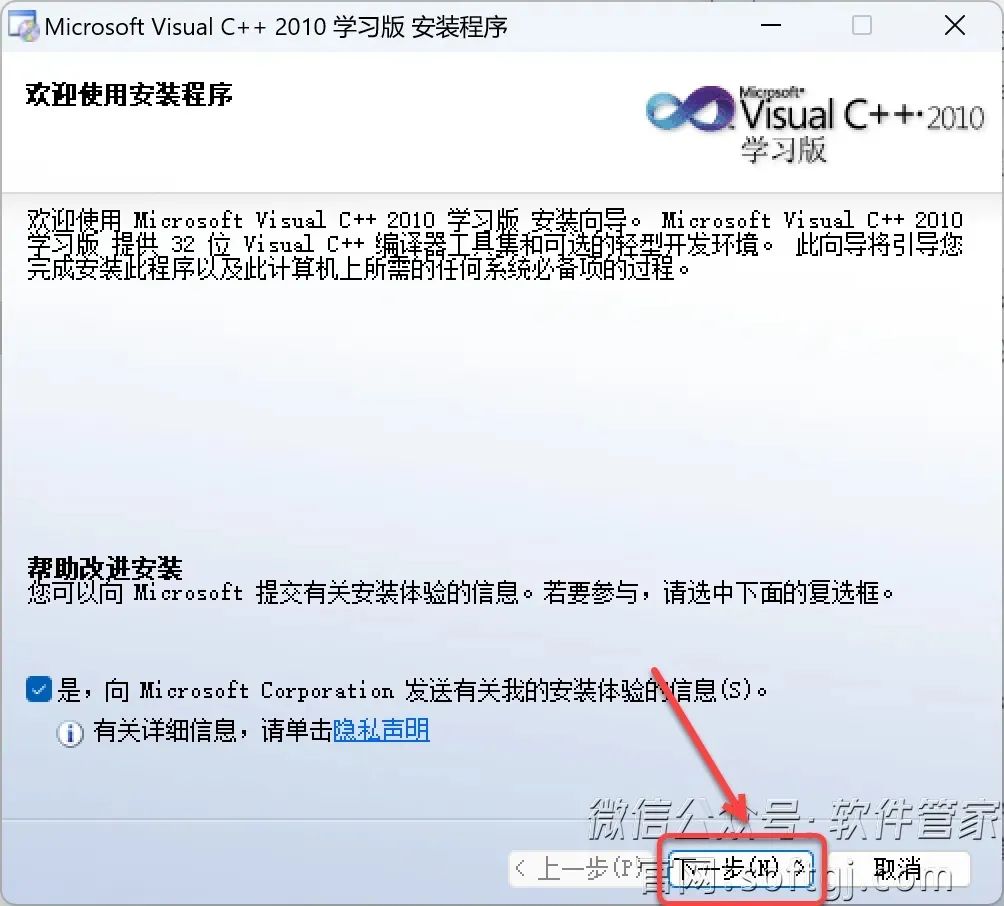
4. Click 【Next】.
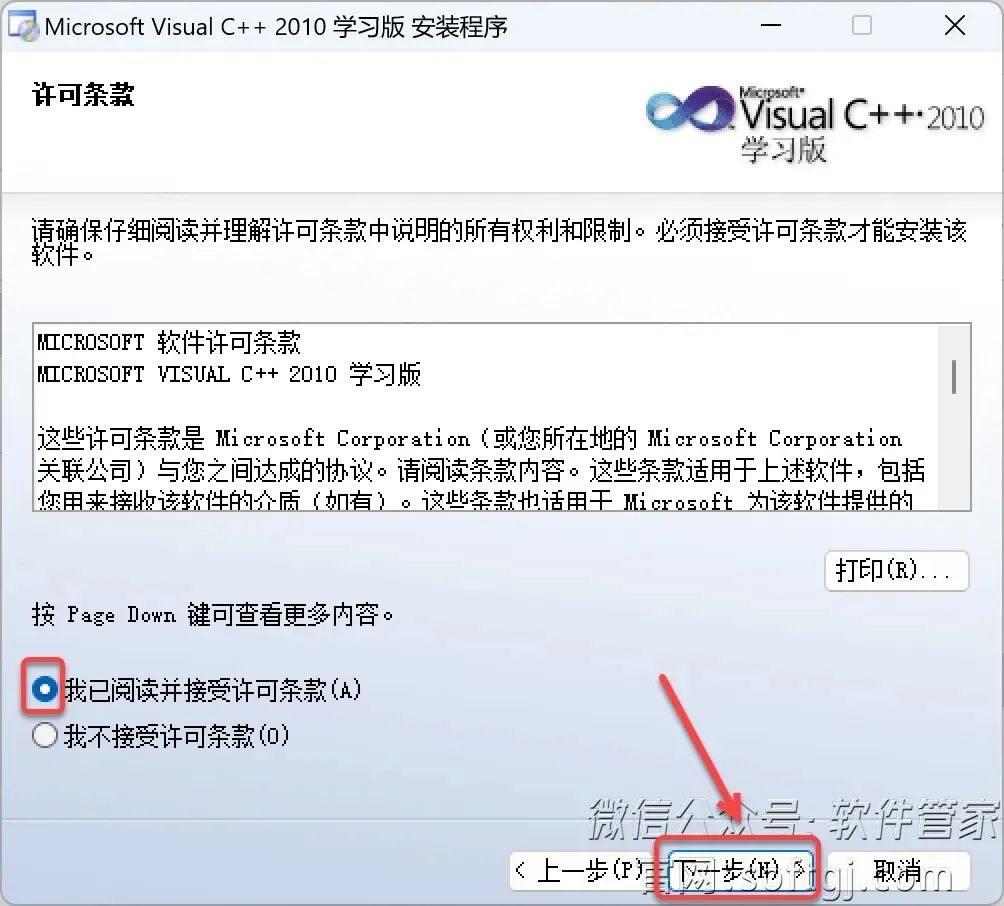
5. Select 【I have read…】 and click 【Next】.
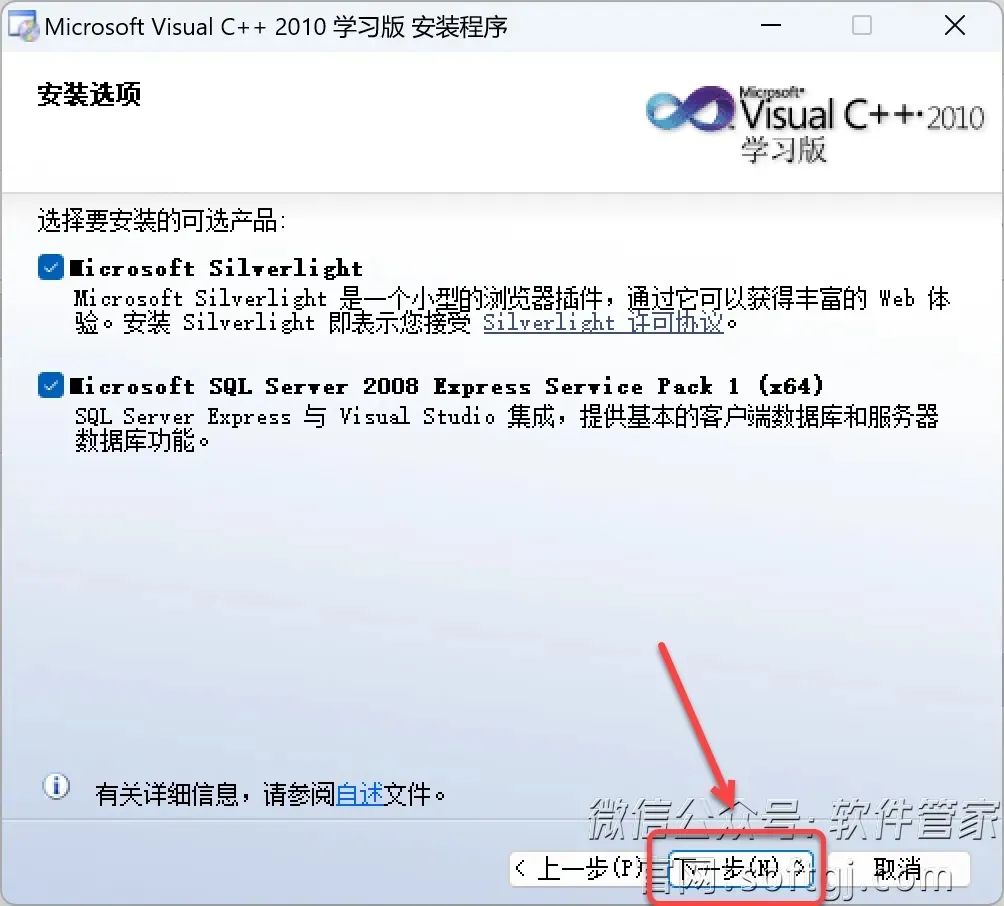
6. Click 【Next】.
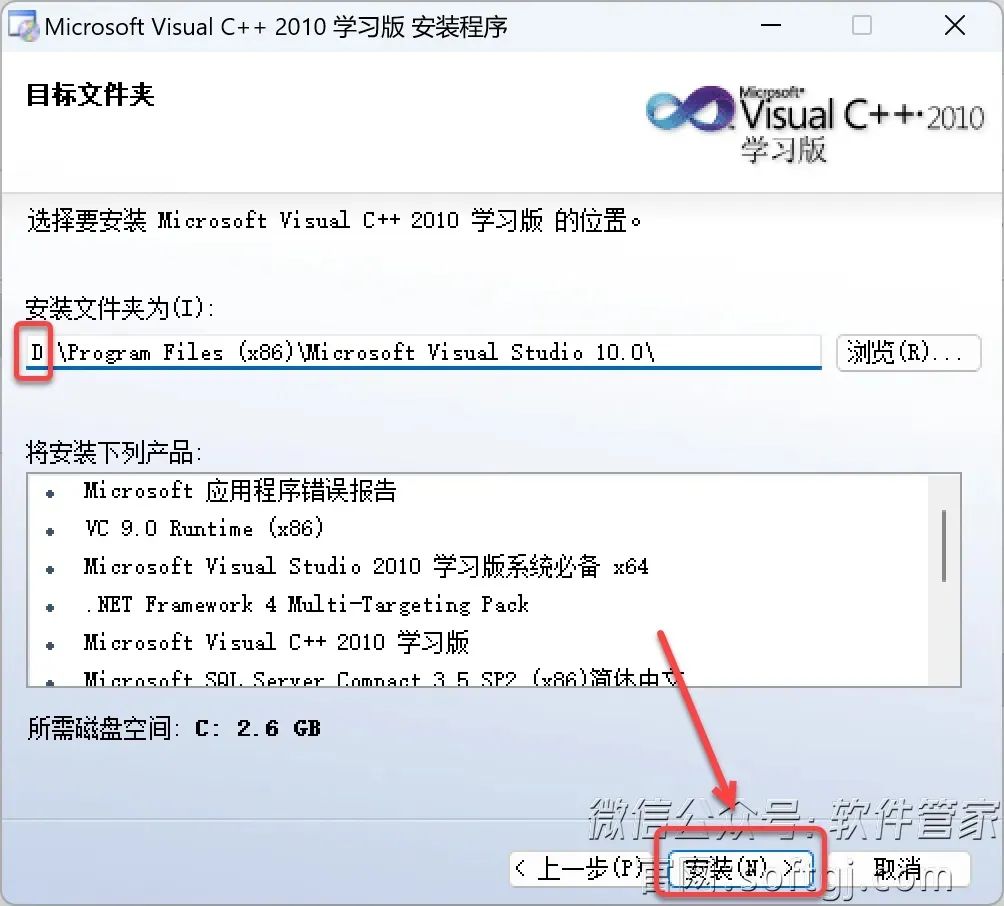
7. Modify the first character C in the path to change the installation location (e.g., change C to D to install the software on drive D), then click 【Install】.
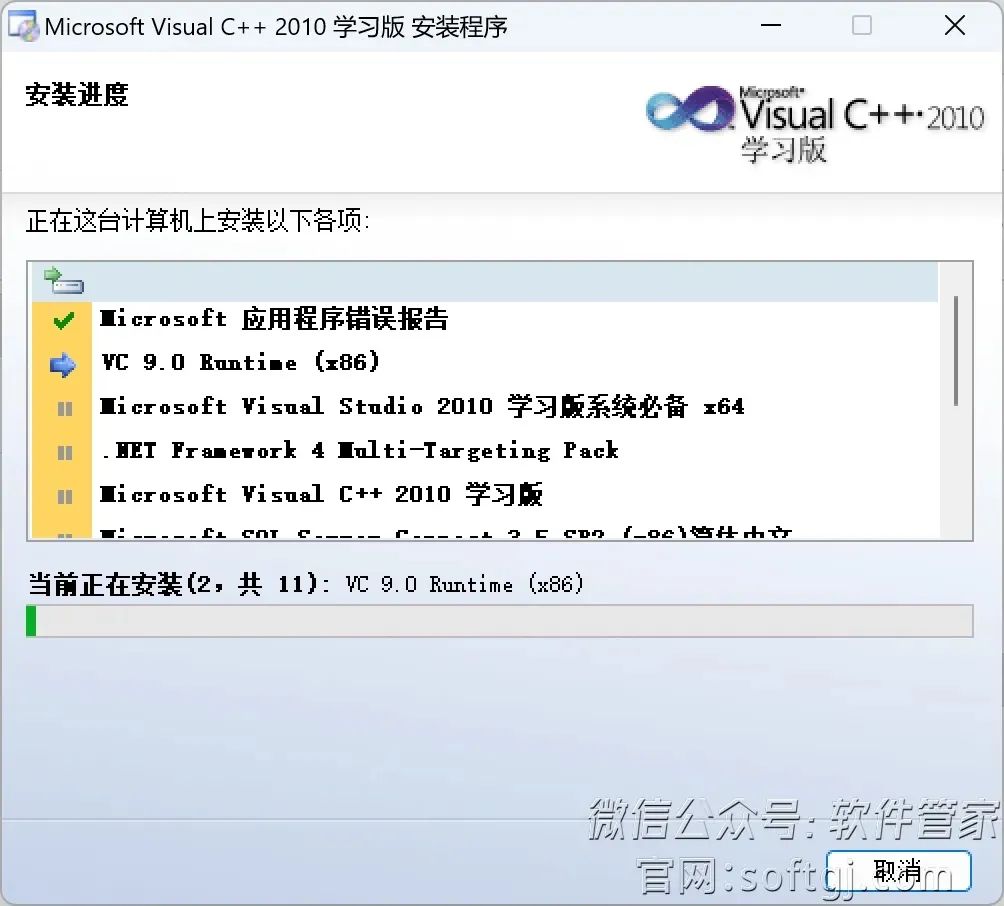
8. Installing…
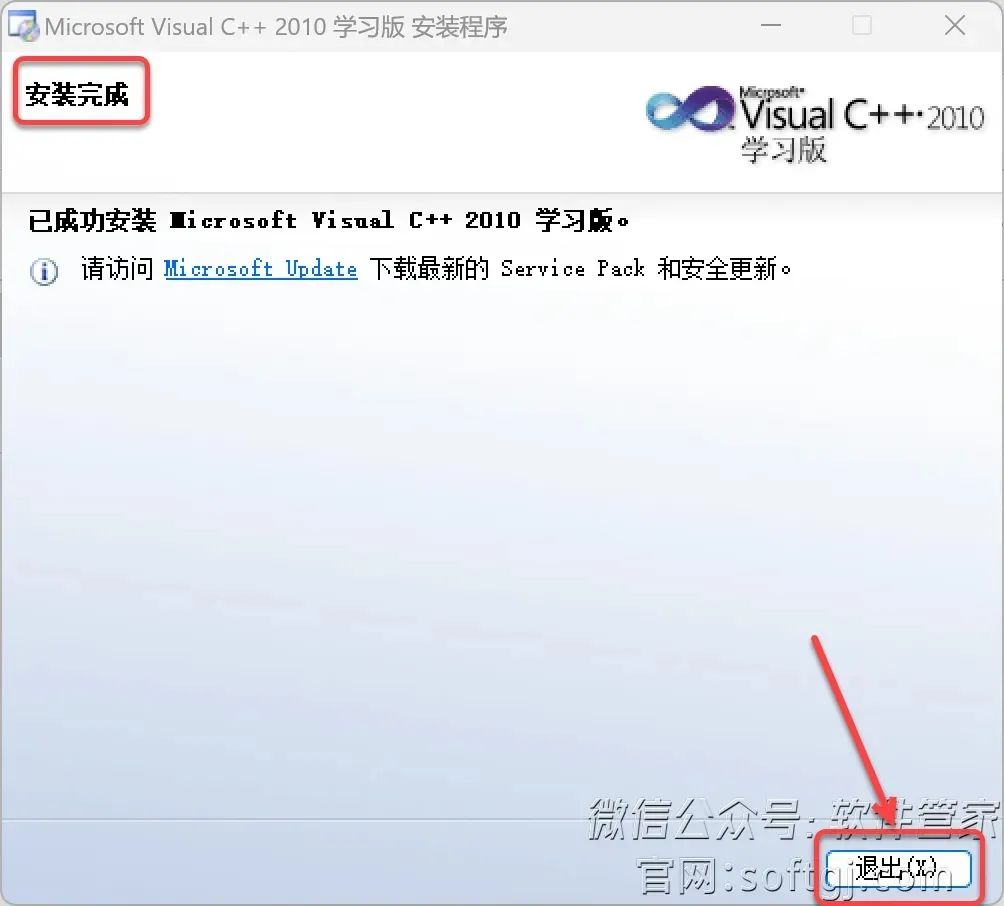
9. When the interface prompts ‘Installation Complete’, click 【Exit】.
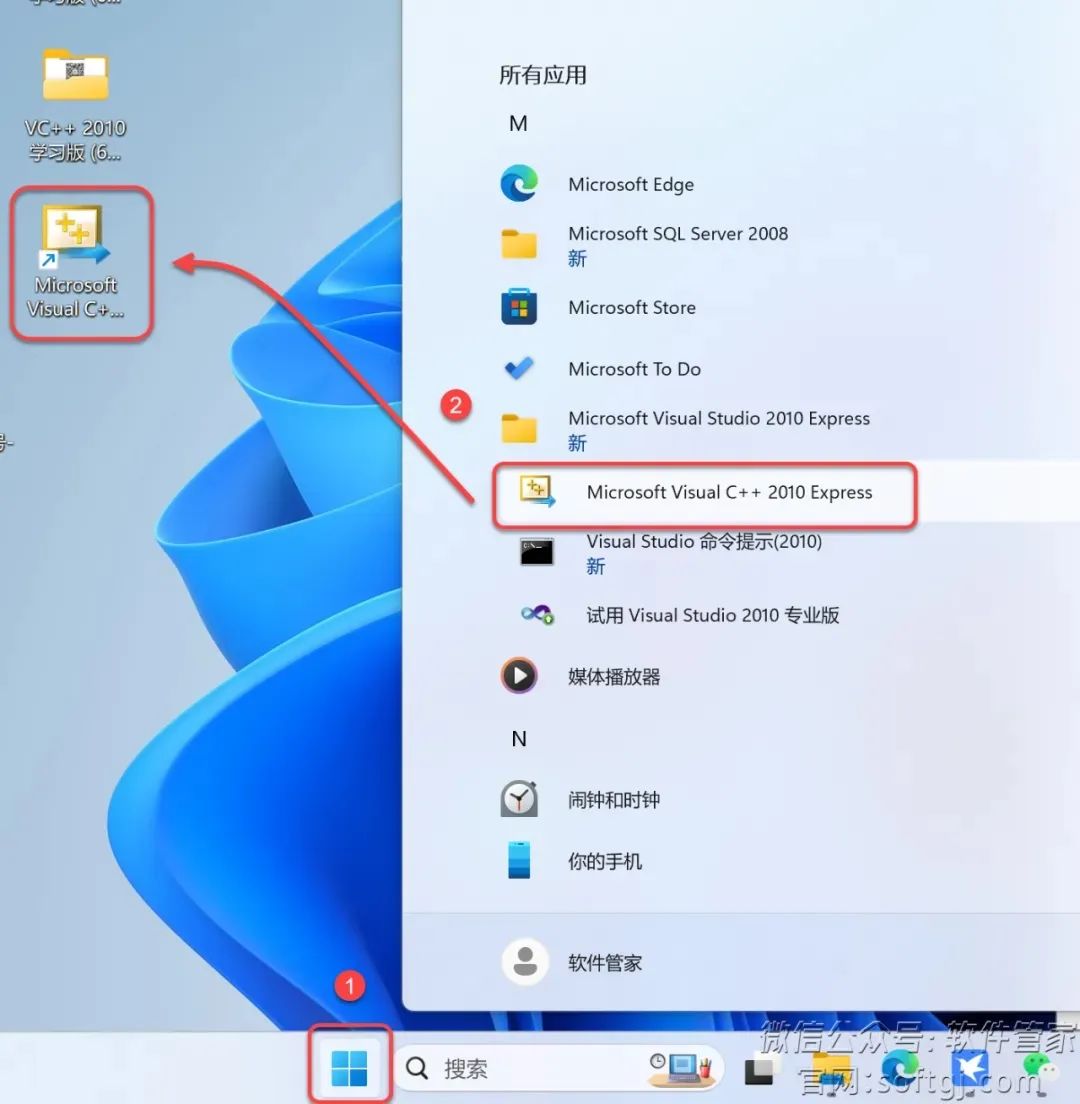
10. Create a desktop shortcut:
① Click the 【Start Icon】 on the desktop taskbar > Click 【All Apps】 > Double-click to expand the 【Microsoft Visual Studio…】 folder;
② Drag the 【Microsoft Visual C++2010..】 icon to the desktop.
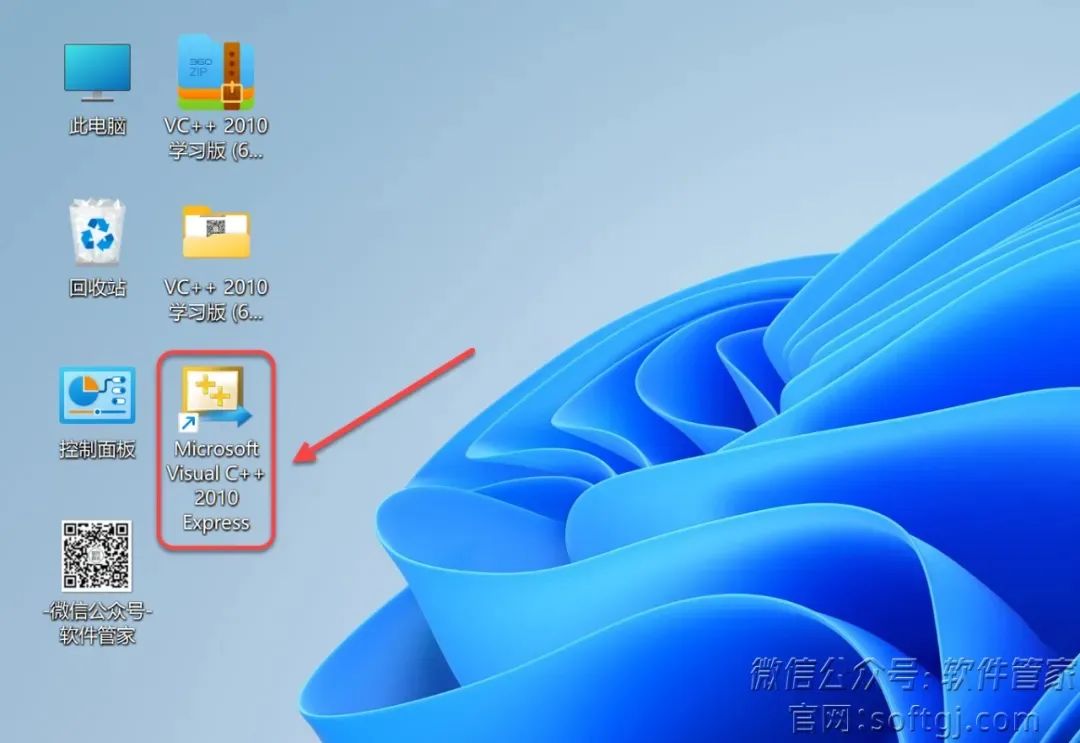
11. Double-click the desktop 【Microsoft Visual C++..】 icon to start the software.
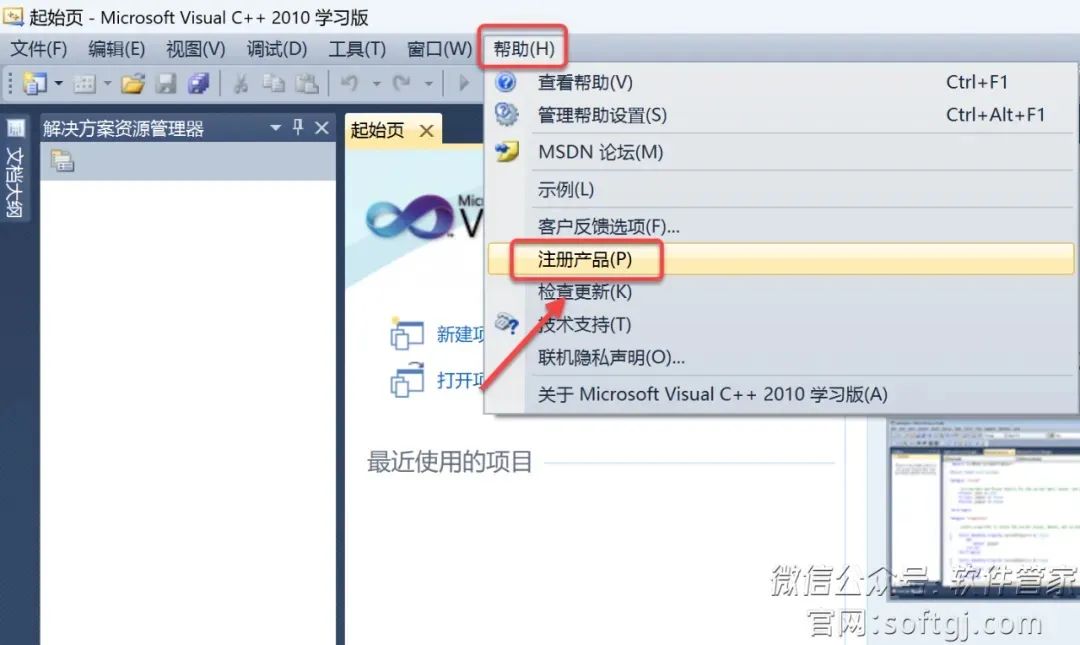
12. Click 【Help】 in the software menu bar and select 【Register Product】.
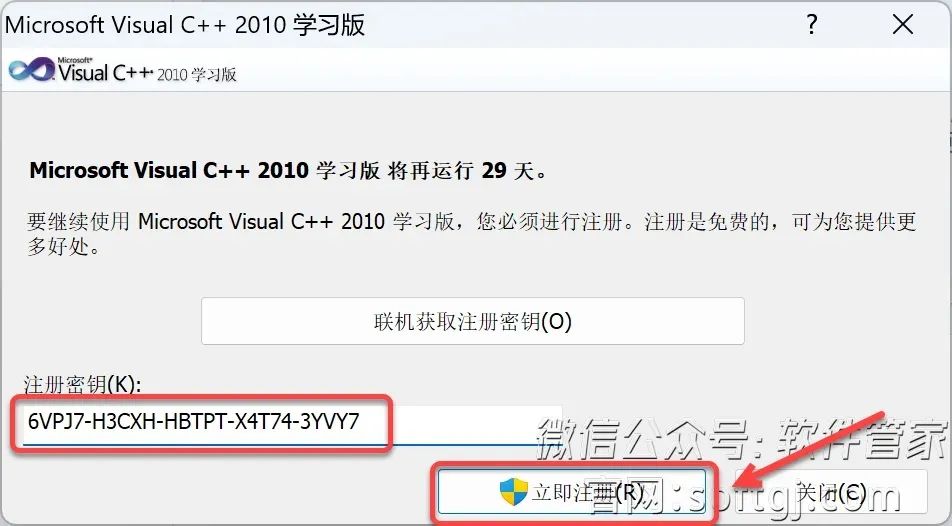
13. Enter the registration key 【6VPJ7-H3CXH-HBTPT-X4T74-3YVY7】 and click 【Register Now】.
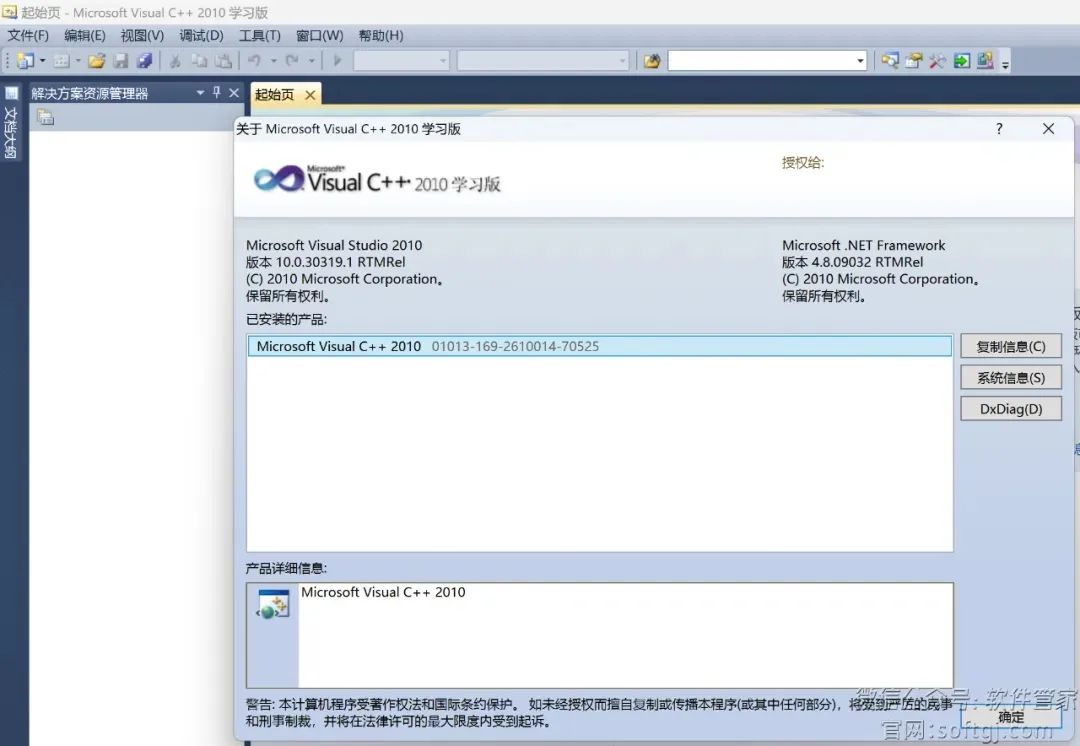
14. Installation successful!
Okay
This lesson ends here
See you next time!

Text and Images | Lu Junxiu
Layout | Lu Junxiu
Initial Review | Li Shisen
Re-review | Lan Xinbo
Huang Guojie
Final Review | Huang Sheng