






— Two Months —
I Turned a ‘Draft’ into
A Flying Homemade Drone
A Mechanical Sophomore’s ‘Flight Test Journal’
Introduction
“Can you believe it? Two months ago, I couldn’t even hold a soldering iron steadily, and now I can make my own drawings ‘fly’.”
As a sophomore in the School of Mechanical and Automotive Engineering, I completed the leap from ‘theory’ to ‘making a drone take off’ in less than 60 days—this is not a ‘model project’ from a lab, but the result of my hard work with a pile of parts and code.


1
Modeling:
The ‘Dimension Wars’ in SolidWorks
When I first started drawing the fuselage in SolidWorks, I thought that as long as I got the drawing right, everything would be fine. It wasn’t until I selected the aluminum column material that I realized: the designed fuselage height couldn’t fit the microcontroller module I needed to install.
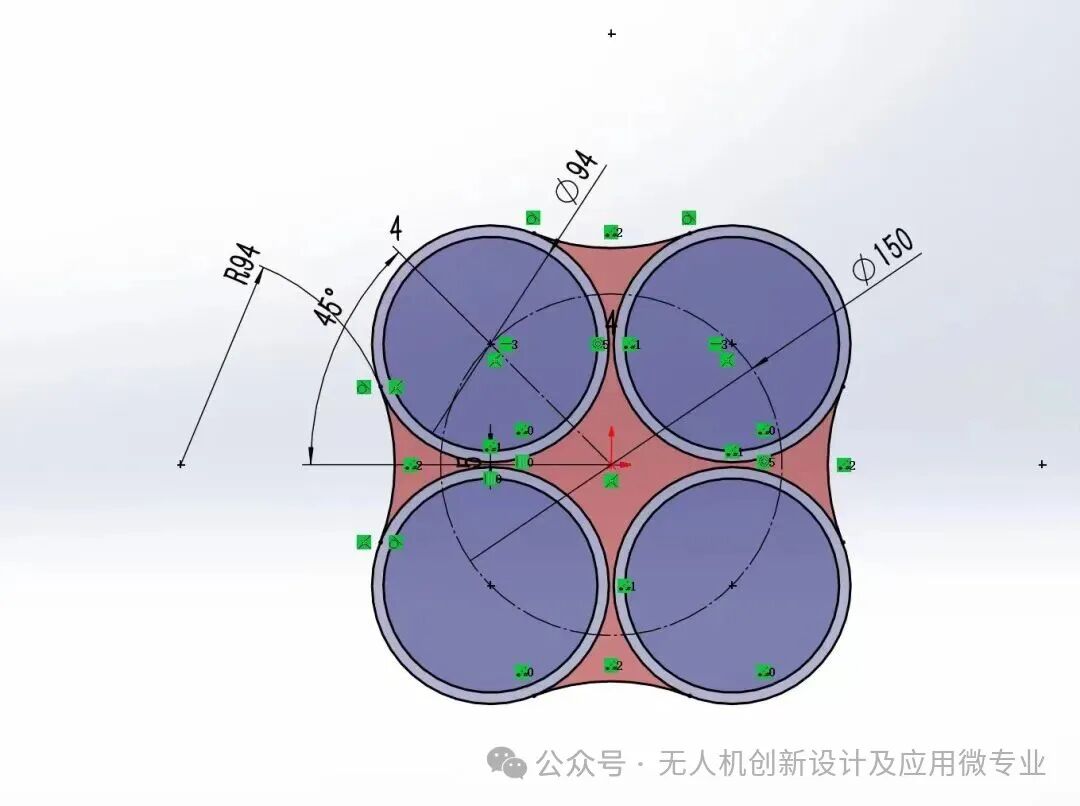
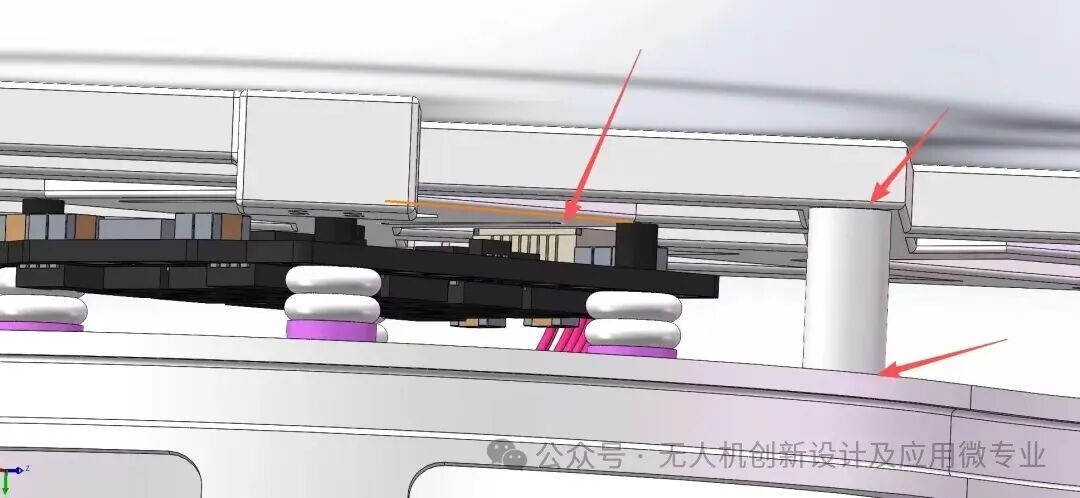
“At that moment, staring at the computer screen, I felt like a ‘paper architect’—the drawings were perfect, but in reality, I couldn’t even fit the ‘furniture’ into the ‘door frame’.”
Fortunately, a word from Professor Zou woke me up: “Modeling is not about drawing ‘ideal diagrams’; you need to leave room for ‘real-world errors’.”
I adjusted the internal space of the fuselage, changing the aluminum column height from ‘just right’ to ‘leaving 1mm for tolerance’, ultimately allowing all parts to fit ‘in their places’.
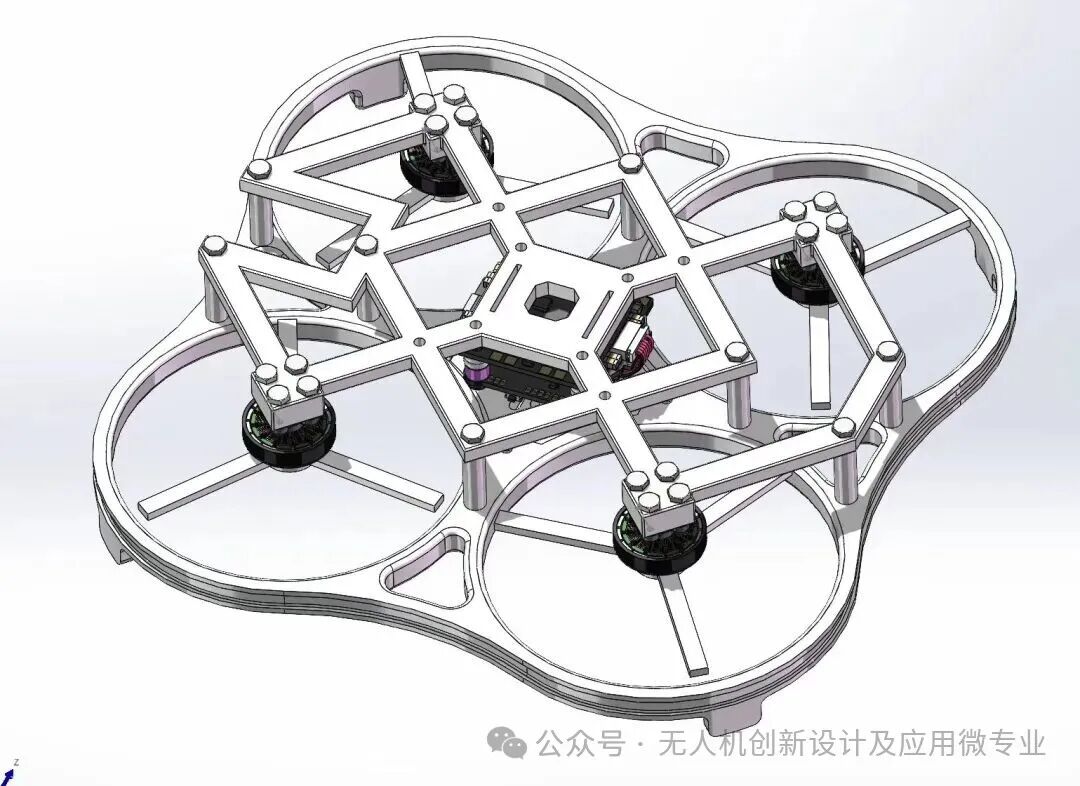

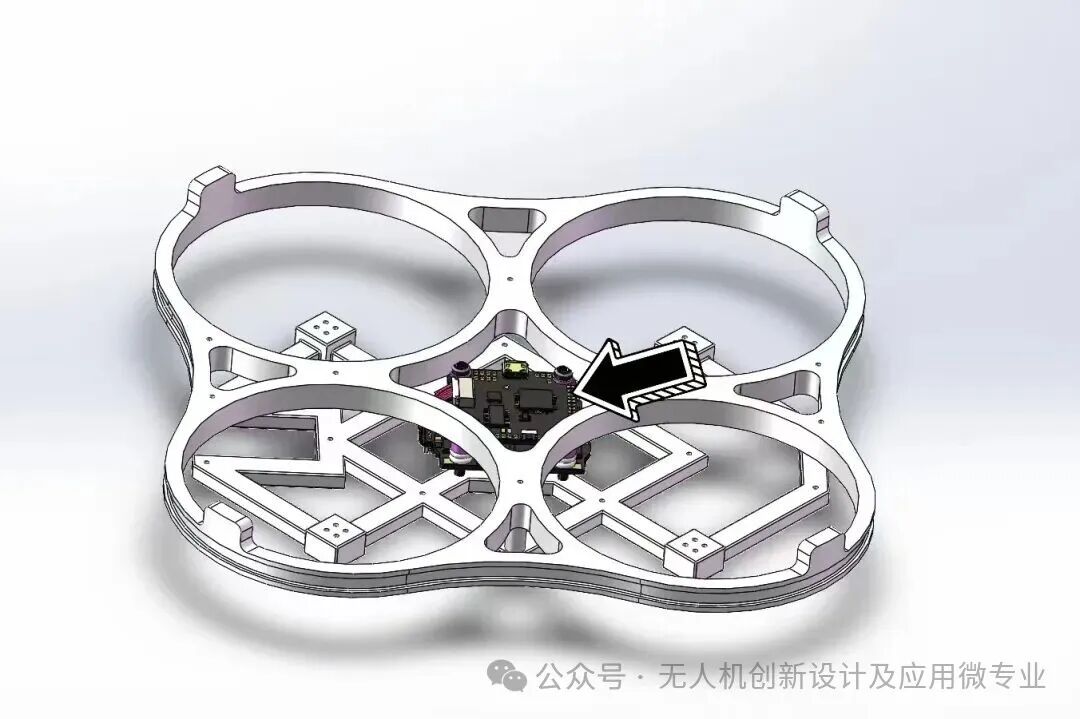

2
3D Printing:
From ‘Plastic Filament’ to ‘A Usable Fuselage’
After finalizing the model, the lab’s 3D printer became my ‘small factory’.
When printing the fuselage shell, I specifically chose a more flexible PLA+ material—after all, it needed to withstand the ‘little accidents’ during subsequent test flights; I calibrated the coordinates of the screw holes for the brackets three times, fearing that the printed ‘hole positions’ would be misaligned and the screws wouldn’t fit.
Watching the plastic filament layer by layer ‘stack’ into the fuselage, I joked: “It’s like watching my ‘digital idea’ slowly grow into a ‘physical form’.”

3
Soldering:
From ‘Soldering Disasters’ to ‘Zero Error Circuit Boards’
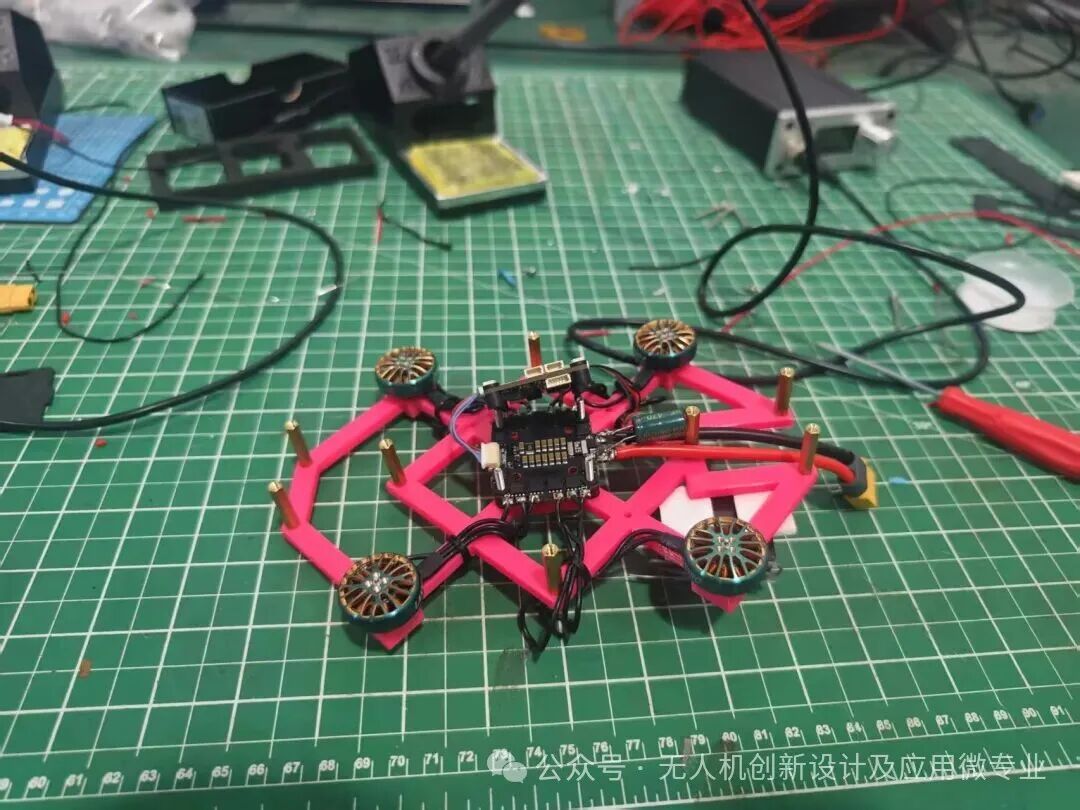
Before officially soldering the flight controller, I practiced ‘soldering basics’ for three days—but when I actually got to it, I still made the most common mistake for beginners: two solder points ‘stuck’ together, creating a ‘solder bridge’.
“At that moment, my palms were sweaty, fearing I would ruin the circuit board.”
Fortunately, a senior handed me a solder sucker: “Everyone makes this mistake; just suck up the excess solder and re-solder it.”
I learned from my senior about ‘temperature control’ and ‘soldering speed’, practicing from ‘solder points looking like small bumps’ to ‘solder points smooth like small droplets’, ultimately soldering the flight controller with ‘stable signals and smooth power supply’.
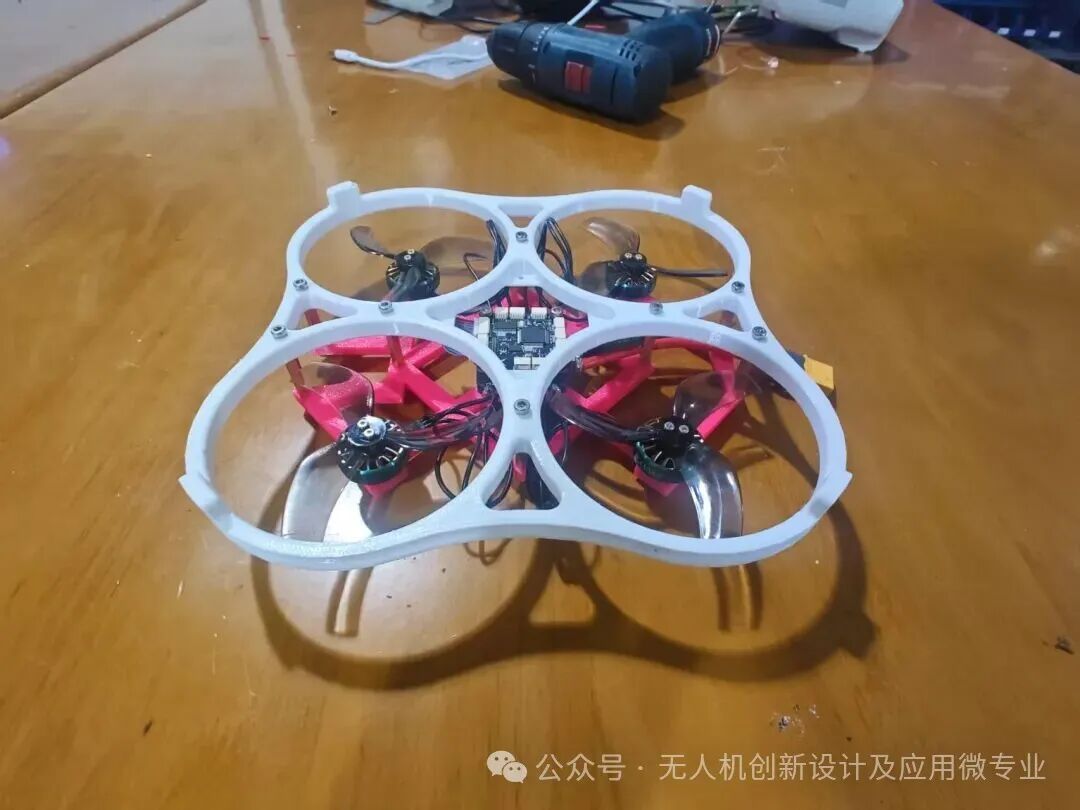
In the end, I completed it, and then it was time for assembly, heh heh~

4
Code:
Making C Language ‘Understand’ the Drone’s ‘Language’
When writing the flight control code in C, the biggest challenge I faced was ‘making the drone understand my commands’—at first, the motors would spin ‘erratically’, and the attitude calculations were always ‘off’.
I spent three sleepless nights poring over ‘Introduction to Flight Control Programming’, revising the ‘attitude angle calculations’ and ‘motor PID parameters’ over a dozen times, and ran hundreds of ‘virtual test flights’ in the simulator, finally allowing the code to ‘respond accurately’ to every operation of the remote control.

5
Test Flight: From ‘Fuselage Breakage’ to ‘Stable Takeoff’
During the first real test flight, I was so nervous that I could barely hold the remote control—when the drone took off just 1 meter, it crashed to the ground due to ‘improper attitude calibration’, breaking part of the fuselage.
“At that moment, my heart sank, feeling like half of my two months of effort had ‘shattered’.”
Upon recovery, I found that the breakage occurred at a weak point in the fuselage, which I had designed based solely on experience, without considering the actual impact loads.
I immediately used SolidWorks to perform finite element static analysis: simulating the impact stress of a 1-meter drop, the results showed that the maximum stress at the breakage point far exceeded the yield strength of the PLA+ material, no wonder it broke upon impact.
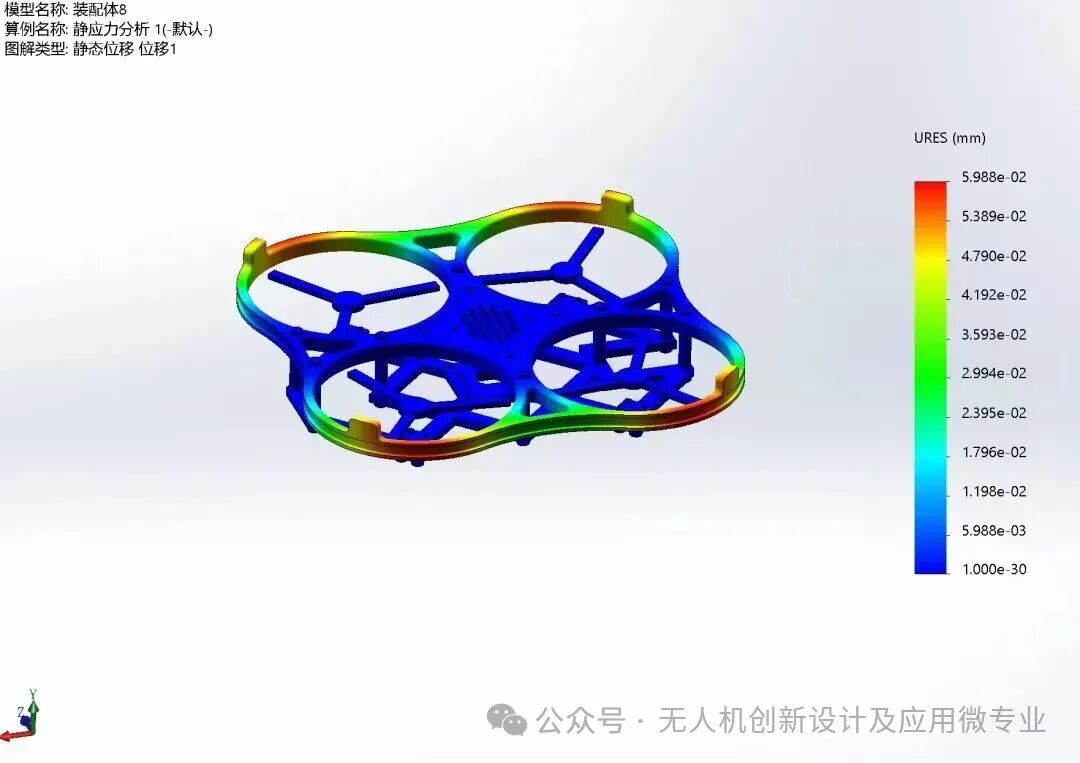
Professor Zou guided me to optimize the structure: increasing the fuselage wall thickness from 2mm to 2.5mm, changing from single-point fixation to a distributed load-bearing grid support, and after re-simulation, the impact stress dropped to 70% of the safety threshold.
With theoretical support, I regrouped and started reprinting the broken fuselage part, adjusted the flight control parameters three more times, and even re-soldered the joints five times…
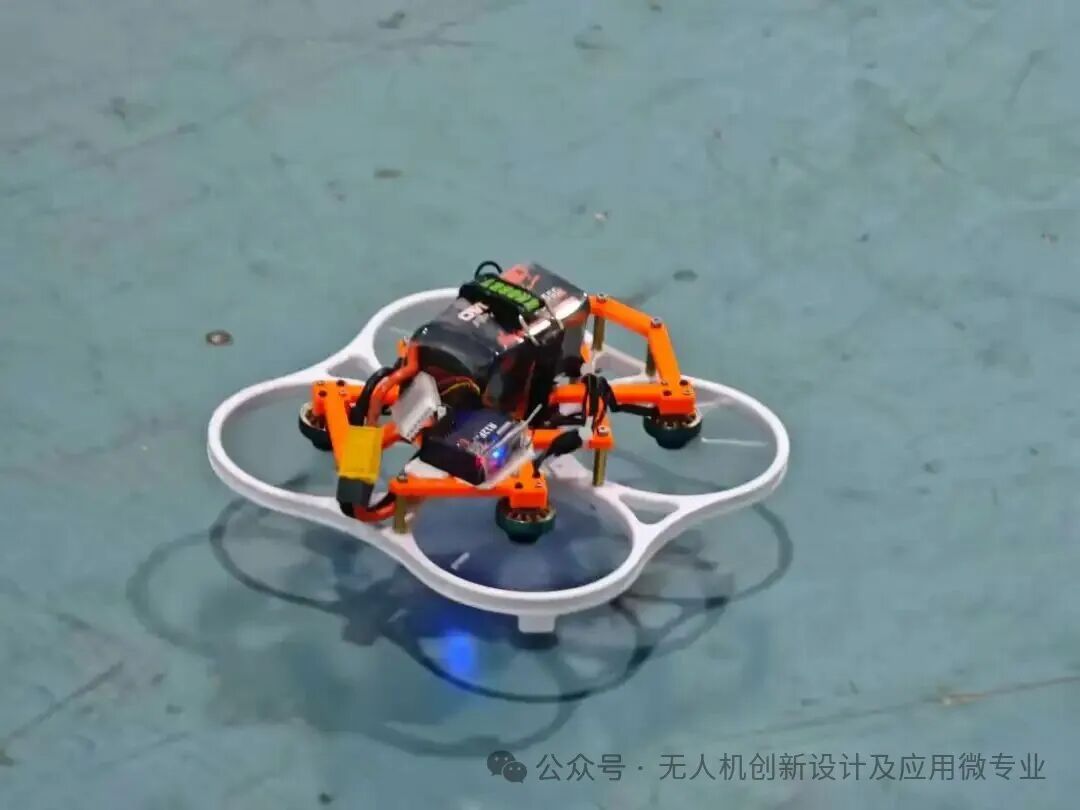
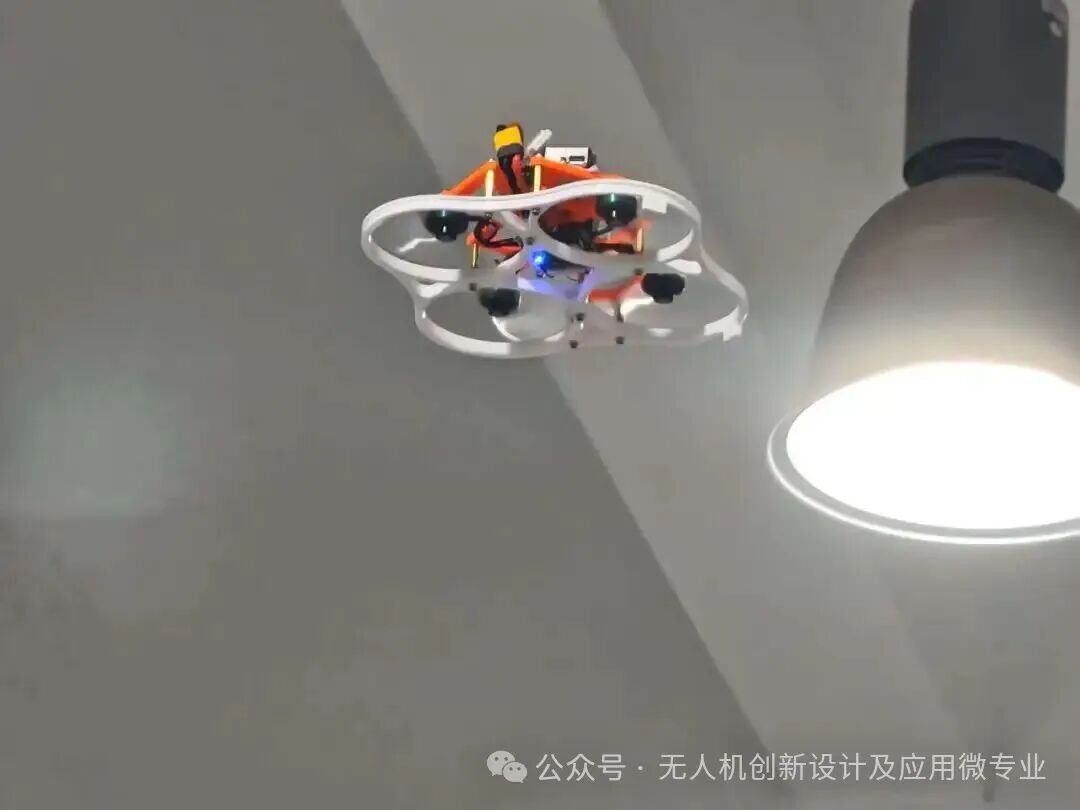
Finally, during the fourth test flight, the drone ‘wobbled’ and then steadily hovered in the air for 10 seconds—at that moment, I could hear my heartbeat resonating in sync with the hum of the motors.
“It turns out that ‘building a flying homemade drone from scratch’ is not just for ‘top students’; it’s something that ordinary people who dare to try, dare to change, and dare to try again can achieve.”
If you also want to turn ‘classroom knowledge’ into ‘flying creations’, the drone micro-major is waiting for you—here you will find the ‘awakening moments’ from teachers, ‘pitfall guides’ from seniors, and all the support to help you ‘turn ideas into reality’.

Produced by Yang Bihui
Reviewed by Zou Cheng