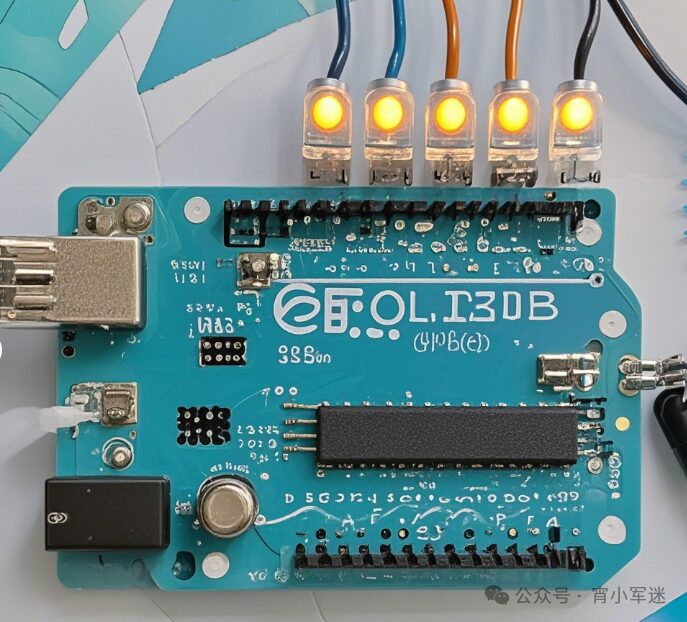
1. Hardware Preparation
You’ll need an Arduino development board (such as Arduino Uno) and several LED lights. Connect the anode (long leg) of the LED lights through a current-limiting resistor (usually a few hundred ohms, such as 220Ω, to prevent excessive current from damaging the LEDs) to the digital pins of the Arduino board (for example, pins 2, 3, 4, 5, etc.), and connect the cathode (short leg) of the LED lights to the ground (GND) pin of the board.
2. Code Example
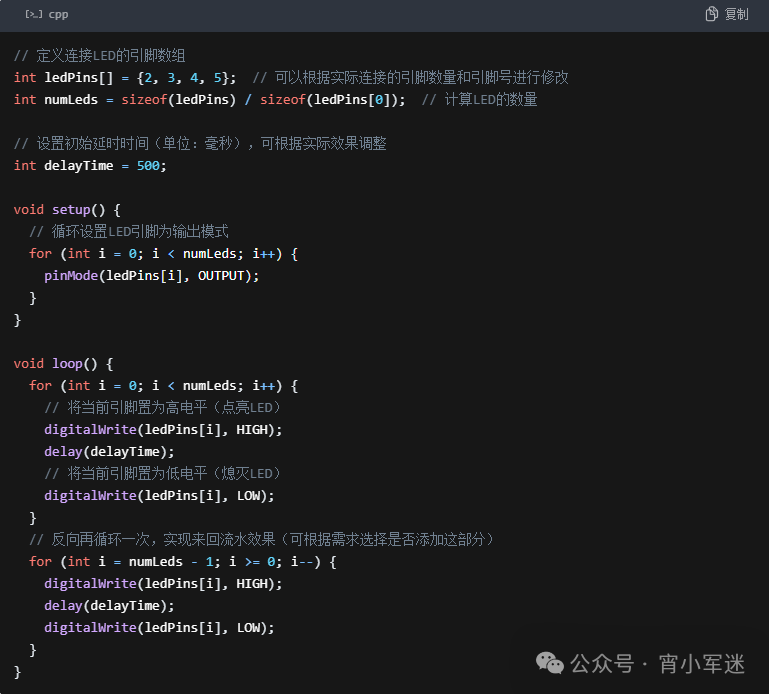
The working principle of this code is as follows:
-
setupfunction part: -
First, an array
ledPinsis defined to store the pin numbers of the Arduino board connected to the LED lights, and then the number of LEDs is calculated using thesizeofoperator and stored in the variablenumLeds. -
Next, in the
setupfunction’sforloop, thepinModefunction is used to set each pin to output mode, allowing these pins to output high and low levels to control the on/off state of the LEDs. -
loopfunction part: -
The first
forloop sequentially lights up each LED. After lighting up the current LED, it pauses for a period of time using thedelayfunction (here it isdelayTimemilliseconds; you can adjust this time to change the speed of the running lights), and then turns off the current LED, achieving the effect of LEDs lighting up one by one. -
The second
forloop is optional; it implements a reverse running effect, meaning that the LEDs light up one by one starting from the last one and then turn off, creating an effect of the running lights flowing back and forth. The entireloopfunction will continuously execute, allowing the running lights to be displayed persistently.