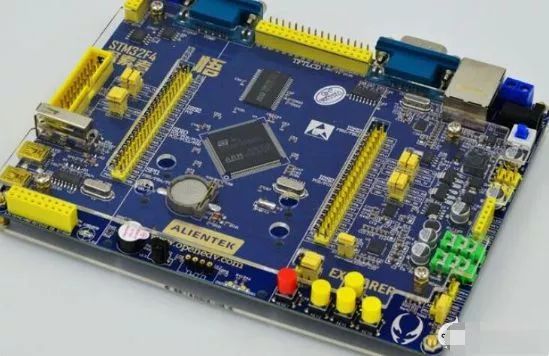
There are currently three methods to program STM32: JLink, ULink, and Serial Programming, using tools such as JLink, ULink, and USB to TTL cable.

ULink Programming
During the installation of MDK, there will be a prompt to install the driver, which is the ULink driver. If you choose ‘Yes’, you do not need to install the driver again; otherwise, you need to manually download and install the driver. After the driver is installed, we need to inform our MDK which programming tool we are using by right-clicking the Target directory and selecting Options for Target… In the pop-up Options for Target tab, select the Debug option, and in the dropdown box on the upper right, choose ULink/ME Cortex Debugger to select ULink for programming.
It is important to note that after connecting ULink to the computer, it may not be correctly recognized by the installed MDK. Clicking the Setting button next to the dropdown box will bring up the Cortex-M Target Driver Setup interface. If the JTAG Device Chain area shows ‘No ULink Device Found’ or is completely blank, it indicates that our MDK has not recognized the ULink connected to the computer. At this point, you need to check the ULink connection.
JLink Programming
The JLink driver is not integrated into the MDK installation program, so we must manually download and install the JLink driver. After the driver is installed, we need to inform our MDK which programming tool we are using by right-clicking the Target directory and selecting Options for Target… In the pop-up Options for Target tab, select the Debug option, and in the dropdown box on the upper right, choose JLink/J-TRACE Cortex to select JLink for programming.
Similarly, it is important to note that after connecting JLink to the computer, it may not be correctly recognized by the installed MDK. Clicking the Setting button next to the dropdown box will bring up the Cortex JLink/JTrace Target Driver Setup interface. If the JTAG Device Chain area shows ‘Cannot read JLink version number’ or is completely blank, it indicates that our MDK has not recognized the JLink connected to the computer. If the dropdown box under J-Link / J-Trace Adapter is selectable, try choosing another option (if JTAG was originally selected as SWD, switch it to JTAG, and vice versa). If it can be recognized, it means programming can proceed.
Serial Programming
For serial programming, we use a USB to TTL cable. The USB to TTL driver should be installed according to the internal conversion chip used, with common types including: CH340, PL2303, FTDI, CP210x, etc. After the driver is installed, right-click the Target directory and select Options for Target… In the pop-up Options for Target tab, select the Output option and check the ‘Create Hex File’ checkbox. This way, when we compile the code, a Hex file will be generated in the project directory. Our serial programming actually uses external tools to program the contents of the Hex file into the STM32 FLASH. The programming software that can be used includes the serial programming software provided by JLink or the mcuisp USB one-click download tool, also known as FlyMcu.
When using FlyMCU, you first need to specify the COM port and baud rate used by the software. Before programming, you must set the STM32 programming mode by setting BOOT0 to high and BOOT1 to low, then reset the STM32. In FlyMcu, first select the HEX file to download (the compiled HEX file is generated in the project directory), then select the STMISP tab and click the start programming button to proceed with programming.


To help everyone learn better, Changxue Electronics has specially added a public account focused on microcontrollers and EDA, providing related knowledge daily. We hope it can assist your learning!

