📂 Download the Dev C++ installation package
Please copy the following link and open it in your browser to access the download page:
🔗 Download link:https://pan.quark.cn/s/b7331750f18c
💡 Brief Overview of the Dev C++ Installation Guide
Installing Dev C++
-
After the download is complete, double-click the installation file (for example:
<span>DevC++_Setup.exe</span>) to start the installation.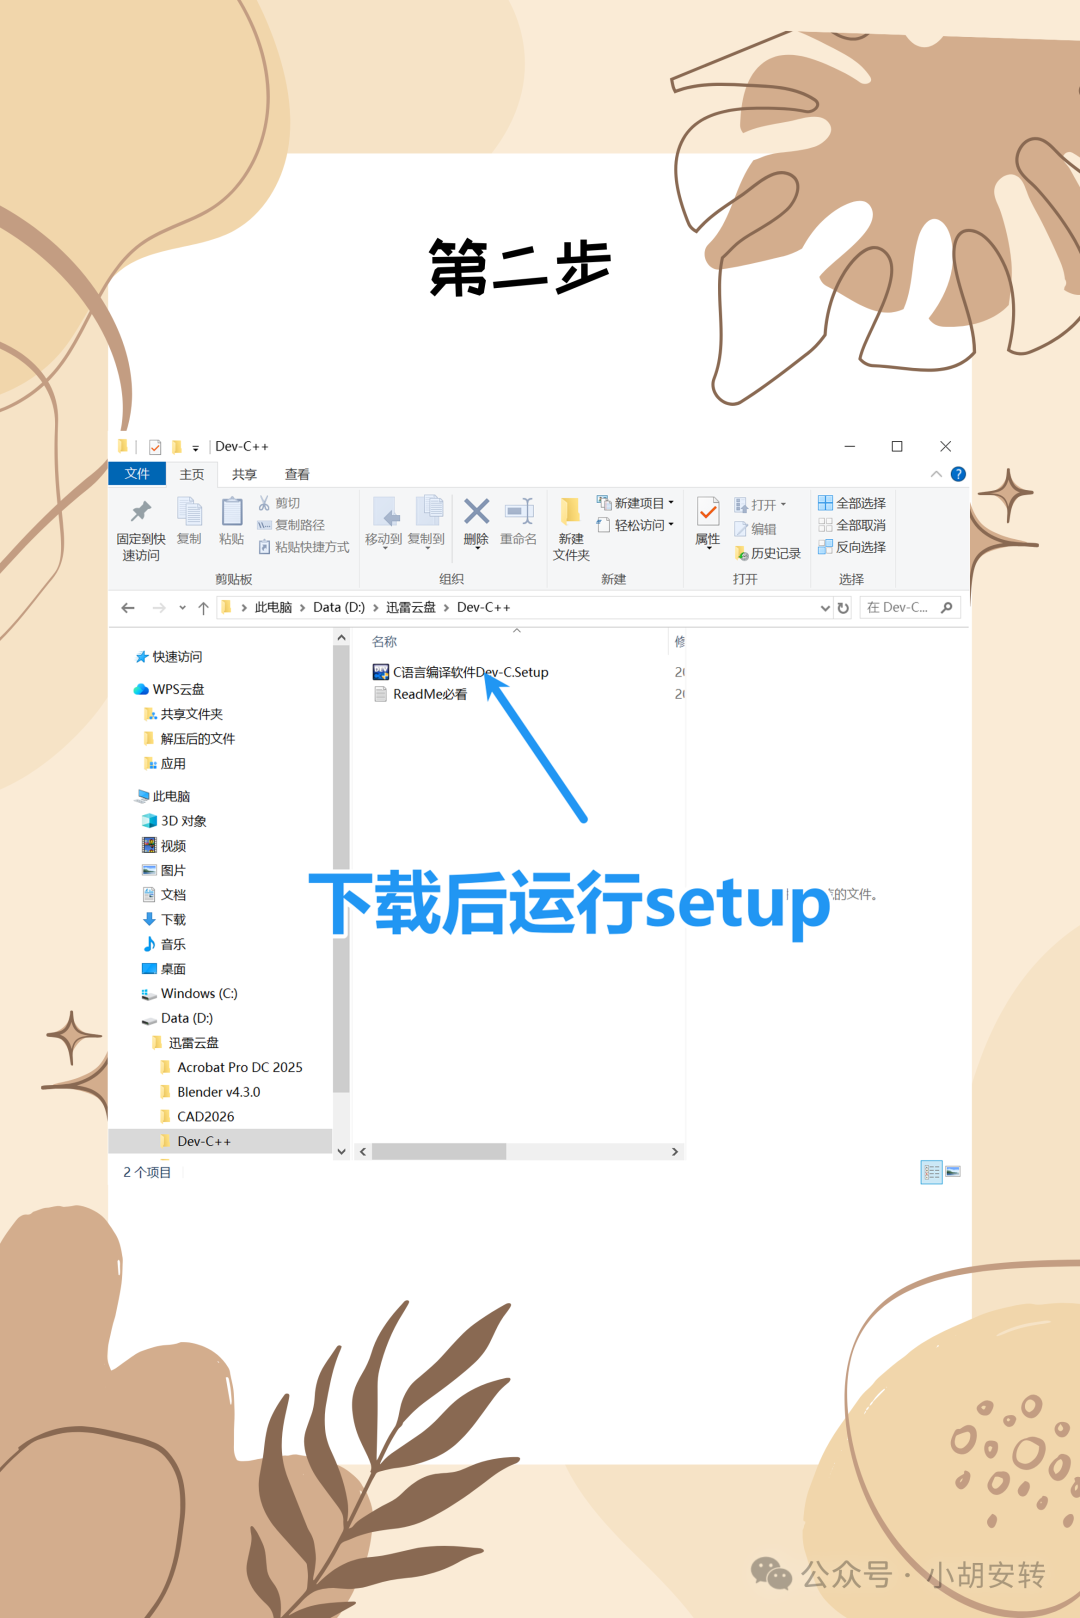
-
Follow the steps below to install:
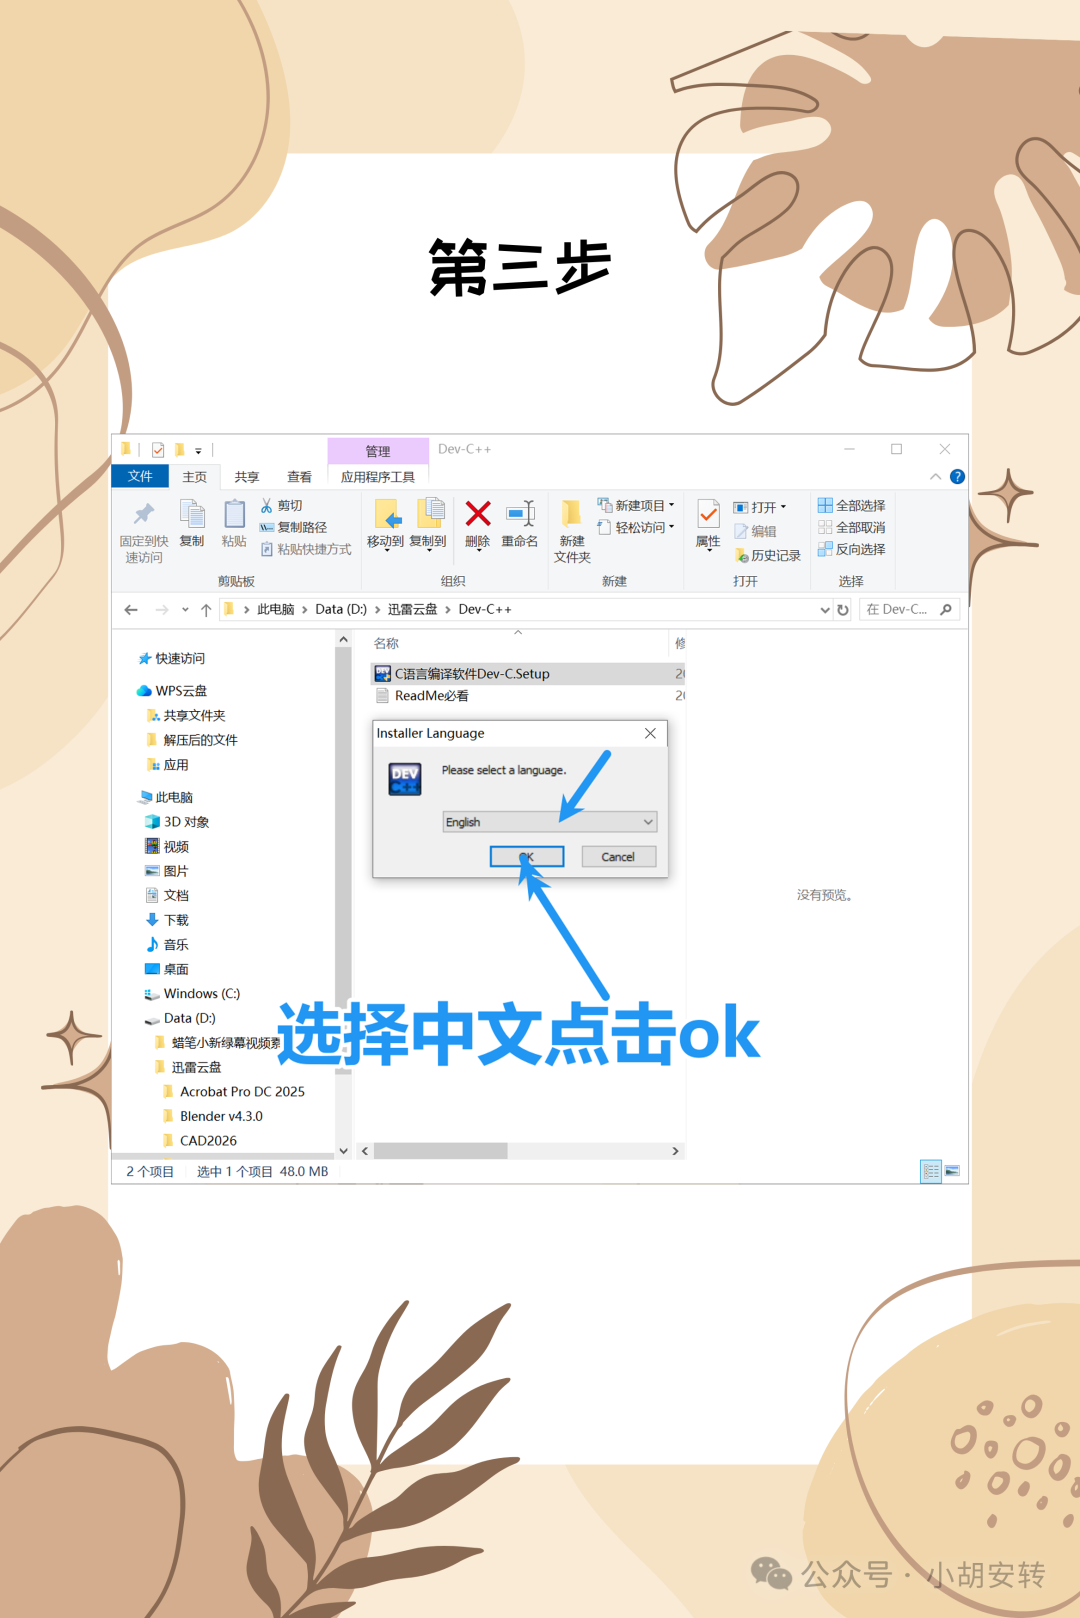
-
Select Installation Language: In the first installation screen, select the language (default is English), then click OK.
-
Accept License Agreement: Click I Agree.
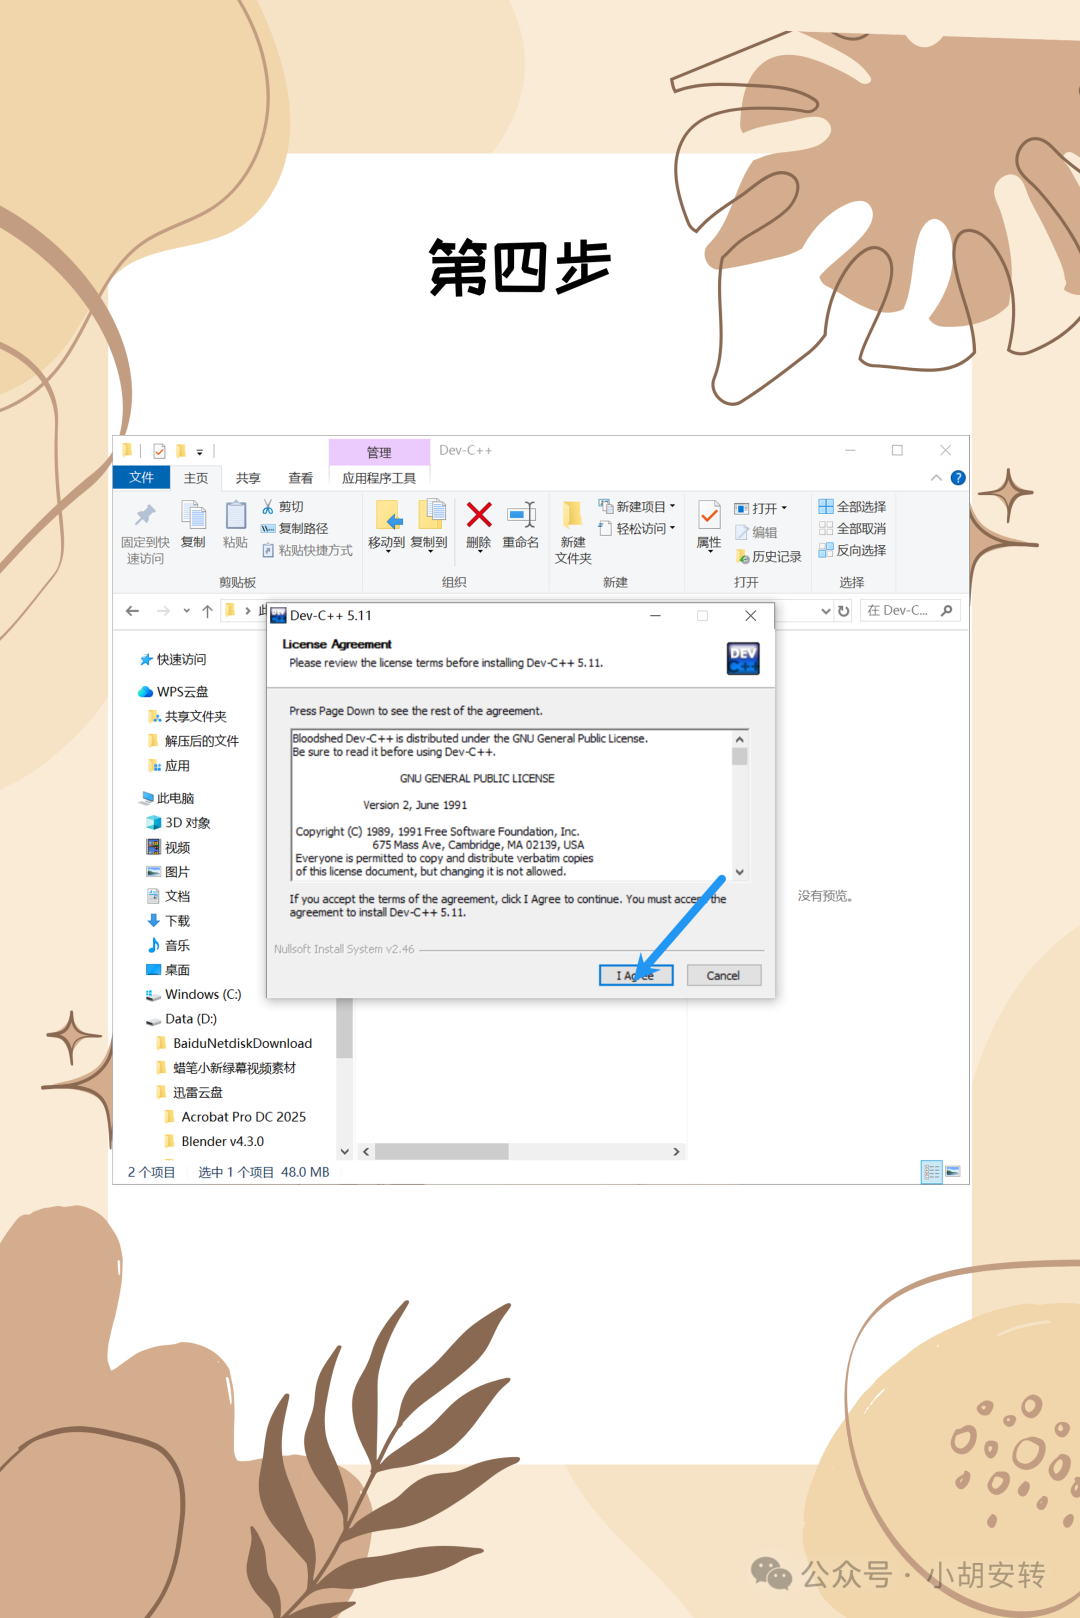
-
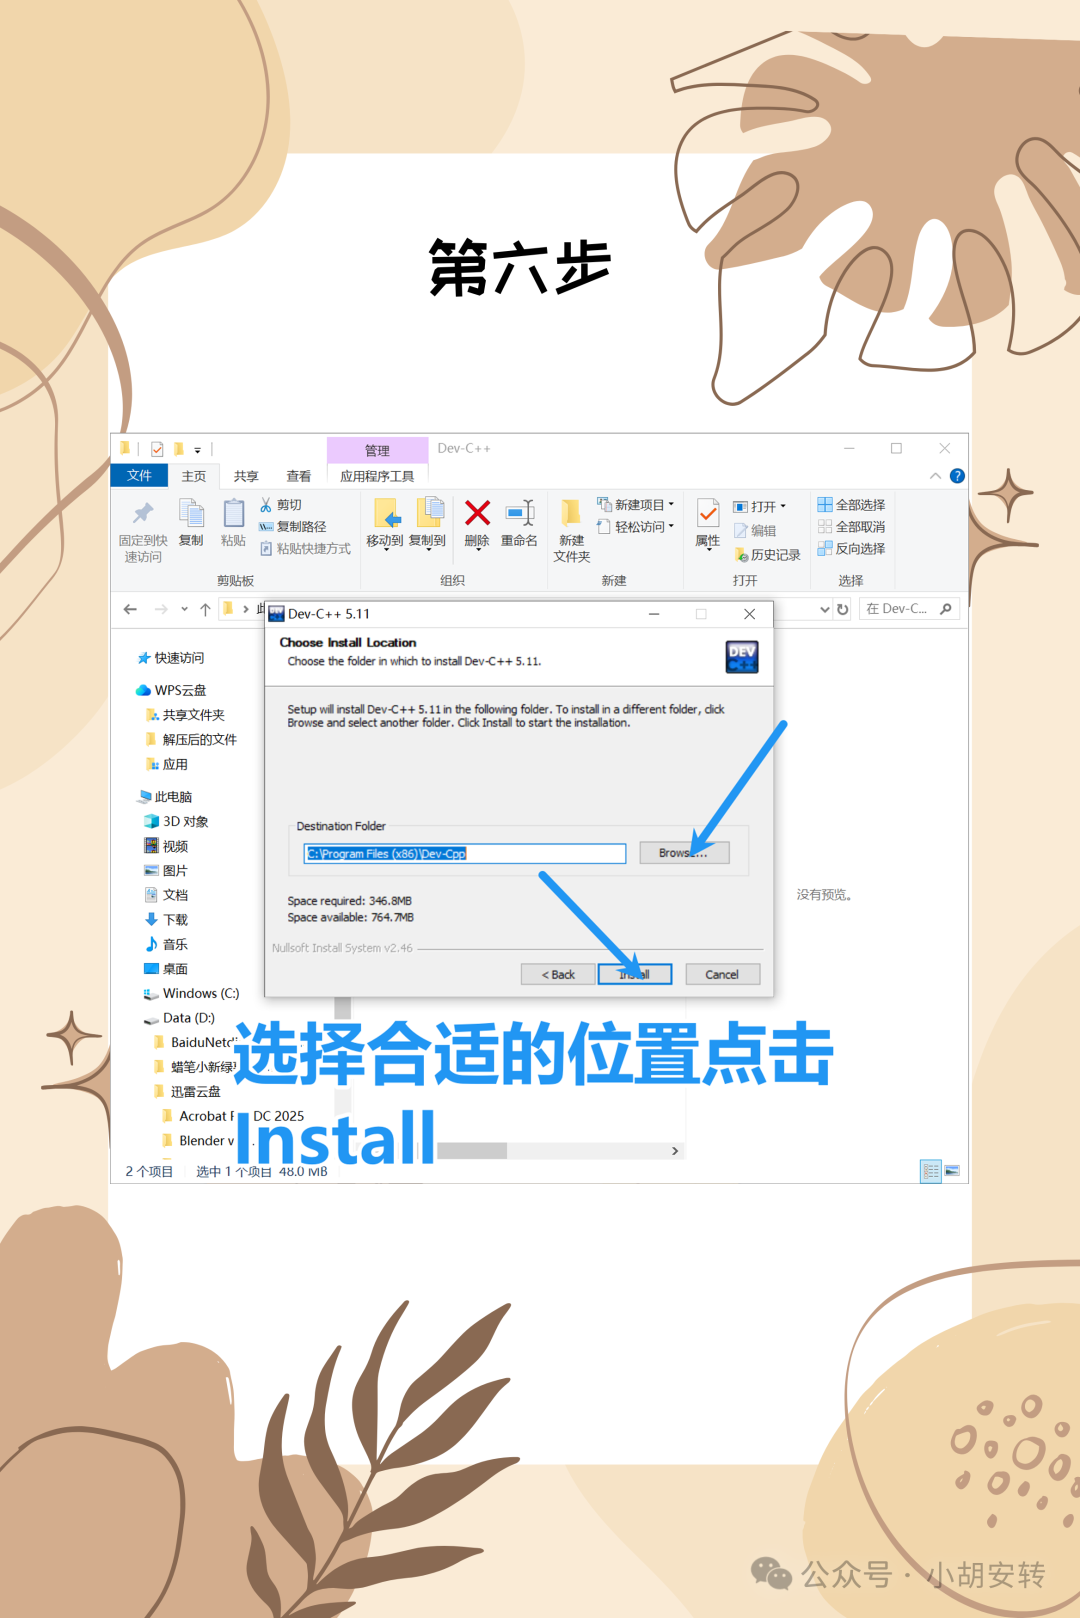
Select Installation Path: Choose the installation directory; you can use the default path or click Browse to select another directory. It is recommended to use the default path.
-
Select Installation Components: You can choose to install additional components; usually, the default options are sufficient.
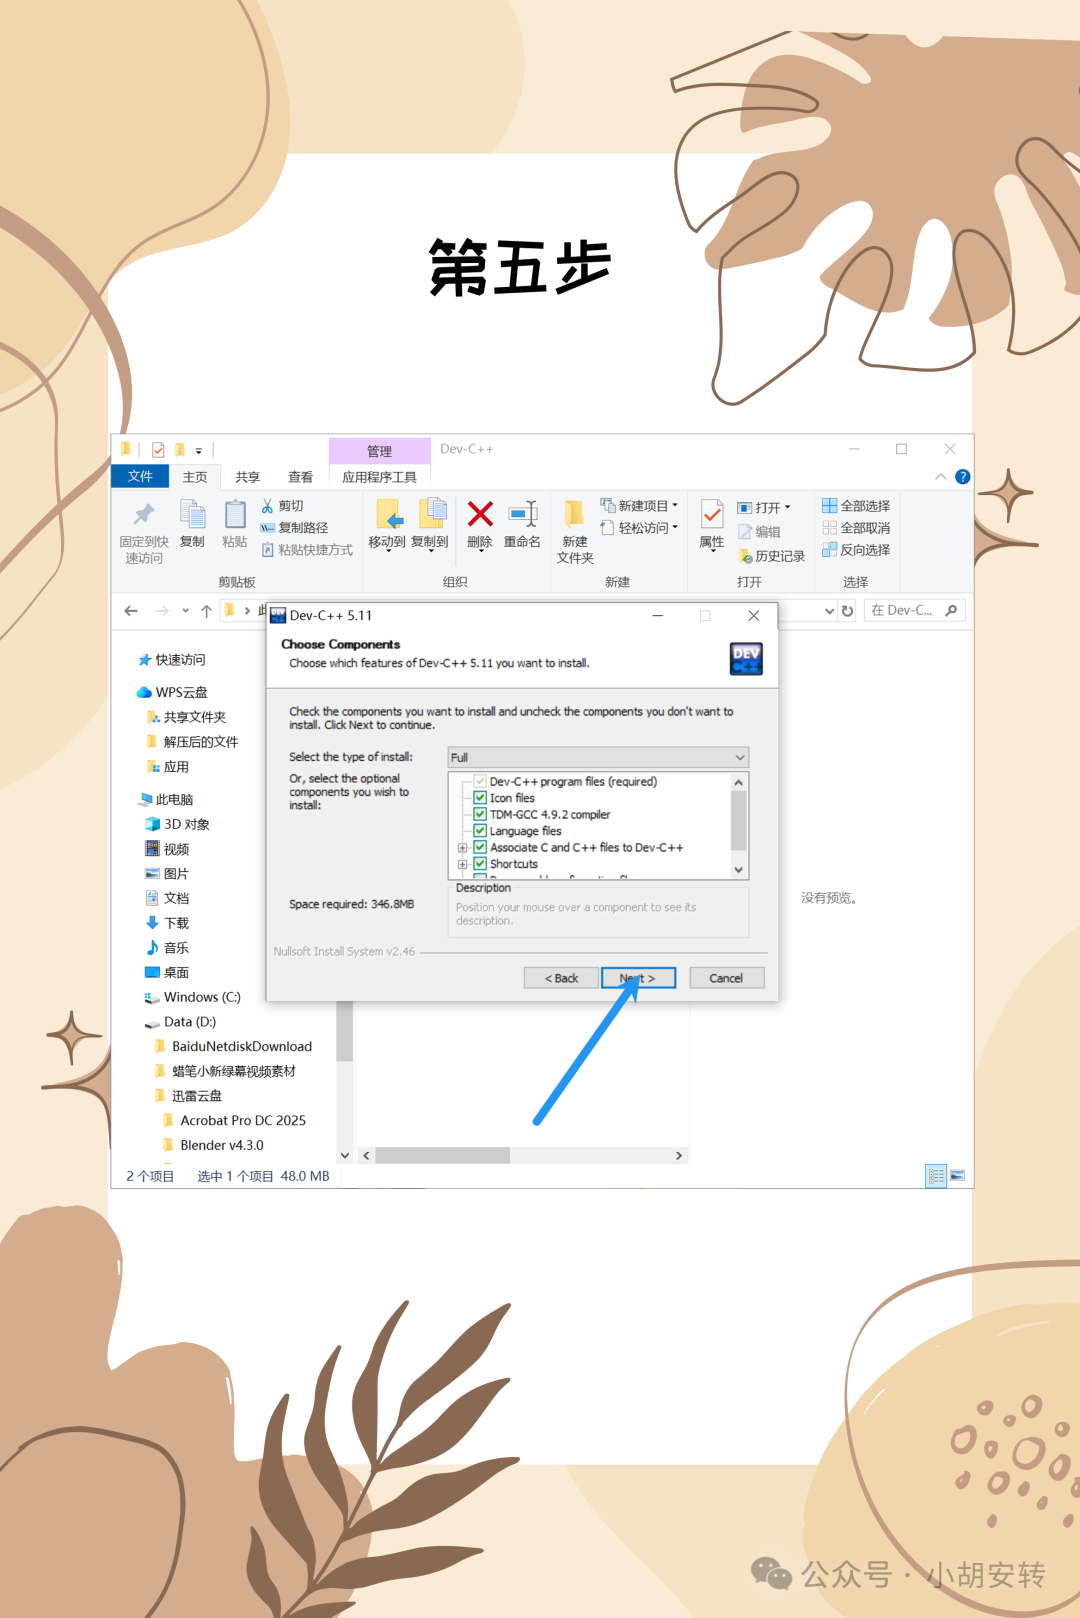
-
Select Desktop Shortcut: If you want to create a desktop shortcut, you can check the corresponding option.
-
Click Install to begin the installation.
3. Complete Installation
-
After the installation is complete, click Finish to exit the installation wizard.
-
You can choose to launch Dev C++ immediately or manually open it from the desktop shortcut.
4. Configure the Compiler (if needed)
-
Dev C++ uses MinGW as the default C/C++ compiler, which should be configured after installation. If it is not configured automatically, follow the steps below to configure it manually:
-
Open Dev C++.
-
Click Tools > Compiler Options.
-
In the Compiler Options window, select Settings.
-
In the Settings, ensure the path for the MinGW compiler is correct (usually the default path is
<span>C:\Dev-Cpp\MinGW64</span>). -
If the path is incorrect, manually change it to the correct path.
5. Test Installation
-
Open Dev C++, create a new project (for example, a simple Hello World program).
-
Write the following C++ program:
-
#include<iostream> using namespace std; int main() { cout << "Hello, World!" << endl; return 0; } -
Click Compile and Run (F11), if it compiles successfully and outputs “Hello, World!”, the installation is successful.
Now you can start using Dev C++ to develop C/C++ programs!