The Kossel is a highly cost-effective 3D printer initiated by the foreign 3D printing community Reprap.
It features fast speed, quiet operation, a three-arm parallel structure, strong scalability, and low cost… (omitting a lot of text)
I spent a week or two making this 3D printer, and the process was quite bumpy. Unlike those boxy 3D printers, it has a triangular shape. I can guarantee that this is the cheapest 3D printer available both domestically and internationally, costing just over 400 RMB.Material List:
Drive Part
1. 42 stepper motors x 4
2. GT2 timing belts x 3
3. GT2 timing pulleys x 3, 16 teeth, must fit on your motor.
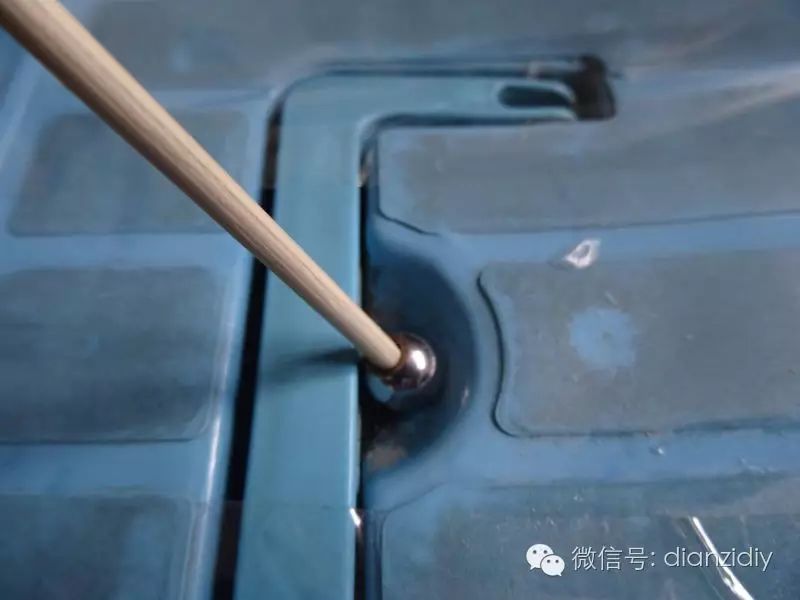
4. F623zz flange bearings x 6
Extrusion Part (This is the configuration for Kossel800, I used the TB MK8 extruder kit)
*1. 608 bearings x 1, responsible for feeding the filament
*2. Filament drive wheel x 1, preferably knurled
1. Extrusion hotend 1.75mm/3mm (buy according to your materials) + horseshoe fixed aluminum block
2. Cooling fan x 1 *very important
3. 3D printing materials x N
4. PTFE tube x 1
Electrical Part
1. Arduino Mega2560 x 1 board 50 RMB
2. RAMPS 1.4 expansion board x 1 for Mega2560 20 RMB
3. A4988 stepper motor driver board x 4 6 RMB x 4
4. 12V power supply, current greater than 6A x 1
5. Limit switches (normally closed) x 3
Others
Three pieces of wood/aluminum 60cm long
Some wood
Strong magnetic effect device x 1
Pulley x 3
Once you have everything, start making it.
1. Arrange the three pieces of wood and other materials into a triangular prism; the three pieces of wood must form an equilateral triangle. I used the bottom of a flower pot here.


Since we are making a 3D printer, all data must be calculated and measured accurately (with a caliper).

Once the power supply is in hand, I’m not sure if it has 10A.

Combine the Mega2560 and RAMPS 1.4 expansion board + A4988x4, using Marlin firmware, just search online and you’ll find plenty.

2. Install the timing pulley and extrusion wheel on the motor (this extrusion wheel is different from the one I used later).

3. Install the hotend onto the effecter.

4. Next, make the pulley, using an appropriate length of belt to install it.


5. Make the parallel arms, need to make 6 of these, not going to say more, just look at the pictures.
Control the error within 1MM.


6. Install the power supply and motor.

7. Wiring, I will post the wiring diagram below.

8. Install the pulley and effecter, you need to install the belt pulley on the top of the three axes.


9. Skill: The cooling fan has been unlocked.
By the way, don’t skimp on the fan here, or it will easily clog.
10. Next, install the limit switches at the highest point of the three pulleys, ensuring all three limit switches are on the same horizontal plane. I used normally closed switches; if it’s normally open, you need to modify it in the firmware.

11. Skill: The extruder has been unlocked.

12. To prevent the pulley from shaking and to protect the peace of the 3D printer, I found 3 plastic cards to replace the plan in Kossel800, made the cards into sliders, and then fixed them to the pulley.


13. Finally, remember to place a glass plate at the bottom of the print platform.
Congratulations, you have successfully built a 3D printer.

Now let’s print something.

There was a problem with the extruder during printing, so some areas are incomplete.
Next, I’m preparing to try printing this.
 Link:
Link:
Firmware and modification methods
http://tieba.baidu.com/p/3231776322?pid=55686429166&cid=0&from=prin#55686429166?from=prin
Software
Arduino IDE 1.0.x
Host
Repetier-host (a very harmonious 3D printing host, the key is that it’s in Chinese)
Wiring diagram

This article is reprinted from Geek Mystery.
Love electronics and DIY, follow electronic DIY.
 Let’s walk together on the road of electronics!