This is a bionic robot, constructed using 12 EZ-B servos and the EZ-Robot script for a hexapod robot.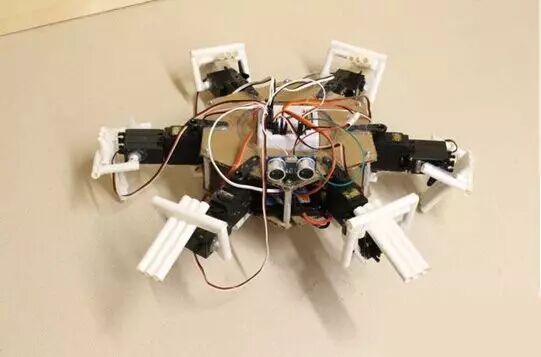 Step 1: Supplies To build this, you will need: a piece of cardboard, at least 2 pieces of 20cm x 20cm squares, 12 standard 180-degree servos, 12 servo rods, 2-3 packs of large paper milkshake straws, 1 pack of standard-sized paper straws, an EZ-B and power casing, 1 7.2V lithium polymer battery, 1 ultrasonic sensor, a stack of brackets (the straws can be used for these), and 12 machine screws (if the size of the brackets is the same) (only use the brackets).Step 2: Tools To build this, you will need: – a hot glue gun and glue sticks – a drill and drill bits – a marker or pencil – a utility knife or some way to cut the straws – a Phillips screwdriver – a flathead screwdriver – a table or desk – a computer with EZ-Builder installed.Step 3: Build Base 1
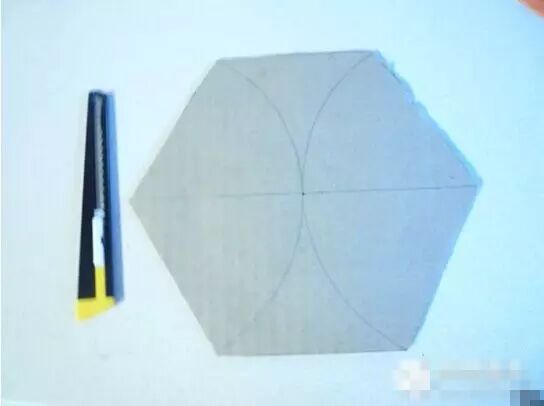

Note: If using straws at the supports, steps 3 to 5 may be disadvantageous. Steps 2 to 5 must be repeated for two hexagons. 1. Start by cutting two identical hexagons with 10cm sides. (If you don’t know how, you can Google it.) 2. Erase the lines. 3. Measure 1.5cm from each side of the hexagon. 4. Connect the lines and mark the center. 5. Drill a hole in the middle of each line (this is very important; the hole must barely fit the screws for this machine; if too large, the screw heads will slip off).Step 4: Build Base 2 Note: Step 7A is for the brackets and Step 7B is for the straws. 6. Attach some brackets together, or reduce some smoothie/large straws to 6 pieces, each 4.7cm long. 7a. Pass a machine screw through each hole and connect them with the brackets. 7b. Glue the straws to focus on the center line; the base is now complete.Step 5: Add Servo System 1
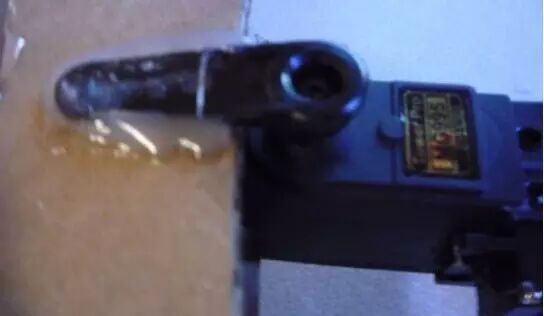

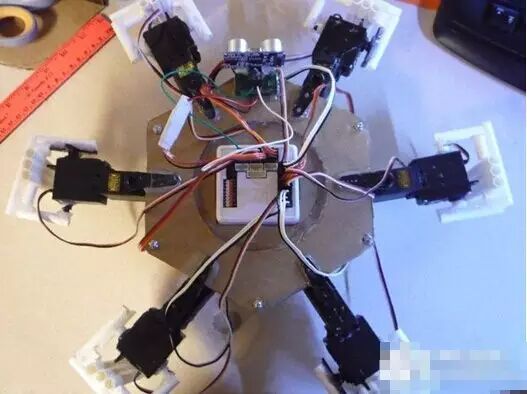
1. Center each servo and spiral servo arm. (Ensure they are pointing directly away from the servos.) 2. Cut 6 pieces of large straws, each 0.6 to 0.7cm in length, and glue them to the servo system, extending outwards from the servos. 3. Find the center of each side. 4. Glue the arms connected to the servo system, so only the labeled servos are on the base. (This side is the top.) 5. Cut 6 pieces of large straws, each 9cm in length, and 6 pieces of regular straws, each 1cm in length. 6. Glue a 1cm straw to the end of each 9cm straw, keeping it at a 90-degree angle. 7. Flip the robot over and insert each 1cm straw into each 0.6cm straw and pull the 9cm straw towards the center of the base and glue it (repeat for each servo).Step 6: Add Servo System 2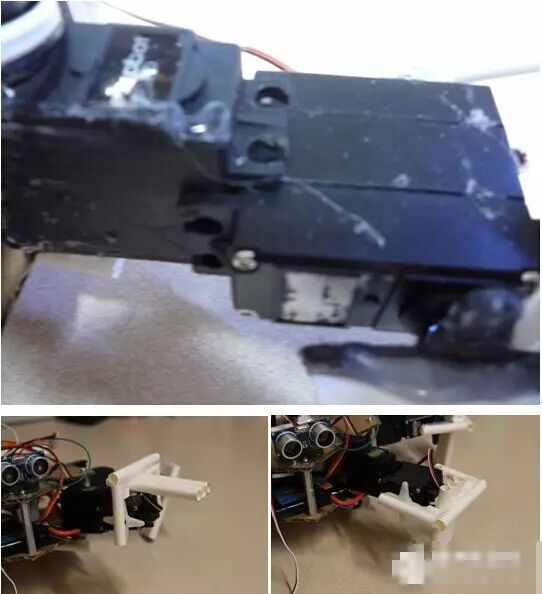 1. Cut 6 pieces of large straws, each 0.6 or 0.7cm, and glue them to their opposite movable parts (as before). 2. Glue the first and second sets of servo systems together, so they extend outwards on both sides. (See the above image.) 3. At the base, you can use anything you want; the main principle is that they should be about 8cm high, 3cm wide, and 1-2cm thick. 4. Now the servo system has been added.Step 7: Add EZ-B
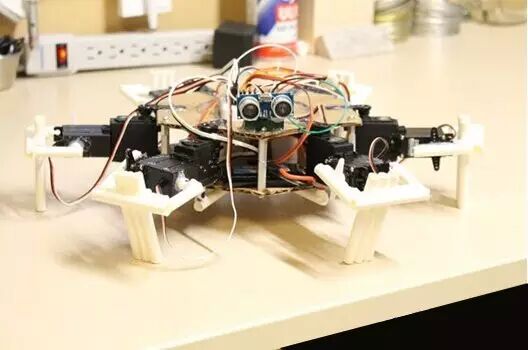
1. Dig a barely large enough hole at the top of the base for the EZ-B. 2. Secure the EZ-B and power casing and plug it into the servos. 3. Glue the ultrasonic sensor to the base (place a LEGO piece between the sensor and the base as a spacer, making it easier to connect). Now the hexapod robot is complete.
Long press the QR code to recognize and follow
 Let’s walk together on the electronic road!