
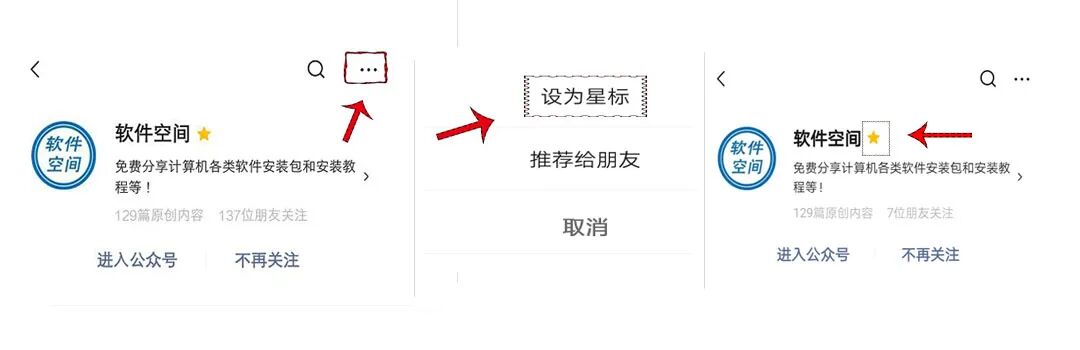
Hello everyone, the public account’s push mechanism no longer pushes articles in chronological order, so some friends may miss the articles. Therefore, to prevent missing various resources, it is recommended that everyone set the “Software Space” public account as a “Star” so that it will be prioritized for you!
How to light up the “Star” operation

Software Introduction

Keil uVision is an excellent and authoritative microcontroller development tool. It has functions such as editing, compiling, and simulation, and also provides a complete development solution including library management, macro assembly, C compiler, linker, and simulation debugger, allowing all these components to be combined in one environment.
Download the software at the end of the article
Installation Steps
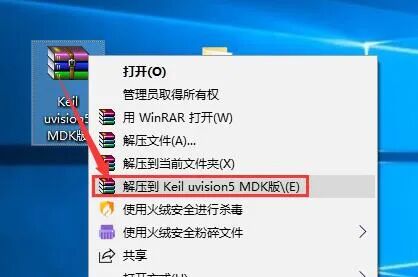
1. First, select the downloaded 【Keil uVision5 MDK】 software compressed package, right-click and select 【Extract to Keil uVision5 MDK】
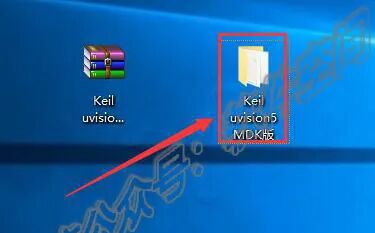
2. Double-click to open the extracted 【Keil uVision5 MDK】 software installation package folder
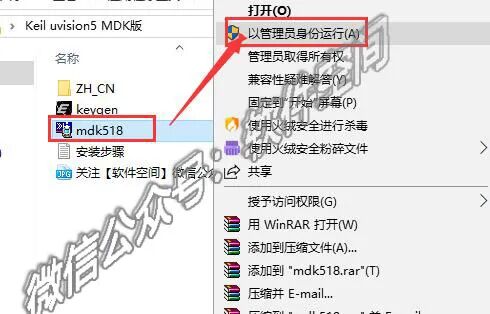
3. Select the 【mdk518】 file, right-click and choose 【Run as administrator】
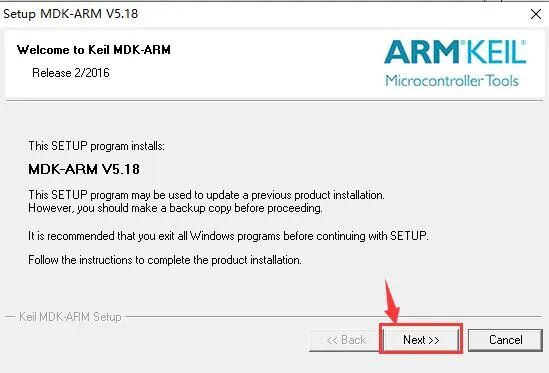
4. Click 【Next】
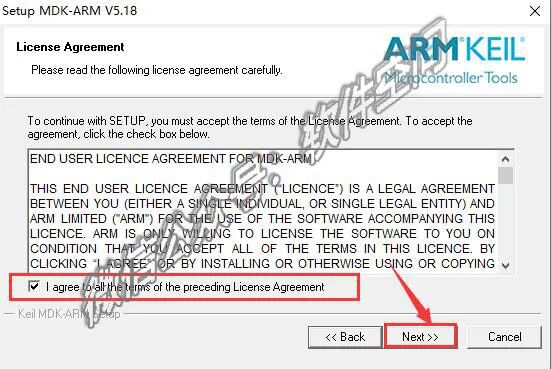
5. Check the 【I agree to all the…】 option, then click 【Next】
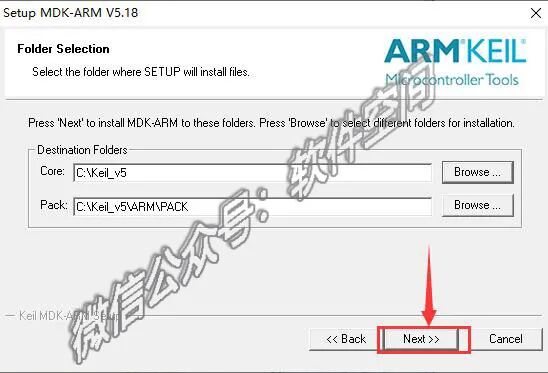
6. You can click 【Browse】 to change the installation path: it is recommended to install it on a disk other than C, you can create a folder 【keil 5】 in D or another disk, then click 【Next】. This tutorial installs by default on C!
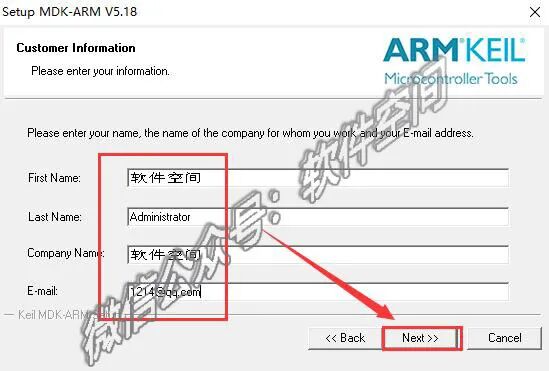
7. You can fill in the username information arbitrarily, then click 【Next】
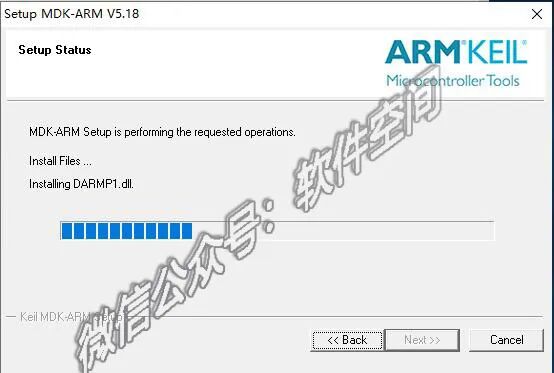
8. Wait for the software to install…
9. When this window pops up, uncheck 【Always trust…..】 and then click 【Install】

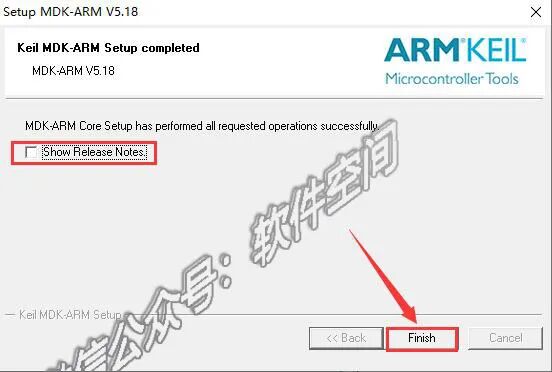
10. Click to uncheck, then click 【Finish】
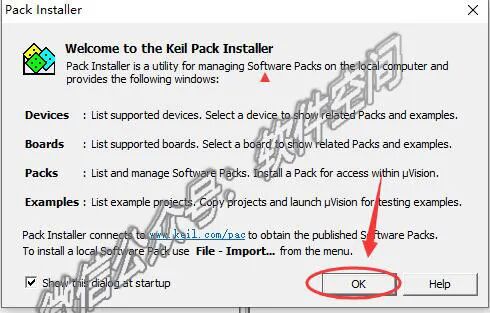
11. Click 【OK】
12. Close the software by clicking the upper right corner

13. Double-click the 【Keil uVision5】 software icon on the desktop

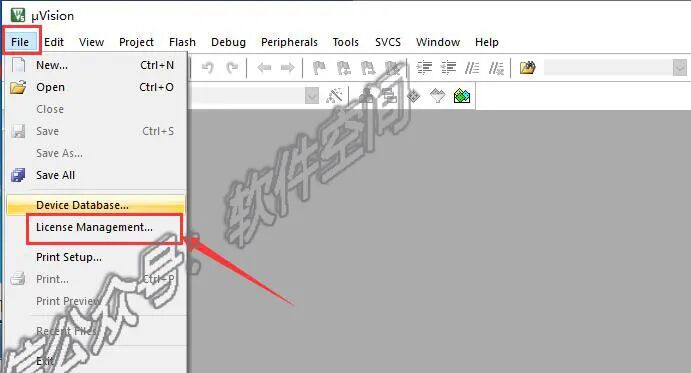
14. Click the top menu 【File】, then select 【License Management】
15. Go back to the previously extracted 【Keil uVision5 MDK】 folder, select 【keygen】, right-click and choose 【Run as administrator】.

Note: If the keygen file does not open, it means it has been quarantined by antivirus software. Please disable the antivirus software and firewall and re-extract.

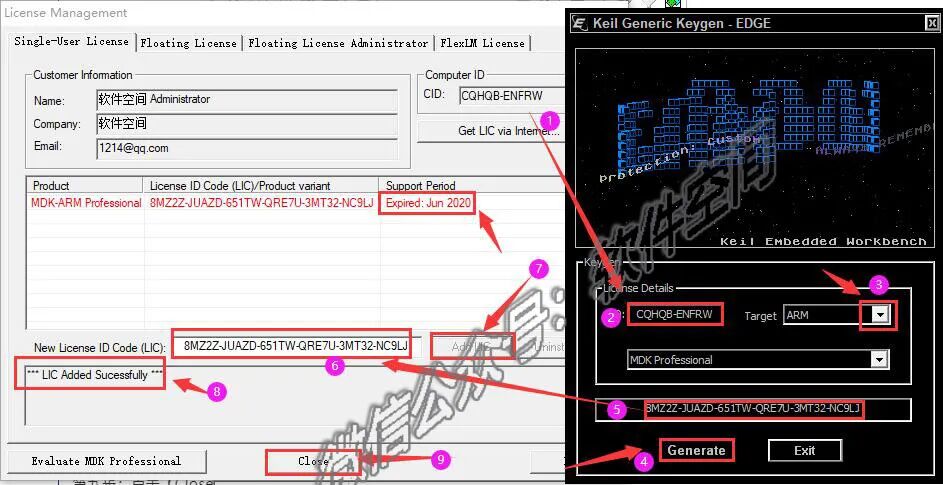
15. Carefully follow the steps in the image below 【This step is crucial】
Step ①: Copy the letters of the CID option, it is recommended to use the shortcut 【Ctrl+C】
Step ②: Paste into the CID box of the keygen, it is recommended to use the shortcut 【Ctrl+V】
Step ③: In the 【Target】 option, select 【ARM】
Step ④: Then click 【Generate】, the activation code will be generated
Step ⑤: Select the generated activation code with the mouse, it is recommended to use the shortcut 【Ctrl+C】
Step ⑥: Paste the copied activation code into 【NewLicense ID Code】, it is recommended to use the shortcut 【Ctrl+V】
Step ⑦: Click 【Add LIC】 to activate the software
Step ⑧: If you see [LIC Added Successfully and jun 2020], it means activation was successful
Step ⑨: Click 【Close】 to finish
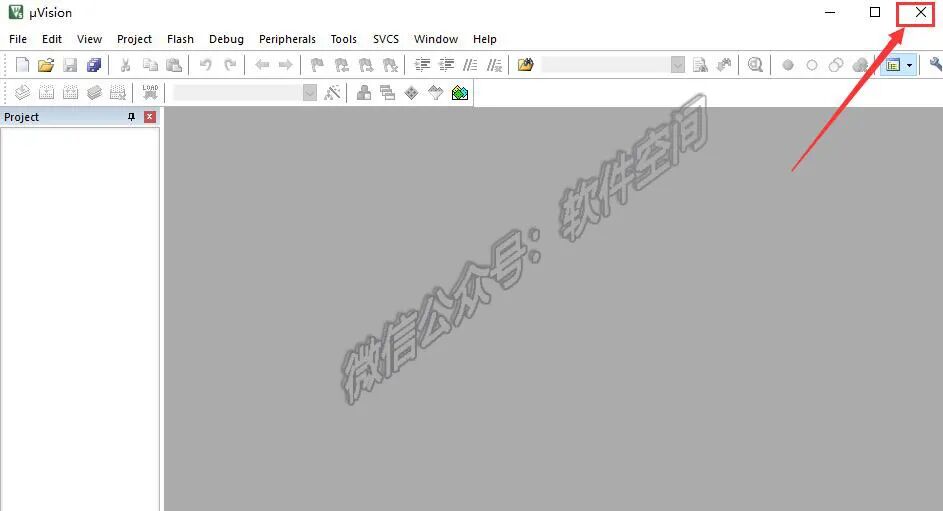
16. After activation is complete, wait a moment for the software to automatically open, then click the upper right corner to close the software
17. Go back to the extracted 【Keil uVision5 MDK】 folder, and open the 【ZH_CN】 folder inside.
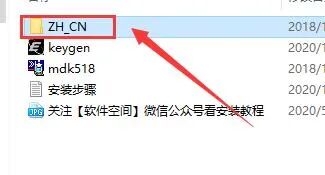
18. Select the 【UV4】 file, right-click and choose 【Copy】

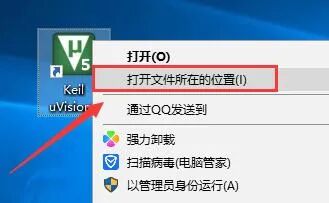
19. Find the 【Keil uVision5】 icon on the desktop, right-click and select 【Open file location】
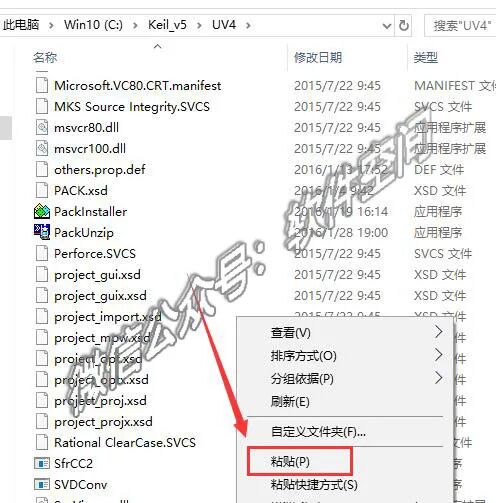
20. Right-click in the blank space and select 【Paste】
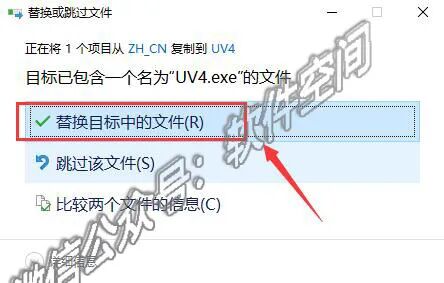
21. When the pop-up window appears, click 【Replace the file in the destination】
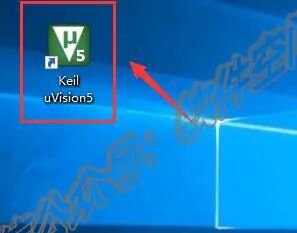
22. Double-click the 【Keil uVision5】 icon on the desktop to open the software
23. The installation is complete, the software interface is as follows:

