First of all, I would like to thank all the experts on forums like Yuanjing, your contributions have been very helpful!
This article is purely a collection of experiences and learning, please support original software.
【Required Equipment for This Installation】
1. Gigabyte BSi3H-6100 host (USB 3.1 host has no solution on 11.5);
2. Wireless network card using Broadcom BCM9435Z (NGFF interface, Intel card has no solution);
3. A 16G USB 3.0 drive (2.0 is also okay, but I don’t have that patience);
4. An available computer to create the boot USB and copy files;
5. Only SATA protocol hard drives can be used, nvme… maybe next time.
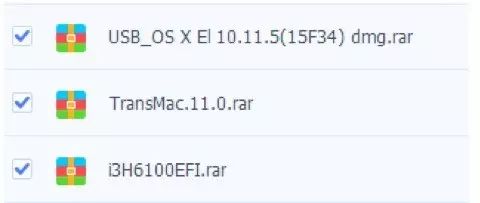
After preparing the above items, download all the files for BRIX MAC from the Baidu Cloud link I provided below.
The address is as follows: http://pan.baidu.com/s/1nv4NJVb
【Creating the Hackintosh System Installation USB】
Unzip all the rar files and then start creating the boot USB.
First, install the software TransMac (instructions for installation are included), insert the prepared USB drive, and open TransMac.
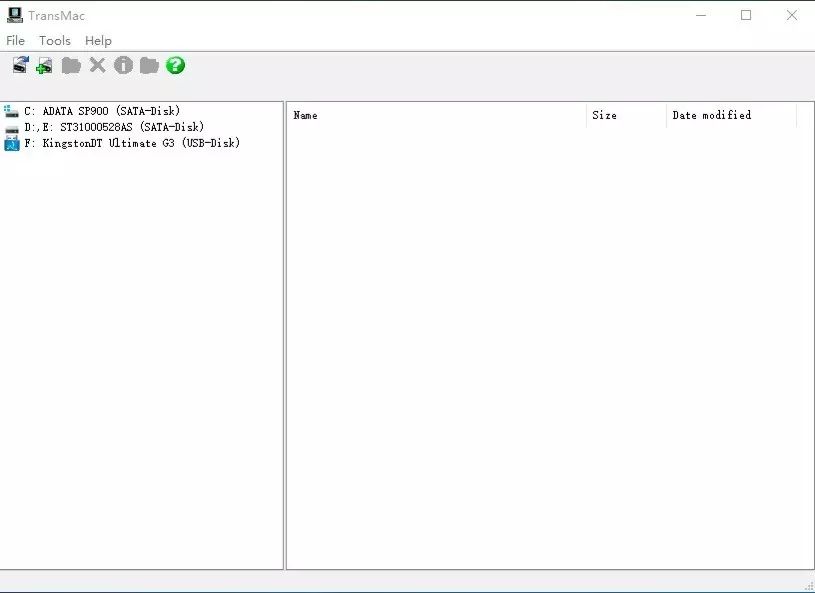
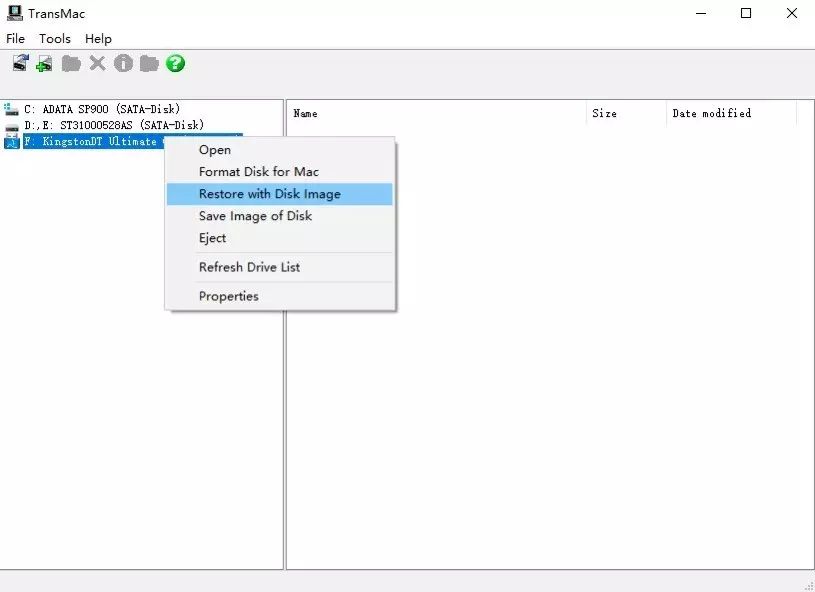
USB-disk is the USB drive you inserted, right-click on it, select restore with disk image, then choose the previously downloaded USB_OS X El 10.11.5(15F34).dmg (unzipped) and follow the prompts to write, then just wait…
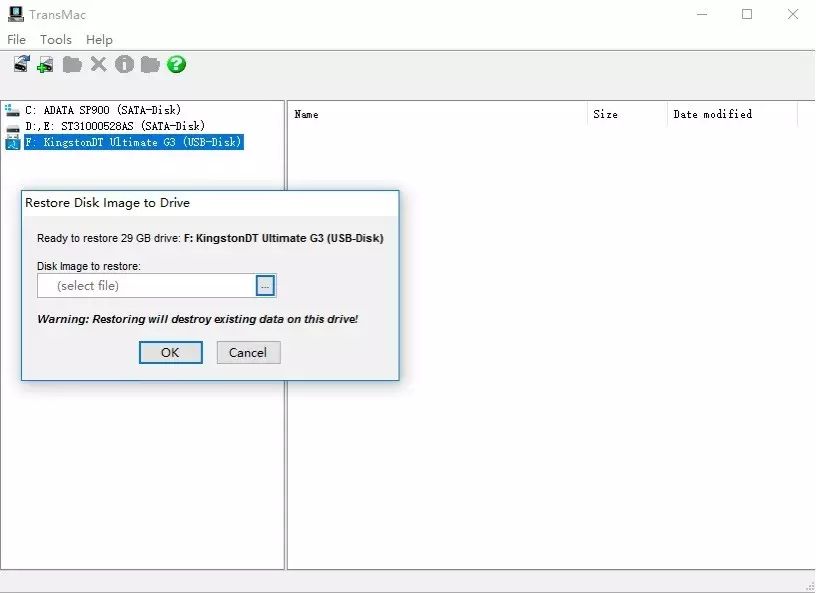
Once the restoration is complete, you will see an additional drive labeled EFI in the file explorer.

Then extract the files from the i3H6100EFI compressed package and overwrite the EFI folder files into this root directory, thus successfully creating the MAC 11.6 installation USB!
【Installing the System】
First, change the settings in the BRIX host BIOS:
1. Set OS Selection to win10;
2. Set DVMT Pre-Allocated to 256M.
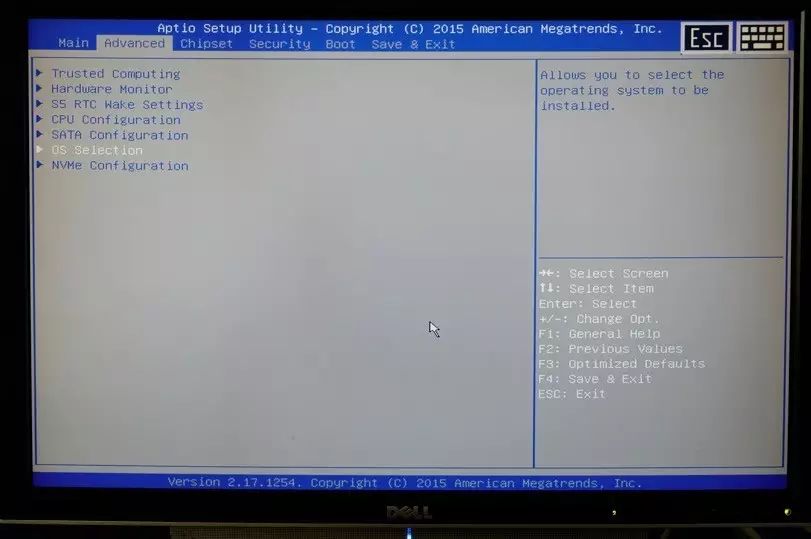
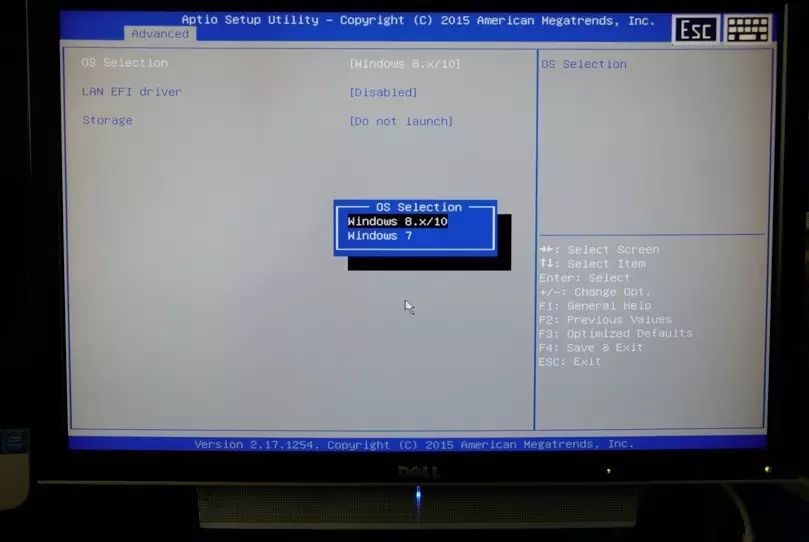
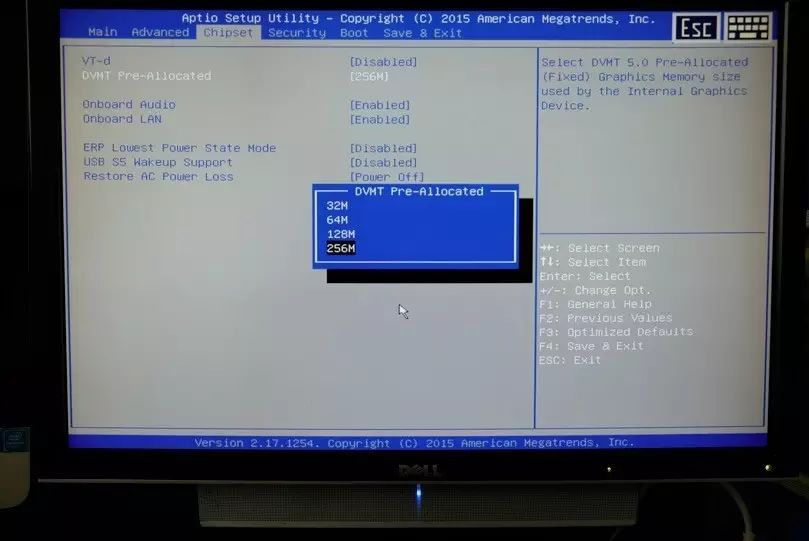
Press F10 to save and exit, then boot from the previously created USB (press F12 to select during startup).
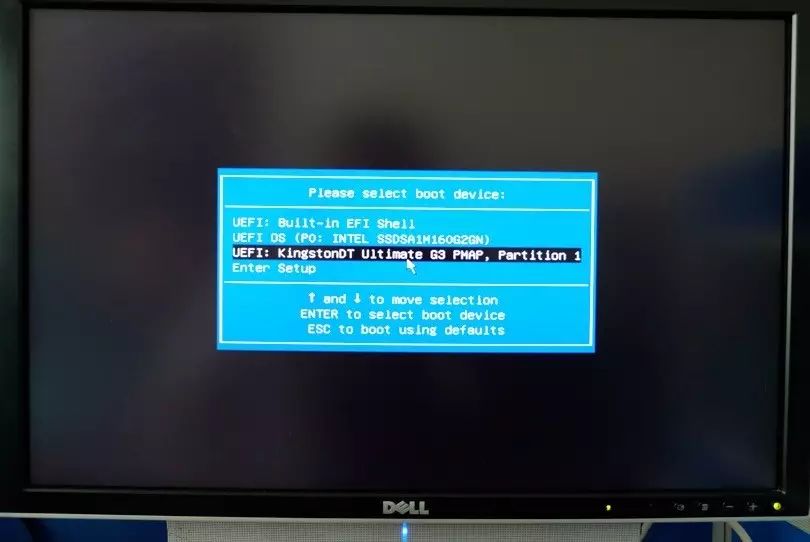
Then you will see the following screen.
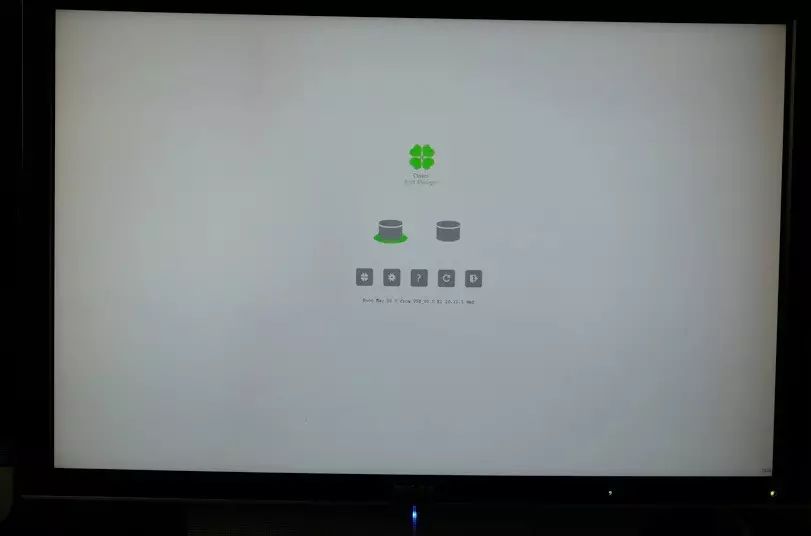
Select boot XXXXXXXXXXXX.dmg (the contents in the middle are not important), if all goes well, you will see the following screen.
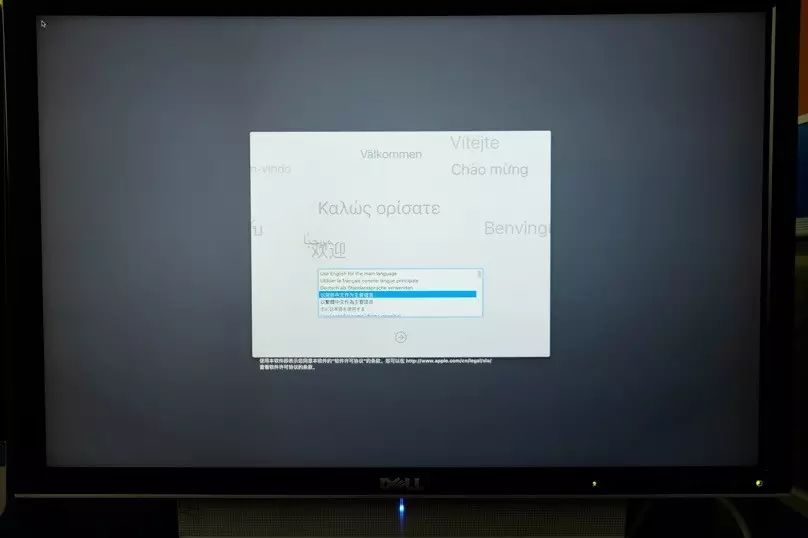
Then proceed to install OSX, those familiar with installing Apple systems can skip the following instructions, while those who are not should continue reading.
First, use Disk Utility to partition the hard drive (backup any data if necessary).
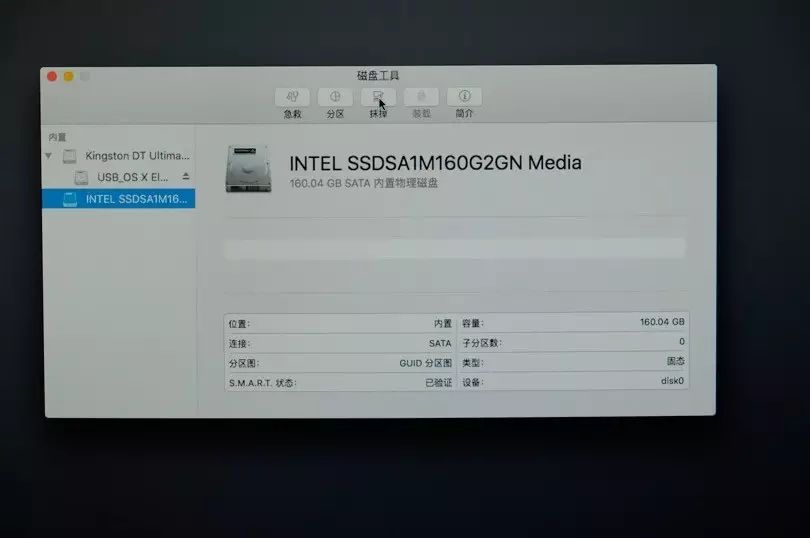
As shown, click on the hard drive you are installing to and select “Erase”.
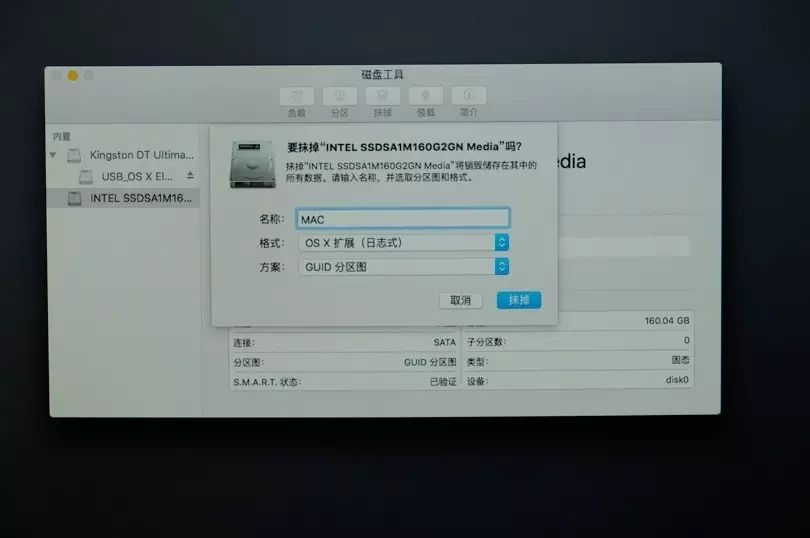
Name it whatever you like, and keep the other settings as shown.
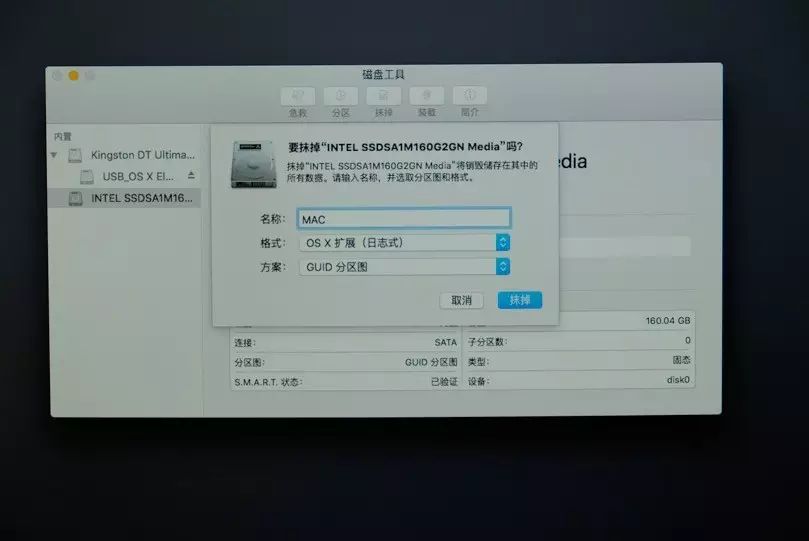
After formatting it should look like this, then exit Disk Utility and follow the prompts.
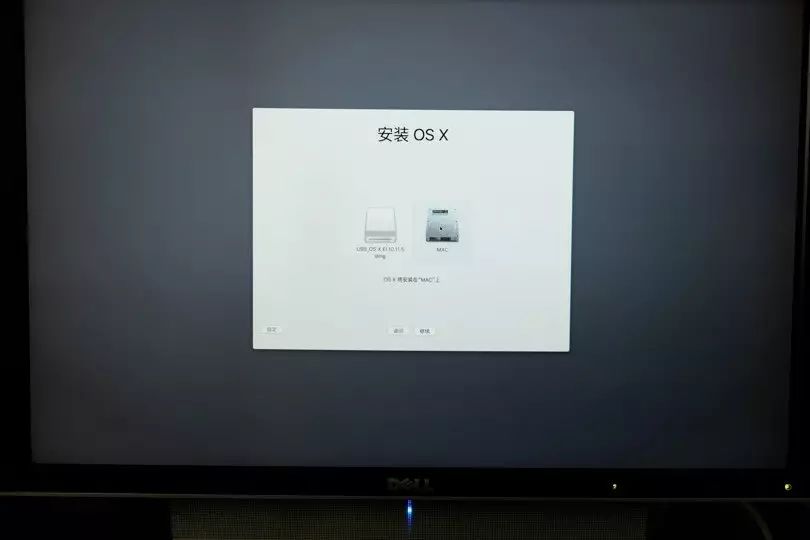
Select the drive you just partitioned for installation, then just wait for about 15 minutes…
【Entering the Apple System】
When the installation is complete, restart the computer and still press F12 to select the previously created USB to boot, because the boot files have not yet been written to the EFI partition of the hard drive (those familiar with PE can write it in PE themselves), you need to write the EFI files previously written to the USB onto the hard drive.
After selecting the USB to boot, you will see the following screen, select the disk you just named.
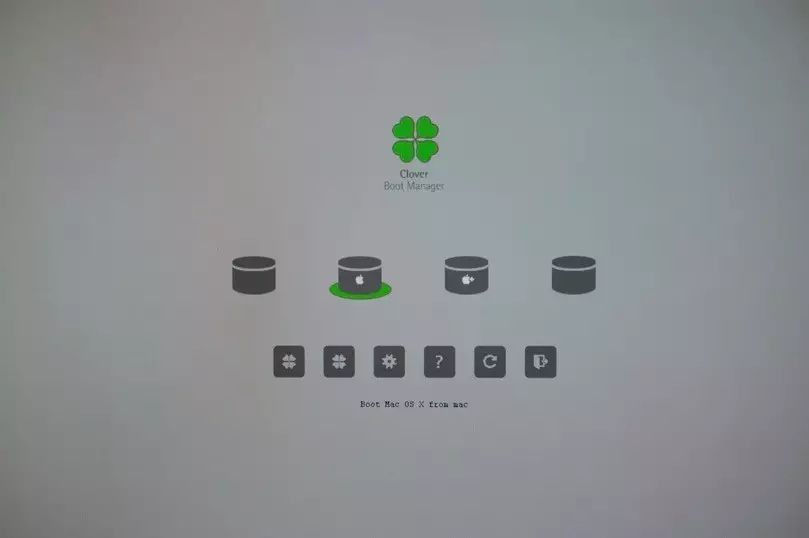
If all goes well, you can successfully enter the system, follow the prompts to complete the setup (create a user and enter a user password), after entering the system, remove the installation USB (this step is necessary) and copy the previously extracted i3H6100EFI folder to the desktop of the Apple system (using another USB).
Run the CloverConfigurator software in the folder, and you will see the following screen.
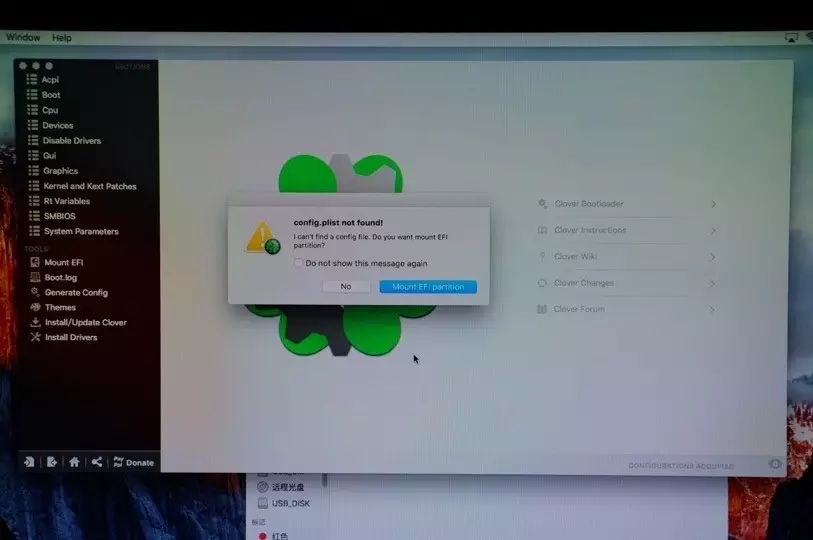
Click the blue Mount EFI partition, and you will see the following screen.
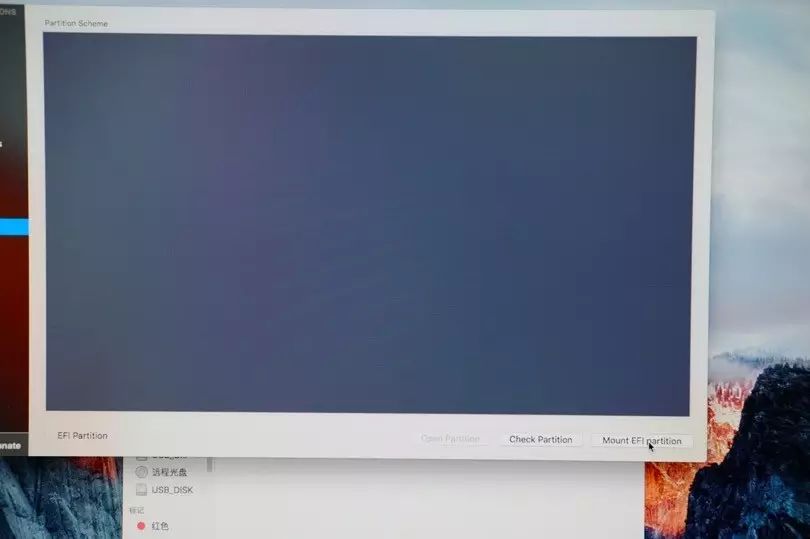
Now you need to select Mount EFI partition first, then select open partition, after that a window will pop up asking you to enter your password (the one you entered when creating the user), and then you will see the following screen.
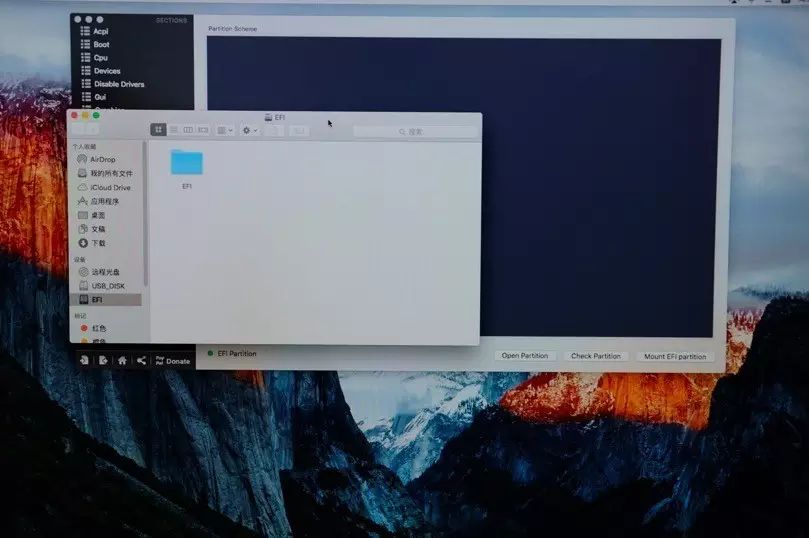
Delete the EFI folder inside, and copy the EFI files I provided into it, then you’re all set.
Restart the computer, select the hard drive you installed as the boot disk in the BIOS, and the startup screen should look as follows.
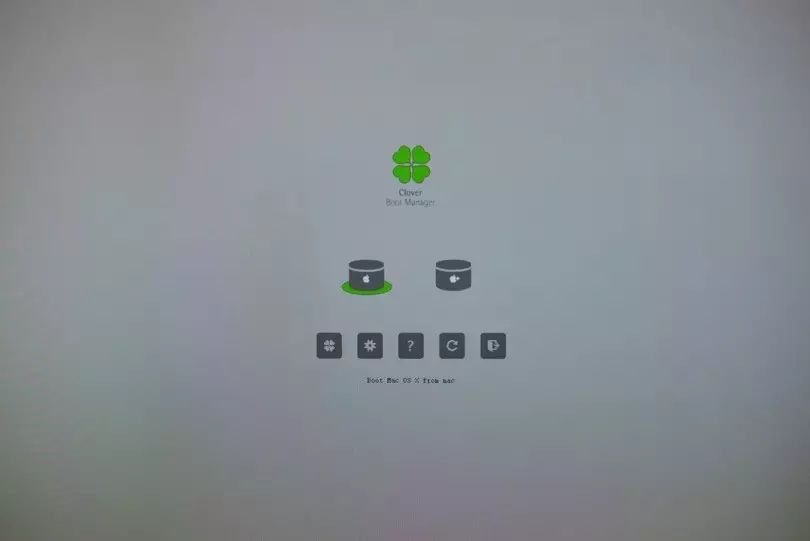
Congratulations, the Apple system has been successfully installed!!!