Every day a little progress
-
Raspberry Pi development board with USB Type-A interface -
USB camera -
mjpg-streamer software package
# Update software list
sudo apt-get update
# Install JPEG support library
sudo apt-get install libjpeg62-turbo-dev
sudo apt-get install imagemagick
sudo apt-get install libv4l-dev
sudo apt-get install cmake
sudo apt-get install git# Enter the newly created folder
cd ~/soft/mjpg-streamer
# Pull mjpg-streamer project files
git clone https://github.com/jacksonliam/mjpg-streamer.git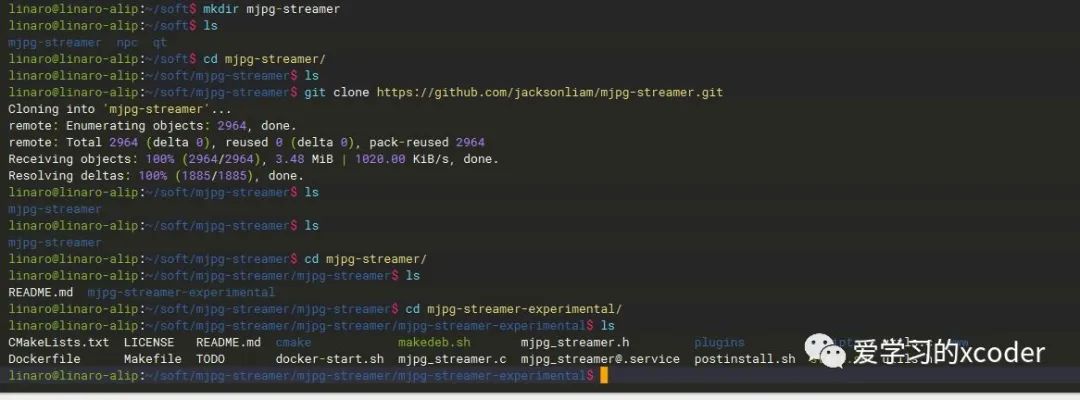
3. Compile and install the mjpg-streamer software package
# Enter mjpg-streamer/mjpg-streamer-experimental folder
# Execute the following commands one by one
sudo make
sudo make install

4. Recognize the USB camera
# Check video devices
ls -l /dev/video*
Generally, the first device has image and video functions. You can use the following commands to compare the two devices. Only the video capture device can output video, so here we choose the /dev/video5 device.
v4l2-ctl --all --device=/dev/video5
v4l2-ctl --all --device=/dev/video6

5. Configure the mjpg-streamer software
Enter the mjpt-streamer/mjpg-streamer-experimental folder:
Edit the startup command in start.sh
sudo vim start.sh
# Original startup command
./mjpg_streamer -i "./input_uvc.so" -o "./output_http.so -w ./www"
# Modified startup command
./mjpg_streamer -i "./input_uvc.so -f 10 -q 40 -r 1280x720 -d /dev/video5 -y" -o "./output_http.so -p 8080 -w ./www"
# Parameter explanation: -f frame rate, the smaller, the less bandwidth consumed, default 30
-q video clarity, the smaller the smoother, default 80, 0-100
-r resolution
-d device number
-y yuyv format support
-p http service port, here use port 8080
-w http file path, here in the www folder of the current file directory
After modifying the start.sh file, save it. It is recommended to comment out the previous line and add the new line.

6. Start the mjpg-streamer service and test the web display
Enter the mjpt-streamer/mjpg-streamer-experimental folder:
Run start.sh directly to start
sh start.sh
# Just ignore the error message

-
You can use tmux or screen and other multi-terminal software to create a terminal to run sh start.sh separately. -
You can enter the mjpt-streamer/mjpg-streamer-experimental/www folder to modify the web display content -
You can use internal network penetration software to set the Raspberry Pi’s port 8080 to be externally accessible, allowing remote viewing of the camera video stream, but be sure to set a password. Also, the video frame rate should not be too high to avoid lag.
Thank you for watching, and friends are welcome to contact and communicate at any time!


Welcome to follow!


Or add my WeChat: gzswood