This article is an excellent piece from the KX forum.
KX forum author ID: 98
In the previous article of the series on creating your own penetration testing tool, the author discovered that many users reported that the badusb made with the Digispark development board could only execute the pre-written commands once. If it fails after being plugged in, it cannot execute again.
If we use a Raspberry Pi zero w and P4wnP1 to create a badusb, we find that its functionality is very powerful. However, its drawbacks also emerge, such as being too large and easy to detect, and the cost is high for a single unit.
This is very unfriendly in certain experimental environments. For example: when we conduct a badusb attack on a computer, if we plug the attack device into the computer and find that the owner is sitting there and not leaving, we cannot take away the attack device, resulting in a waste of the investment in the zero w and memory card.
Can we create a small, low-cost badusb device that can edit attack scripts online and connect wirelessly?
Of course, we can. We implemented it based on a project called wifi-ducky found on GitHub.
1. ESP8266 (ESP-12f, NodeMCU, ESP-01S)
2. Development board with Atmega32U4 (this article uses Arduino Leonardo)
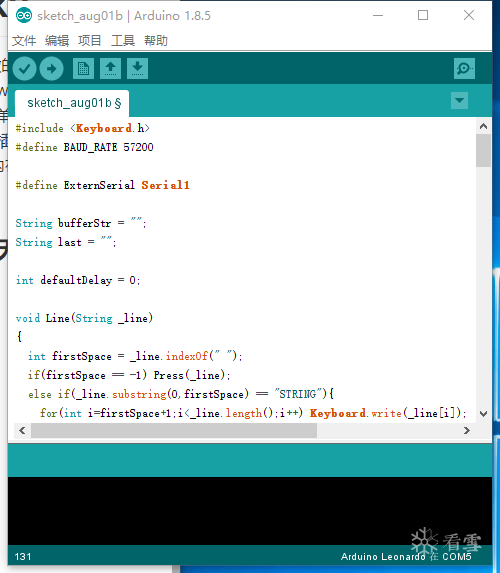
First, open Arduino and create a new project, then select the corresponding development board and port number. If you don’t know what your development board port number is, you can find it in the device manager. We go to this address:
https://github.com/spacehuhn/wifi_ducky/blob/master/arduino_wifi_duck/arduino_wifi_duck.ino and copy the code into Arduino.
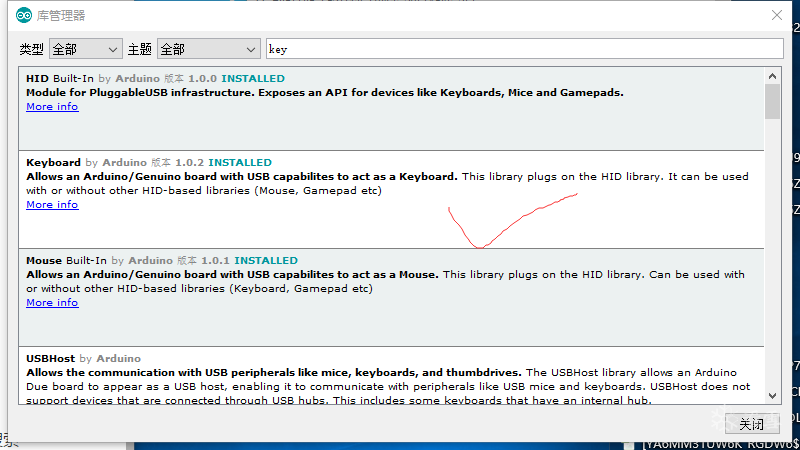
When you upload, you may find an upload error because you do not have the keyboard library file. We go to Project – Load Library – Add Library – Search for Keyboard and install it.
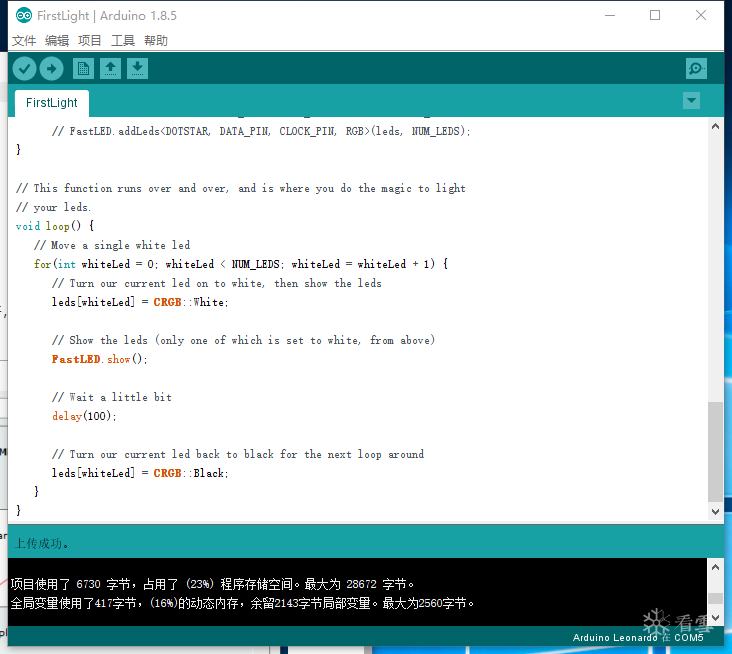
Then we click the upload button to start uploading. After a few seconds, it will show that the upload was successful.
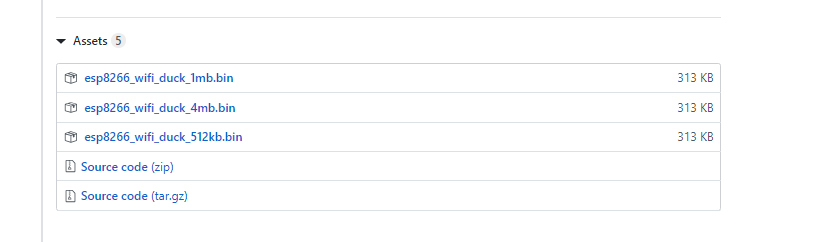
Next, we can set this aside and start uploading the firmware for ESP8266. Since the firmware for ESP8266 is already prepared, we can directly download it from GitHub:
https://github.com/spacehuhn/wifi_ducky/releases and upload it directly. Just download the first three files.
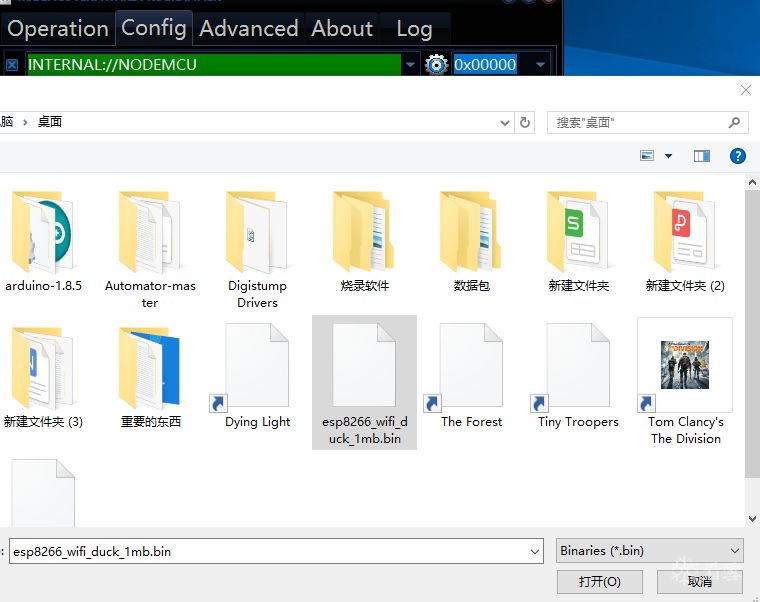
Extract a file named esp8266_wifi_duck_1mb.bin file, and then we will use the firmware flashing software for ESP8266 to perform the flashing.
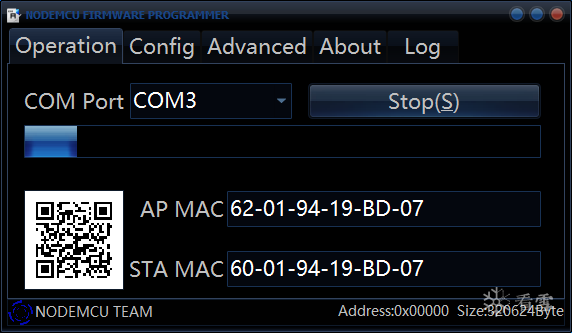
Open the software, plug in ESP8266, first select the port in Operation, then go to config and select the firmware we just downloaded for flashing:
The flashing was successful, and a green checkmark will appear below, and that’s it.
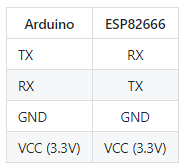
If you think this flashing method is not good, you can choose to use Arduino for flashing, but this method is slightly more complicated. Next, we come to the most important part: the wiring!!!
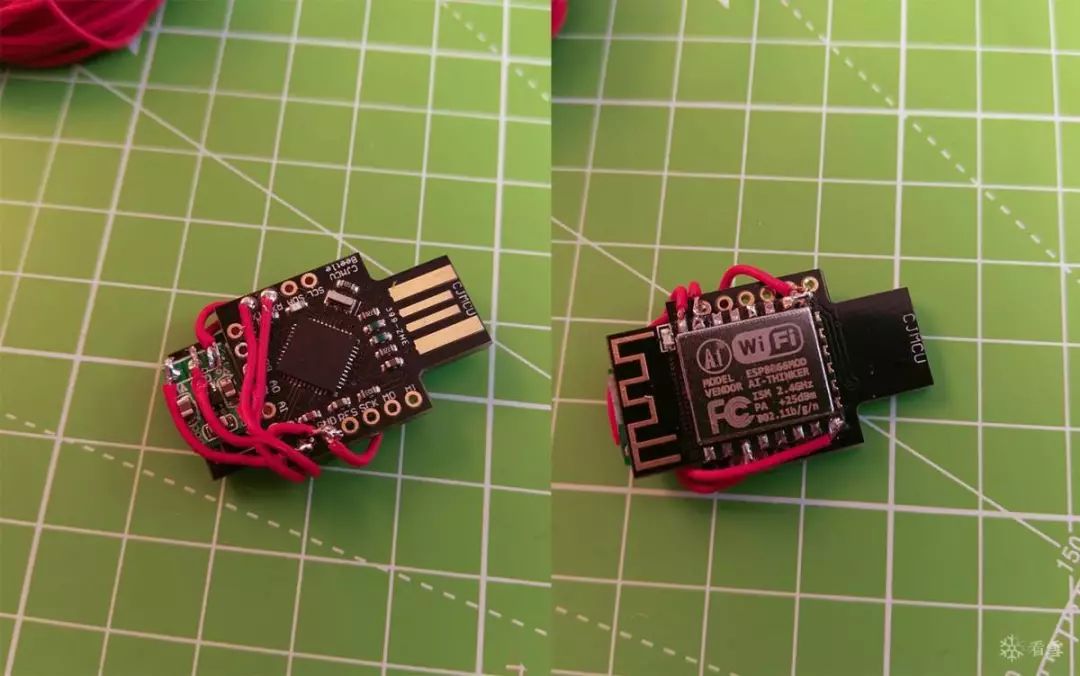
Using Arduino and ESP8266, connect TX to RX, RX to TX, GND to GND, VCC to VCC.
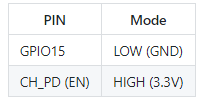
If you are using ESP-12F, you need an adapter board, which is a 5V to 3.3V converter. The ESP-12F requires 3.3V power supply while Arduino Leonardo is 5V. The premise is that the crystal oscillator of Arduino Leonardo is 16, which is for 5V. If it is 8, then it is 3.3.
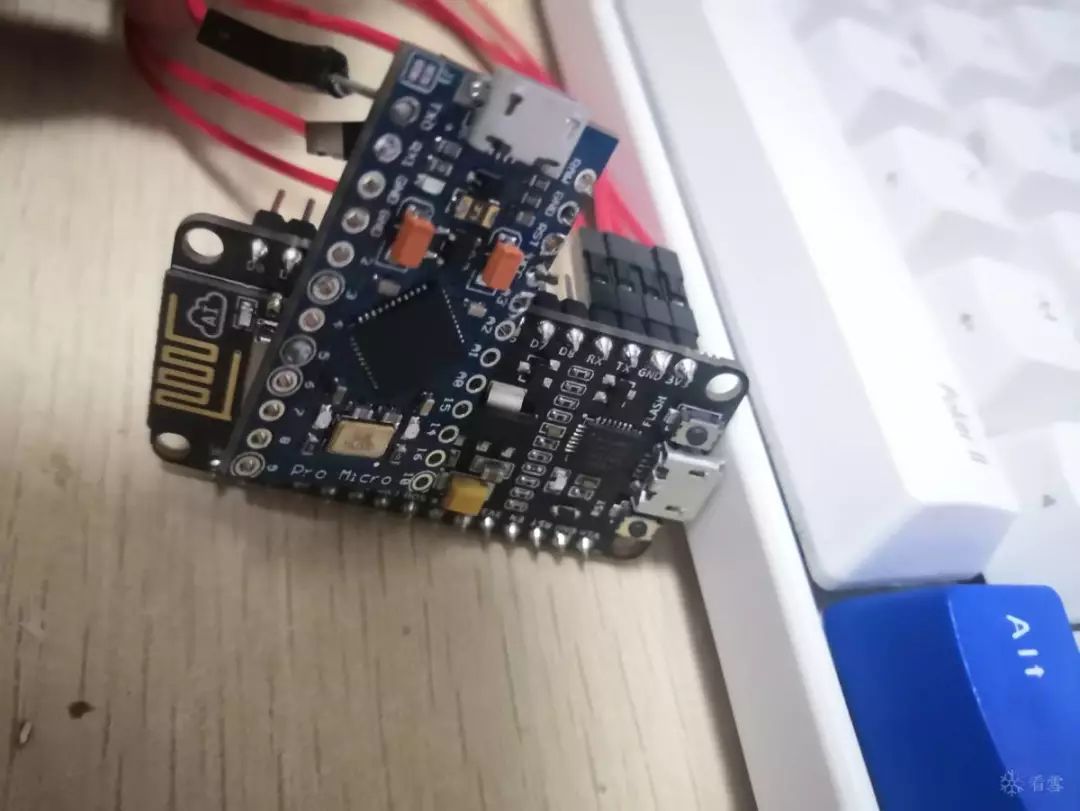
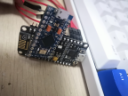
The image shows the author’s completed wiring:
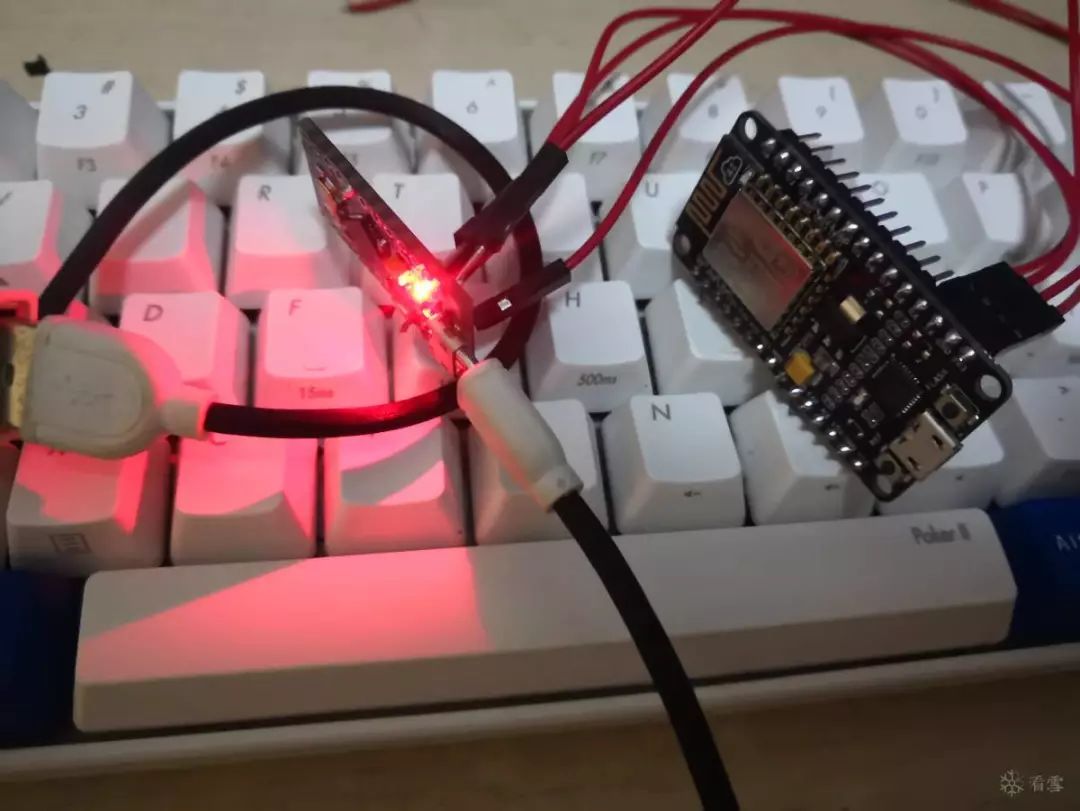
Let’s not criticize the author’s soldering. I just soldered the Dupont wires directly into the holes. The important thing to note is not to solder the tin to other unnecessary places, then let’s plug in the power and take a look.
When we plug in the power, the ESP8266 will emit an SSID called WIFI DUCK with the password quackquack. After connecting, open the browser and log in to the backend at 192.168.4.1 to control.
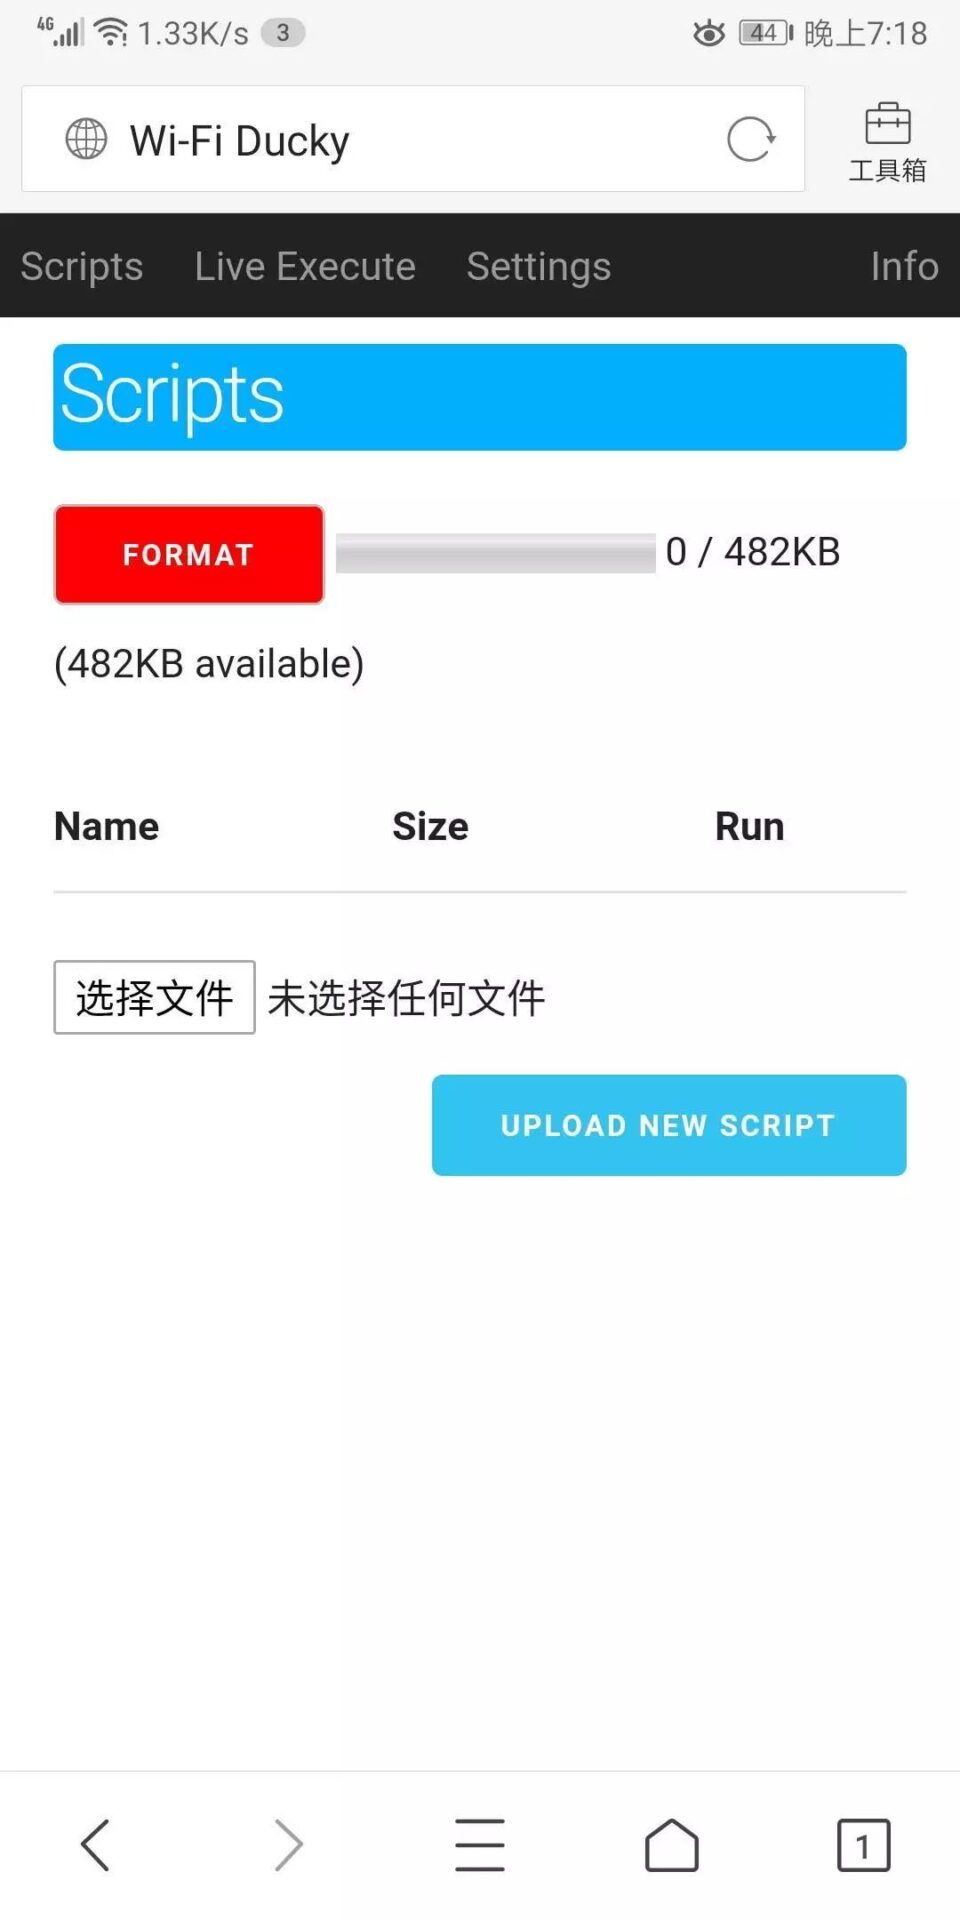
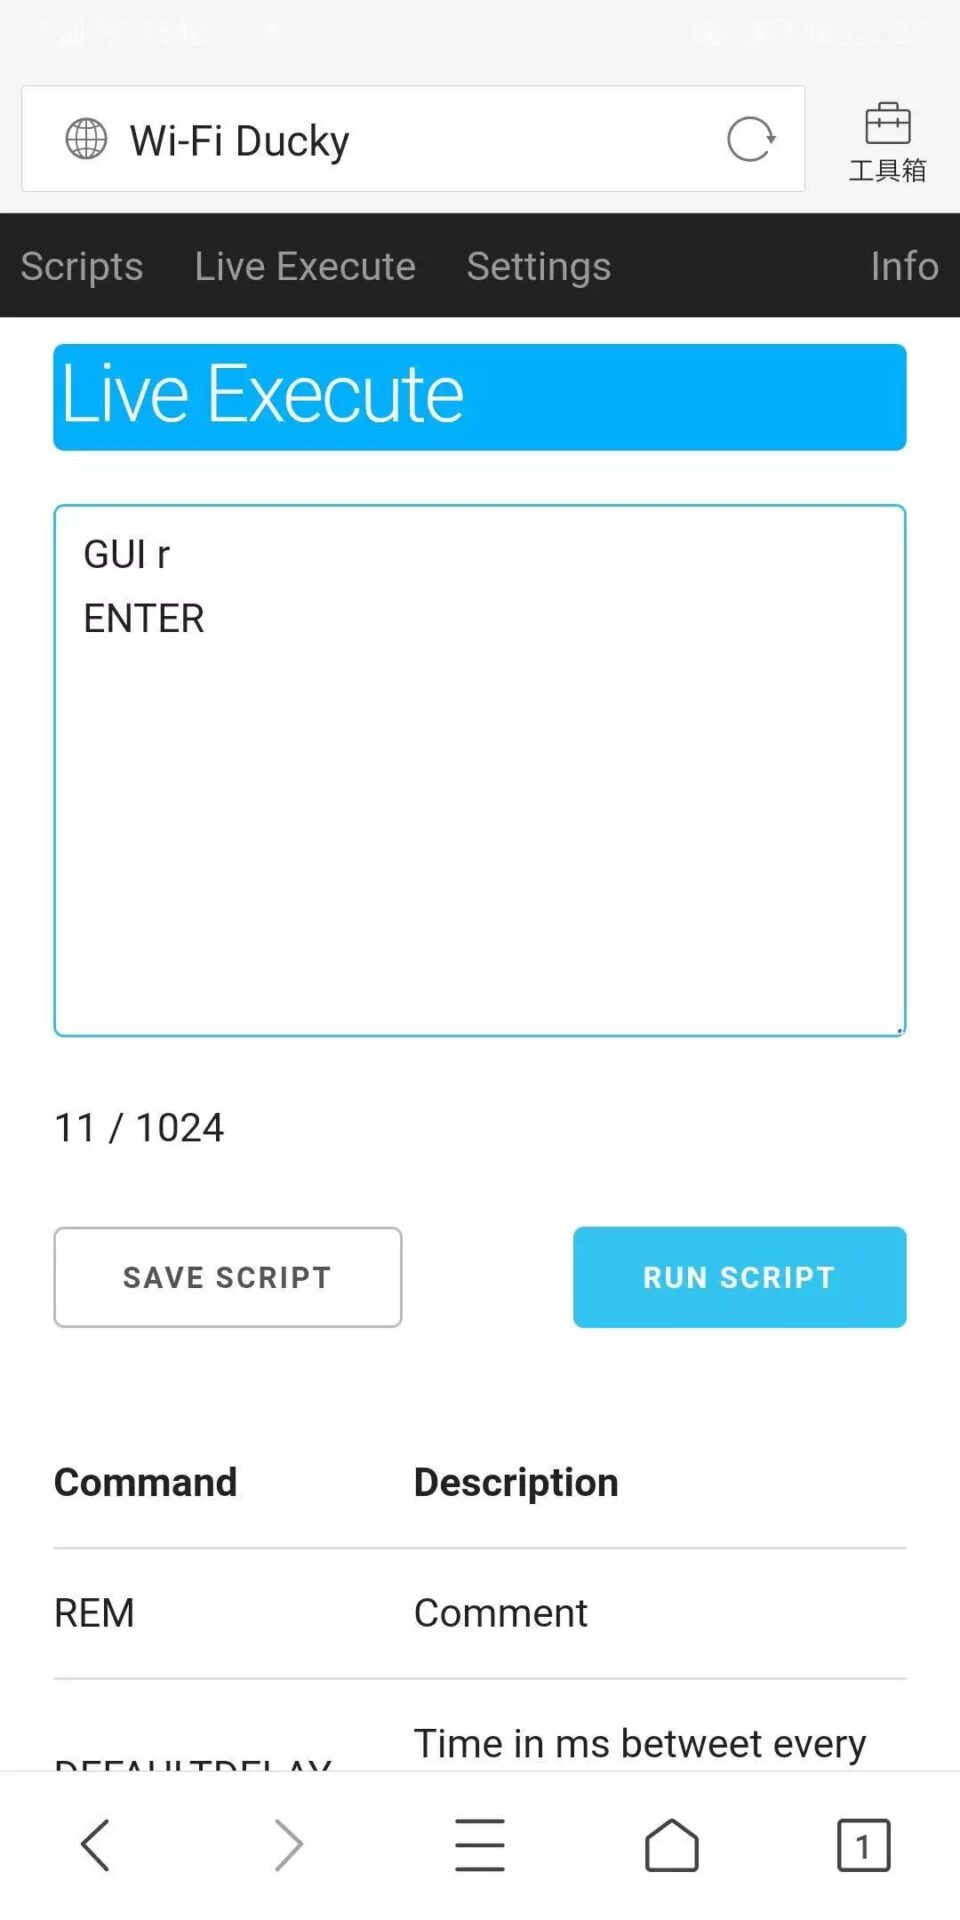
We will see three interfaces. The first interface is the badusb script interface, which is used for uploading pre-written scripts with a total upload limit of 482KB.
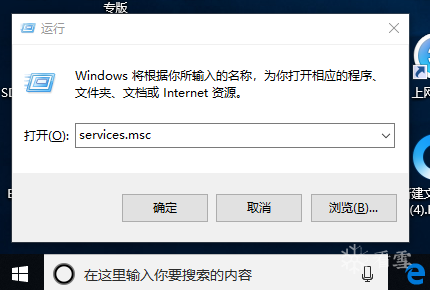
The second interface allows you to write scripts online for attacks. Here I demonstrate opening and running. Below is a command help prompt, and it successfully opened and ran.
The third interface is the settings interface, which I won’t display. At this point, everyone may be confused about why I didn’t use CJMCU and ESP-12F for production?
The reason is simple (I didn’t buy CJMCU). The author currently has an Arduino Leonardo and found that it uses the same chip as CJMCU, so I wanted to try it out to see if it could be used, and it turned out to work.
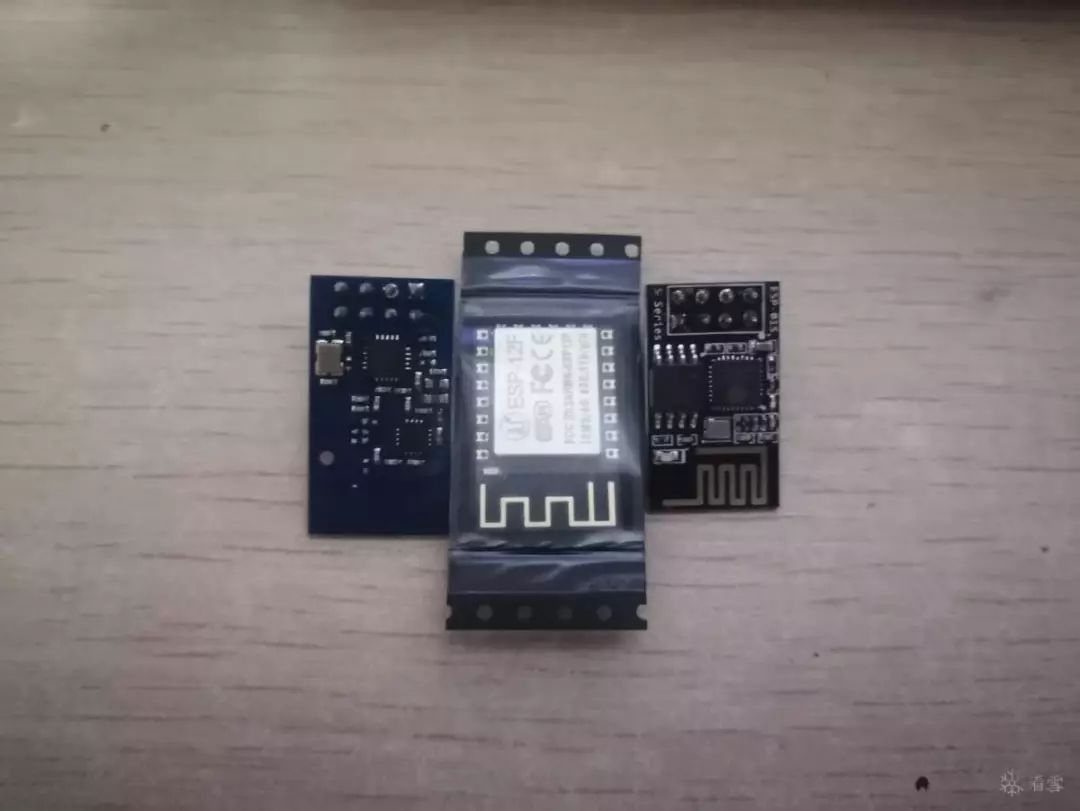
Why use NodeMCU instead of ESP-12F?
The reason is also very simple (I didn’t buy a 5V to 3.3V adapter board). From a beginner’s perspective, if you use ESP-12F, you would need to buy a voltage converter board, which complicates your soldering. On the other hand, NodeMCU has all its pins exposed, making it very easy to connect with Dupont wires. (From left to right are NRF24L01, ESP-12F, ESP-01S)
For badusb, smaller is better and it should have sufficient capability. Based on this wifi-ducky project, the author has also contemplated several questions.
Can it be made smaller? Can the wireless range be extended? Can an SD card be added? Can a 4G module be installed for remote control?
All these possibilities exist for future badusb devices to be small yet powerful, capable of attacking from a long distance, and able to interact with surrounding badusb devices. In fact, the author has several ideas that haven’t been realized, and hopes that readers can try to implement some of these.
That is, using ESP-01S for control or using NRF24L01 for control would be great!Regarding defensive measures against badusb attacks, it’s quite simple: check for any strange devices plugged into your computer before booting. Additionally, disable the Enter key in command windows and prohibit external hardware from automatically installing drivers.
Thank you all for reading!
KX ID: 98
https://bbs.pediy.com/user-839144.htm
*This article is original by KX forum 98, please indicate the source from KX community when reprinting.
* Detailed discussion on the loading process of So dynamic library
* Custom linker implemented through capturing segmentation faults
* Reverse engineering of Lianlian Kan
* Android 4.4 WiFi proxy process
* Discussing App security from the perspective of creating “SMS hijacking horse”
Advanced security circle, a must-read book