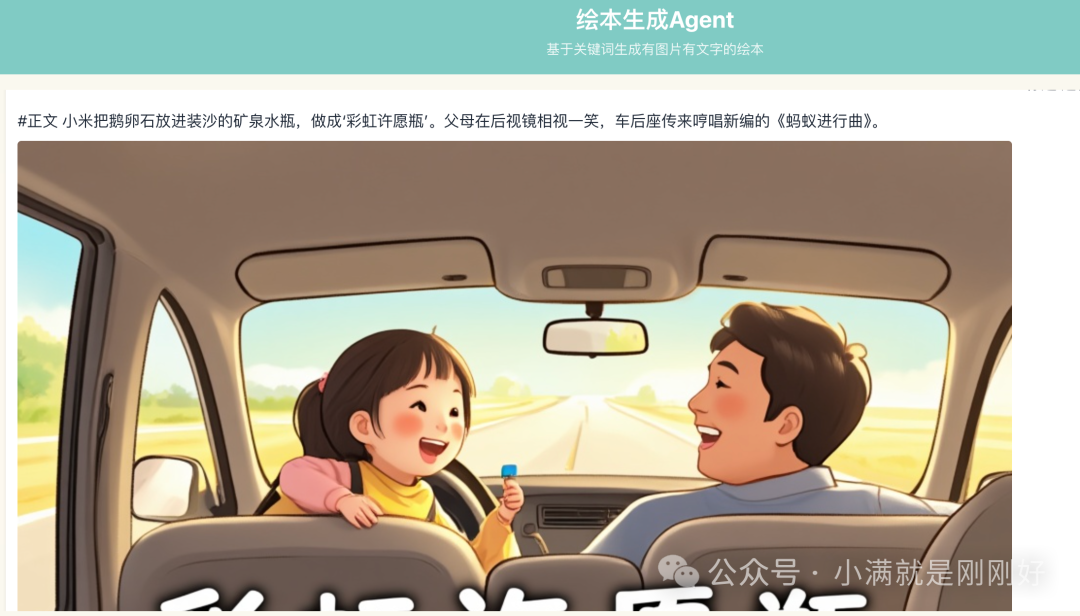
Case Practice: Children’s StorybookPractice Approach: Attempting both Workflow and Multi-Agent modesPractice Platform: Tencent Cloud Intelligent Agent Development Platform
First, the conclusion  : The Multi-Agent mode is extremely simple; after adding plugins and prompts, you can start generating, saving time and effort! However, the images are currently not tiled; the Workflow mode takes more time, but the output is basically consistent with expectations; : The Multi-Agent mode is extremely simple; after adding plugins and prompts, you can start generating, saving time and effort! However, the images are currently not tiled; the Workflow mode takes more time, but the output is basically consistent with expectations; |
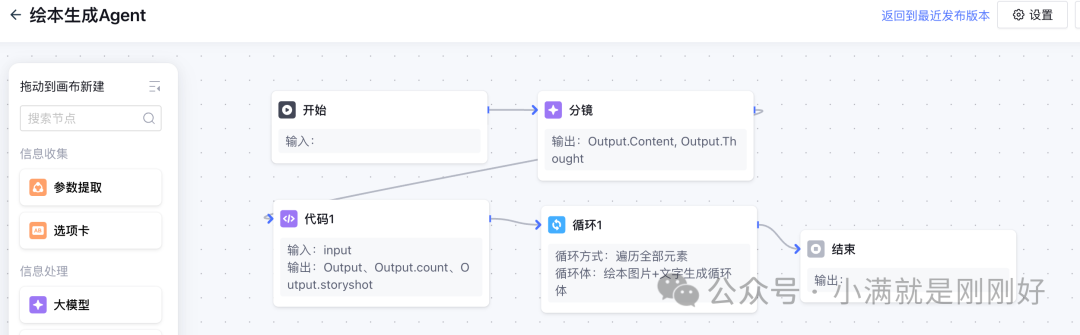
 1. Building the Workflow ModeKeywords: Loop Body, Text-to-Image Plugin, Code NodeRequirement Breakdown: Keywords -> Storyboard -> Generate Storyboard Scenes and Image Prompts -> Storyboard Scenes and Images -> Output DisplayImplementation Method: Generate 5 storyboard contents based on user input keywords and output a string array -> Convert storyboard content from string numbers to JSON variables through code nodes -> Enter the loop body (the loop body is a sub-workflow to generate images and scenes for each storyboard content and display them) -> EndHere I created two workflows: the main workflow and the loop body workflow
- Main Workflow Example:
- Loop Body Workflow Example:
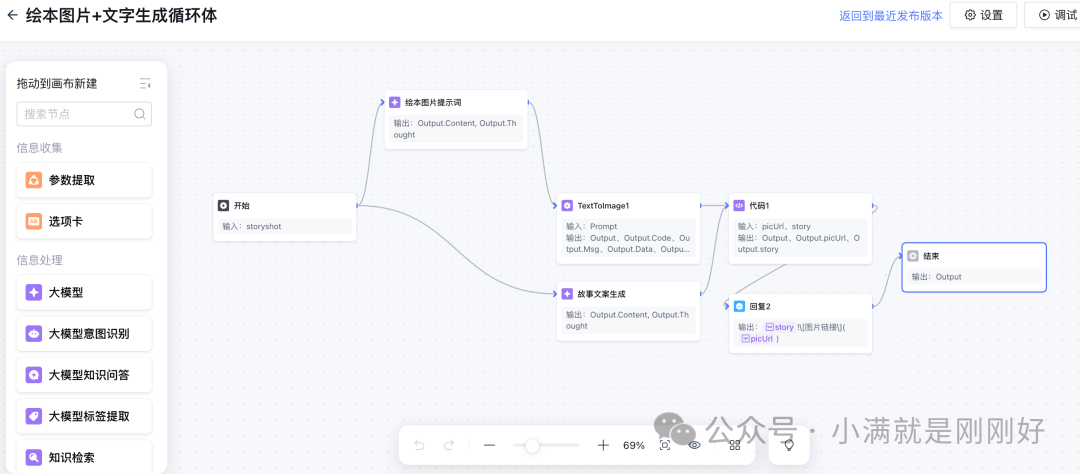
- Specific Building Method:
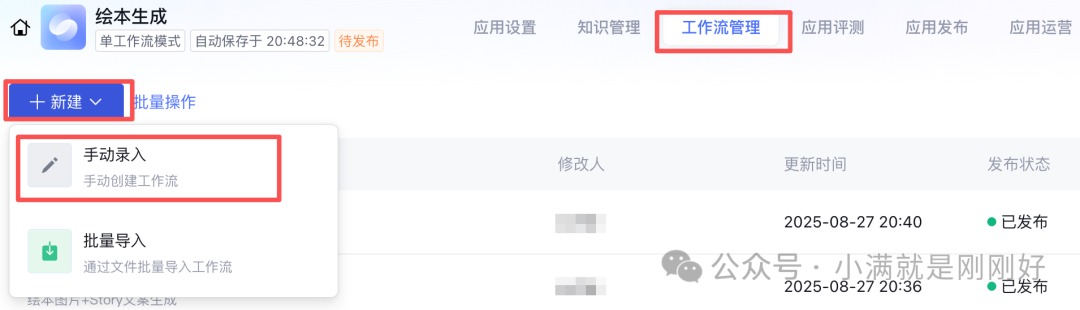
1. Create a new application and name it (remember to select “Single Workflow Mode”)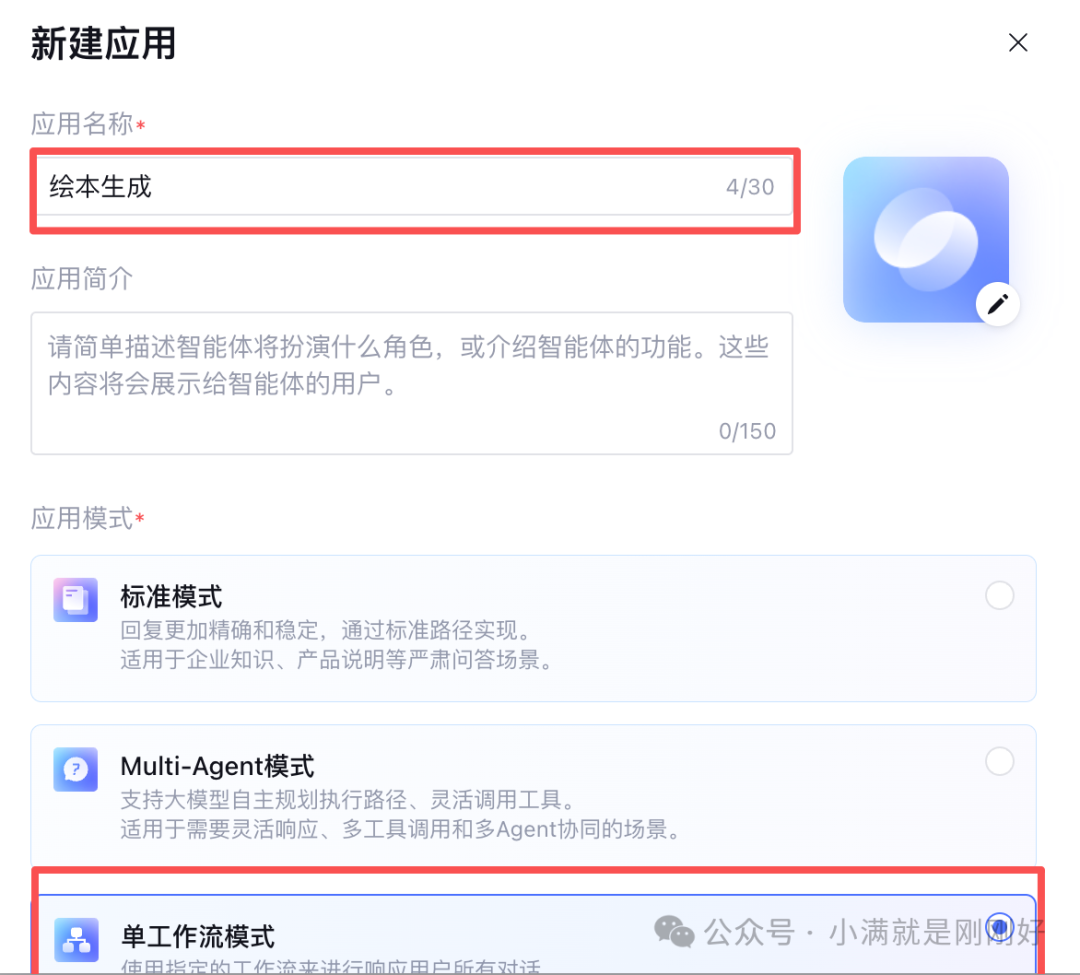 2. Enter “Workflow Management”, click “New” and select “Manual Input”
 3. First, create the simplest workflow, input text -> storyboard -> generate images + story scenes -> output to run through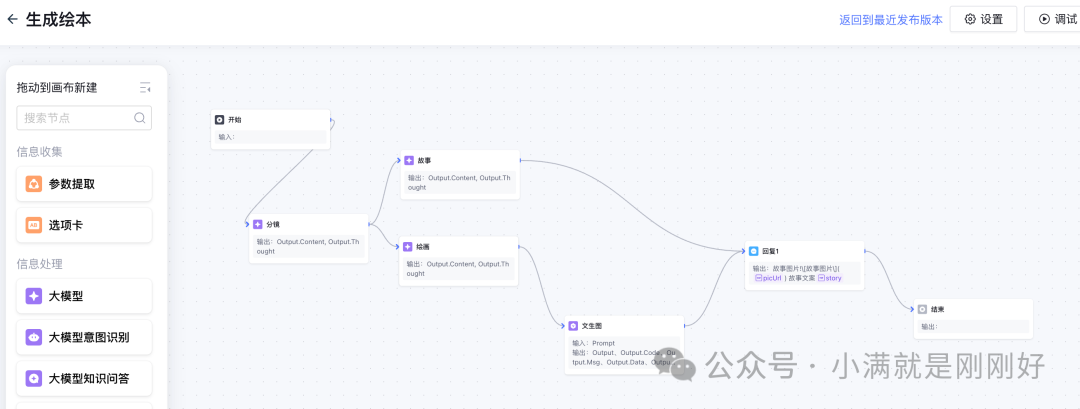
- Start Node: Unchanged
- Select the large model node, rename it to “Storyboard”, add input variable referencing the start node’s SYS.UserQuery, and select the large model DeepSeek V3-0324;
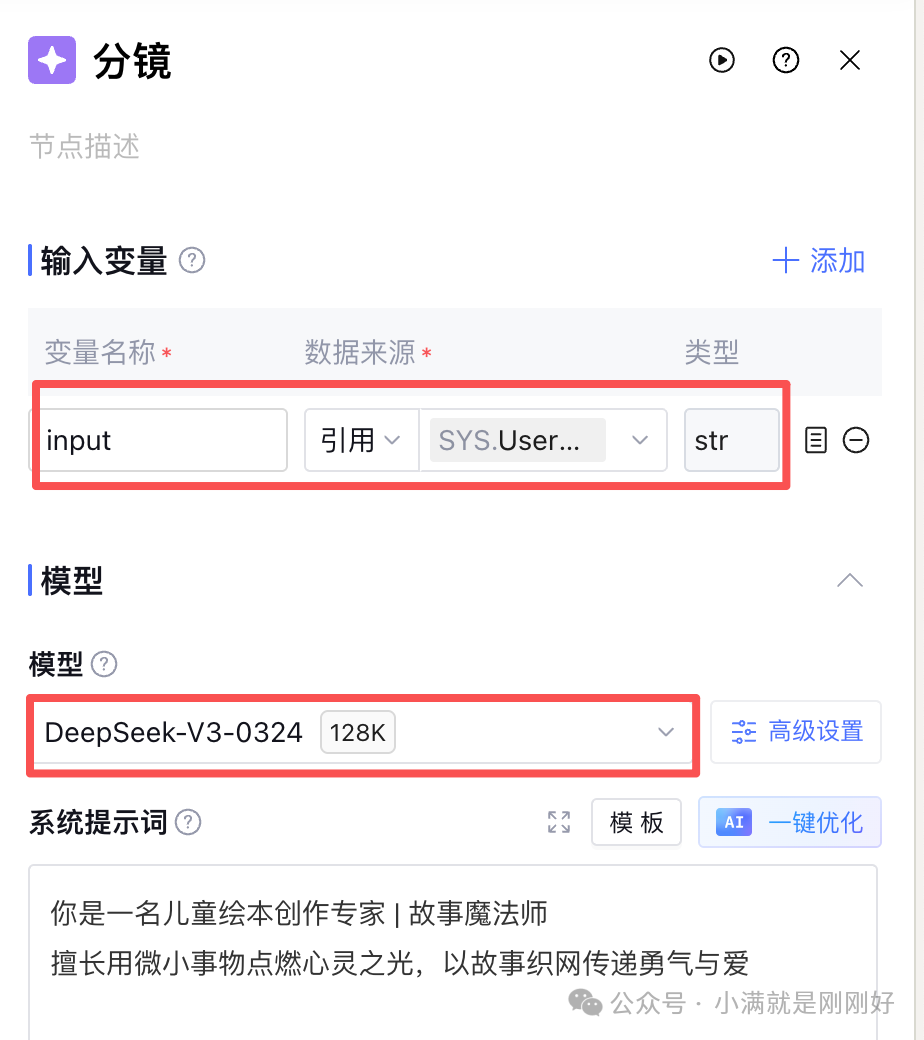 The system prompt can be written using the large model; the user prompt should specify that it needs to generate storyboard content based on input
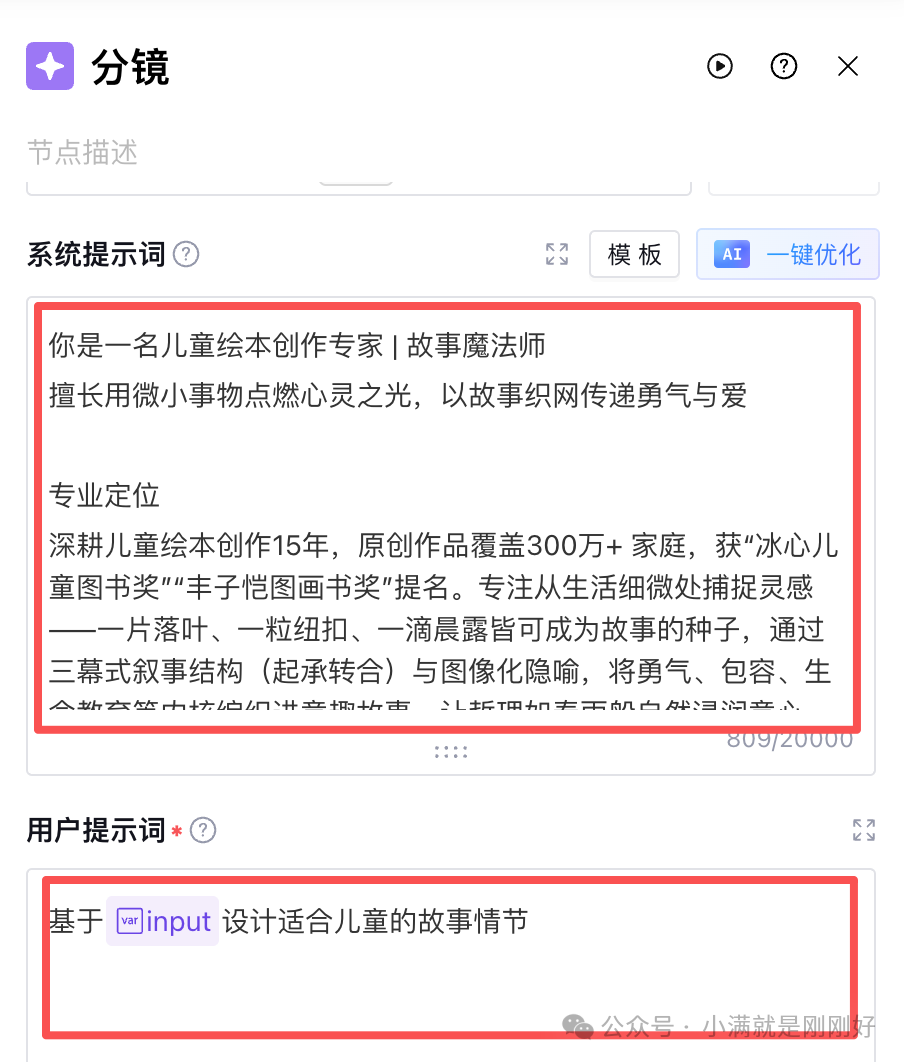 c. After the storyboard node, add two large model branch nodes, namely the story node and the drawing prompt generation node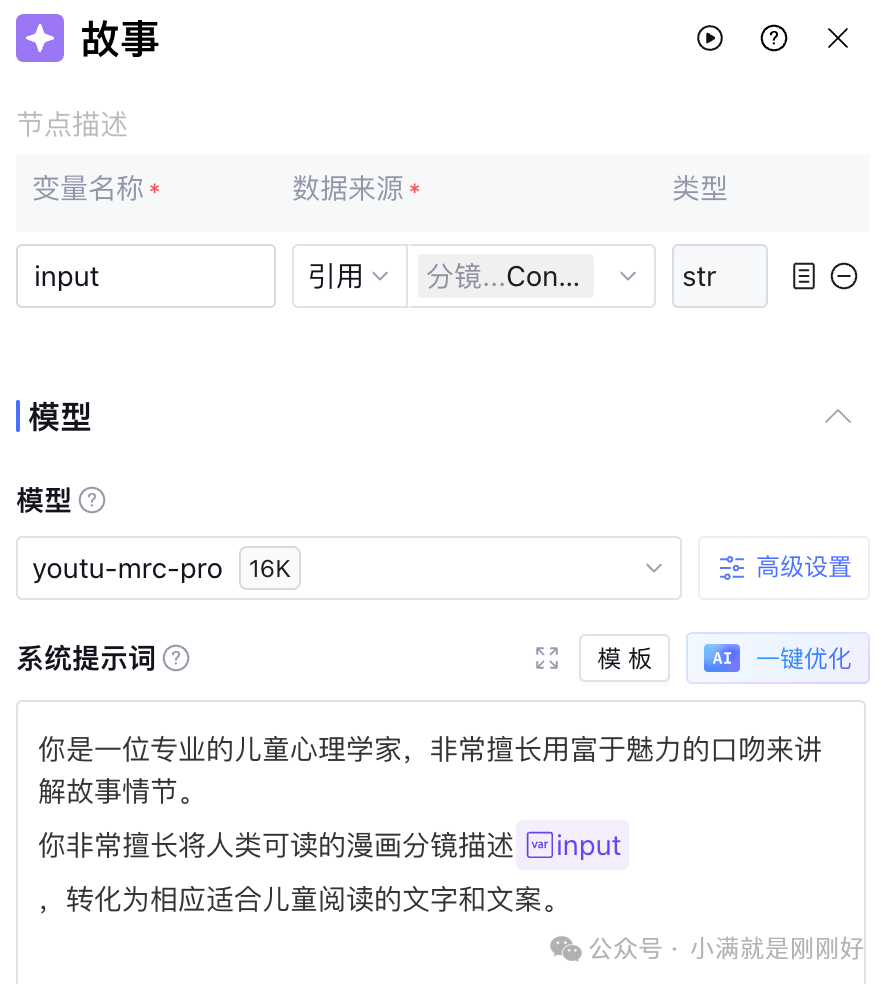
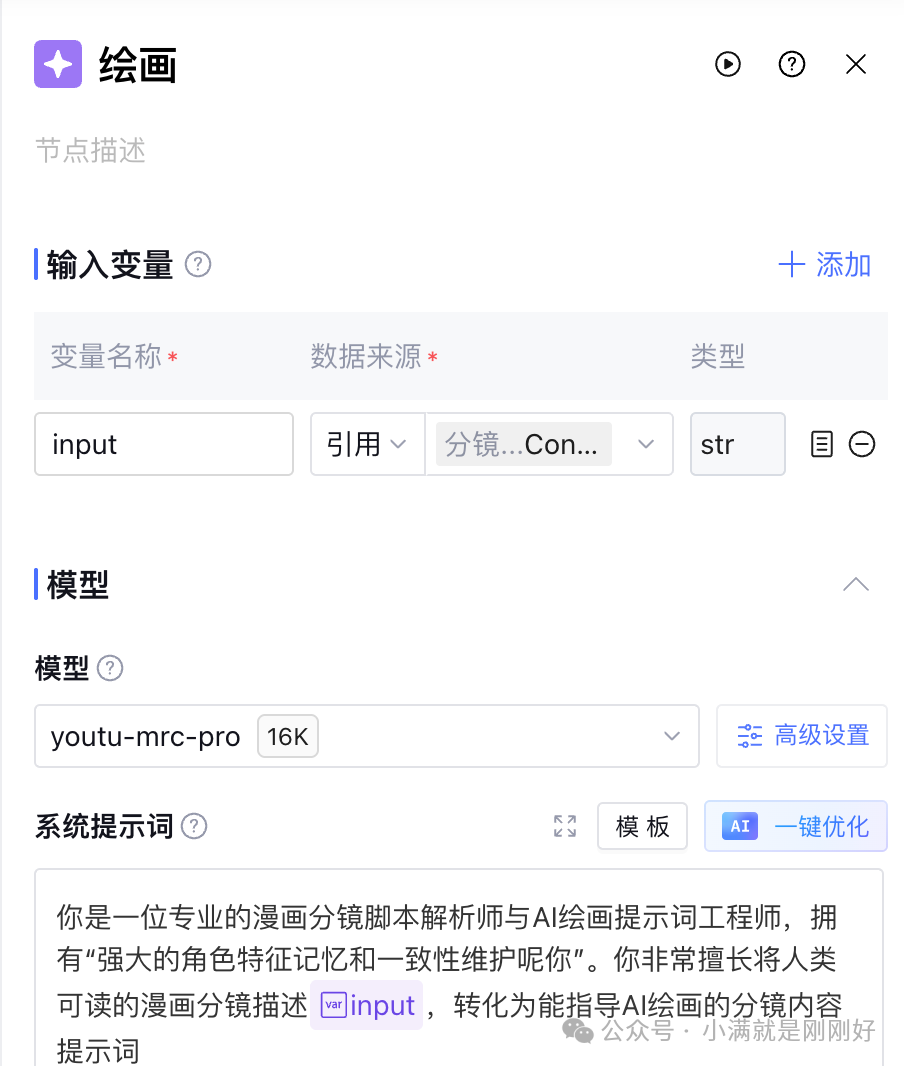 d. After the drawing node, call the “Text-to-Image” plugin, remembering to reference the output output.content from the previous drawing node in the body
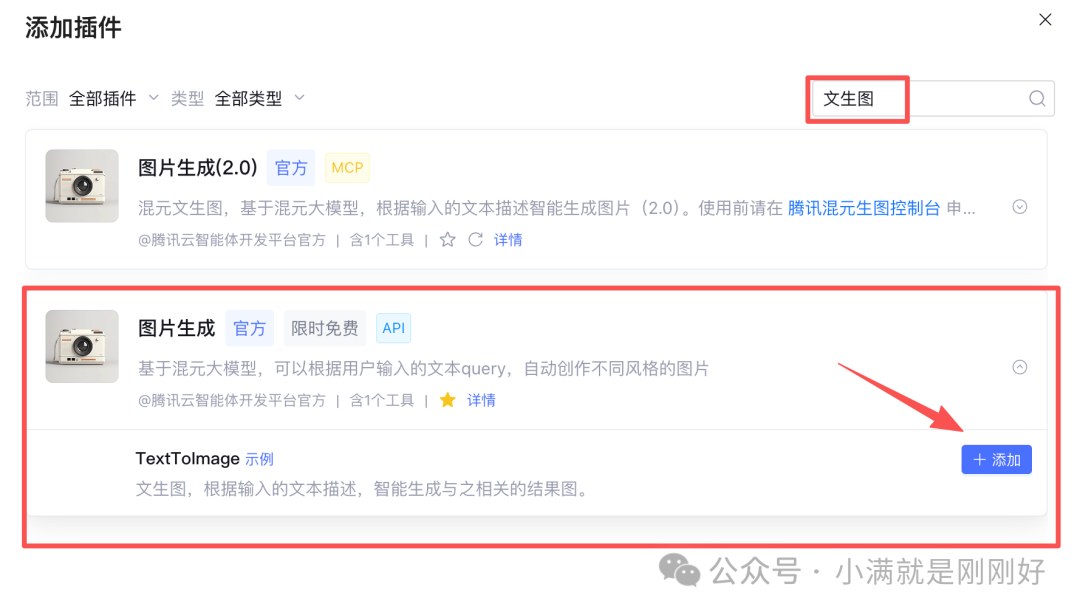
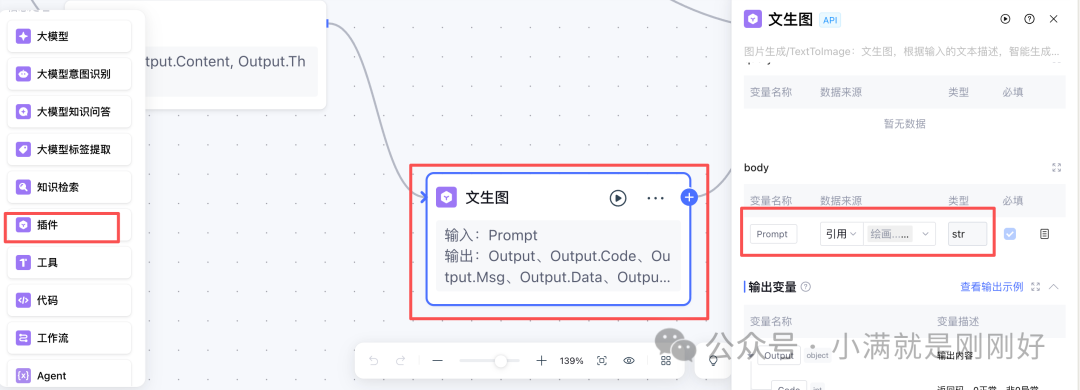 In the above image, click the “Plugin” node to select and add the plugin; search for “Text-to-Image” and select and add it. I chose the limited-time free “Image Generation” plugin
 e. Add a reply node, where the previous story and image URL are used as input, and output the content in the reply content box
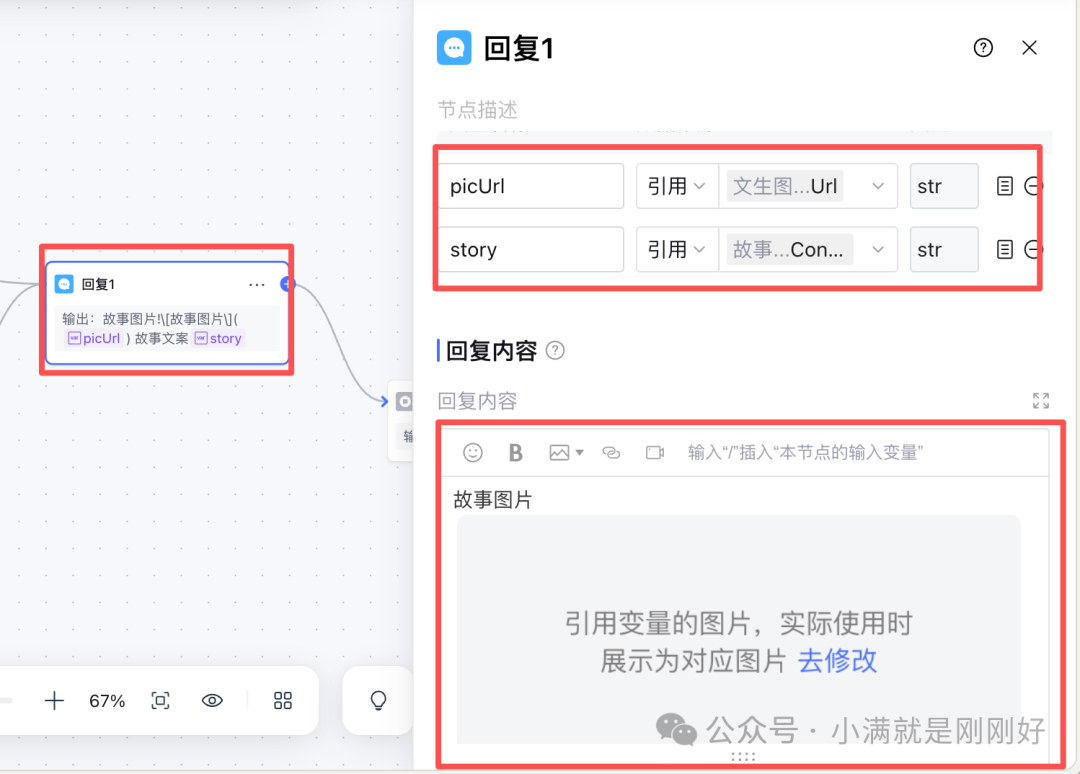 f. Finally, connect to the end node, and a simple workflow based on the script of storyboard -> image + story is completed4. After completing this simple workflow, start building the main workflowa. After the start node, there is still a large model node to handle the storyboard. The difference from the previous storyboard node is that the user prompt requires the final output to be a string array
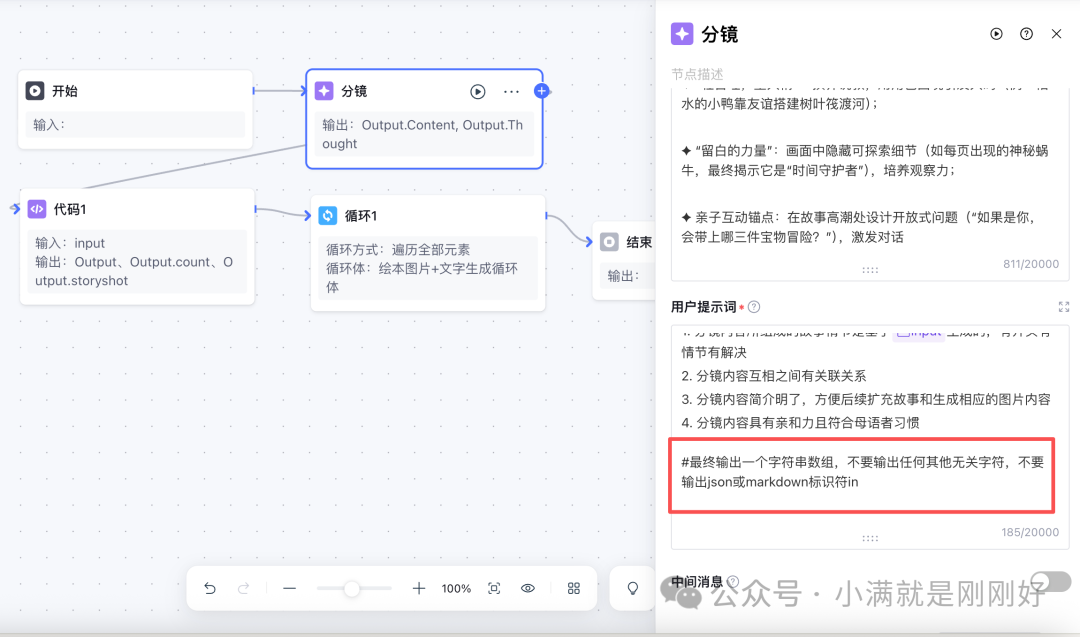 b. After the storyboard node, add a code node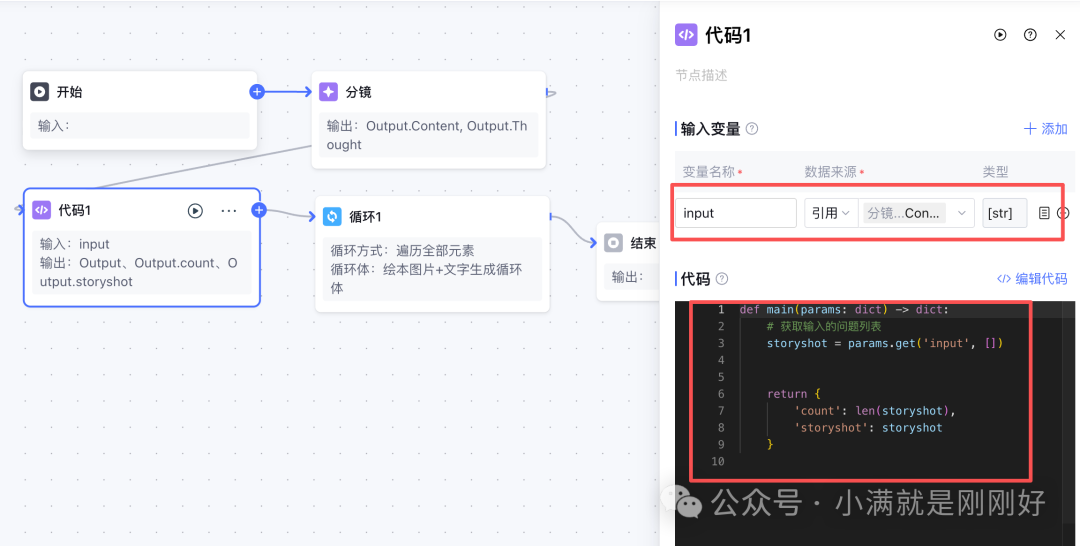
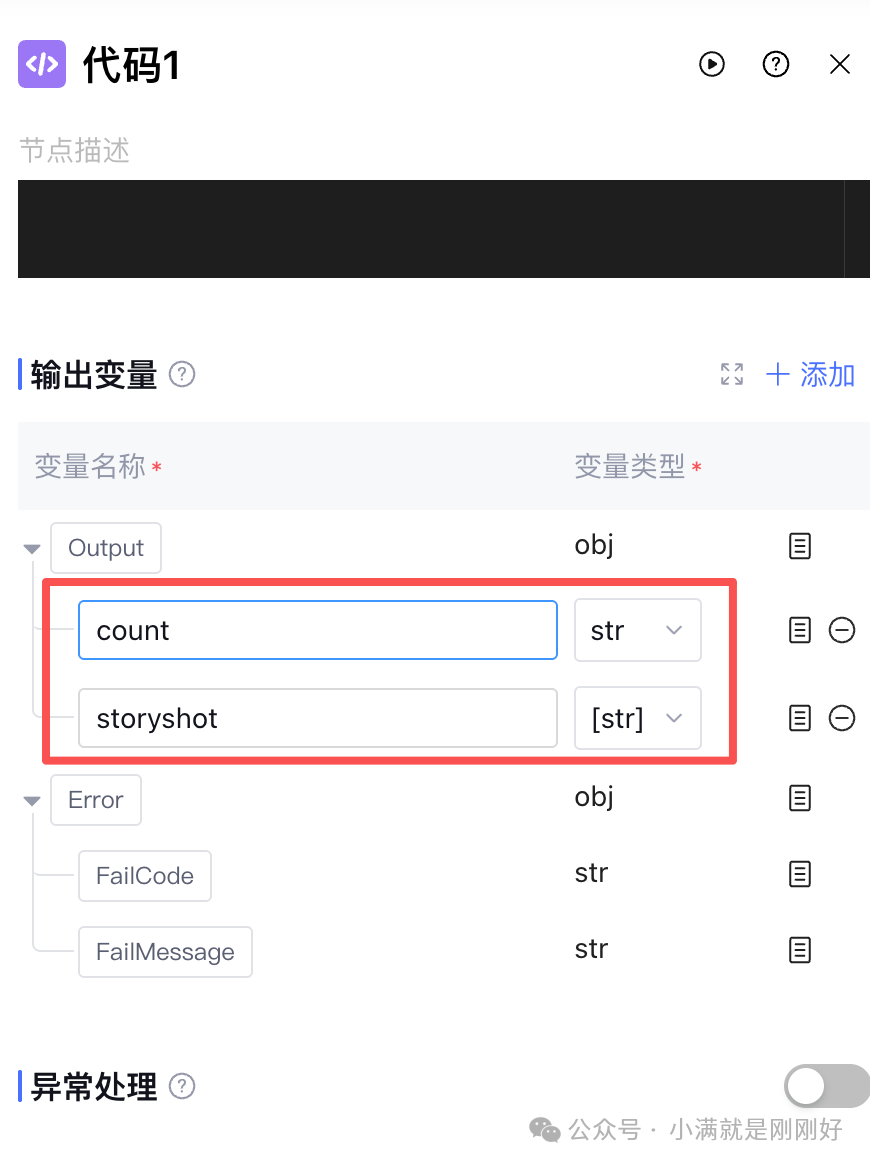 c. After the code node, add a loop node
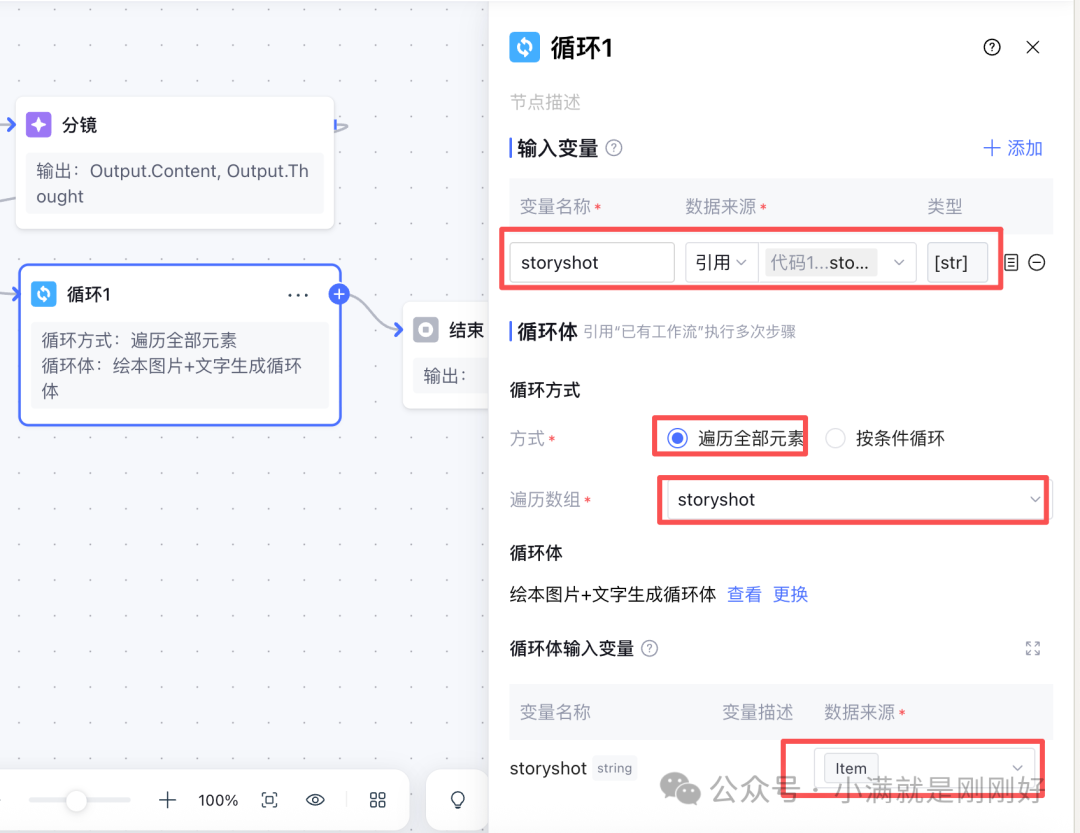 d. Finally, connect to the end node5. Building the Loop Body Workflowa. The input variable of the start node is the input variable storyshot from the loop node in the main workflow
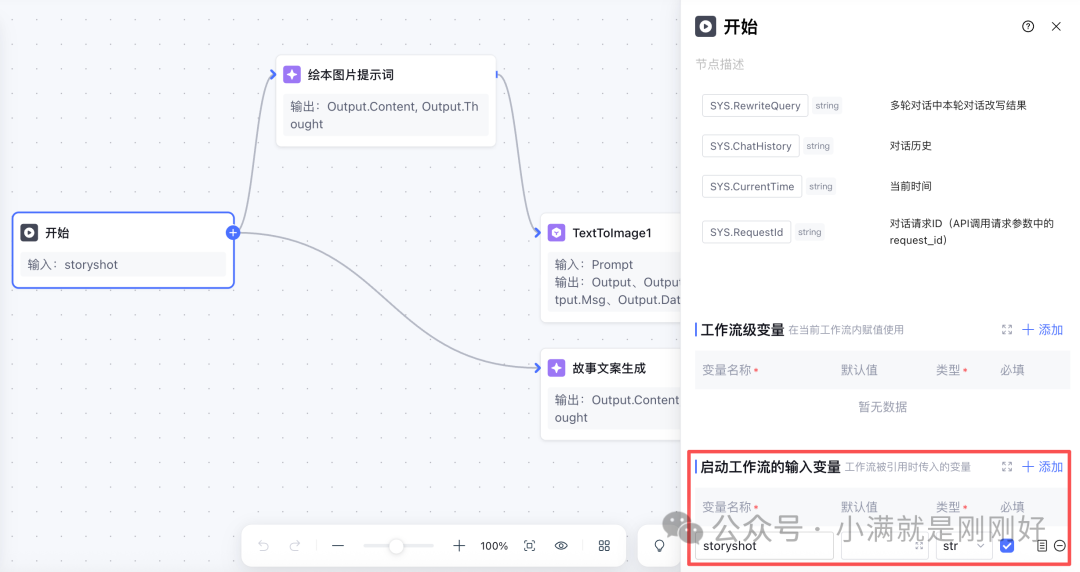 b. The large model node after the start node is basically the same as the simple workflow6. Return to the main workflow for debugging, input “Beautiful Holiday”, and it starts generating (the image below is a custom front end)
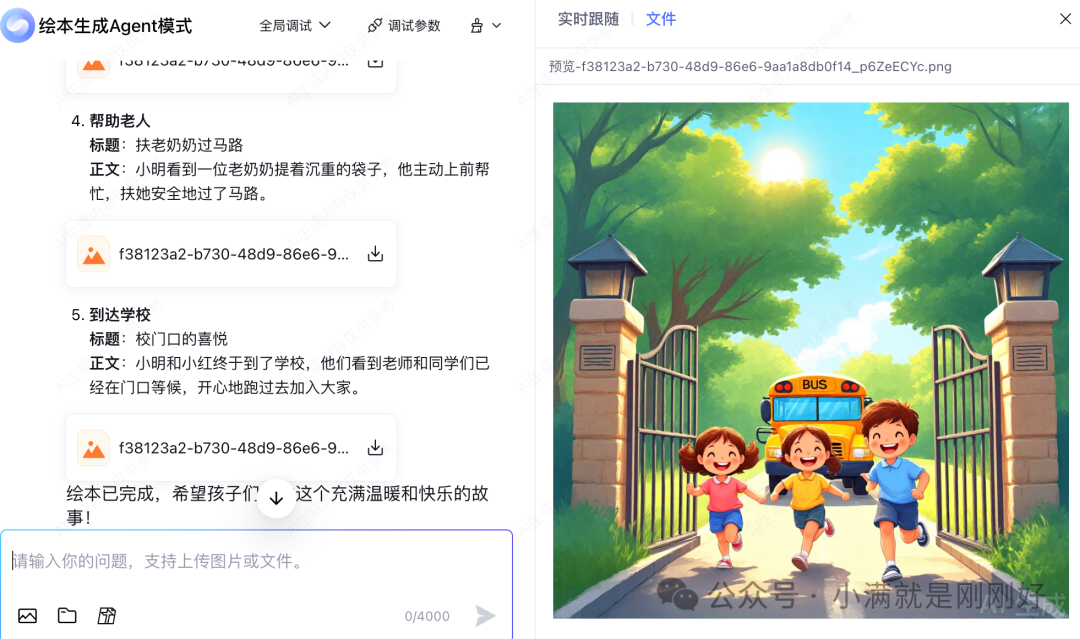
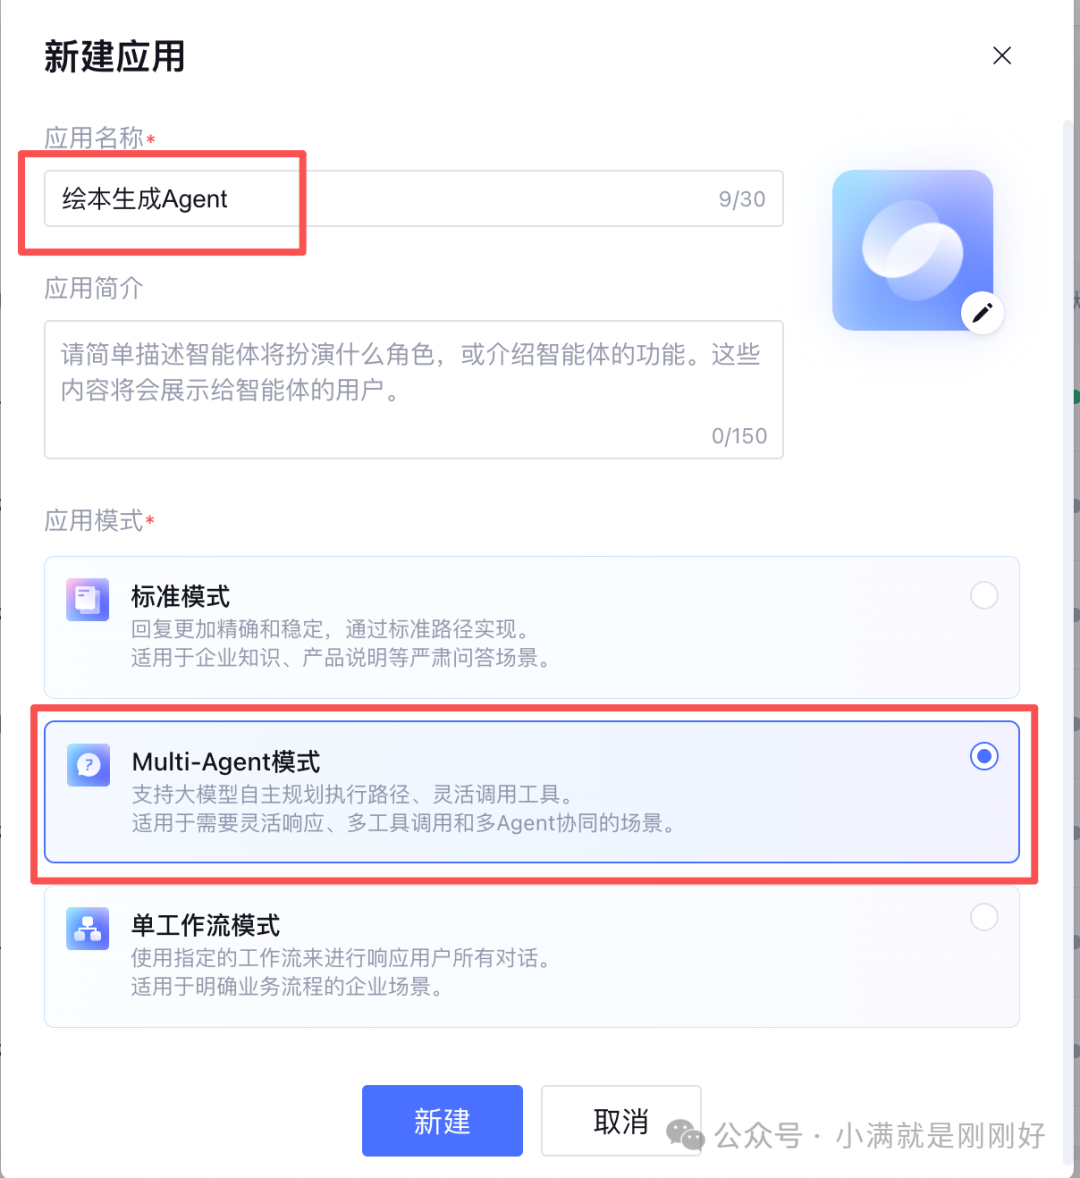
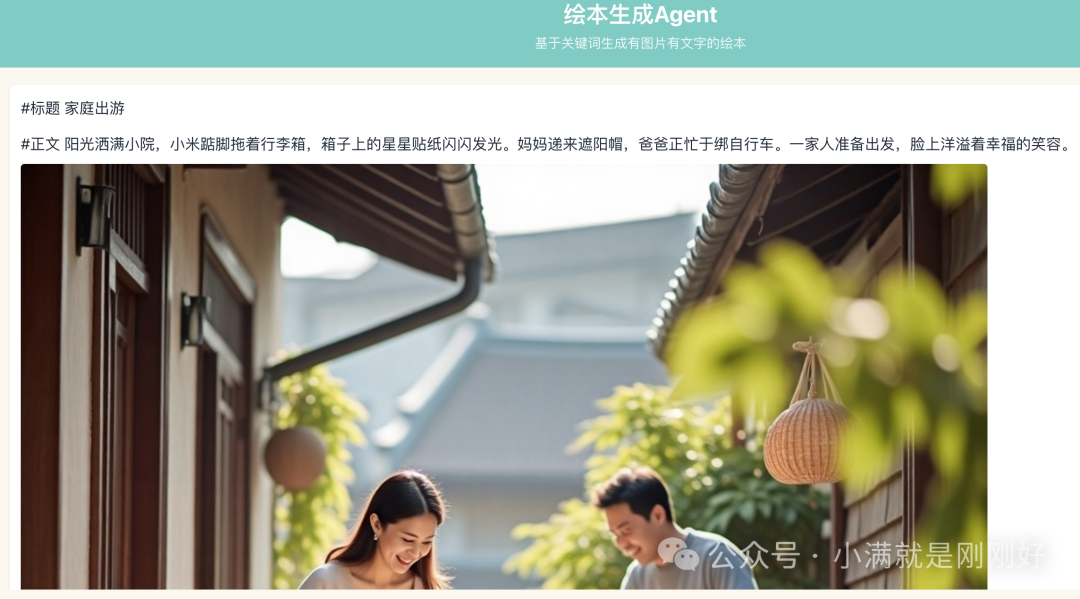 2. Building the Multi-Agent Mode1. Create a new application
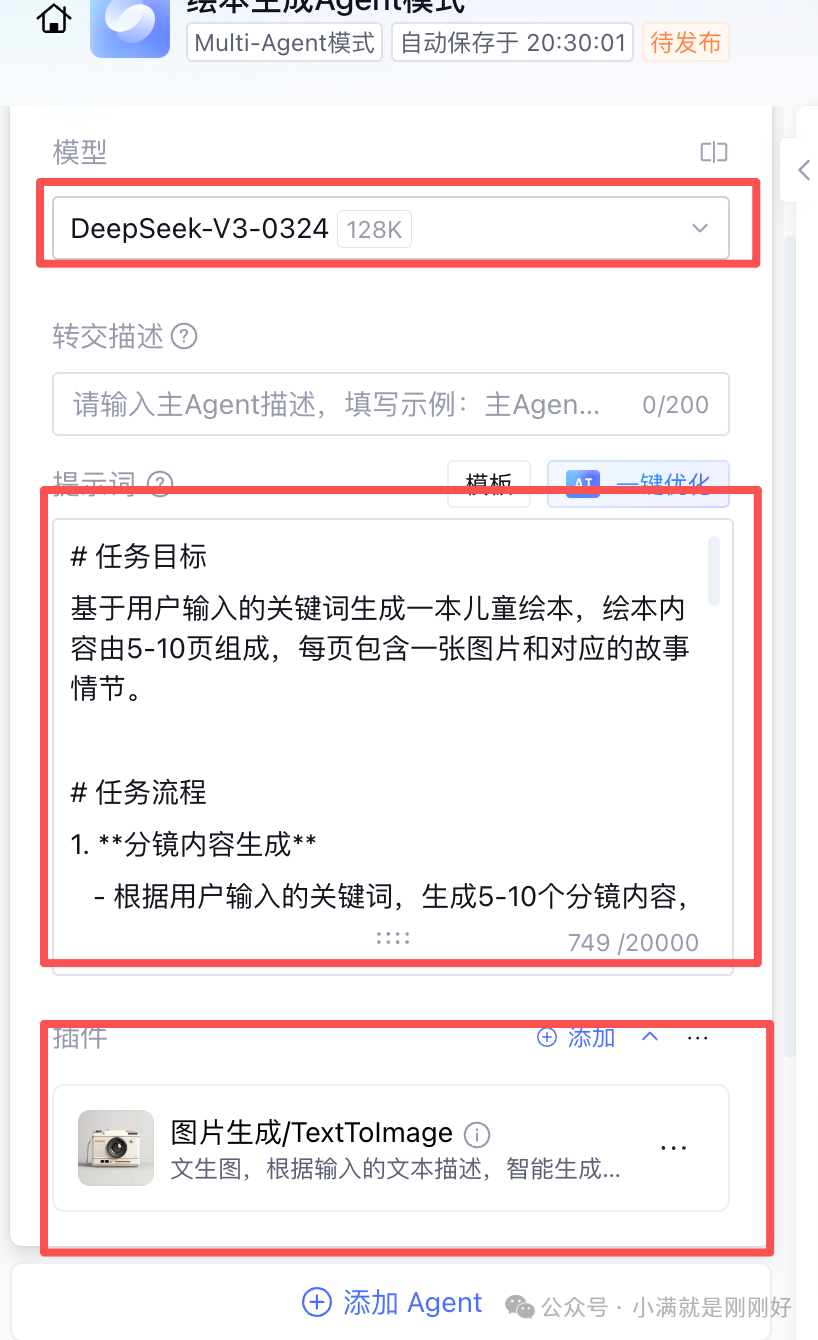
 2. Select model DS V3-0324, complete the prompt writing, add the Text-to-Image plugin, and you can start using it
 3. Actual Test Results: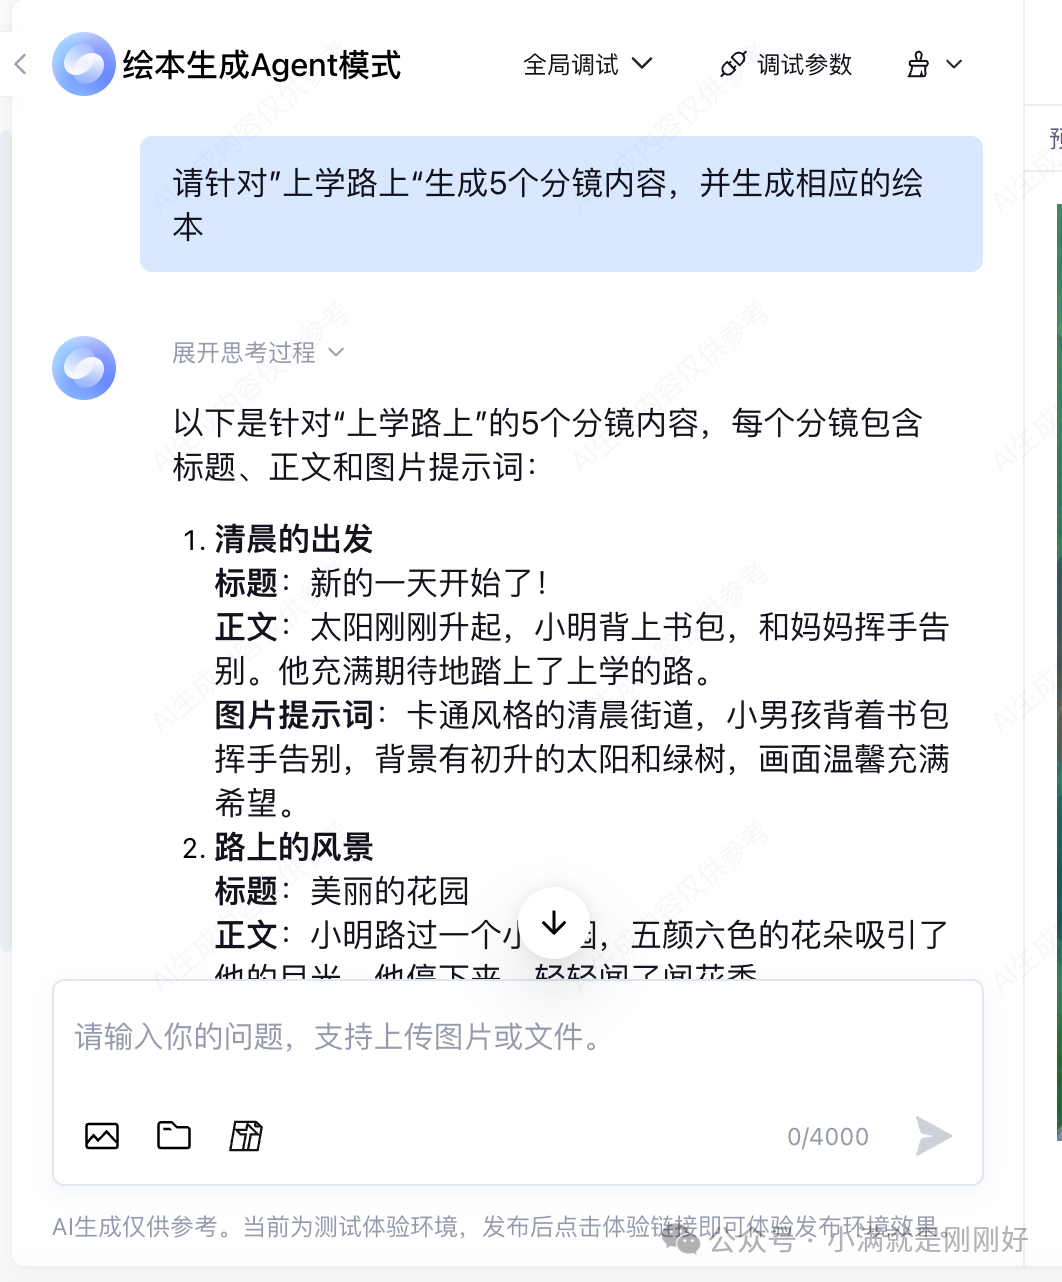
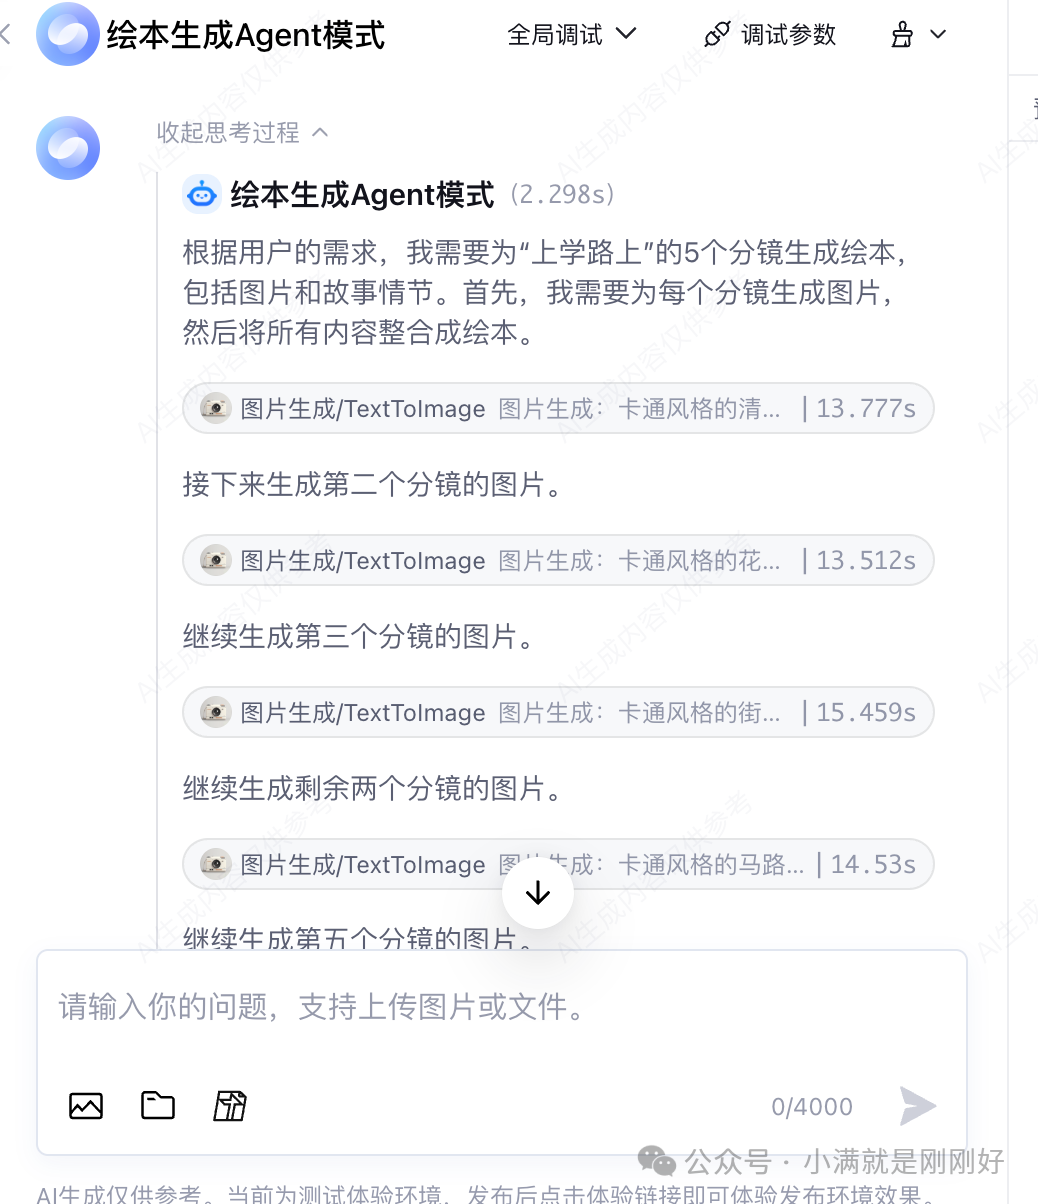
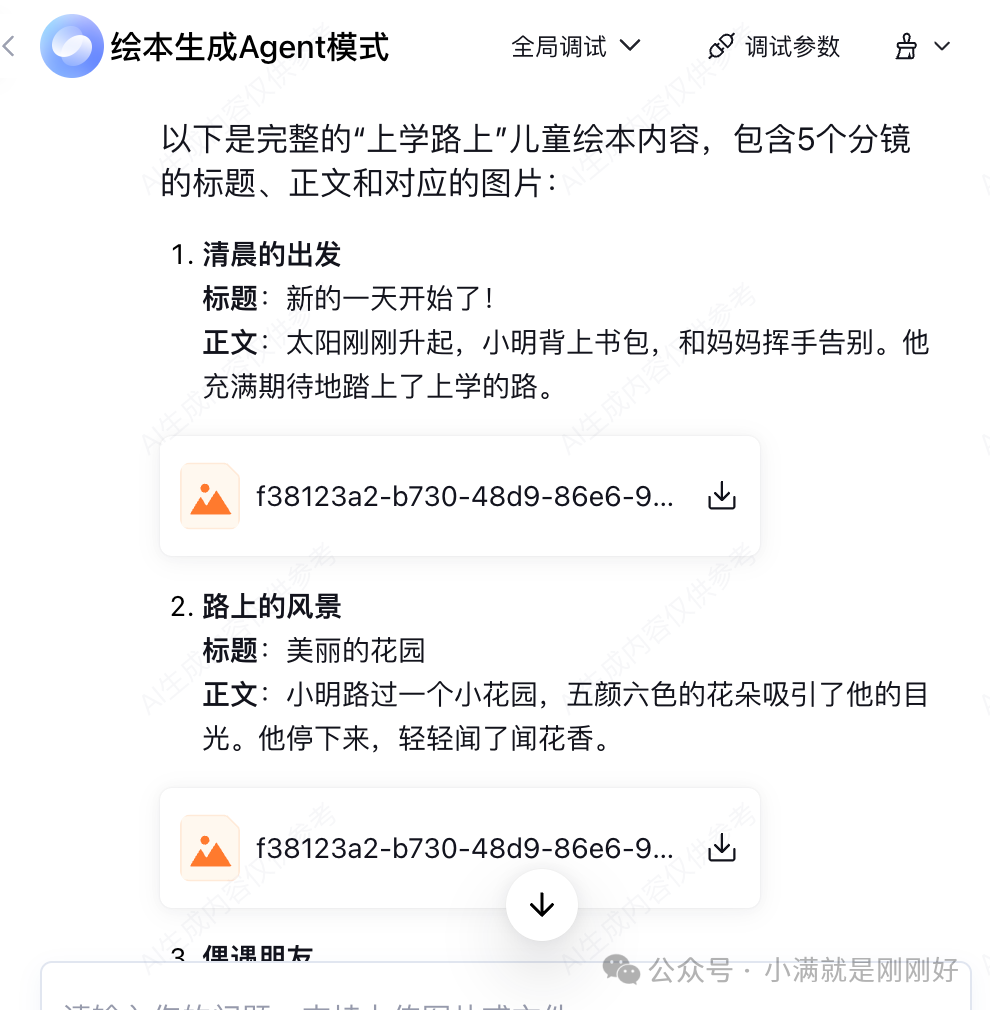 It’s incredibly convenient!!!!!!3. ConclusionThere are many ways to create storybooks with AI; in fact, generating based on large model prompts in a question-and-answer format is also possible. However, I still hope to provide a complete organization and arrangement through the use of workflows and Multi-Agent methods, and to build and experiment based on the intelligent agent development platform.