What is HomeKit?
The Internet of Things (IoT) market is bustling with various applications, leading to a chaotic design landscape that lacks a definitive product to establish a unified architecture or standard: including device connection protocols, data transmission specifications, and more.
To address this situation, Apple introduced a solution at WWDC 2014: the HomeKit protocol and developer kit. In simple terms, HomeKit is a set of designed specifications that allow users to easily pair smart devices and control them through iOS devices.
HomeKit itself can link with smart home applications, including remote door locks, smart plugs, light switches, and other household devices. With Apple’s strong promotion, many HomeKit manufacturers have launched numerous products, such as smart plugs, bulbs, and sensors from Elgato, Philips, Opro, and Aqara.
HomeBridge Bridging
The design of HomeKit significantly reduces the difficulty for users to get started and integrates a complete system protocol for manufacturers to develop. Once you purchase a HomeKit device, you can pair it with your devices in a few simple steps.
Generally, smart switches certified by Apple HomeKit can directly connect to HomeKit via communication protocols and be controlled through iOS devices. However, some smart devices are excellently designed but may target the Amazon Echo or Google Home markets, and the additional authorization fees for HomeKit certification may deter them from providing support.
In such cases, you can use HomeBridge to connect HomeKit with these unsupported smart devices, achieving a natively supported experience.
As the name suggests, HomeBridge is an open-source bridging service developed by developers and enthusiasts worldwide to create configuration files for connecting other unsupported devices. The core technology of HomeBridge is achieved using node.js, typically set up on a Raspberry Pi (due to its compact size and low power consumption), and after installing the HomeBridge package, you can integrate IoT with your iOS phone.
Tutorial Start
1. Materials
-
Mi Home Smart Home Kit
-
Raspberry Pi
-
Apple Device (mobile phone, computer, tablet, etc.)
Note: This tutorial has been tested to be applicable to the official system and our own 64-bit system.
2. First, download the Mi Home app on your phone and configure everything in the home kit.
If you have a Mi desk lamp, please download the Yeelight app and enable the LAN settings.
3. On the Raspberry Pi side
1. Change the source
sudo nano /etc/apt/sources.list
deb http://mirrors.tuna.tsinghua.edu.cn/raspbian/raspbian/ stretch main contrib non-free rpi
deb-src http://mirrors.tuna.tsinghua.edu.cn/raspbian/raspbian/ stretch main contrib non-free rpi
sudo apt-get update
2. Install Node.js
curl -sL https://deb.nodesource.com/setup_10.x | sudo -E bash –
sudo apt-get install -y nodejs
3. Install avahi
sudo apt-get install libavahi-compat-libdnssd-dev
4. Install HomeBridge
sudo npm install -g –unsafe-perm homebridge
5. Download the gateway plugin
sudo npm install -g homebridge-mi-aqara
6. Download the desk lamp plugin
sudo npm install -g homebridge-yeelight
7. Run once
homebridge
8. Write the configuration file
cd /home/pi/.homebridge
sudo nano config.json

{
“bridge”: {
“name”: “Homebridge”,
“username”: “EE:22:11:EE:06:11”,
“port”: 51826,
“pin”: “000-00-001”
},
“platforms”: [
{
“platform”: “MiAqaraPlatform”,
“gateways”: {
“Gateway MAC address, lowercase without colons“: “Gateway password“}
}
]
}

Find the MAC address and password information in the gateway details in the Mi Home app
After saving and exiting
9. Start HomeBridge
homebridge
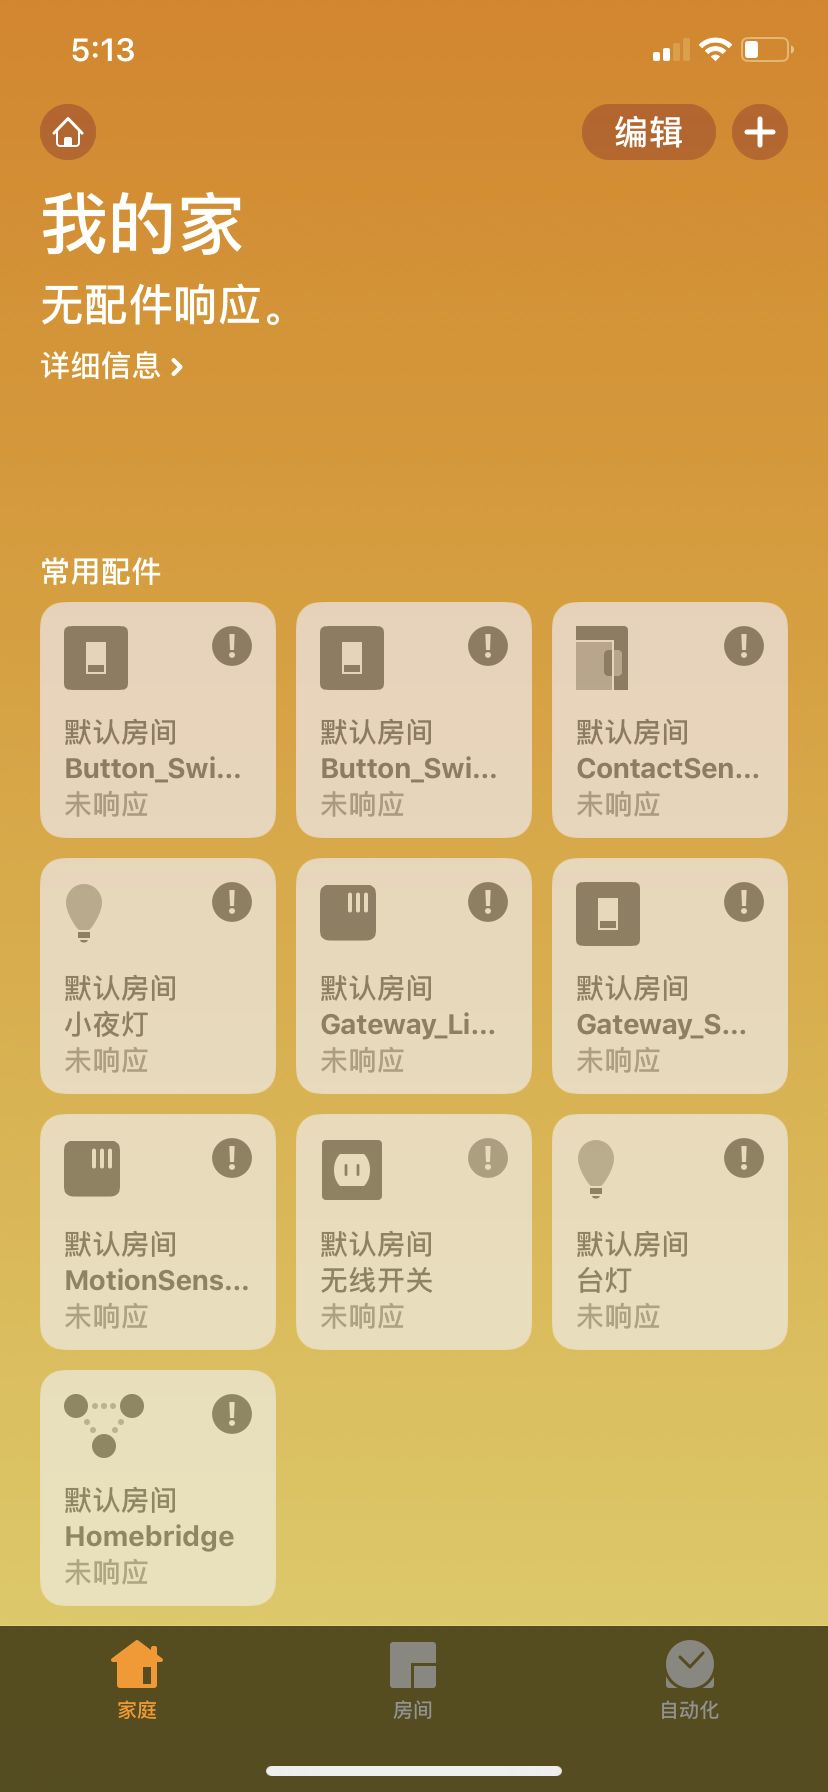
Open the “Home” app on your phone to begin linking and configuring.


4. Set HomeBridge to start on boot
sudo apt-get install screen
sudo nano /etc/rc.local
Add before the exit 0 line:
su -c “screen -dmS hb homebridge” -s /bin/sh pi


Click “Read More” to watch the video tutorial