The version of Arduino IDE used in this tutorial is 2.3.6.
Introduction
If you don’t want to fiddle with the Arduino CLI, Arduino IDE is the programming environment that almost all beginners encounter when starting with Arduino. I found the functionality of Arduino IDE to be inconvenient and the interface quite simplistic, so I went to its community website to learn many tips for customizing the development environment, among which the most important discovery was the following reply:
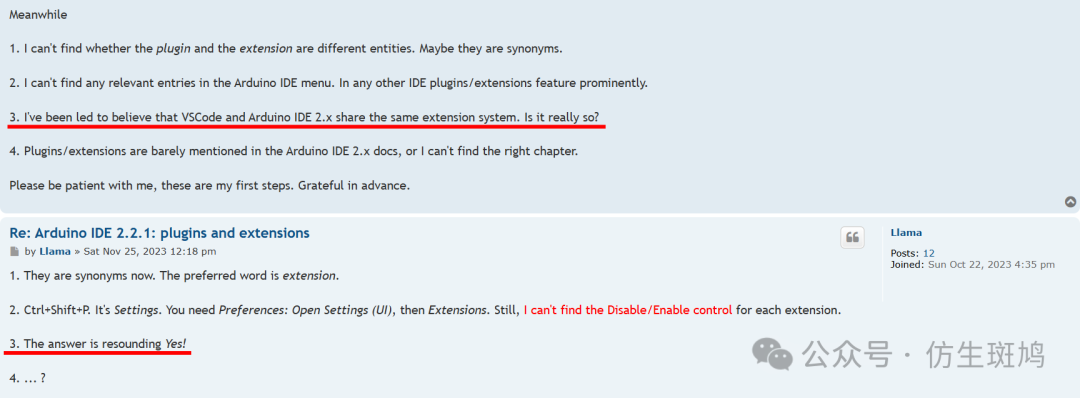
The gist is that the plugin system of VSCode and Arduino IDE 2.x is the same, theoretically, all plugins that can be installed in VSCode can also be installed in Arduino IDE. Naturally, I thought of the super productivity tool—GitHub Copilot. The theory is feasible, so let’s put it into practice.
Installation Steps
1 Obtain the Unzipped Form of the Plugin
Since the VSCode Marketplace no longer explicitly provides downloads for plugin files, it is recommended to right-click on the plugin in the VSCode extension market and select “Download VSIX”, or go to some unofficial websites to obtain the <span>.vsix</span> file, such as VsixHub.
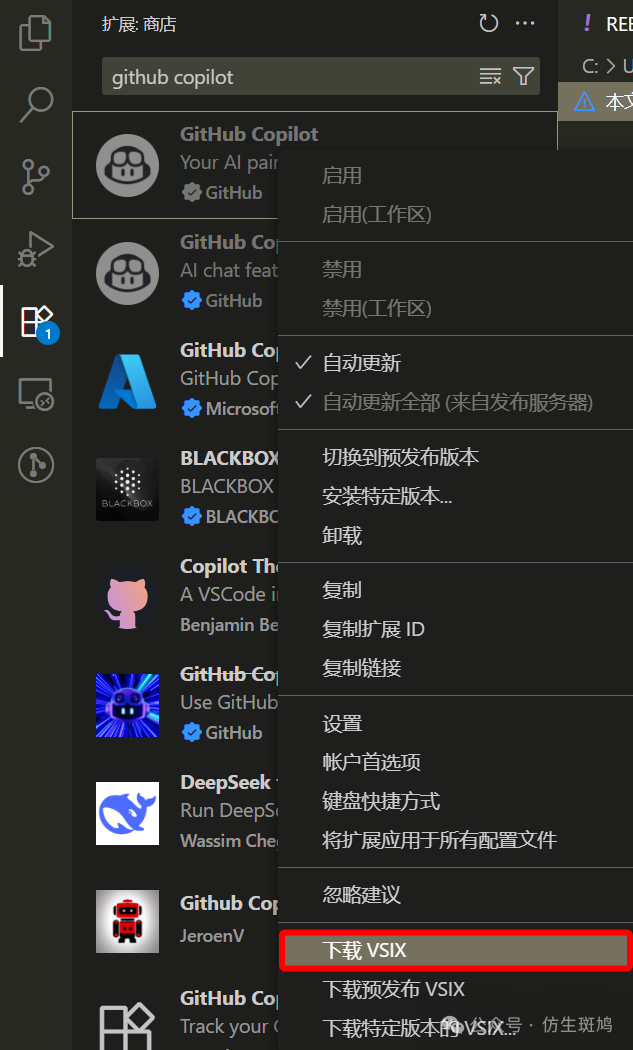
Then rename the downloaded plugin file extension to <span>.zip</span>, unzip it, and you will get the plugin in a folder!
2 Install the Plugin in Arduino IDE
Find the <span>C:\Users\YourUsername\.arduinoIDE</span> folder, create a new folder named <span>plugins</span> (if it doesn’t already exist), and copy the plugin folder you just obtained into it to successfully install it.
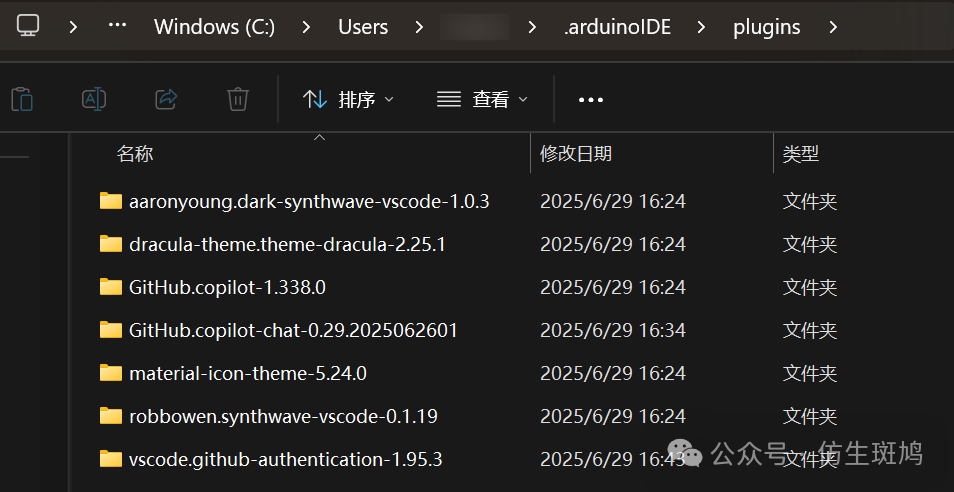
(Using the same method, you can also install some VSCode themes into Arduino IDE to improve its interface aesthetics.)
3 Enable GitHub Copilot Authentication
In fact, when installing Copilot in VSCode, it automatically includes an extension for account authentication called GitHub Authentication, which we need to manually install in Arduino IDE (it cannot be found in the VSCode extension market, so here is the link: https://open-vsx.org/extension/vscode/github-authentication)
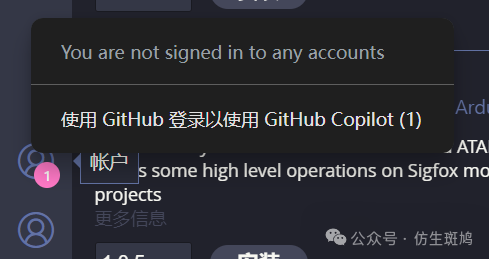
After a while, a prompt should appear:
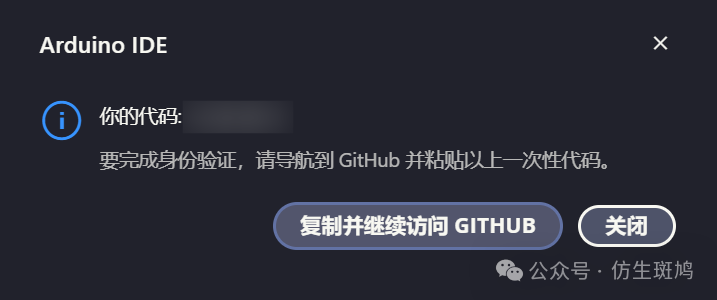
Log in to your GitHub account directly; otherwise, a message requesting a Personal Access Token will pop up in the lower right corner:
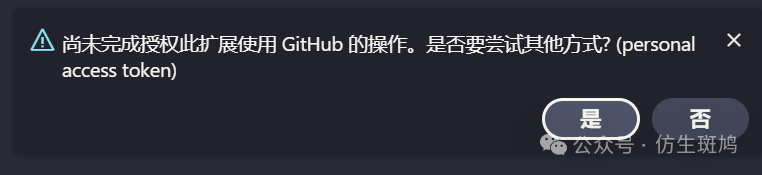
Click in to log in to your GitHub account, generate an Access Token that includes access to <span>user:email</span>, and fill it in at the top of the interface!

Check out the final effect:

Additionally, you can press <span>Ctrl+P</span> to bring up the run menu, search for <span>>Preferences</span> to find “Preferences: Open Settings (UI)”, where you can configure various settings for Copilot, such as setting the model used for completions (available options can be found in the Copilot documentation).
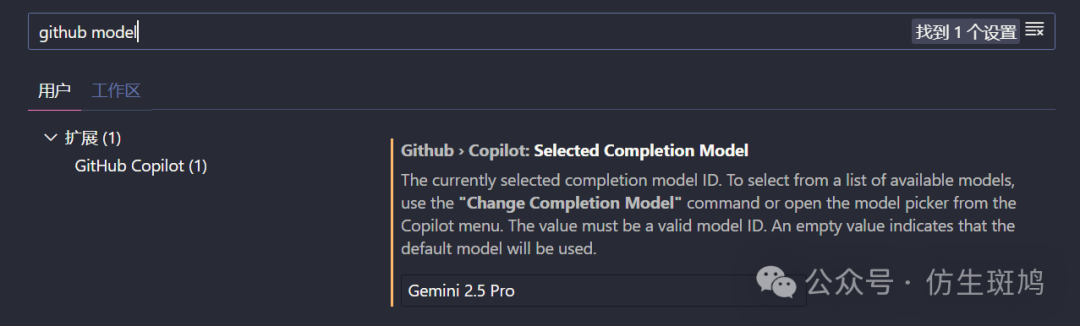
However, due to the architectural differences between VSCode and Arduino IDE, you will find that the Copilot Chat extension cannot be used. The best solution to this problem is to abandon Arduino IDE and embrace VSCode, but Microsoft has officially stopped supporting the Arduino plugin, so the experience will be slightly more troublesome than the “out-of-the-box” experience of Arduino IDE.