STM32CubeIDE is an integrated development environment officially launched by ST, which integrates code writing, compilation, debugging, and downloading functions, and includes the graphical configuration tool STM32CubeMX. It supports the HAL library and provides a complete solution from hardware configuration to firmware development, making it especially suitable for beginners and rapid prototyping.The combination of Keil and STM32CubeMX can achieve similar functions, but it requires switching tools, which is less efficient. For developers seeking efficiency and unity, STM32CubeIDE is undoubtedly a more modern choice. 1. Installation Steps (just click NEXT, with almost no special requirements), remember to install the downloader driver.
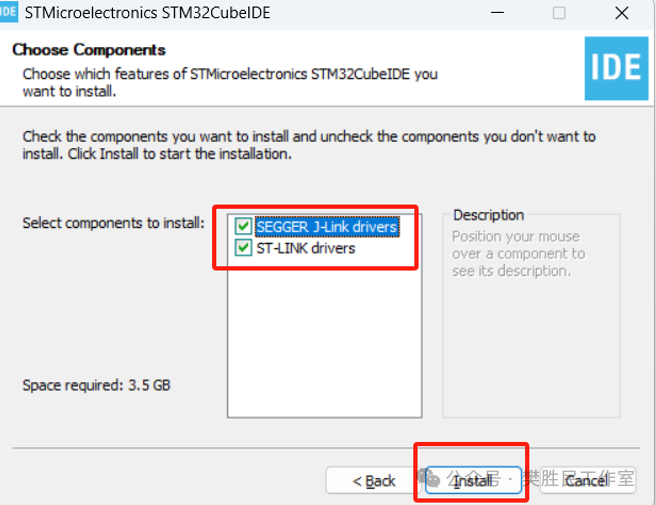 2. Related Configuration and New Project Creation1. The first time you open the program, set the workspace.
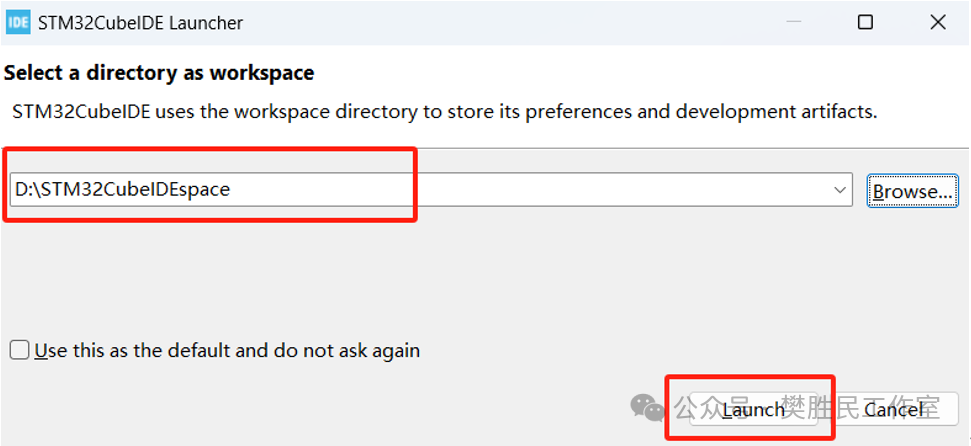 2. Log in with your account and password to download the component library.
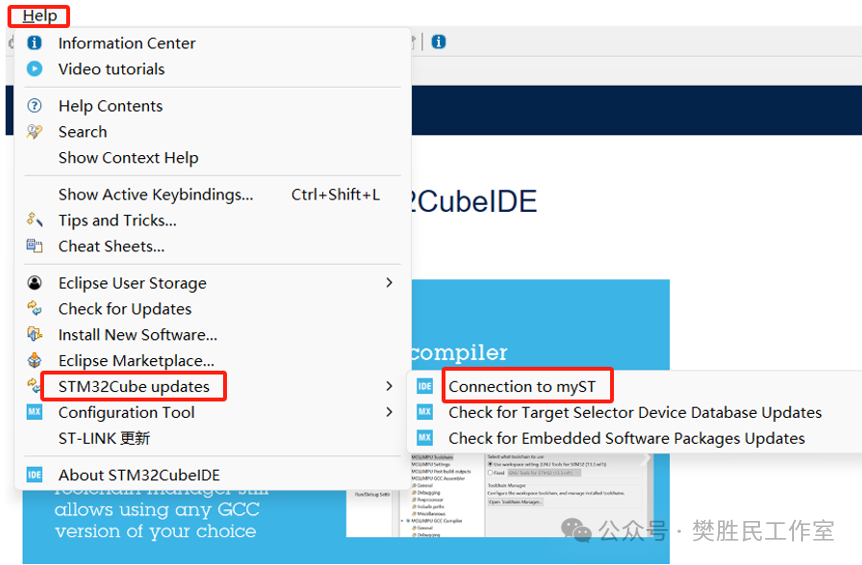 Enter your username and password. If you do not have an account, you need to register on the official website; you cannot download the component library without logging in.
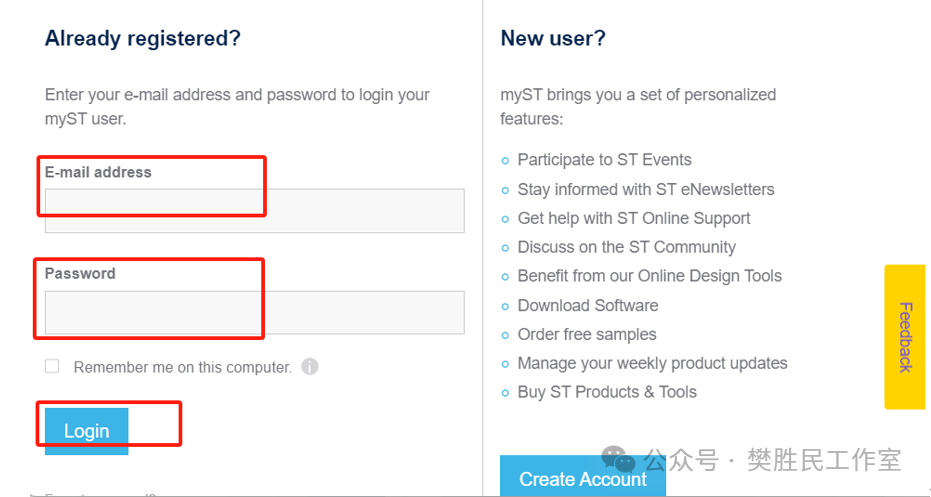 3. Create a New Project
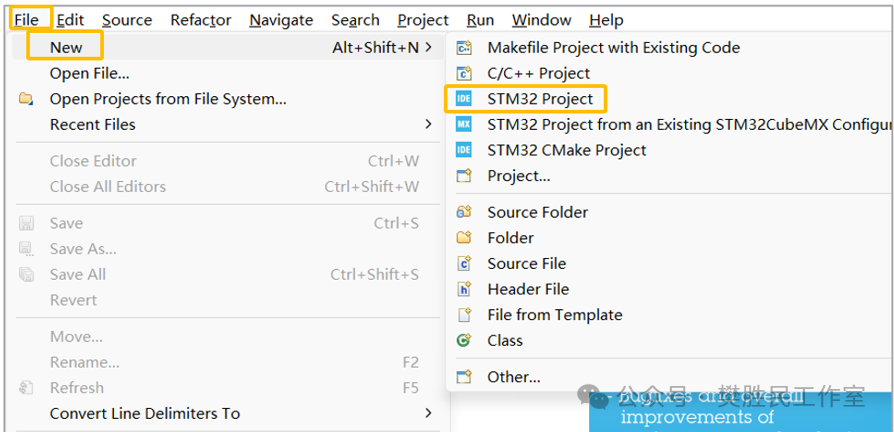 4. Search for the chip and select it
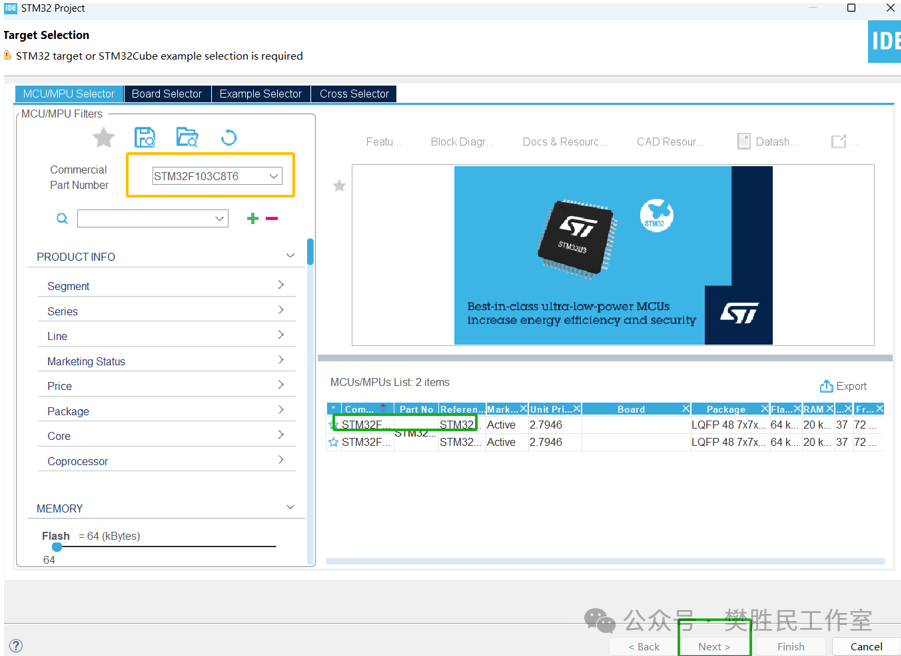 5. Name the new project
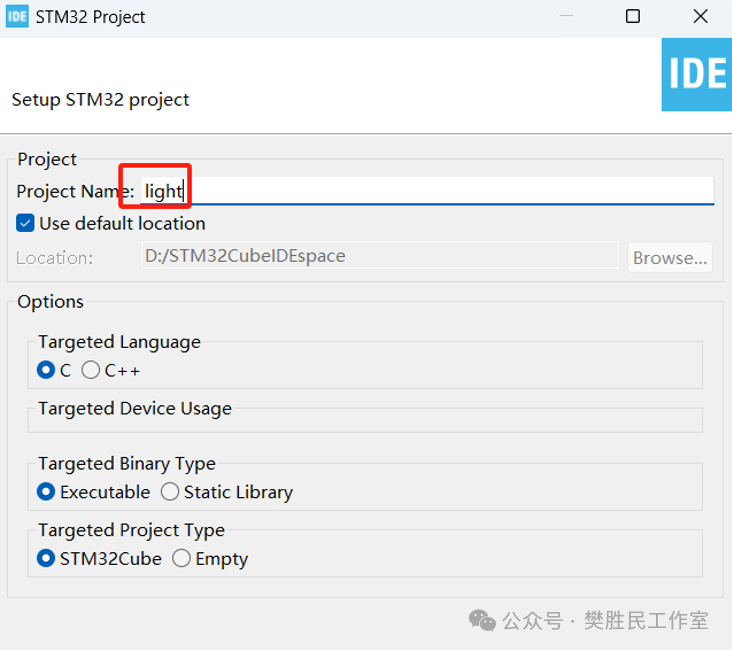 6. Select PA0, PA1, PA2 – GPIO-Output (select all as output)
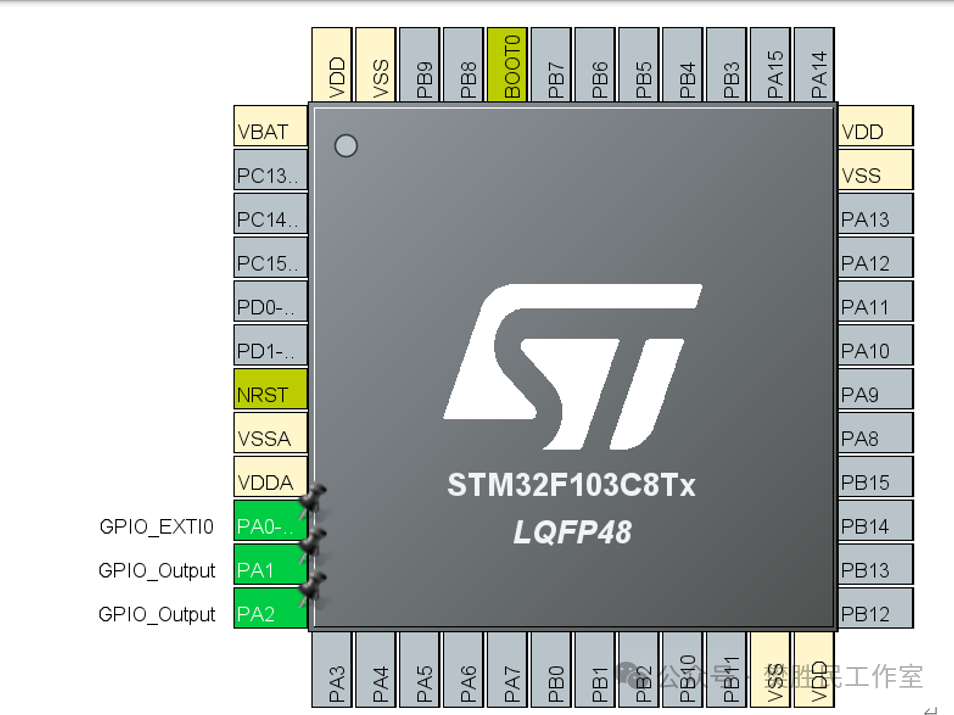 and set the PA1 and PA2 pins to output low level. Set PA0 to output high level.7. Click save and select and set as shown in the figure.
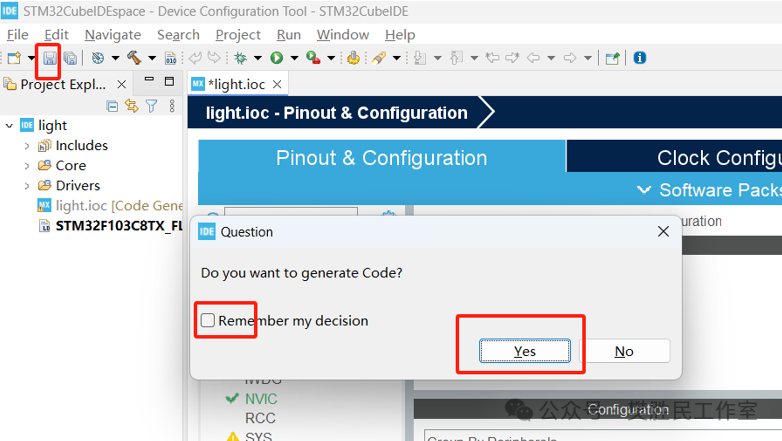 8. Click compile and check for errors.
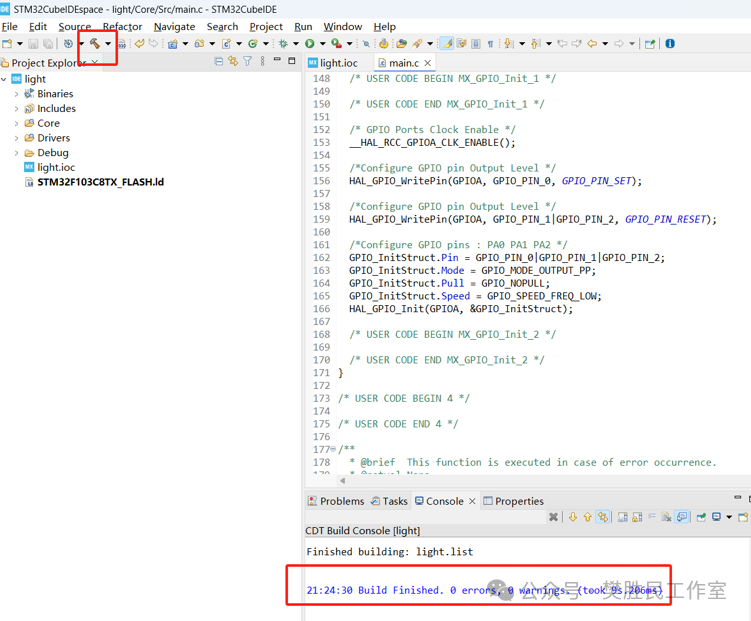 9. Click download and configure according to the diagram.
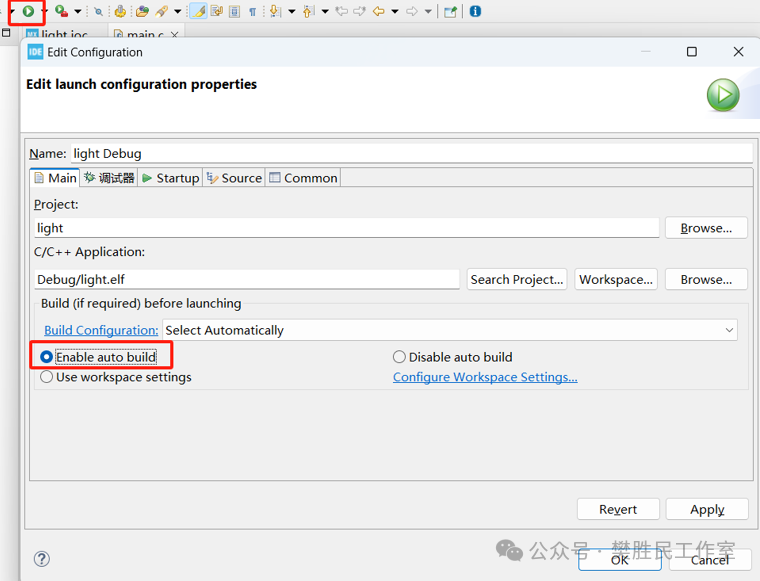 Note: You may be prompted to upgrade the ST-link; upgrade as shown in the figure.
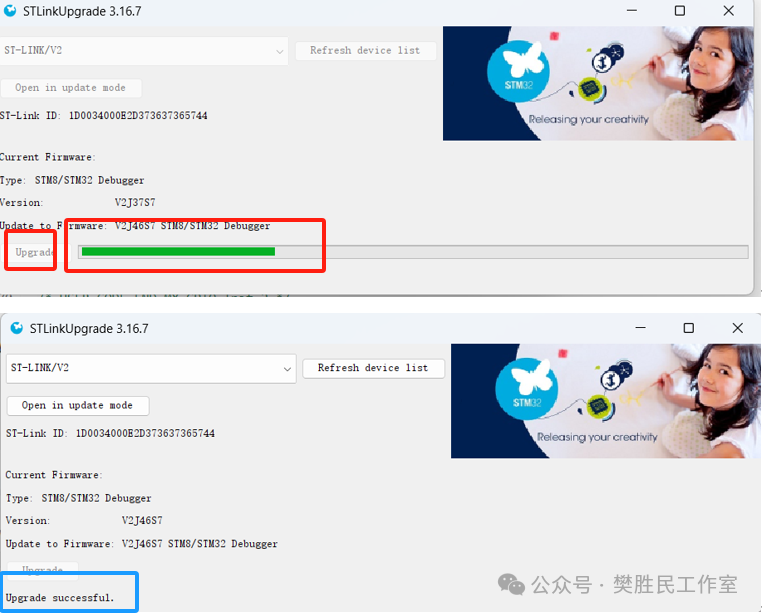 After the upgrade, proceed to download the program. You will see the LED connected to PA1 and PA2 on the core board light up, while the LED connected to PA0 goes out.
The main code for generating graphics is as follows:
// Code for PA0 output high levelHAL_GPIO_WritePin(GPIOA, GPIO_PIN_0, GPIO_PIN_SET);// Code for PA1-2 output low levelHAL_GPIO_WritePin(GPIOA, GPIO_PIN_1|GPIO_PIN_2, GPIO_PIN_RESET);