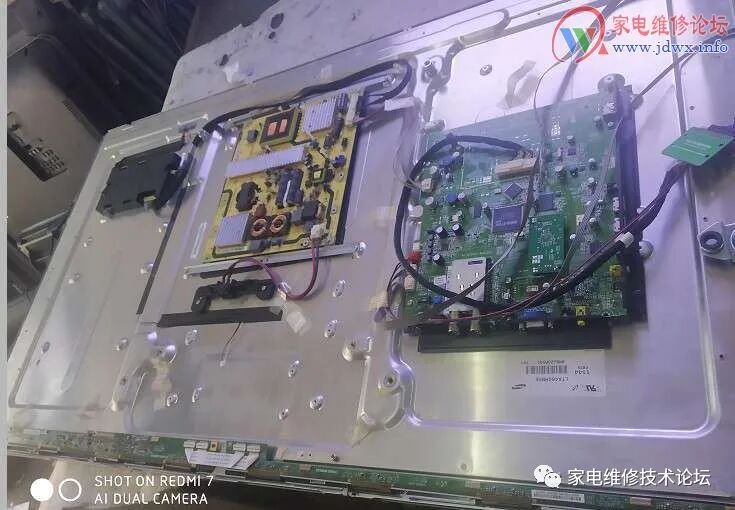
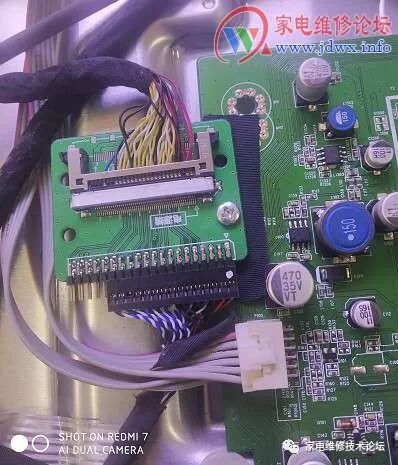
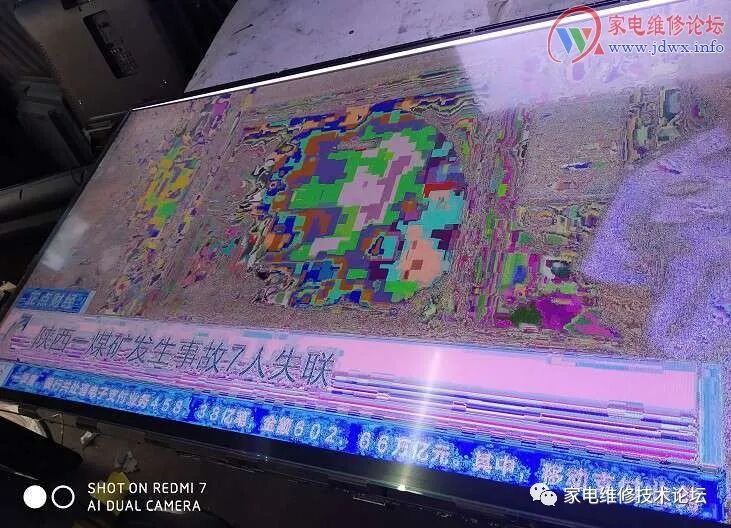
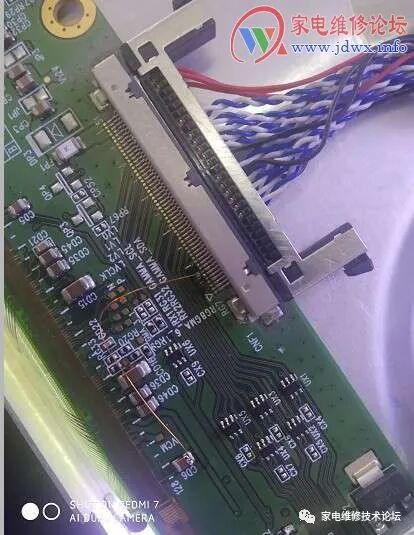
The original device used the LTA460HM06 screen, which has fused and is irreparable. I have an LCD screen model V460H1 on hand. Comparing the two screens, they are obviously different; the original screen has a 6+0 module which is longer, while the replacement screen has an 8+8 module that is shorter, making the replacement challenging. The screen replacement must pass several key checks: first, compare the screen sizes to see if they can be installed smoothly; second, check the power supply to the logic board; finally, adjust the screen parameters.
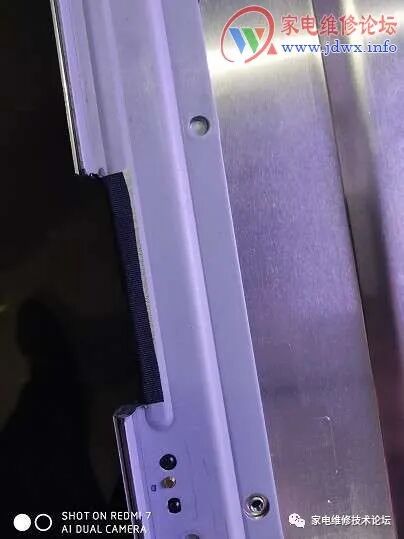
Below, I will introduce the modification methods without a specific order: 1. Screen Size Check (After comparing the sizes of the two screens, they are almost identical. It can completely fit within the plastic frame, but the module is too short to install. After calculations, I decided that the plastic frame could not be used, and the aluminum backplate also needs to be cut with 8 openings to accommodate the 8 X modules for smooth installation. The screen is placed directly on top of the polarizer, aligned properly, and the 8 Y modules are bent 90 degrees and inserted into the side of the aluminum backplate. All sides are secured with tape, and care must be taken with the positioning at the bottom of the screen to prevent it from sagging over time. After installation, the iron frame is clipped on.)
Original text: https://www.jdwx.info/thread-806560-1-1.html

Home Appliance Repair Technology Forumjdwx-cn
▲ Long press to recognize the QR code to follow
Home Appliance Repair Forumjdwxinfo
▲ Long press to recognize the QR code to follow