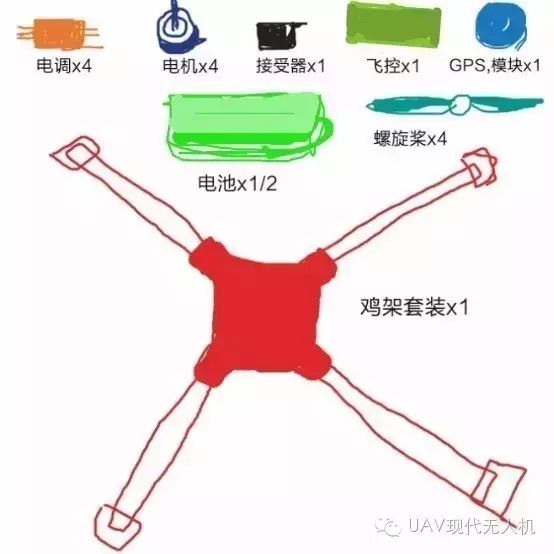
First, let’s summarize the main components involved in DIYing a drone.
Can you guess what it is?
Of course, it’s a………. a chicken frame, haha!!!
Just a little joke to start with some humor,
Let’s take a look at what a DIY quadcopter actually is.
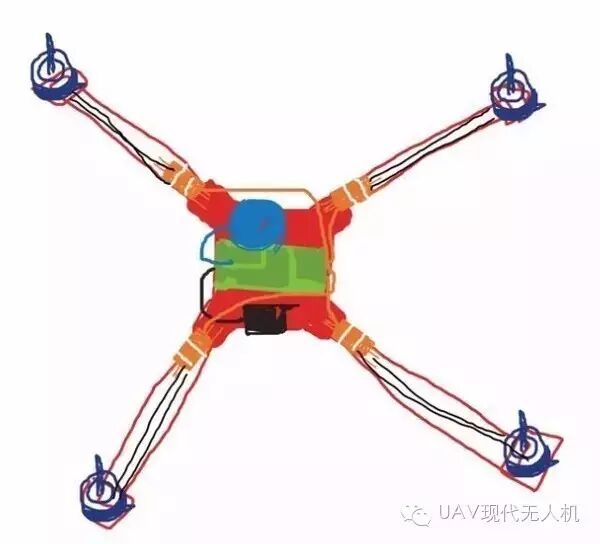
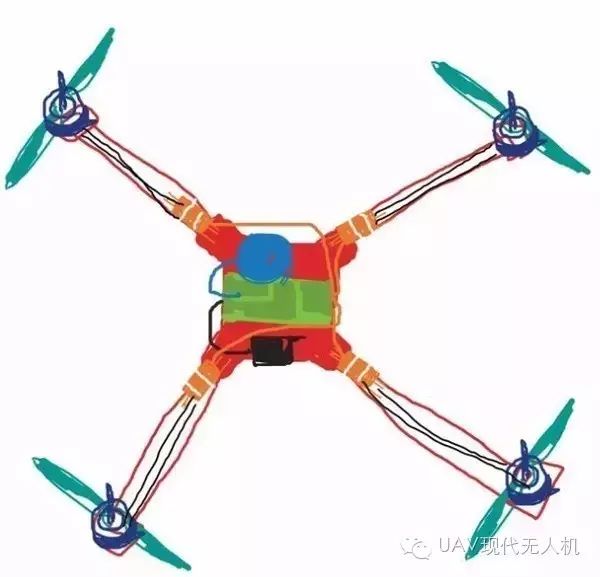
It generally looks like this:
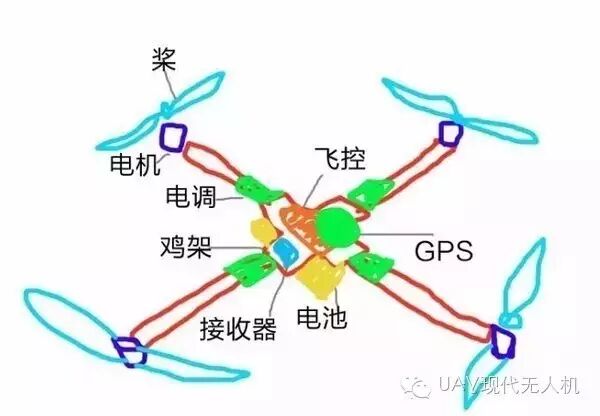
Now, let’s get to the point. What parts do we need to build a quadcopter like this?
First, we need a chicken frame, 4 motors, 4 electronic speed controllers (ESCs), 4 propellers, 1 flight controller, 1 GPS module, 1 to 2 batteries, along with some connectors like banana plugs and T-plugs;
Of course, we can’t forget the fancy remote control that allows you to show off and enjoy flying;

Let’s officially start the DIY process—————
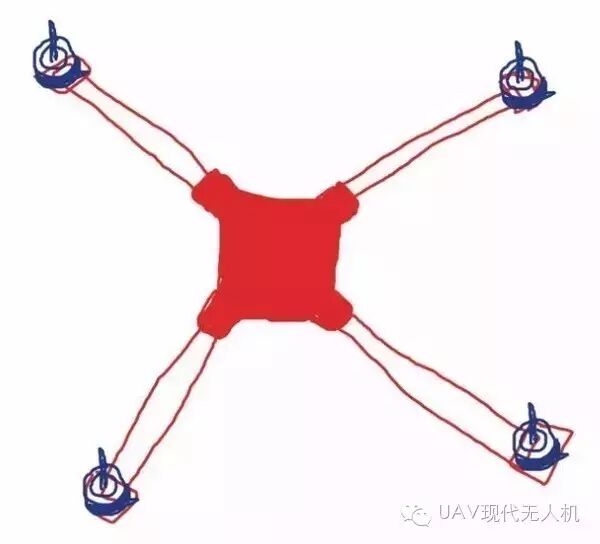
Step 1: Fix the motors onto the clamps at the ends of the arms. If using carbon fiber arms, make sure to thread the wires through the hollow tube before assembling the frame;
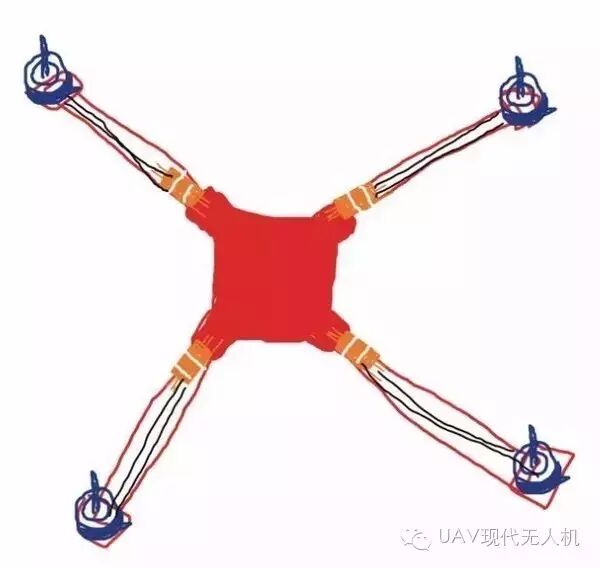
Step 2: Install the ESCs, securing the ESC board with zip ties to the frame and connecting it to the motor wires;
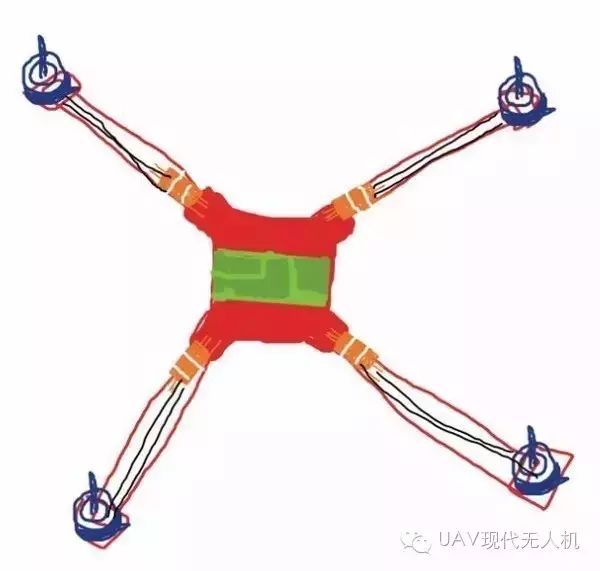
Step 3: Connect the flight controller and secure it to the base;
Step 4: Secure the GPS module;
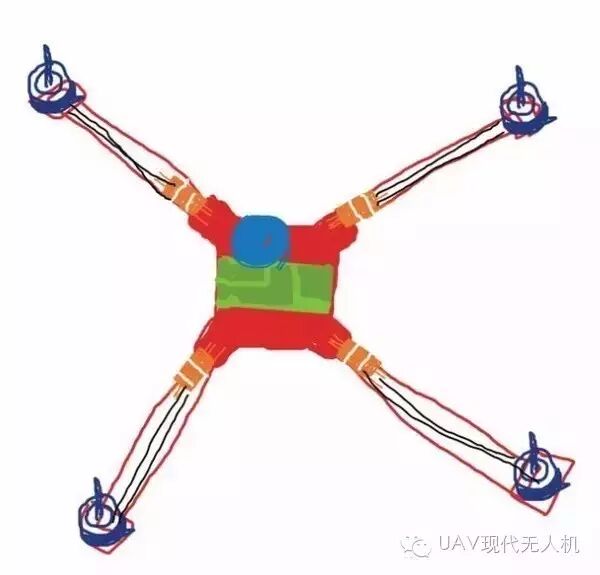
Step 5: Connect the GPS, receiver, and ESC wires to the flight controller board as per the instructions, and secure the receiver;
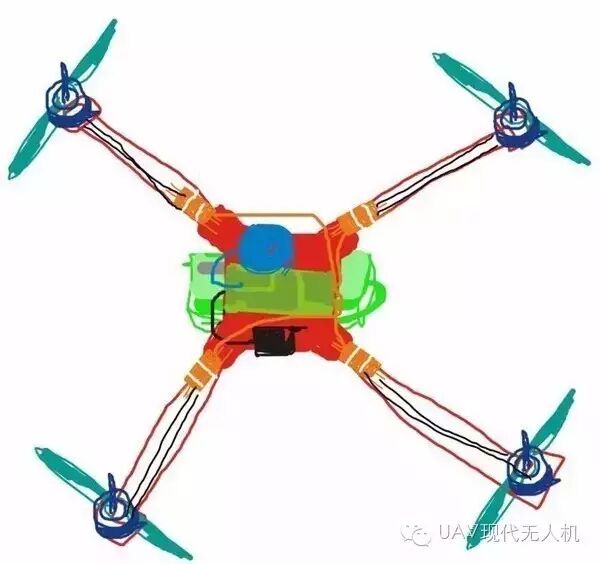
Step 6: Install the propellers; note that the propellers have a specific direction, and opposite corners should rotate in the same direction;
Final step: After checking everything is correct, you can install the battery and secure it with zip ties;
Lastly, you will need to adjust the parameters, but I won’t go into detail here. This way, you can show off and take off;
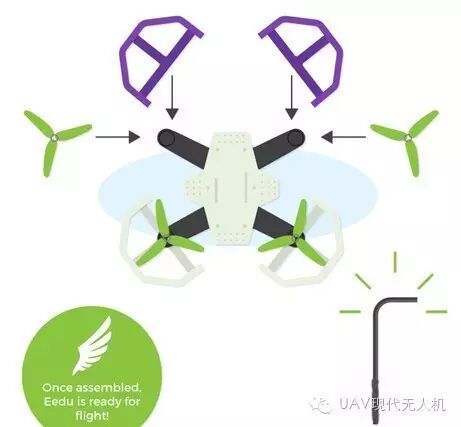
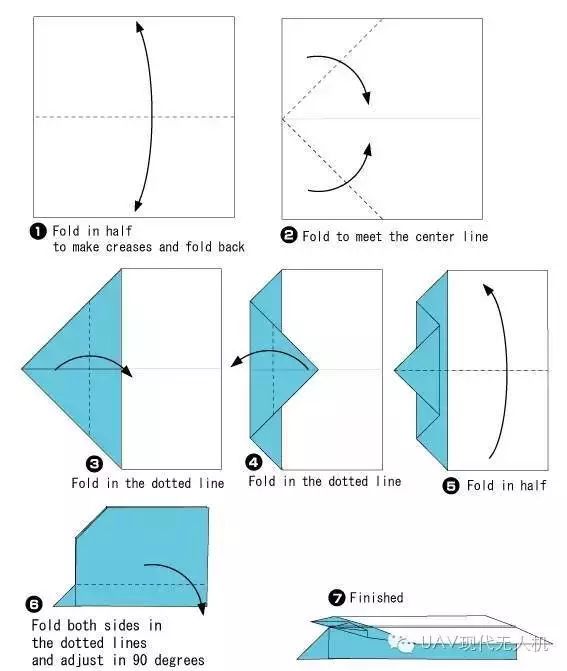
If you really can’t learn it, find it troublesome, here are two simple and affordable DIY methods — paper drone DIY, please enjoy:
DIY Method 1
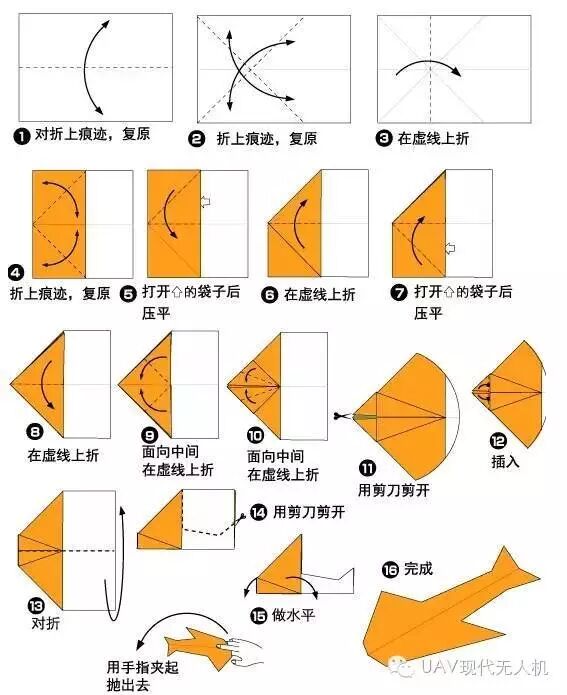
DIY Method 2
Did you learn it?
If not, go face the wall for 5 minutes
and watch it again……
【Disclaimer】Source: Some materials are from online articles and do not represent the views of this WeChat account. If there is any infringement, please contact us for removal, email: [email protected]