0. Introduction
My wife has always refused to work at the desk because there is no TV to watch, and I don’t have any high-performance TV box to connect to my monitor.
Recently, I upgraded from Raspberry Pi 3B+ to 4B, which allows me to install Android TV on it. I quickly set it up so my wife can have a TV in every room.
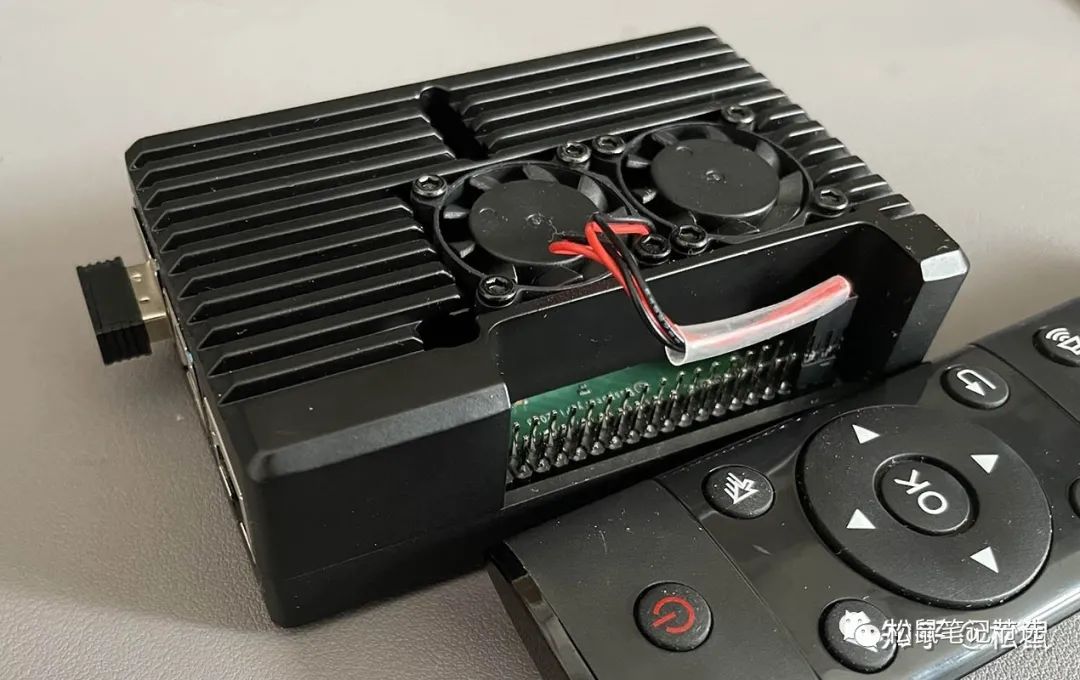
Raspberry Pi 4B with USB Remote Control
1. Installing Android TV
There are already some tutorials online for this part, and writing it down will help others as well as myself.
First, I chose the Android TV 11 operating system based on LineageOS 18.1 provided by konstakang.
The image can be downloaded through the tutorial here:
https://konstakang.com/devices/rpi4/LineageOS18-ATV/
Use Rufus to burn it to the SD card.

After burning, the SD card will have all partitions totaling over 7G.

7G Image, 32G SD Card
The remaining SD card space can be expanded using DiskGenius or the tool provided in the tutorial.
The method to expand the partition using DiskGenius is shown in the image, right-click on the userdata partition and select to adjust the partition size.


Insert the SD card back into the Raspberry Pi to boot Android TV 11.
During the first boot, there will be some initialization options, and we need to connect at least one keyboard to complete the subsequent operations.
2. Some Initialization Configurations
Konstakang’s tutorial has a section on initialization, which is in English, so I will briefly explain it here.
Keyboard key functions:
F1 = Home
F2 = Back
F3 = Multitask
F4 = Menu
F5 = Standby
F11 = Volume-
F12 = Volume+
Language Settings

Developer Mode

Enable LAN ADB and SSH

Privacy Settings (Installing Third-Party Software)

How to SSH Login (from the tutorial)
Android does not have user accounts with passwords; you need to obtain the private RSA key through ADB to log in via SSH.
# Obtain private RSA key via ADB
adb connect 192.168.1.xxx
adb root
adb pull /data/ssh/ssh_host_rsa_key my_private_key
# Log in via SSH using the RSA key
ssh -i my_private_key [email protected]
Timezone Settings
This system seems to have a bug where the timezone setting cannot be saved; you can set it using the following command.
adb shell "setprop persist.sys.timezone Asia/Shanghai"
Test the timezone:
adb shell date3. Basic ADB Commands
This section provides some basic ADB commands:
# Forcefully kill the server when adb has issues
adb kill-server

# Obtain adb root privileges
adb root

# Connect to the client via LAN
adb connect 192.168.1.xxx

# Install xxx.apk
adb install xxx.apk

# Overwrite install xxx.apk (generally for upgrades)
adb install -r xxx.apk

# Start shell (can use ssh directly after enabling ssh)
adb shell

# Get files from the client
adb pull /xxx/xx.xx

# Upload files to the client
adb push xx.xx /xxx/xx.xx
4. Modifying Remote Control Key Mappings
I bought a USB 2.4G remote control online, but the back button doesn’t work. What should I do?
There is too much code here to show, you can refer to the original article for methods to modify the remote control key mappings.
5. Conclusion
My wife expressed her great appreciation.