How to Write Your First Line of C Code on Mac? Xcode.

You can simply write it in the Xcode editor, which integrates a C language compiler.
Below, I’ll briefly outline this process.
1. Download Xcode
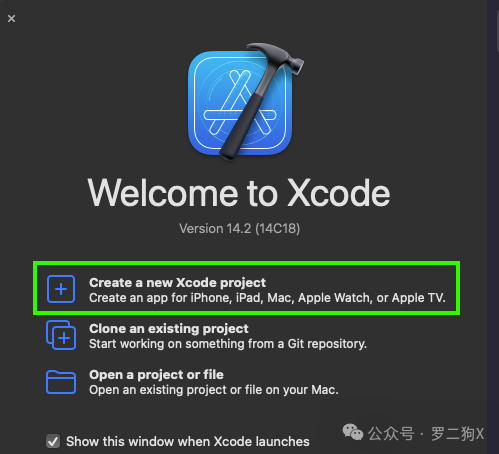
Download Xcode; if you haven’t downloaded it yet, just go to the App Store to download it. (Image 1)

2. Create a Project
After the download is complete, open it and click create a new Xcode project. (Image 2)
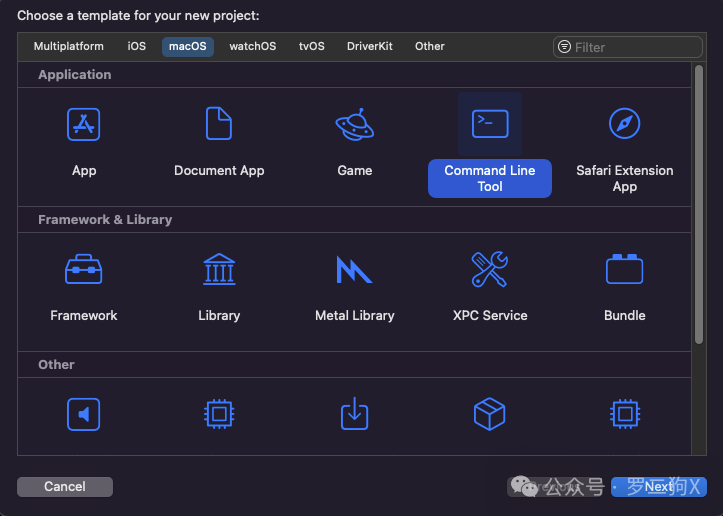
Click on command line tool. (Image 3)
Fill in the basic information. (Image 4)

The product name means: the name of the project, you can fill in any name;
The organization identifier means: the organization identifier, you can write any name;
Select C under language, which represents the choice of C language.
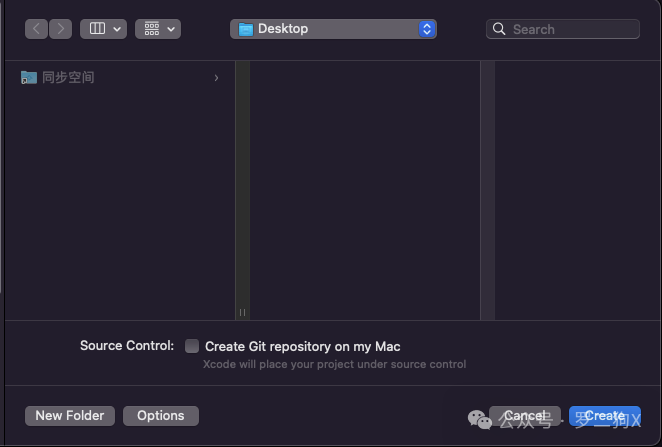
Choose a location to save. (Image 5)
3. Writing the First Line of C Code
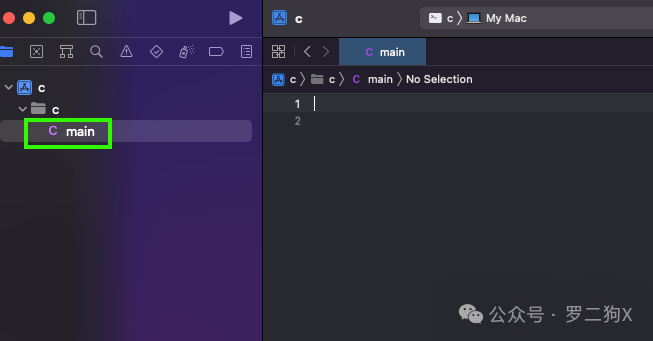
Click on main to enter the editor. (Image 6)
Input the first line of C code. (Image 7)
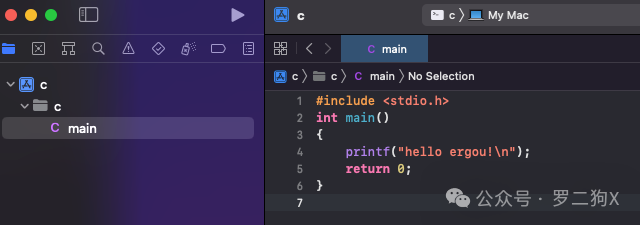
The code is:
#include <stdio.h>int main(){
	printf("hello ergou!\n");
	return 0;
}
4. Running the First Line of C Code
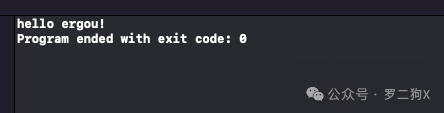
Click run. (Image 8)

Then, the result of the run is: hello ergou! (Image 9)
Alright, this article ends here, thank you for reading, see you in the next article.
For more content, follow the public account: Self-learning Programming Daily Post.