Video footage source from youtube/The Q, copyright belongs to the original creator
Video editing: Universal Card

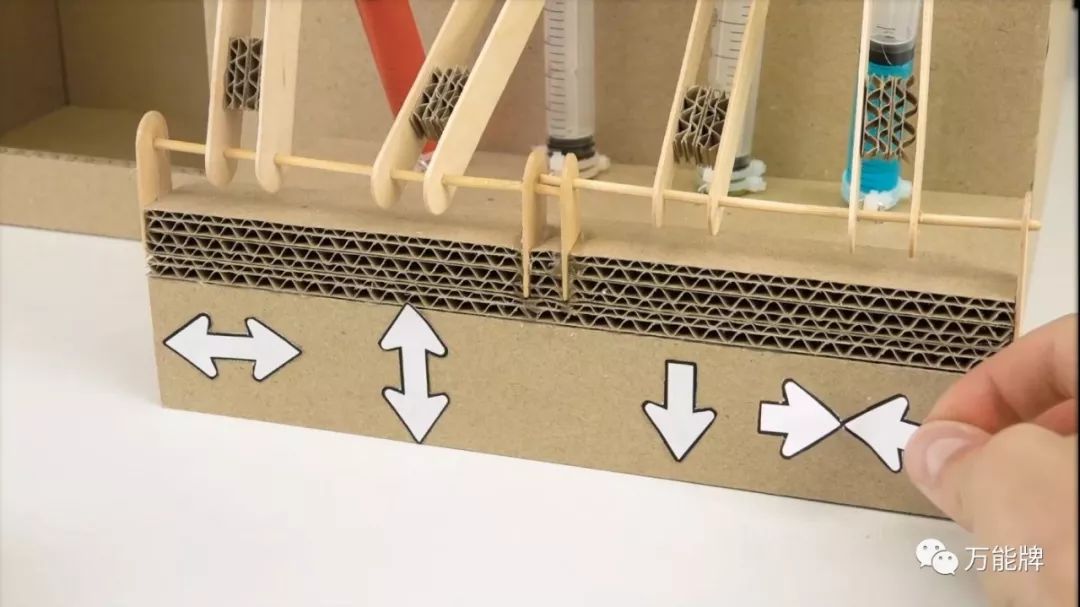
This video will demonstrate how to create an amazing claw machine at home using cardboard. The claw machine control platform consists of 4 syringes, which control the movement of the claw from left to right, front to back, up and down, and opening and closing. By controlling the syringes’ push and pull, you can move the claw to grab the toys. DIY a claw machine with your kids following the video and enjoy the endless fun of clawing toys together, no coins needed!
Materials Needed
Cardboard, ice cream sticks, syringes, tubes, zip ties, bamboo skewers, toy dolls, aluminum wire.
Production Process
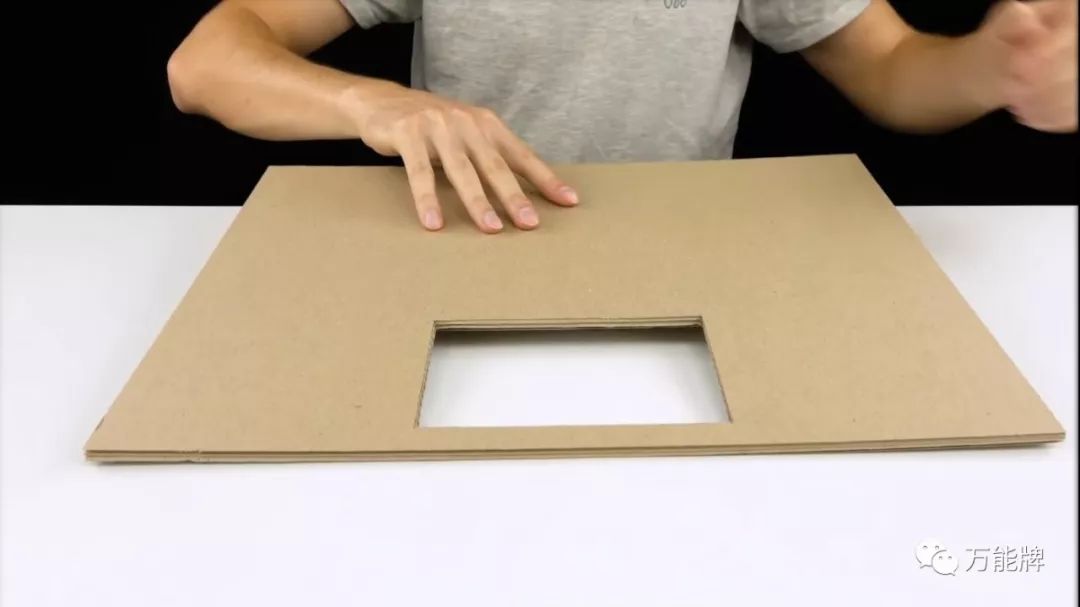
1 Make the Top Moving Platform
Cut out the top panel from cardboard, and cut a hole in the top panel to place the toy doll.
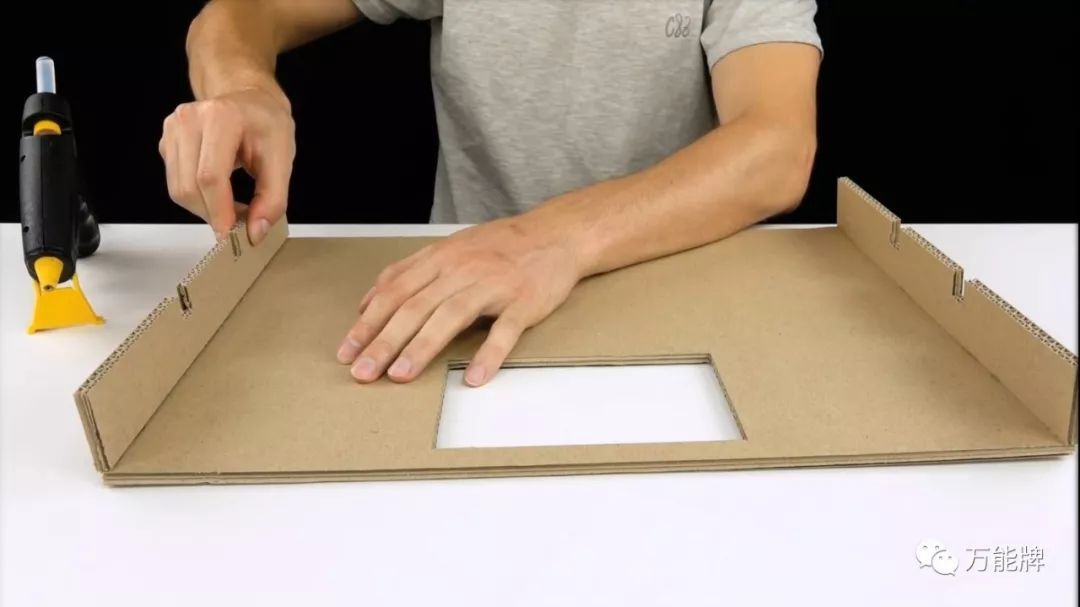
Install the top side panels on both sides of the top panel, cutting two slots in the top side panels to secure the tubes.
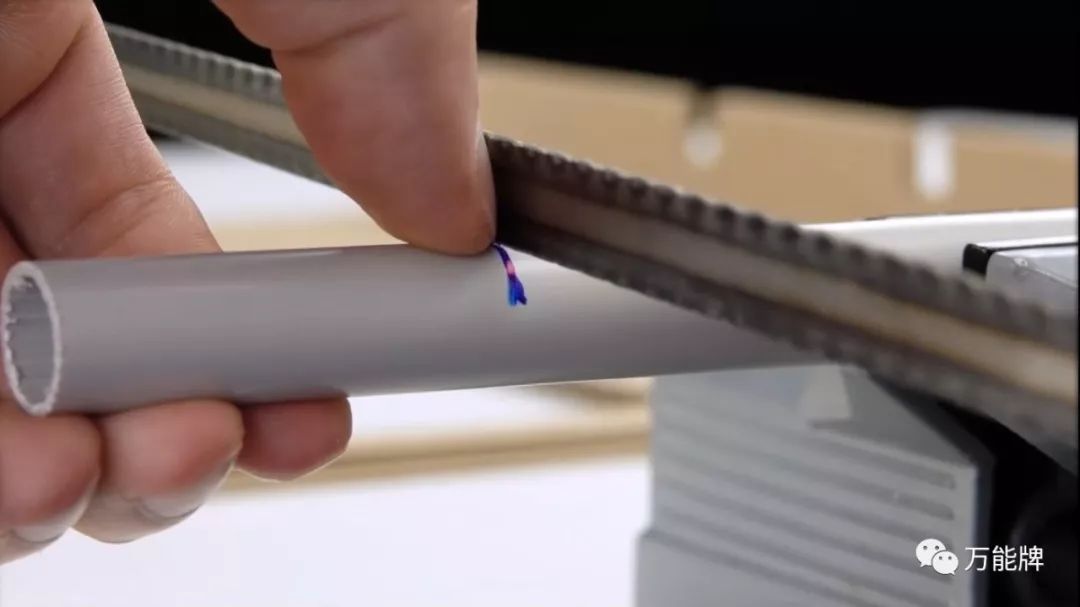
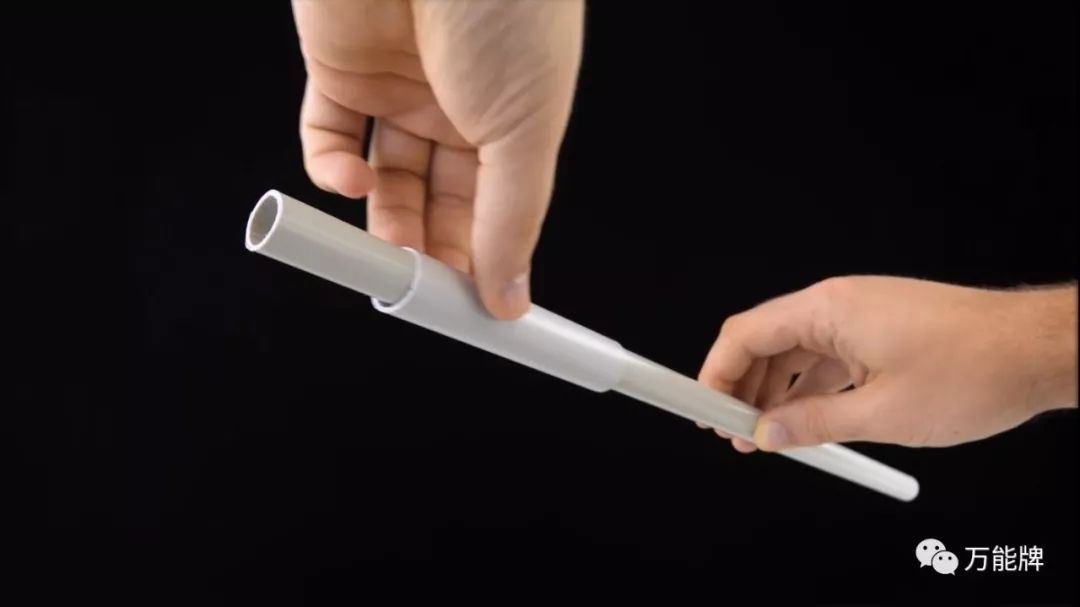
Cut the plastic tube, slide the large tube over the small tube, and secure them in the slots of the top side panels.
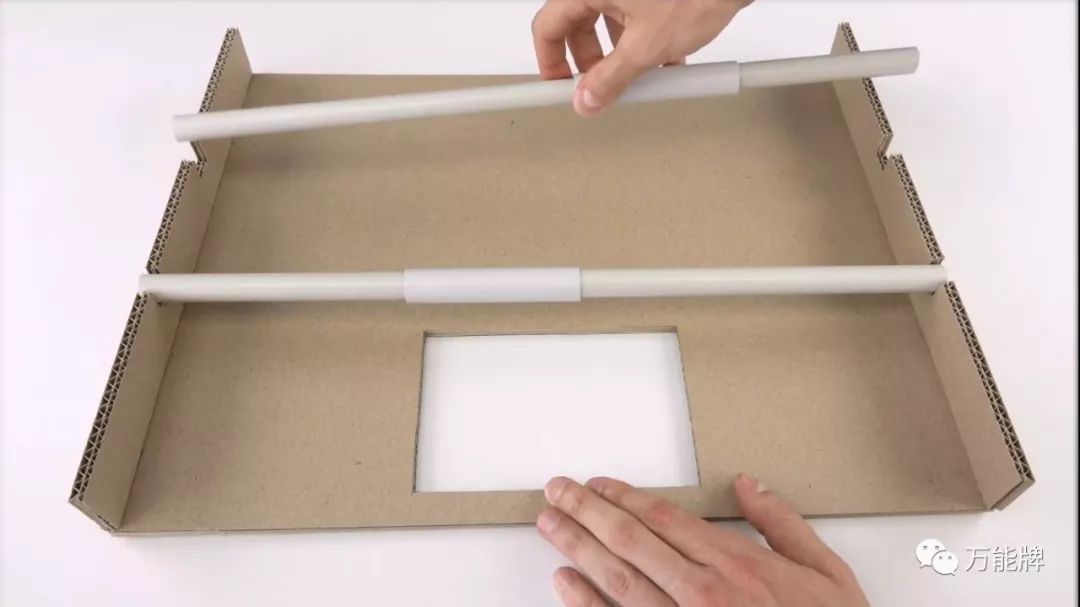
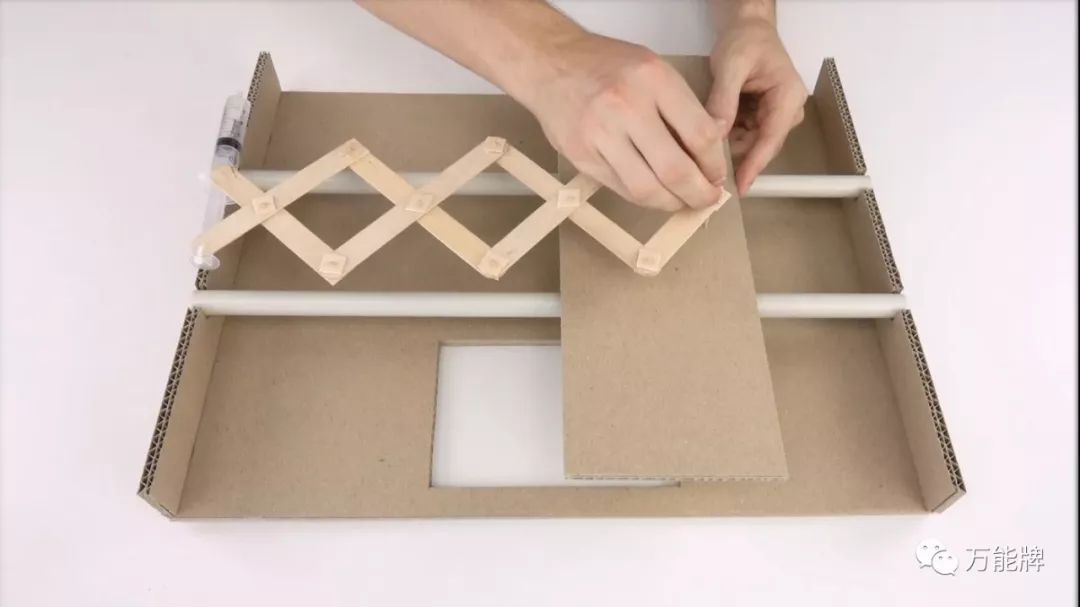
Apply hot glue to the large water pipe, attach the cut sliding plate, and demonstrate the sliding plate sliding left and right.

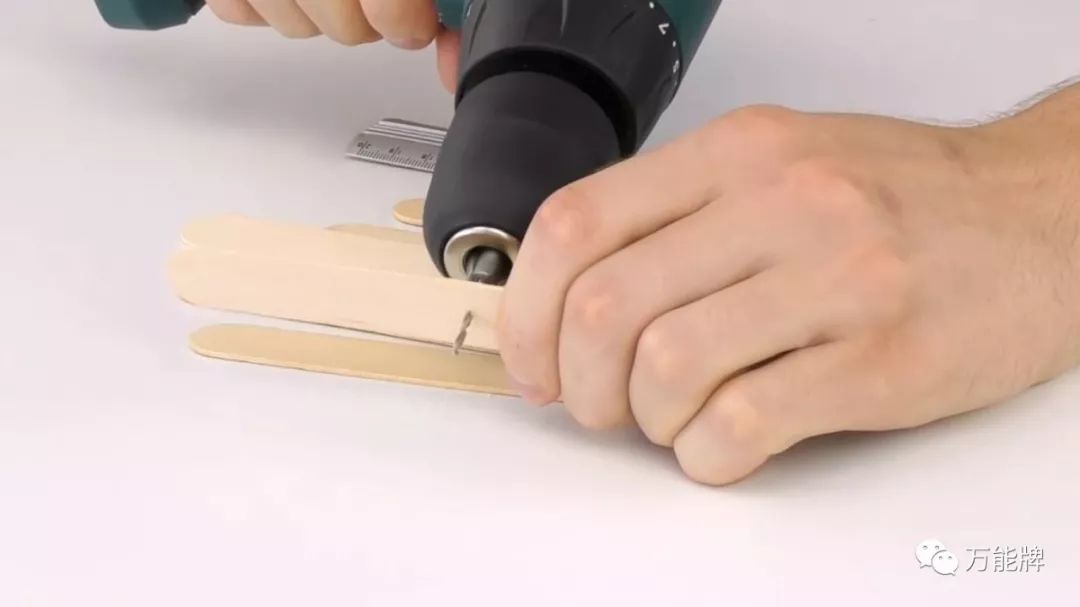
Use a drill to make holes in the ice cream sticks, insert the bamboo skewers into the holes of the ice cream sticks, and connect the ice cream sticks to form a retractable arm.
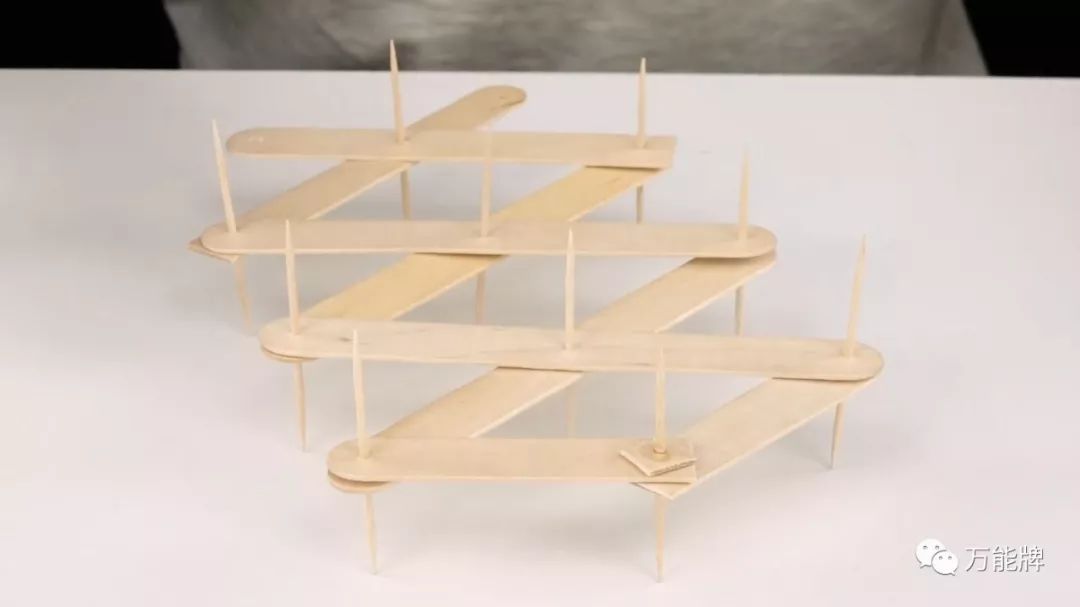
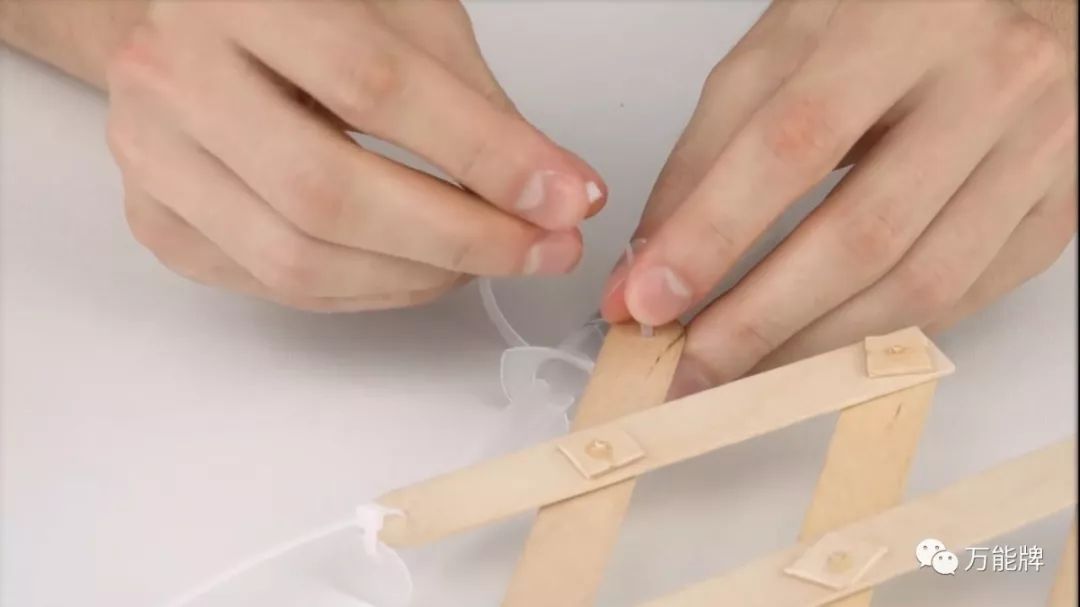
Drill holes in the syringe for the zip ties to secure the syringe. Use zip ties to attach the syringe to the retractable arm. By pressing the syringe, you can control the retractable arm‘s extension and retraction.

Install the entire retractable arm onto the top panel, completing the left-right movement module.
Using the same method, assemble the front-back movement module based on the left-right movement module, and demonstrate the left-right and front-back movements.
Based on the front-back movement module, assemble the up-down movement module and demonstrate the up-down movement.

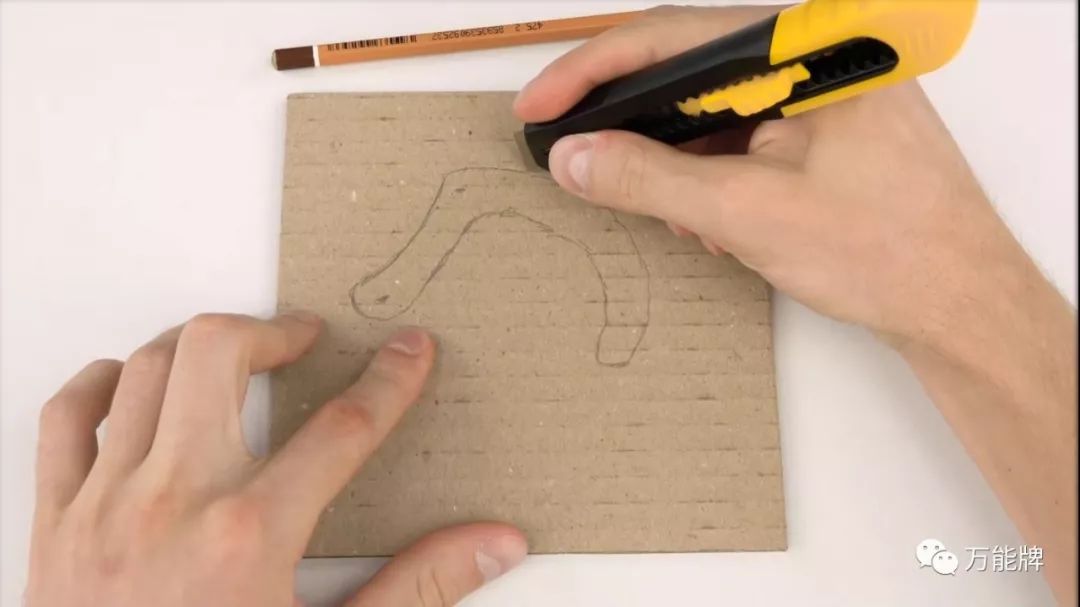
Draw the shape of the claw on cardboard and cut it out with a knife.
Use zip ties and aluminum wire to attach the claw to the syringe, forming the claw retraction module. Attach the claw retraction module to the up-down movement module.
2 Make the Claw Machine Base
Cut the board and assemble the claw machine base.
3 Make the Claw Machine Body
Cut the board and assemble the claw machine body.
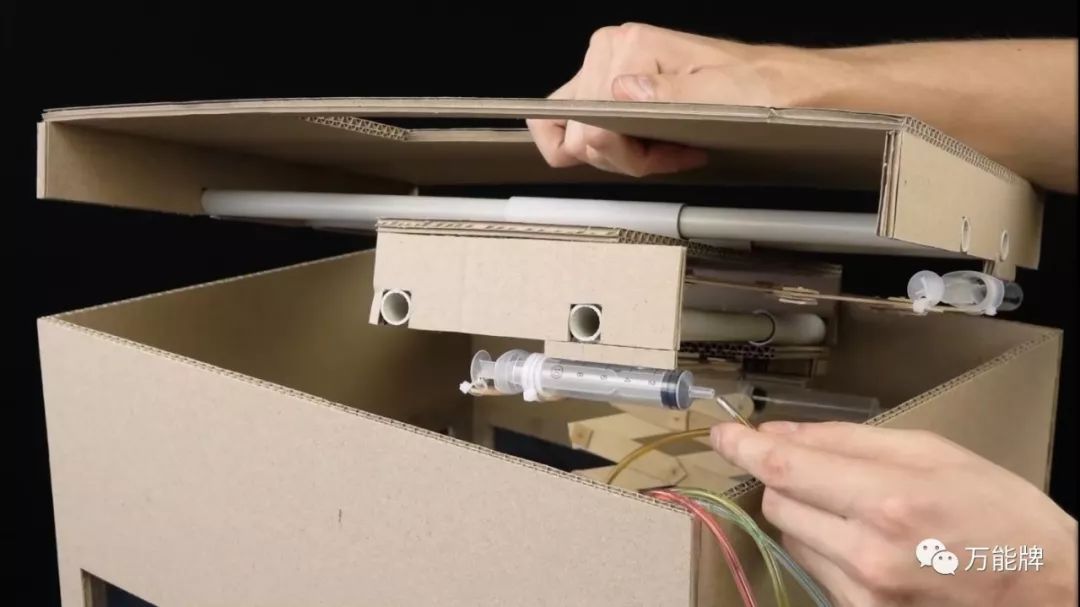
Fill the syringe with water, connect the two syringes with a transparent hose, and use the hydraulic transmission principle. By pressing one syringe, the other syringe will be pushed out, allowing for the control of each movement module.
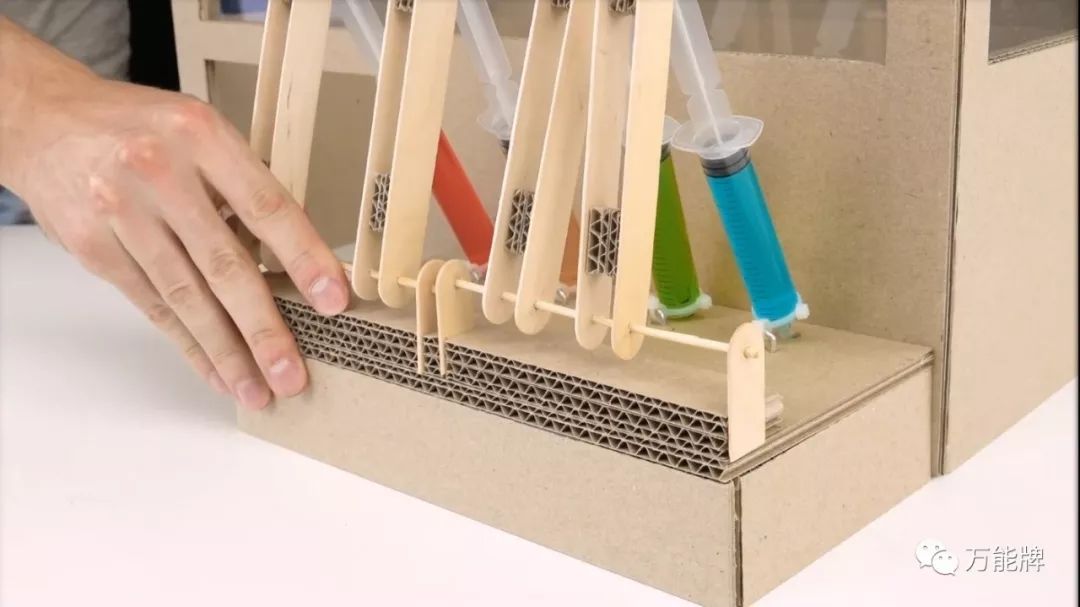
Cut the board and assemble the control platform, fixing the 4 syringes on the control platform.
Fix the control platform onto the body of the claw machine.
4 Assemble the Whole Machine
Insert the base into the bottom of the claw machine body.
Connect the hoses from the syringes on the control platform to the corresponding syringes on the top moving platform, and install the top moving platform onto the body.
Stick the control label on the control platform.
5 Product Showcase
The claw machine is now complete, let’s play claw machine together!